A well-organized home is a happy home. And they give you space for all sorts of things, like toothbrushes and other miscellaneous items, which tend not to be located near where they’re needed most. With all of the different bottles, boxes, and tubes, it’s hard to know where to start.
These cabinets are the perfect addition to any home, and they can really help you organize your medicines and other health supplies. We’ll walk you through the step-by-step process of creating this cabinet, so you can get started on your own project as soon as possible.
Get ready to bring your woodworking tools and skills and build your own cabinet.
Table of Contents
1. Small Aid Cabinet
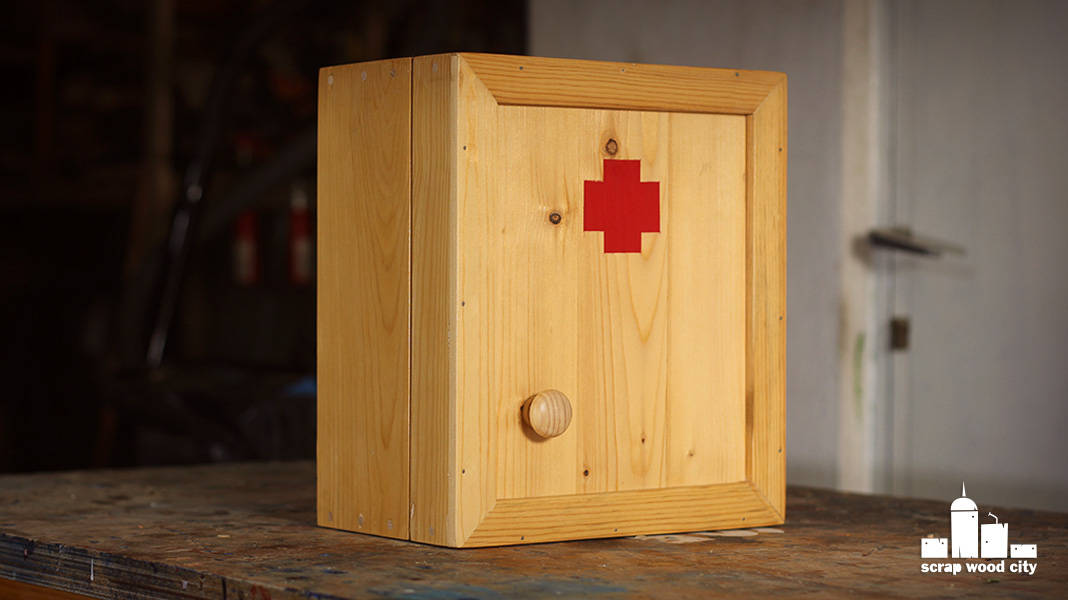
A small DIY medicine cabinet can be the perfect solution if you have to deal with the limited area. By following a few simple steps, you can easily create a compact medicine cabinet that will fit all of your essentials.
To start, measure the area where you want to put your medicine cabinet. Then, purchase a small cabinet or box that will fit in that space. Next, drill holes in the back of the cabinet for ventilation. Finally, add any wood shelves or dividers that you need to help organize your supplies.
2. Rustic Style with Distressed Finish
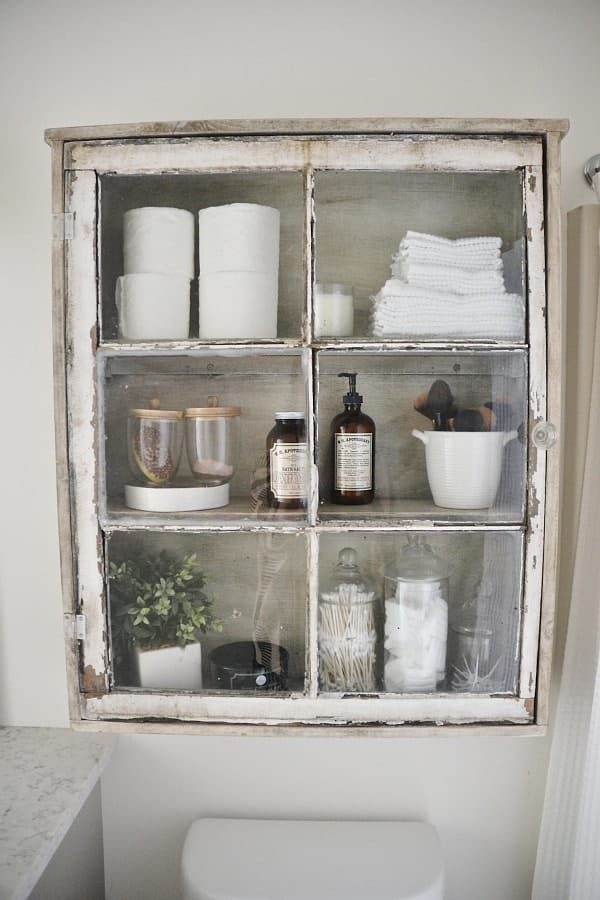
The beauty of the rustic style offers you the warm and natural decorative piece, which is also functional at the same time. The unique appearance makes your space look way prettier.
One thing you need to highlight is that you can upcycle the old wood, or simply create a distressed finish.
To distress the cabinet, start by sanding down any paint or lacquer. Next, use a hammer or other tool to rough up the edges and surfaces of the wood. Finally, apply a dark stain or paint to give the cabinet an aged look. If you want to add extra character to your DIY medicine cabinet, consider adding some weathered hardware or glass bottles with vintage labels.
3. Minimalist DIY Medicine Cabinet
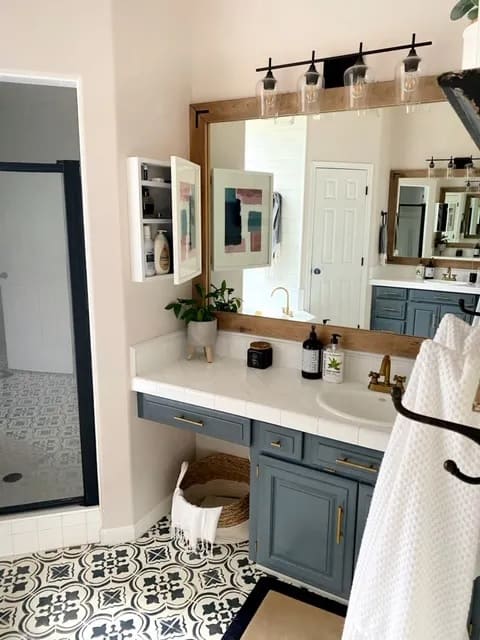
For a sleek, minimalist medicine cabinet, start with a simple box frame. Add a few hooks to the inside of the cabinet frame for extra storage, then use adhesive strips to attach the frame to the wall. Medicine cabinets can get crowded quickly, so it’s important to edit your collection regularly.
Keep only the essentials on hand and store everything else elsewhere. For a truly minimal look, choose small bottles and containers that can be hidden away behind the frame. This way, only the items you use most often will be on display.
4. Add the Framed Mirror
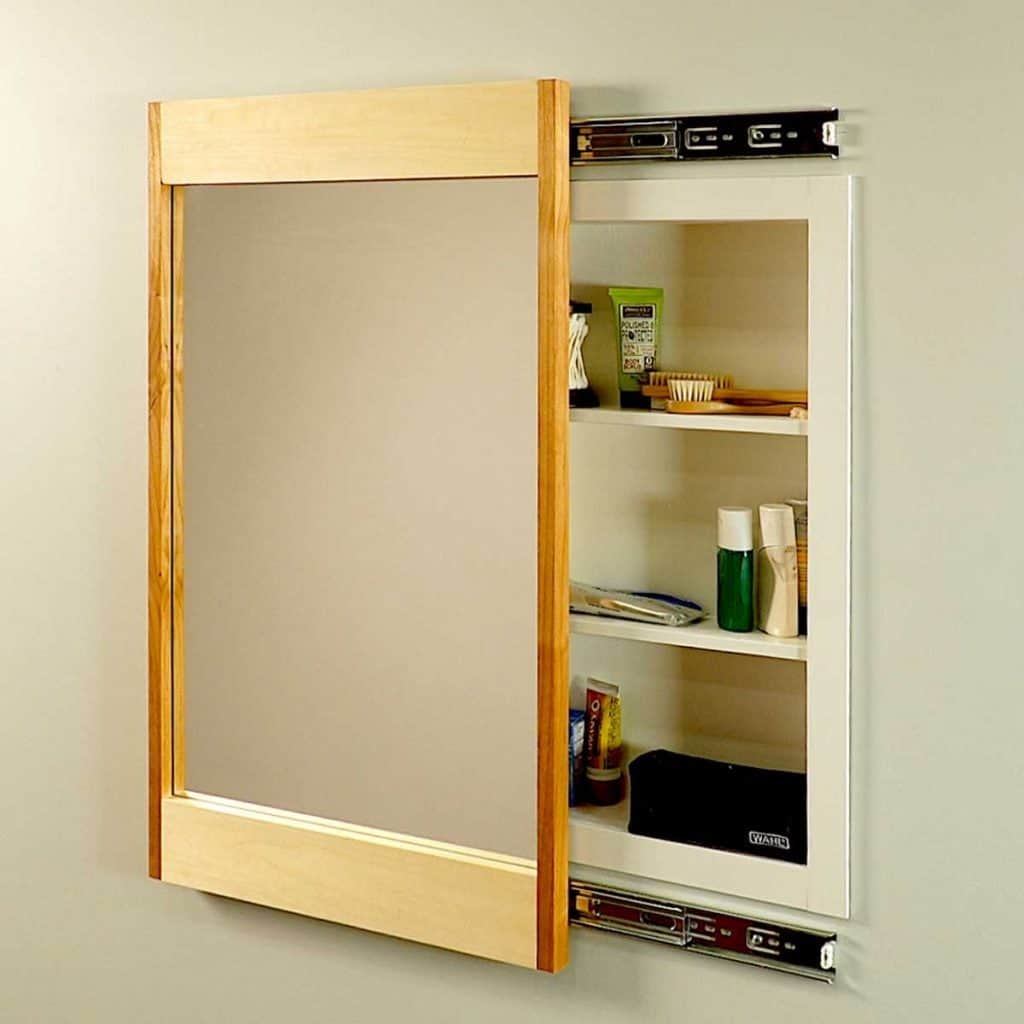
A medicine cabinet with a mirror can help you keep your bathroom organized and tidy, while also providing a place to check your appearance before you head out the door. Plus, if you choose a cabinet with adjustable shelves, you’ll be able to customize the storage to fit your specific needs.
So whether you’re looking for extra space to store toiletries or want a place to hang towels, a DIY medicine cabinet is a great solution.
5. Lighted Medicine Cabinet
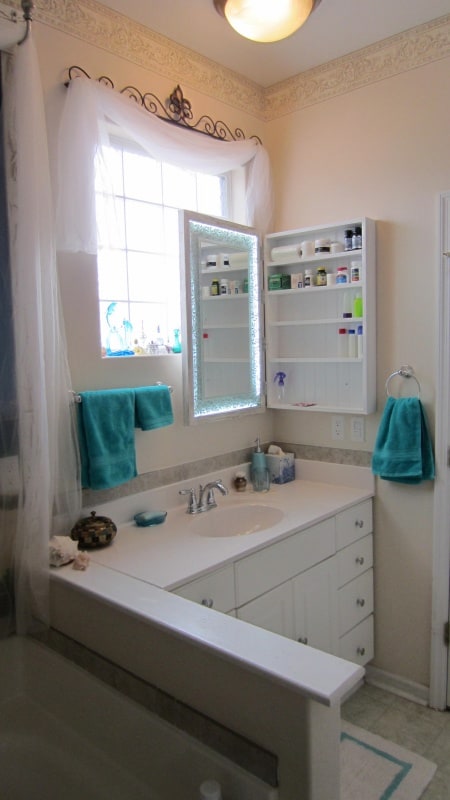
Made out of the high quality material, this will accommodate your toiletries and medication. Other than that, it brings in a touch of an elegant hint. You can also DIY this cabinet and save a lot of money. This will surely give your home an elegant touch.
Supplies needed:
- MDF
- Cabinet pulls
- LED lights
- Jigsaw
- Drill
- Nail Gun
- Level
- Paint
6. Add an Extra Storage Space
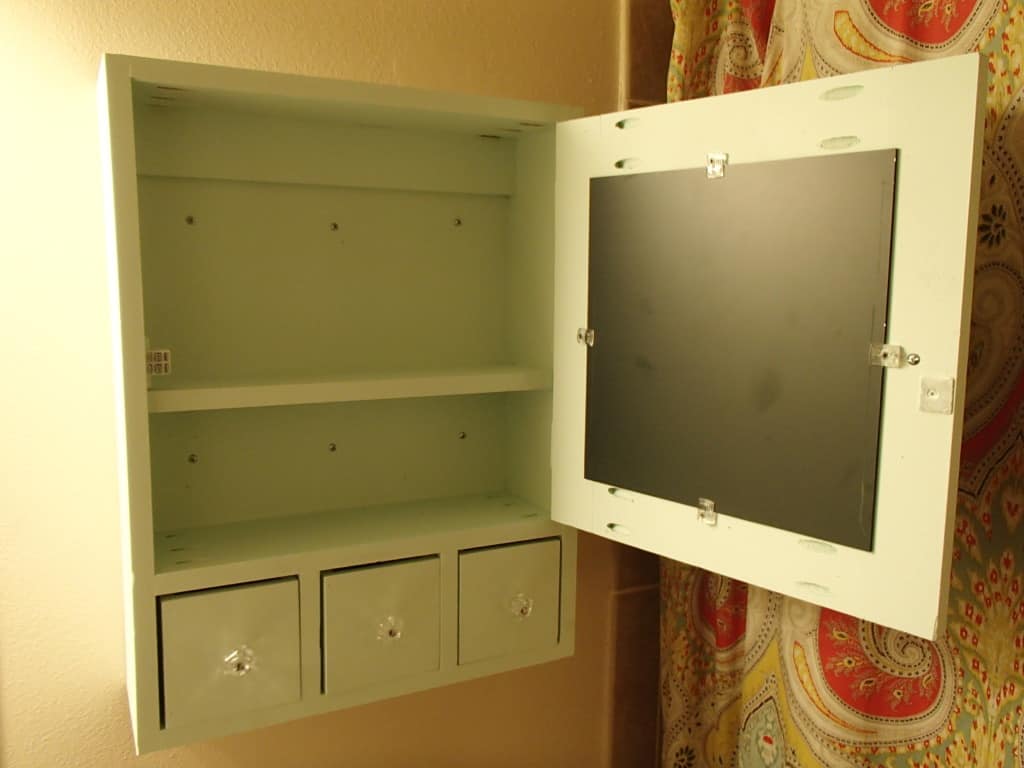
If your medicine cabinet is overflowing, it might be time to consider a DIY upgrade. One easy way to add extra storage is to install drawers. This can be done by removing the shelves and adding supports for the drawers. Or, if you’re starting from scratch, you can build a cabinet with drawers instead of shelves. This is a great option if you have smaller items that need to be organized.
To make this, you’ll need a few supplies including:
- Plywood
- Drawer slides
- Knobs or pulls
- Drill
- Saw
- Paint
Building the cabinet with drawers is a bit more involved than just adding them, but it will give you the most flexibility in terms of storage. And, if you’re handy with tools, it’s not as difficult as it might sound.
Once you have the cabinet built, all that’s left is to add your drawer slides and knobs or pulls. Then, fill it up with all of your supplies and organize them however you like. You could even add labels to the front of each drawer so you know exactly what’s inside.
7. Industrial DIY Medicine Cabinet
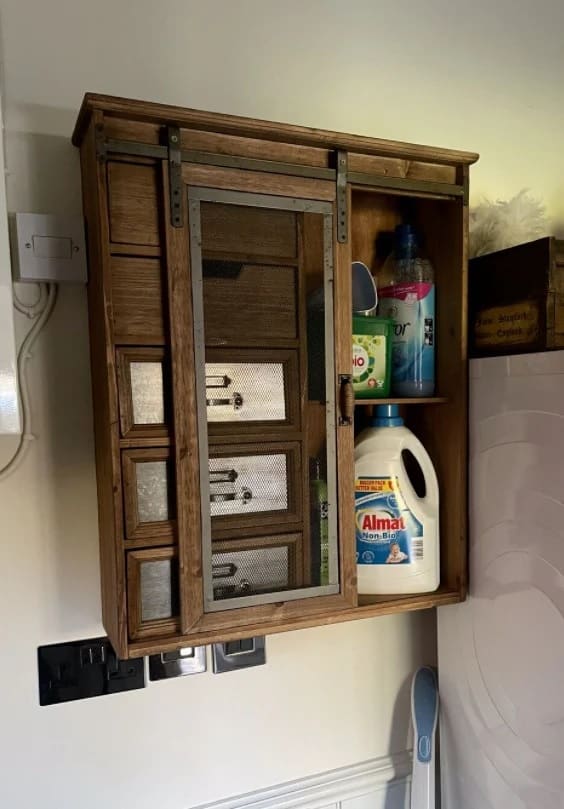
This type of cabinet is made from solid wood and metal, and it can be easily customized to fit your space. Plus, this kind of medicine cabinets have a cool, industrial look that will add a touch of style to any bathroom.
The sliding door installation will be a perfect feature that make the bathroom feels way more spacious. So if you’re ready to get started, gather up some metal and solid wood to make it works.
8. Farmhouse DIY Medicine Cabinet
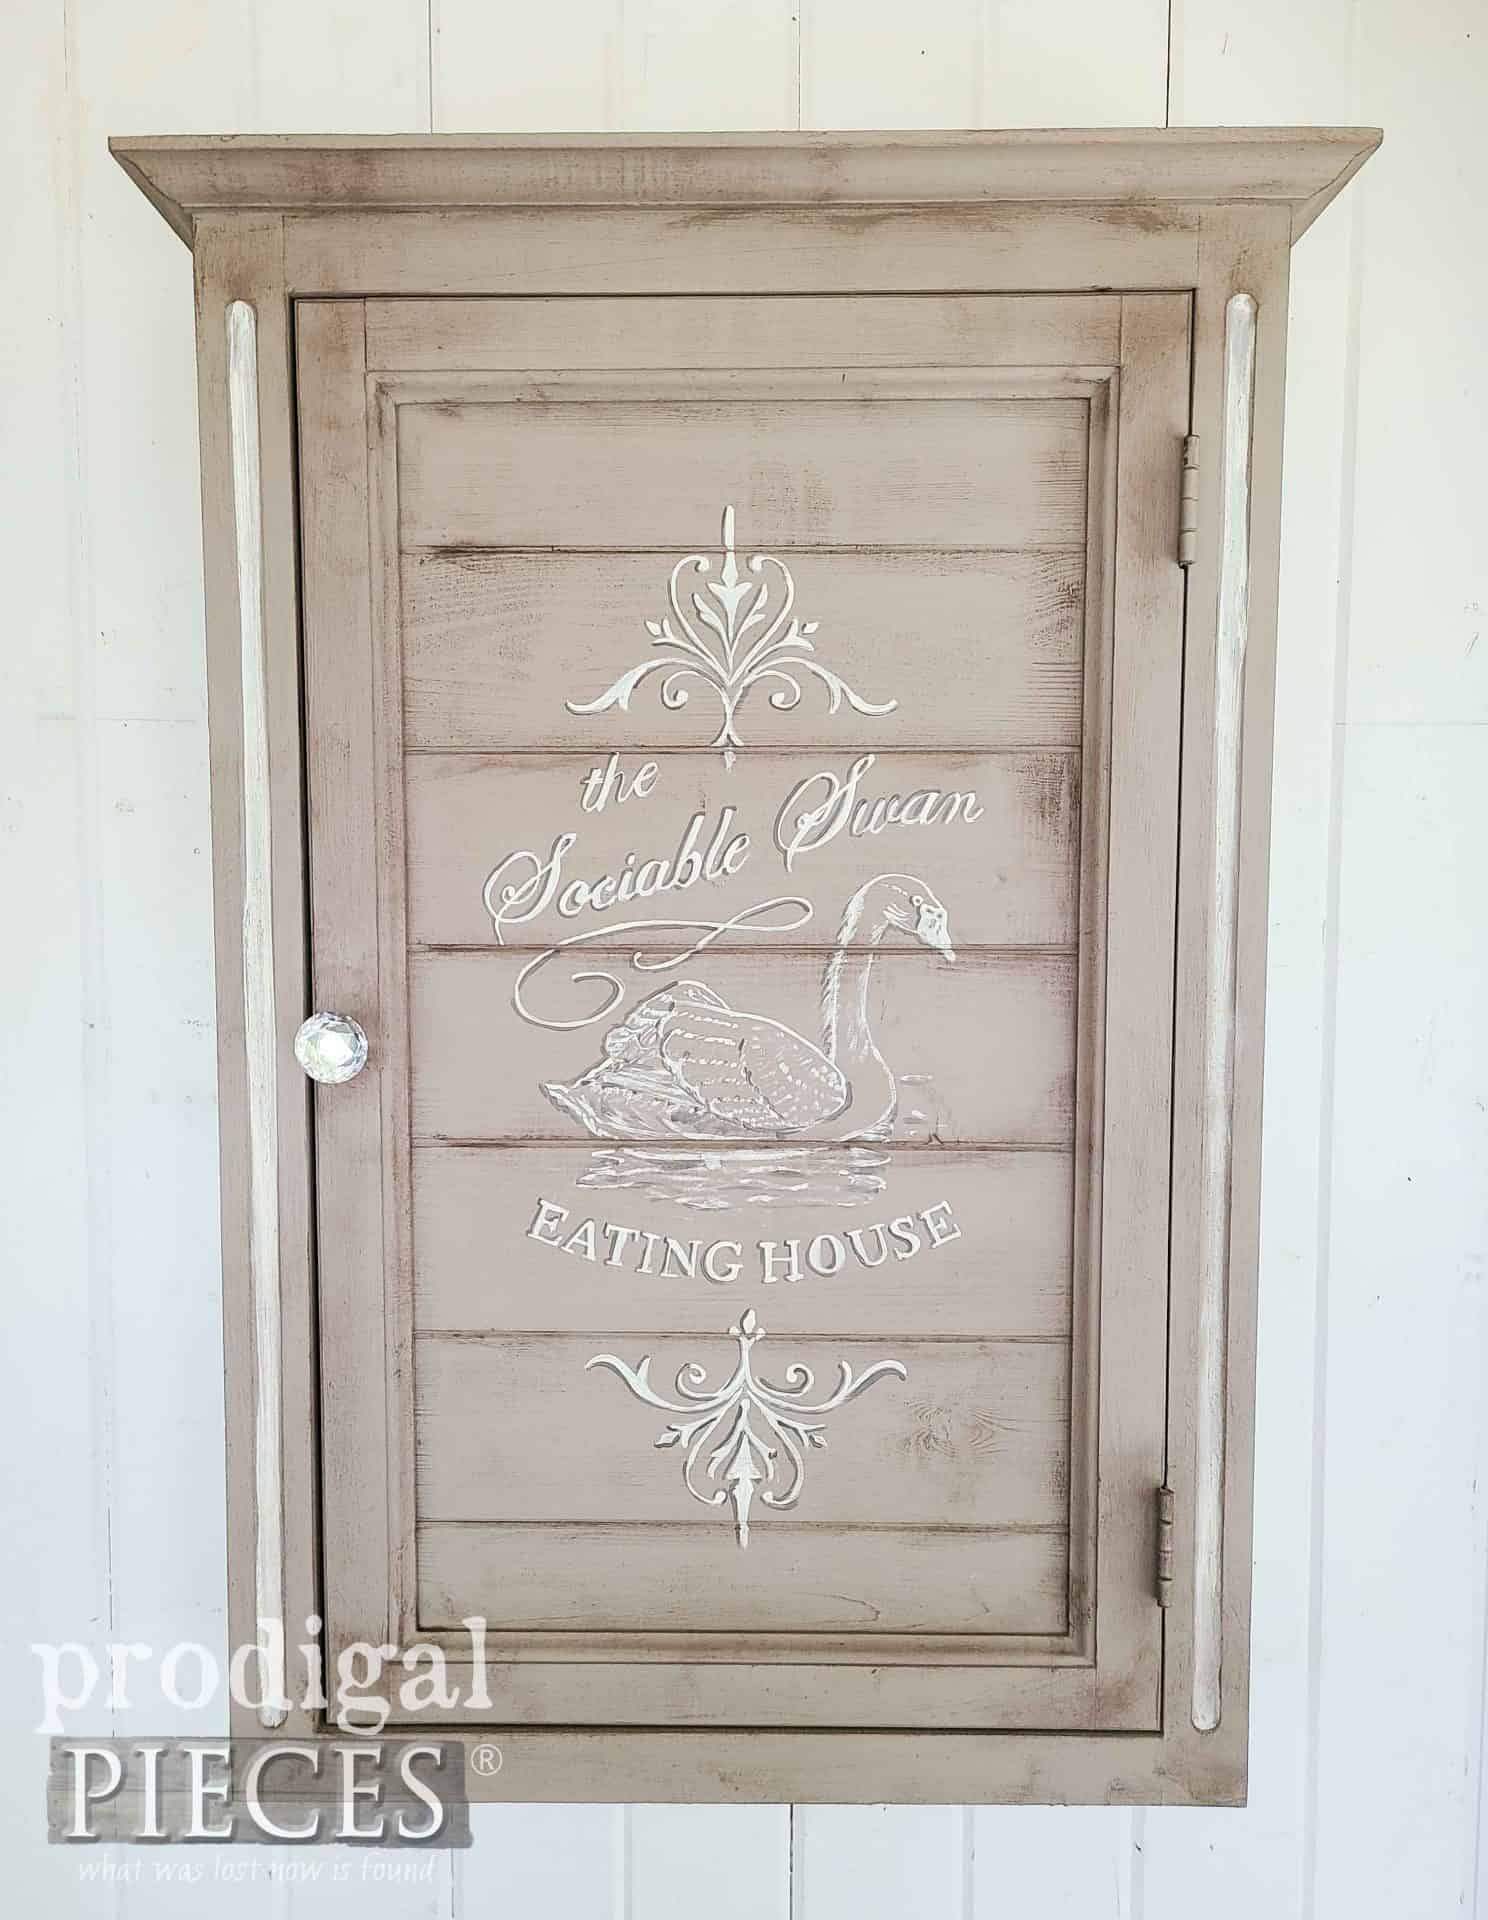
To build a farmhouse DIY medicine cabinet, you’ll need a few supplies. First, you’ll need some wood. You can use any type of wood you like, but we recommend using pine or cedar because they’re strong and durable. Next, you’ll need a door knob and some hinges. You can find these at your local hardware store. Finally, you’ll need some paint or stain to finish off your cabinet.
9. Modern DIY Medicine Cabinet
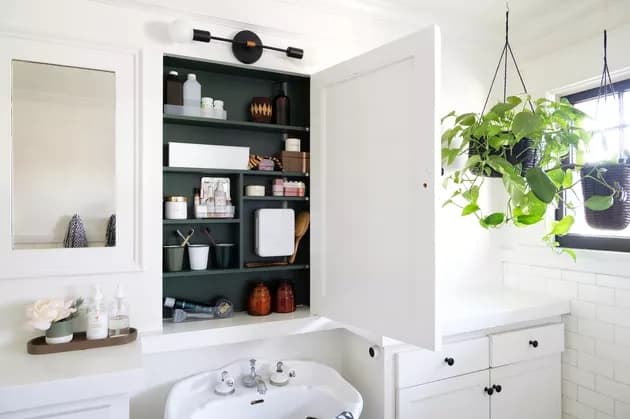
With some basic tools and materials, you can easily transform an ordinary cabinet into a sleek, modern masterpiece.
Just follow these simple steps:
- Begin by removing the doors from the cabinet. If the cabinet is painted, sand the surface to create a smooth finish.
- Next, measure and cut two pieces of frosted glass to fit the opening of the cabinet. Use a strong adhesive to attach the glass to the inside of the cabinet.
- Now it’s time to add some shelving. Cut two pieces of wood to size and attach them to the inside of the cabinet using brackets or screws. Then, add some evenly spaced supports along the length of the shelves.
- Finally, hang your newly crafted medicine cabinet on the wall using screws or nails. Be sure to use wall anchors if needed for extra support.
10. DIY Affordable Bathroom Storage Cabinet
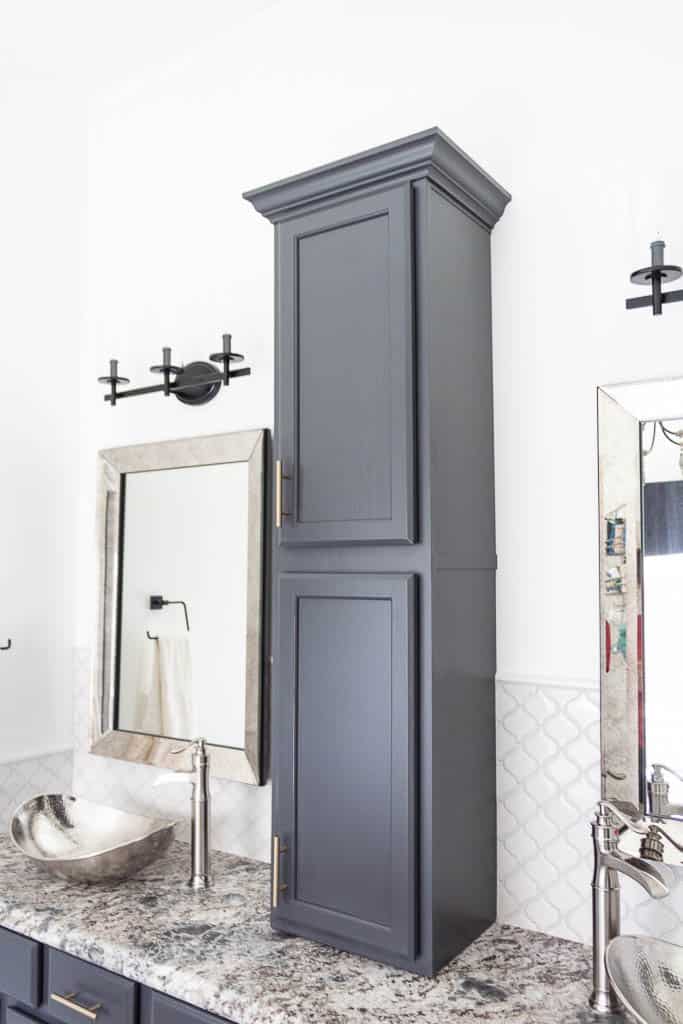
Transform the old drawer into a functional and stylish feature that will organize your medicine and some of the toiletries. This idea is super cheap and easy to do. You can get an old dresser from a thrift store or garage sale and then refinish it to achieve the perfect look for your bathroom.
Ensure you sand down the cabinet for a smooth surface, which will make the finishing look adorable.
11. Painted DIY Medicine Cabinet
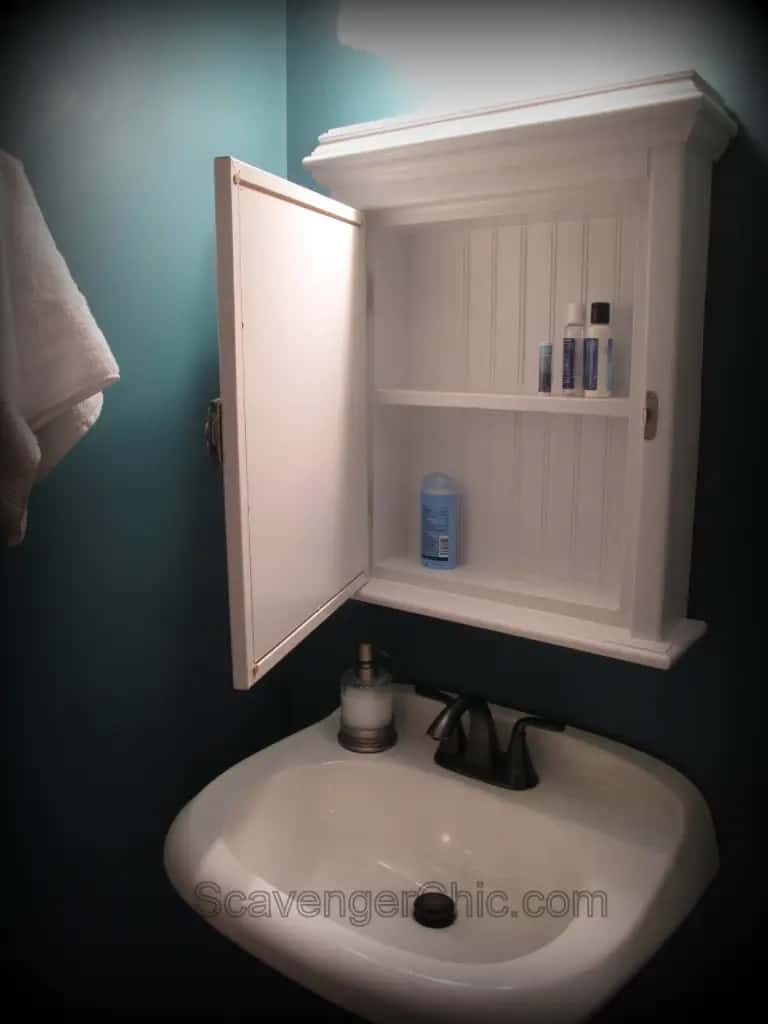
For this project, you will need a cabinet, paint, primer, and various other supplies. The first step is to sand down the cabinet and apply a layer of primer. Once the primer is dry, you can begin painting the cabinet with your desired color. When choosing a paint color, it is important to consider the overall style of your bathroom. A brighter color can add a touch of playfulness to a space, while a more muted shade will create a serene atmosphere.
12. DIY Medicine Cabinet Makeover
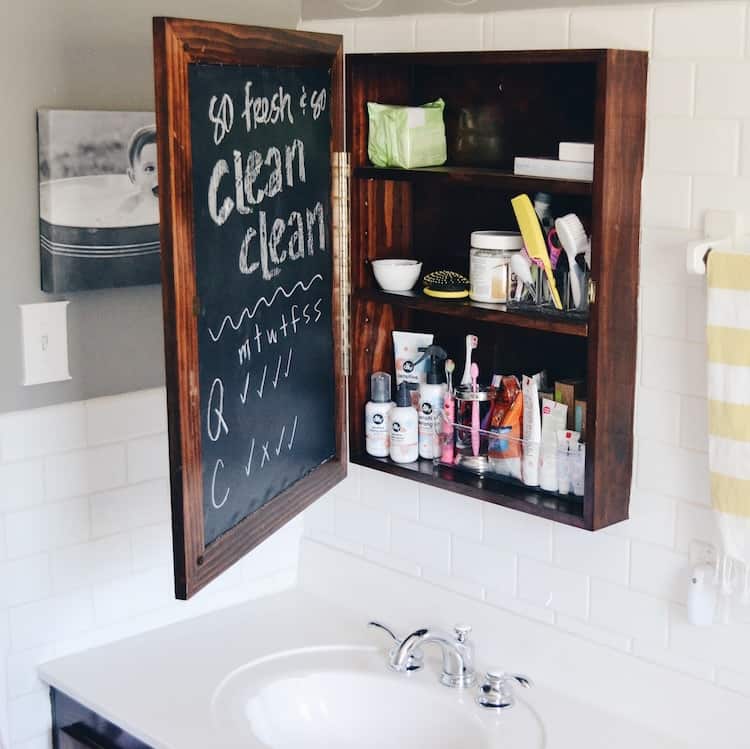
First of all, you need to take everything out of the cabinet and giving it a good cleaning. Wipe down all of the shelves and the surfaces with a mild cleanser. You can update the look by applying the paint or stain as you desire. Adding new hardware to the cabinet can also give it a fresh look. You should put back only the items that you use on a regular basis in the cabinet. The items that you don’t use often can be stored elsewhere.
13. DIY Medicine Cabinet From a Dresser
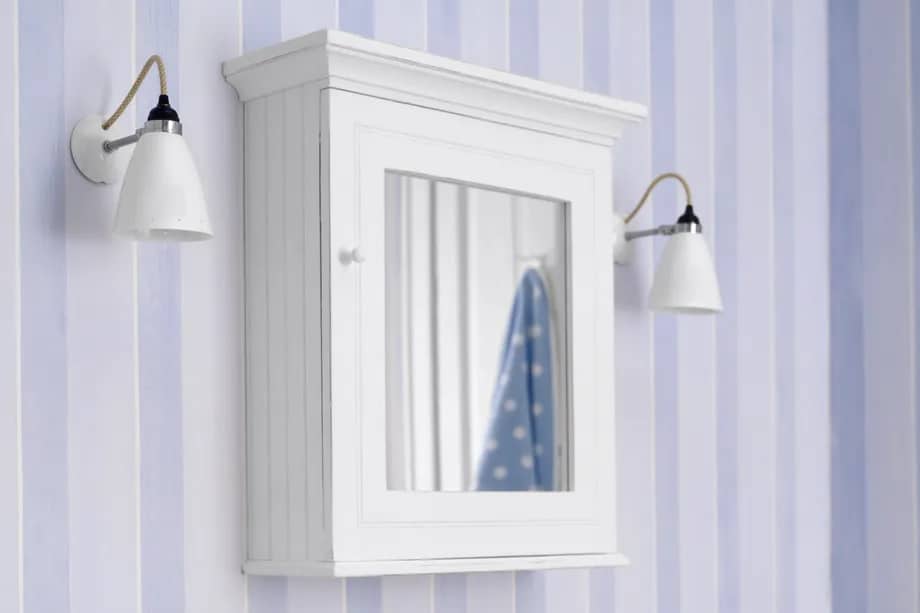
Fortunately, it is easy to build your own medicine cabinet from a dresser. Simply remove the drawers from the dresser and cut a hole in the back for plumbing. Then, attach the dresser to the wall and add shelves to the inside. You can paint or stain the dresser to match your bathroom décor, and it will provide ample storage space for all of your medical supplies.
Supplies material:
- Drill
- Jigsaw
- Paint or Stain
- Screws
- Shelf brackets
- Towel bar
14. DIY Medicine Cabinet From a Nightstand
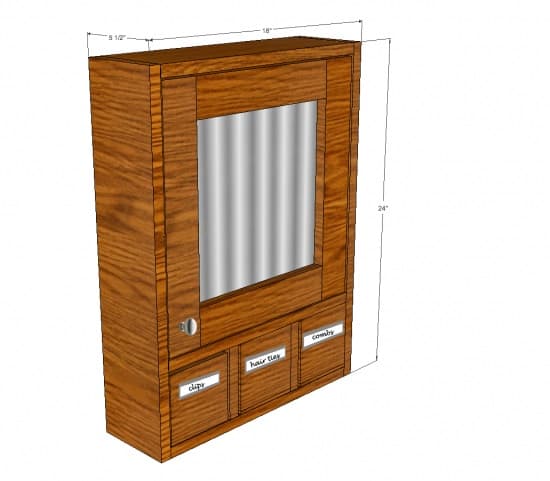
You can turn an old nightstand into a medicine cabinet by adding some hooks to the inside of the drawer and door. Then, add some baskets or bins to organize small items. You can also add a shelf to the top of the nightstand for taller items. Sand the piece down until it’s smooth. Finally, paint or stain the nightstand to match your décor. If you’re hanging the cabinet on a wall, you may also want to add some brackets to the back for extra support.
15. DIY Wall Mounted Medicine Cabinet
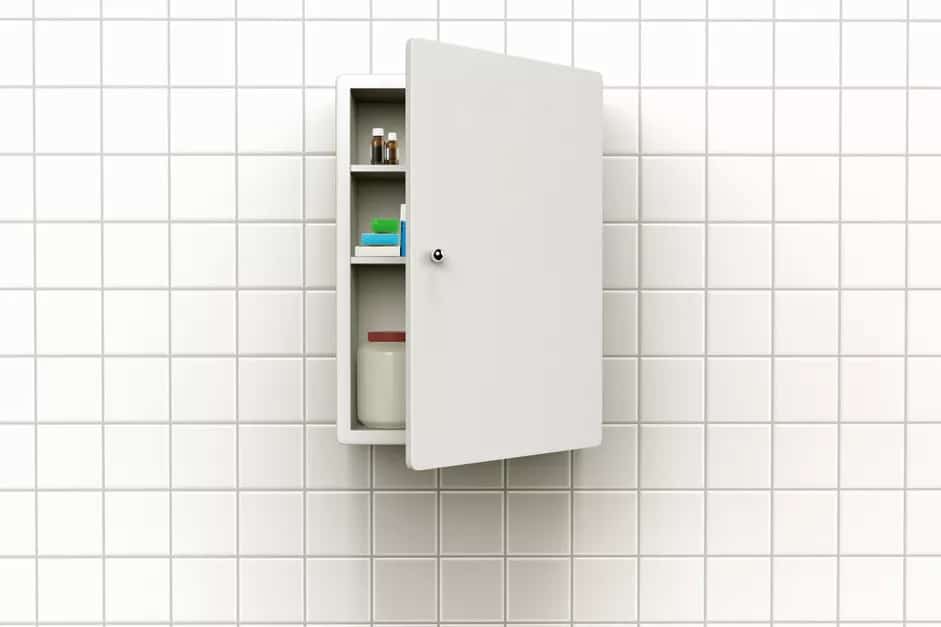
This kind of cabinet will be perfect if you want to deal with the limited area in your living space. This type of cabinet can be installed directly into drywall, making it ideal for small bathrooms or other tight spaces. Plus, wall-mounted cabinets offer easy access to contents while keeping items out of reach of curious children.
To start, you will need to gather the following supplies:
- Measuring tape
- Level
- Drill
- Wall anchors
- Screws
- Cabinet
- Jigsaw
16. DIY Recessed Medicine Cabinet
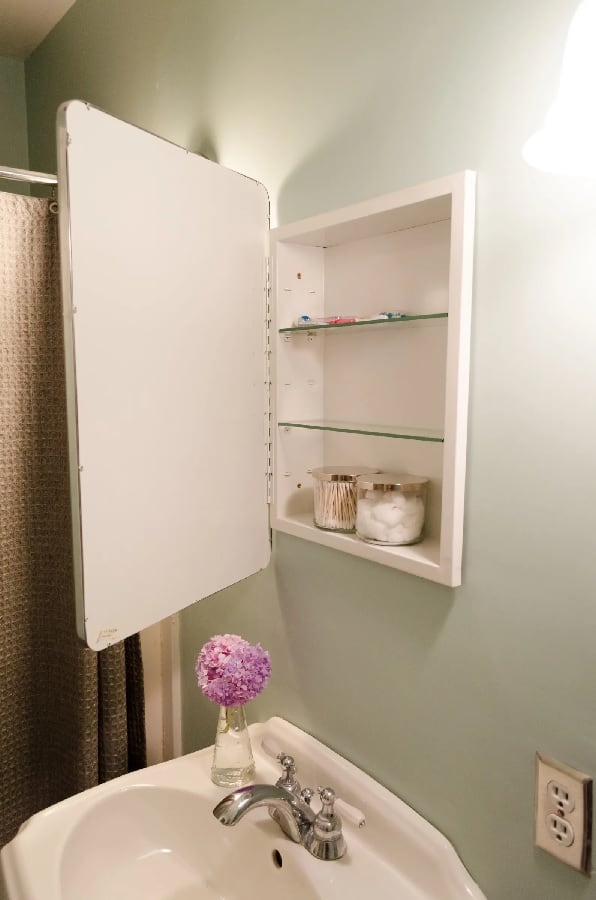
It’s a great way to save space and keep your bathroom looking neat and tidy. This DIY recessed medicine cabinet is easy to make and perfect for small bathrooms that won’t make the room feels stuffy. When measuring, be sure to account for the depth of the recess and any trim that will be surrounding the cabinet. Once you have the dimensions, use a jigsaw to cut out the opening in the wall. If you’re not comfortable doing this yourself, you can hire a contractor to do it for you.
Next, frame the opening with 2x4s and attach them to the studs in the wall. Then, drywall or paneling can be attached to the frame. Be sure to finish the surface so that it matches the rest of your bathroom walls. Finally, install the recessed medicine cabinet itself by screwing it into the studs in the wall.
17. Corner DIY Medicine Cabinet
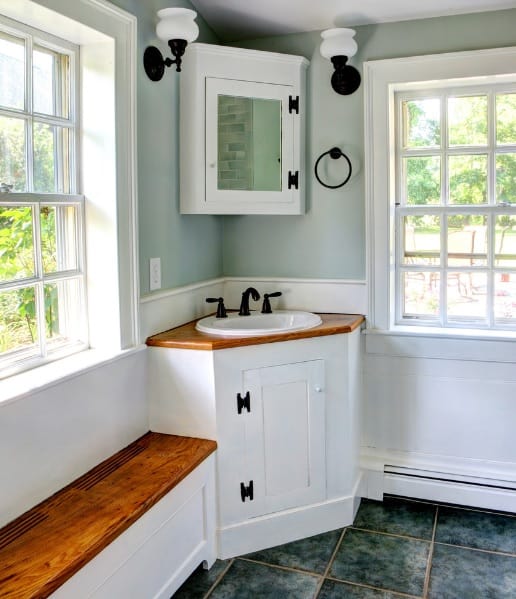
A corner medicine cabinet is a great solution for those who want to save space without sacrificing storage. These cabinets are designed to fit snugly into the corner of a room, and they typically come with a variety of shelves and compartments to accommodate different items.
What you will need to make this corner cabinet:
- Drill
- Saw
- Corner cabinet
- L brackets
- Shelf liner
- Screws
18. Hang it on the Wall
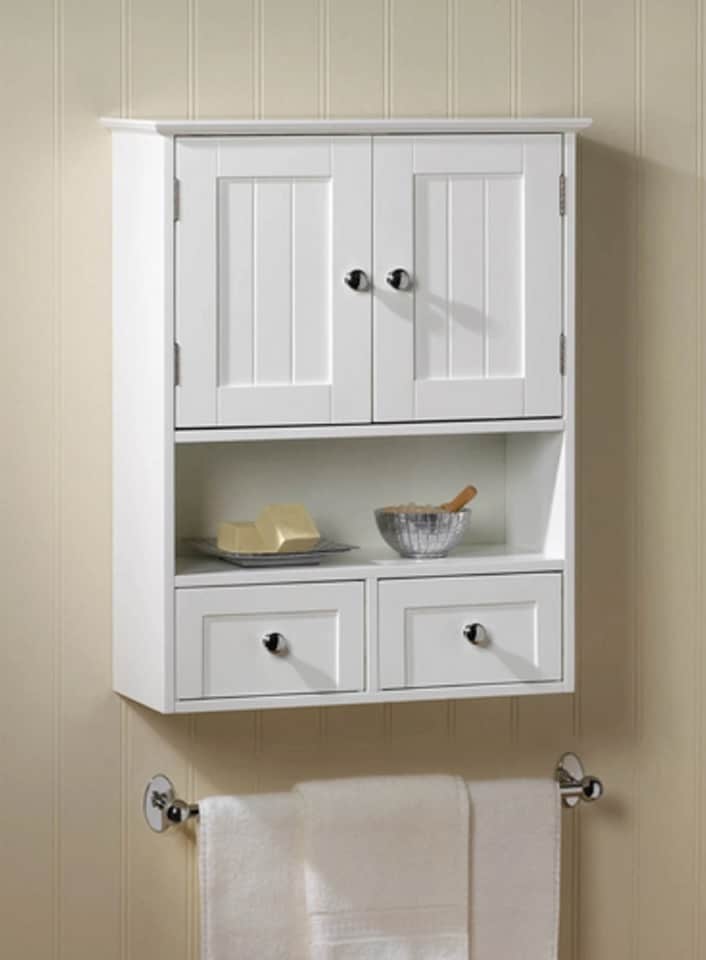
To make a hanging medicine cabinet, you’ll need a piece of plywood, a saw, screws, hinges, and a doorknob. You’ll also need paint or wood stain, and polyurethane to finish the project. Start by cutting the plywood to size and then attaching the hinges to one side.
Next, attach the door knob to the other side. Then, paint or stain the cabinet as desired and finish with a layer of polyurethane. Once everything is dry, simply hang the cabinet on any wall using the screw holes in the hinges.
19. Make it Movable
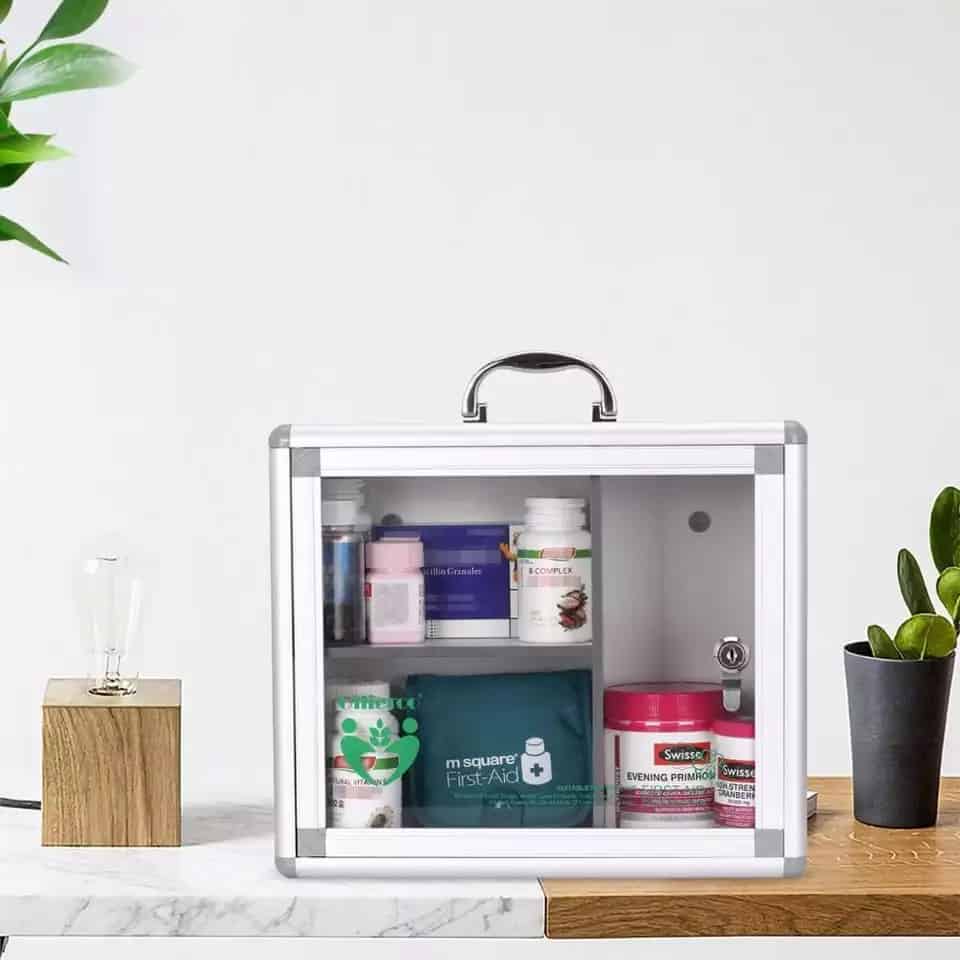
A portable DIY medicine cabinet can be especially helpful if you have a small home or apartment, or if you frequently move between homes. To make your own portable DIY medicine cabinet, simply choose a flexible storage container that can be easily carried from one location to another.
Be sure to label the contents of your cabinet so that you can easily find what you need when you need it. You may also want to consider keeping a list of the contents of your cabinet in a safe place, such as on your refrigerator door.
20. Outdoor DIY Medicine Cabinet
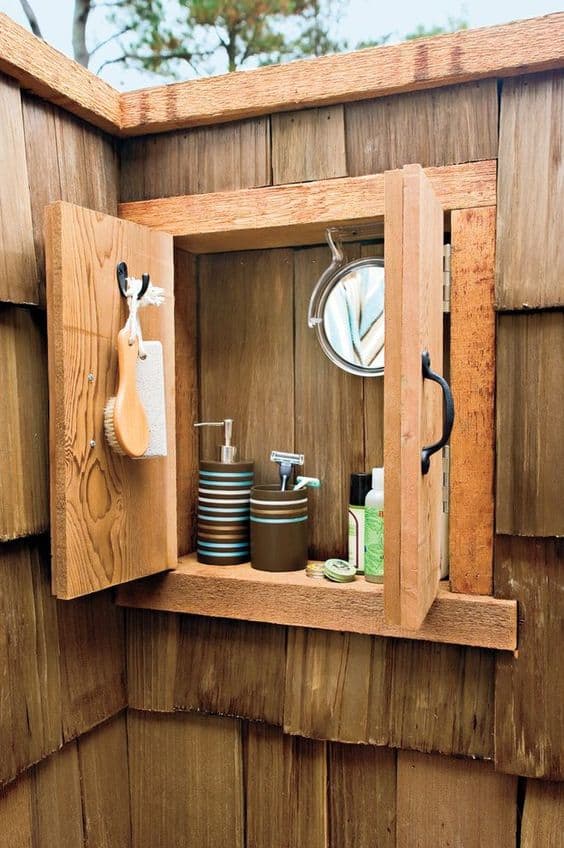
An outdoor DIY medicine cabinet can help to protect your supplies from these dangers. By keeping your medicines in a dry, cooled area, you can extend their shelf life and ensure that they remain effective. An outdoor medicine cabinet can also provide a convenient place to store first-aid supplies and other items that you might need in an emergency.
Get some supplies before you start working:
Wooden boards, some screws, nails, a hammer, and a saw. You can also use a drill to make the job easier. Once you have all of your supplies, you’re ready to get started on your outdoor DIY medicine cabinet.
21. Build the Cute One for Your Kid
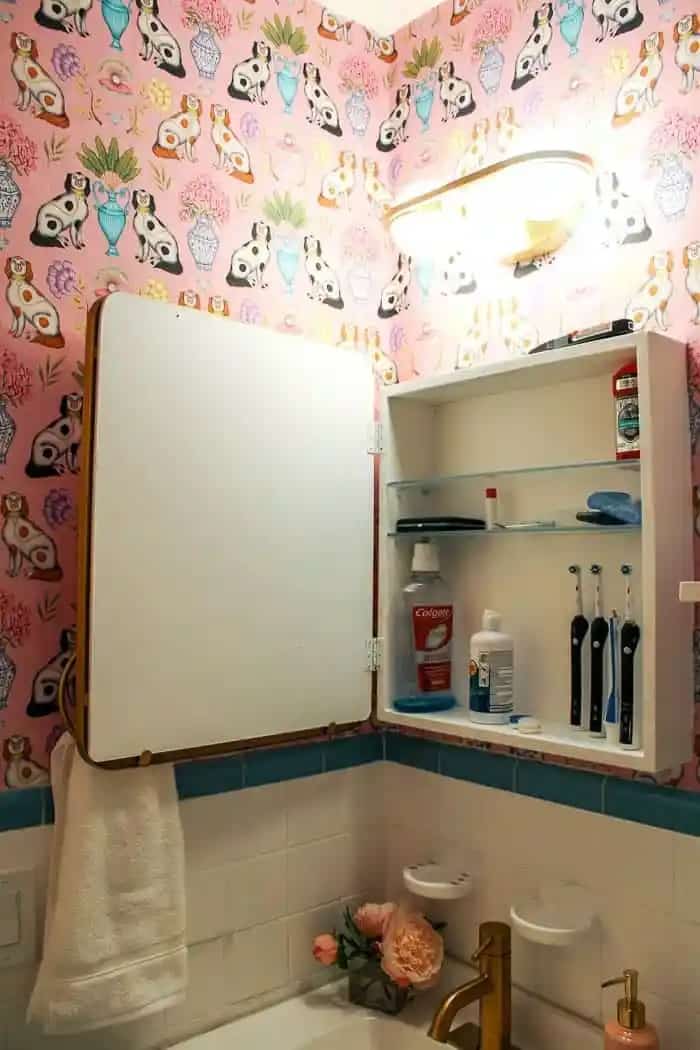
For kids, a medicine cabinet doesn’t have to be a boring, functional storage space. With a little bit of creativity, it can be cute, eye-catching and fun. A few Simple ideas include using colorful baskets or boxes to store items, decorating the inside of the cabinet with stickers or wall decals, and hanging photos or artwork on the outside.
The list of materials you will need:
- Decorative baskets or boxes
- Wall decals
- Photos or artwork
- Hammer
- Nails
- Scissors
22. DIY Bathroom Vanity with Medicine Cabinet
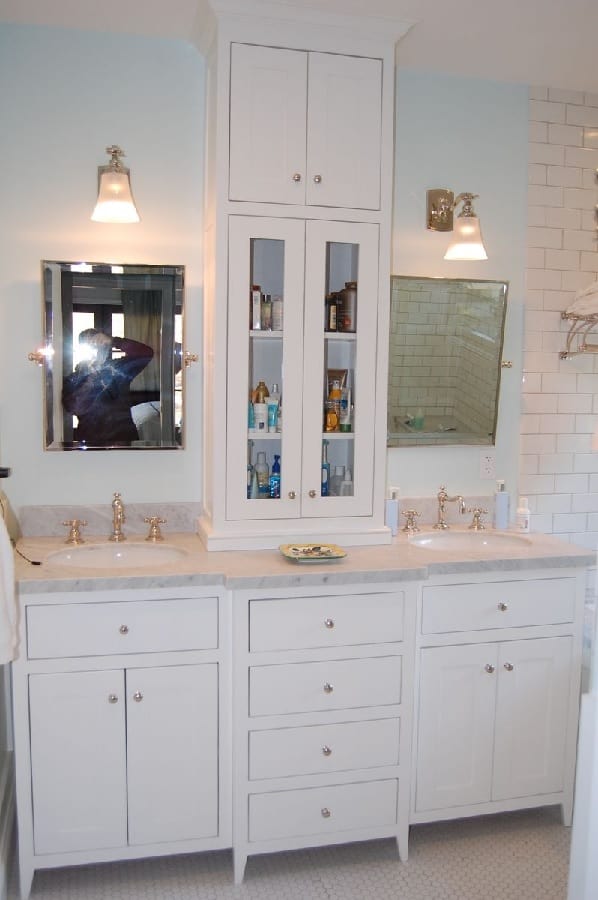
By adding a few simple shelves and a medicine cabinet to your bathroom mirror, you can create a convenient and stylish storage solution for all of your bathroom essentials. This feature will complement the bathroom both stylishly and functionally at the same time.
When it comes to painting your DIY medicine cabinet, choose the color as you desire. You can choose any color you like to really make a statement in the bathroom. Whether you want to go for a bright and bold hue or stick to a more neutral tone, there are plenty of options to choose from.
23. Floating DIY Medicine Cabinet
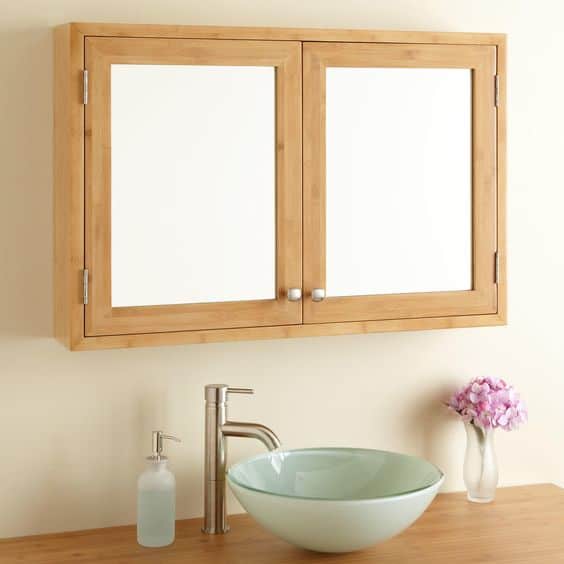
A floating medicine cabinet is the perfect solution if you want something unique in your small bathroom. By suspending it from the ceiling, you can create an eye-catching focal point in your bathroom.
And best of all, it’s easy to make yourself with the materials below:
- Plywood
- Ruler or measuring tape
- Circular saw
- High-grit sandpaper
- Stain or paint
- Polyurethane finish
- Drill
- Cabinet knobs
- Hanging hardware
24. Red Cross Medicine Cabinet
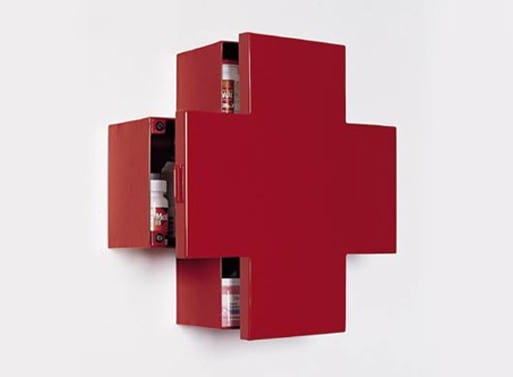
This eye-catching cabinet is sure to brighten up any space, and it’s easy to make too. Simply repurpose some old woods, create the cross shape, then paint it red. Add some new hardware if you like, or keep the existing hardware for a more vintage look. Then fill the cabinet with all of your medical supplies, such as bandages, ointments, and first aid kits.
25. Blue DIY Medicine Cabinet
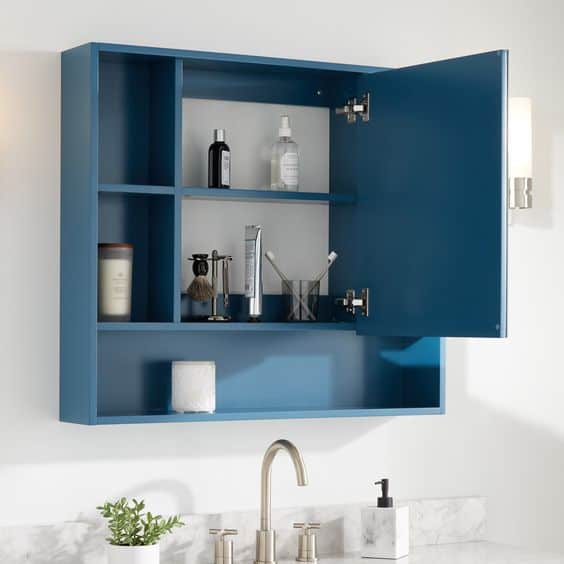
Bring the soothing hint to your bathroom that also works functionally to organize the medications and some toiletries in your bathroom. You can simply remove the doors from your existing medicine cabinet, then change it with the smaller door that will expose the other shelves.
Paint the stripes with a soothing blue hue, then let the paint dry completely before reattaching the doors. If you don’t have a medicine cabinet, you can easily create one by installing a few shelves inside a cabinet or cupboard. Add some pretty knobs or pulls. And if you want an effortless project, painting it with the blue color is enough to make it look contrasts beautifully with the white wall behind.
26. Vintage Door Medicine Cabinet
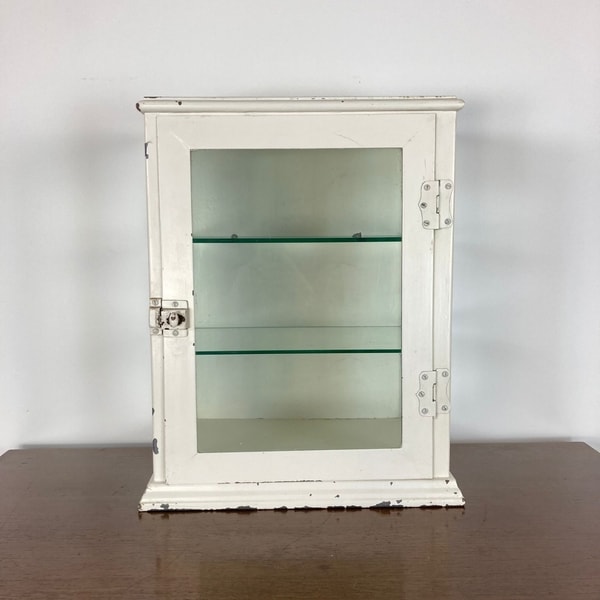
To make your own vintage door medicine cabinet, start by finding an old door that you love. Once you have your door, remove the hardware and sand it down until it is smooth. Then, paint the door with a color that you love.
Once the paint is dry, add some glass shelves to the inside of the door. You can use shelves that are already in your home, or you can purchase new shelves specifically for your medicine cabinet. Finally, add some hooks to the back of the door so that you can hang it on the wall.
27. The Bold Look
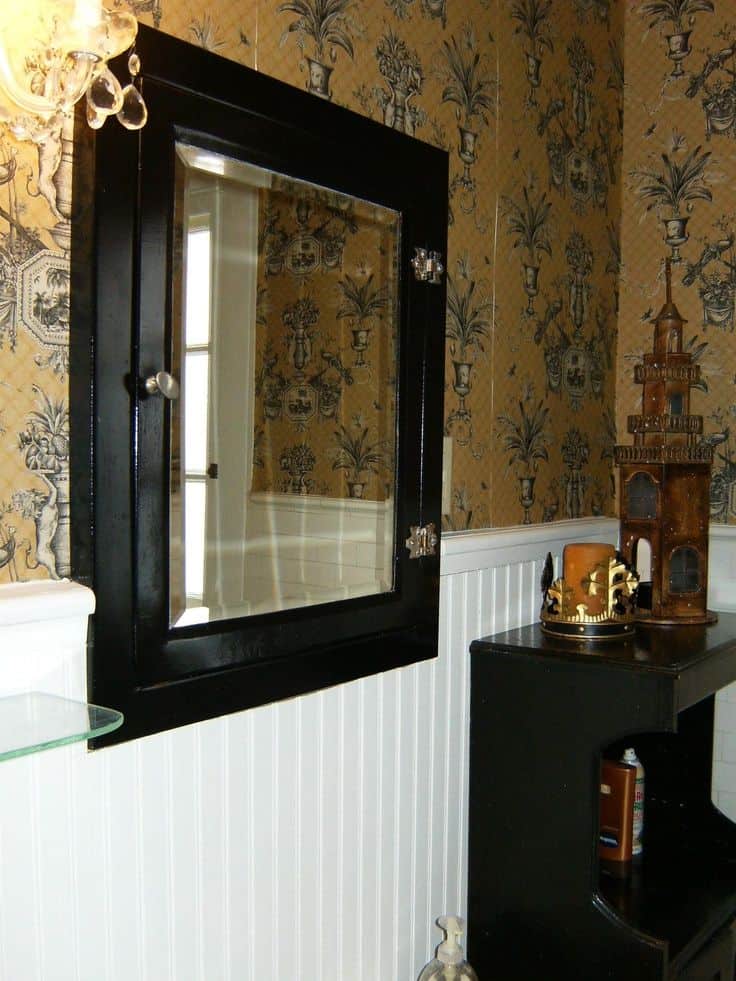
Make a versatile feature in your bathroom through the medicine cabinet installation. For a classic look, go with a black color. First, start by painting the base of the cabinet in a glossy white paint. Finish things off by adding some stylish knobs or pulls in either silver or white. With this idea, you will get a stylish cabinet affordably and effortlessly in one.
A well-organized medicine cabinet is key to a stress-free morning routine. But with a well-thought out medicine cabinet, you can make sure that everything has its place and is easy to find when you need it. These inspiring DIY medicine cabinets will help you get your home life organized so you can start your day off on the right foot.
