Don’t you wish you had just a little more space in your bedroom? Don’t you wish you could read a different book in bed while still having easy access to your cell phone, magazines, etc.? Well, if you do, then this post is going to solve all of those problems!
I’ve found 26 ways that are simple and quick DIY nightstand plans with minimal effort. This will increase your bedroom space – giving you more room for everything else while getting the bit of style you want.
Let’s take a look at the list of ideas down below. Once you’ve found the perfect idea, it’s time to get to work. Gather all of your supplies and tools, and then follow the instructions carefully.
Table of Contents
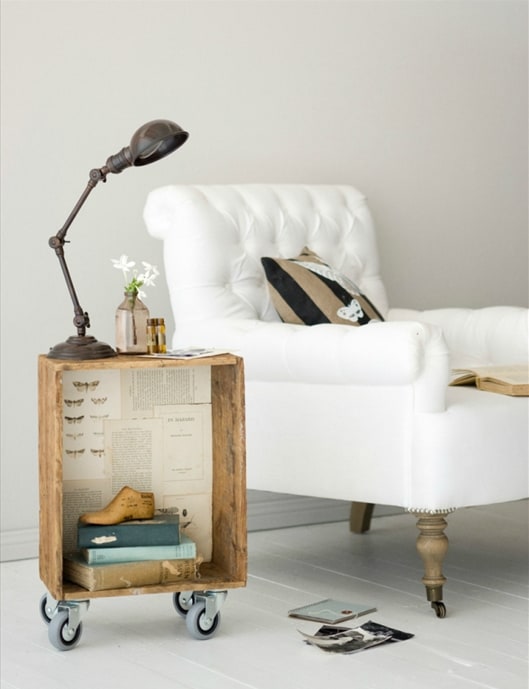
1. DIY Simple Nightstand Design
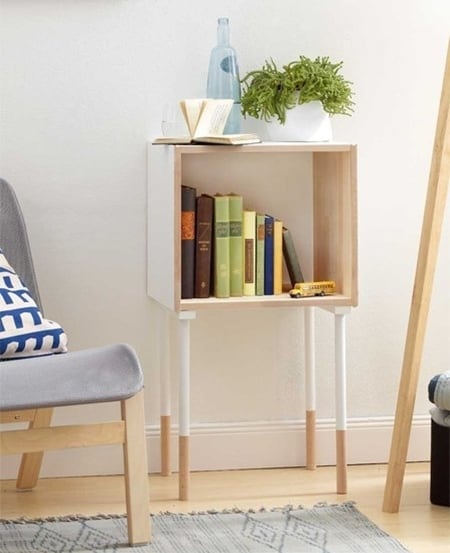
With just a few supplies and some basic woodworking skills, you can create a beautiful piece of furniture that will provide both function and fashion in your space. Best of all, by making your own nightstand, you can save money and customize the design to perfectly match your needs and taste.
All you need is a piece of plywood and some dowels. Once you have the supplies, simply cut the plywood to size, drill some holes for the dowels, and assemble your nightstand. Then add the caster wheels, and you’re finished!
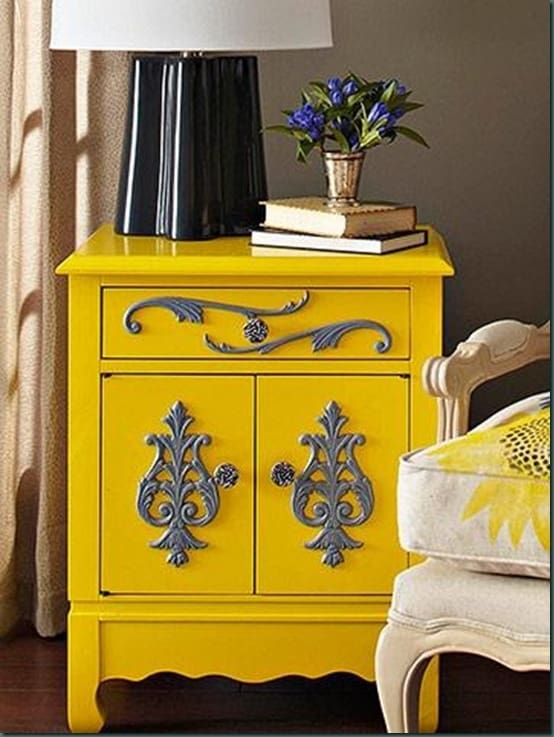
2. The Beautiful Nightstands
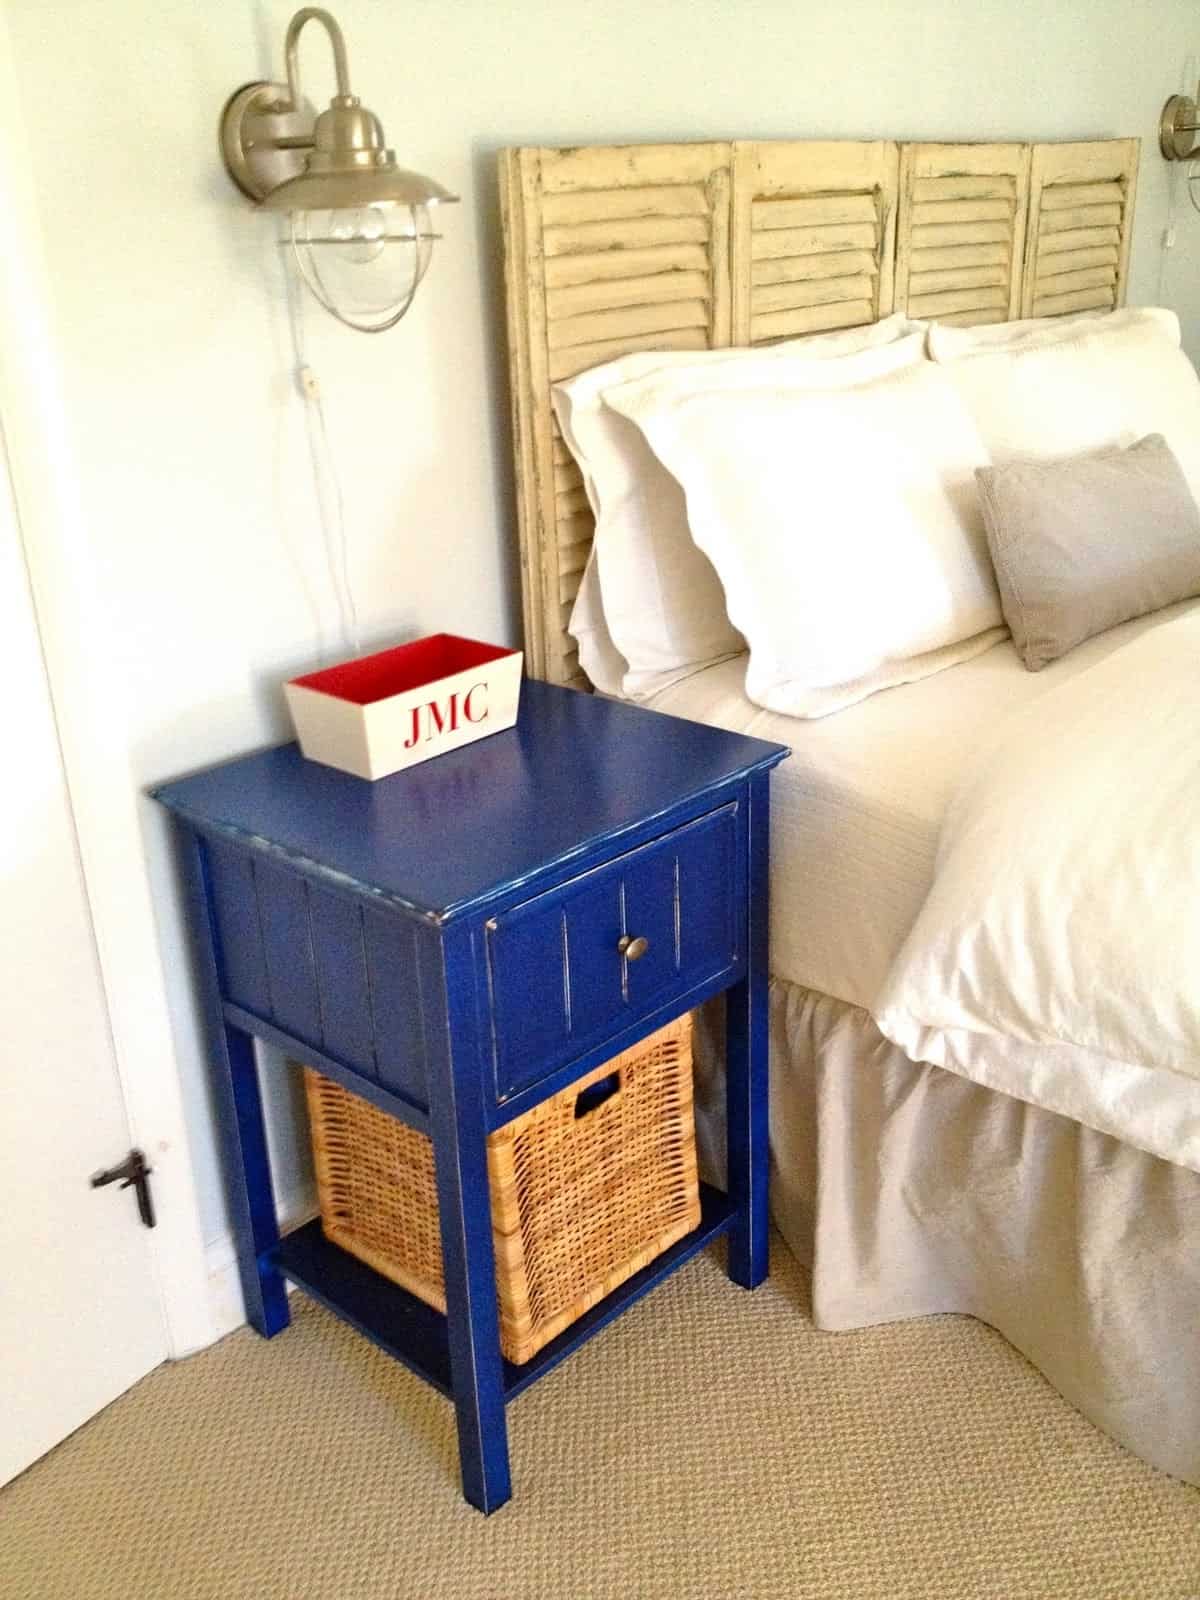
Painting your nightstand is a smart way to add a pop of color or pattern to your master bedroom. Begin by sanding your nightstand down with medium-grit sandpaper. This will help to create a smooth surface for the paint to adhere to. Next, wipe it down with a damp cloth to remove any dust particles.
Once it’s dry, apply a layer of primer and let it dry completely. Then, it’s time to paint! Choose whatever color you like and paint away. Just make sure to use light, even strokes and allow each coat of paint to dry completely before applying the next.
3. Complete The Feature With The Tray
Adding a tray to your nightstand is a cool way to add storage and style. And it’s easy to do with these DIY plans.
- First, measure the width and depth of your nightstand.
- Then, use these measurements to cut two pieces of plywood to size.
- Next, attach the plywood pieces together with wood glue and clamps. Once the glue has dried, sand the edges smooth.
- Then, paint or stain the tray as desired.
- To add handles, simply drill two holes in each side of the tray and insert handles of your choice.
4. DIY Bedroom Nightstand
Keep your personal items within easy reach by placing them on it beside your bed. But instead of spending money on an expensive nightstand, why not make your own? This DIY bedroom nightstand plan is easy and inexpensive to make.
Simply find an old cabinet door or drawer front at a salvage yard, flea market, or even your own home. Then, sand it down and finish it as desired. You can stain it, paint it, or even add some decoupage. Then, just attach knobs or pulls, and you’re finished.
5. Make A Nightstand With Baskets
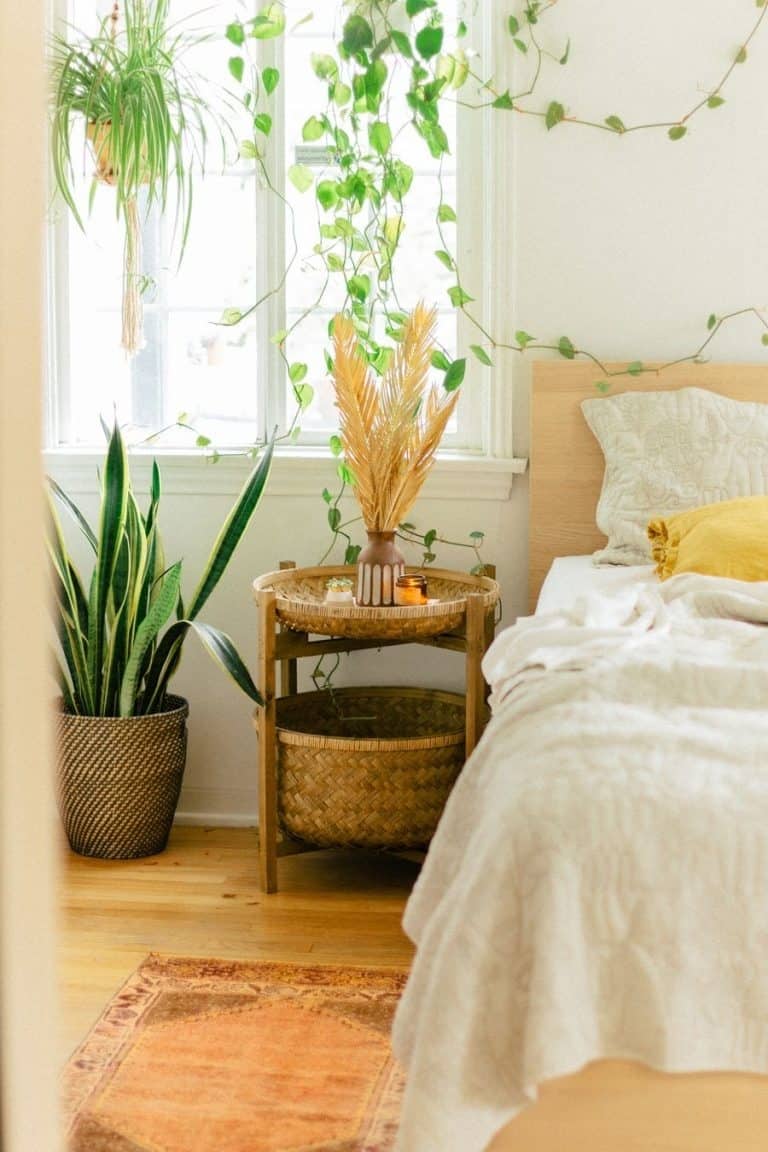
Consider repurposing a few baskets into it. First, choose baskets that are similar in size and shape. Then, use hot glue or another adhesive to attach the baskets to the wooden frame. You can paint it as you wish or let it exposes the natural color of the wood.
Finally, fill the baskets with items such as books, magazines, or lotion. With just a few supplies and simple instructions, you can easily create a unique and stylish nightstand.
6. Industrial Style For A Cool Appearance
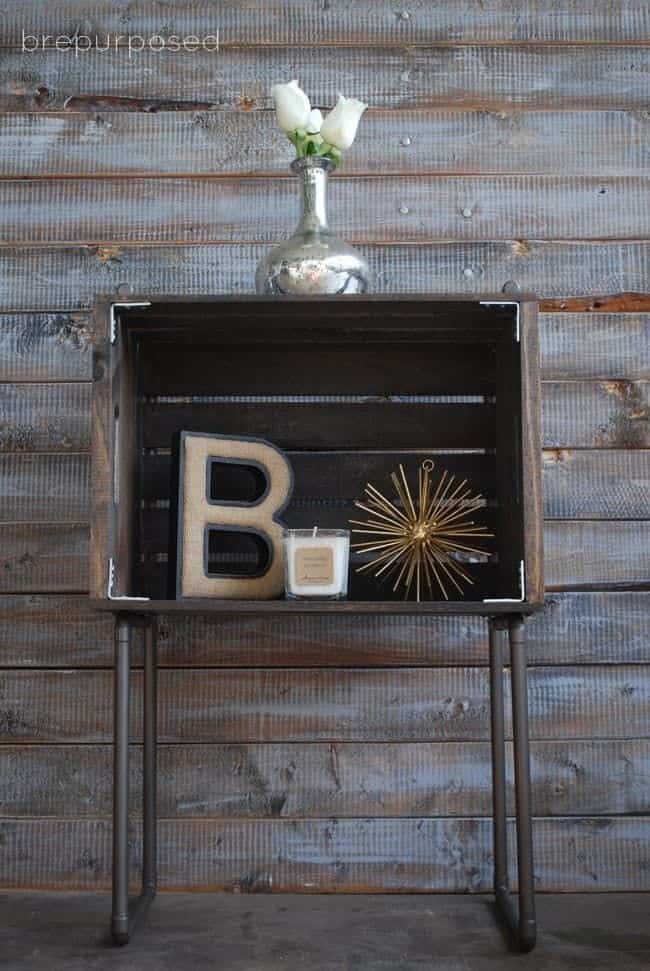
The first plan features a nightstand made from an old metal filing cabinet. To give it a more stylish look, simply add a new coat of paint and new hardware. For the second plan, upcycle an old wooden crate into a chic nightstand. Again, add a pop of the color of the decorative piece, and don’t forget the new hardware!
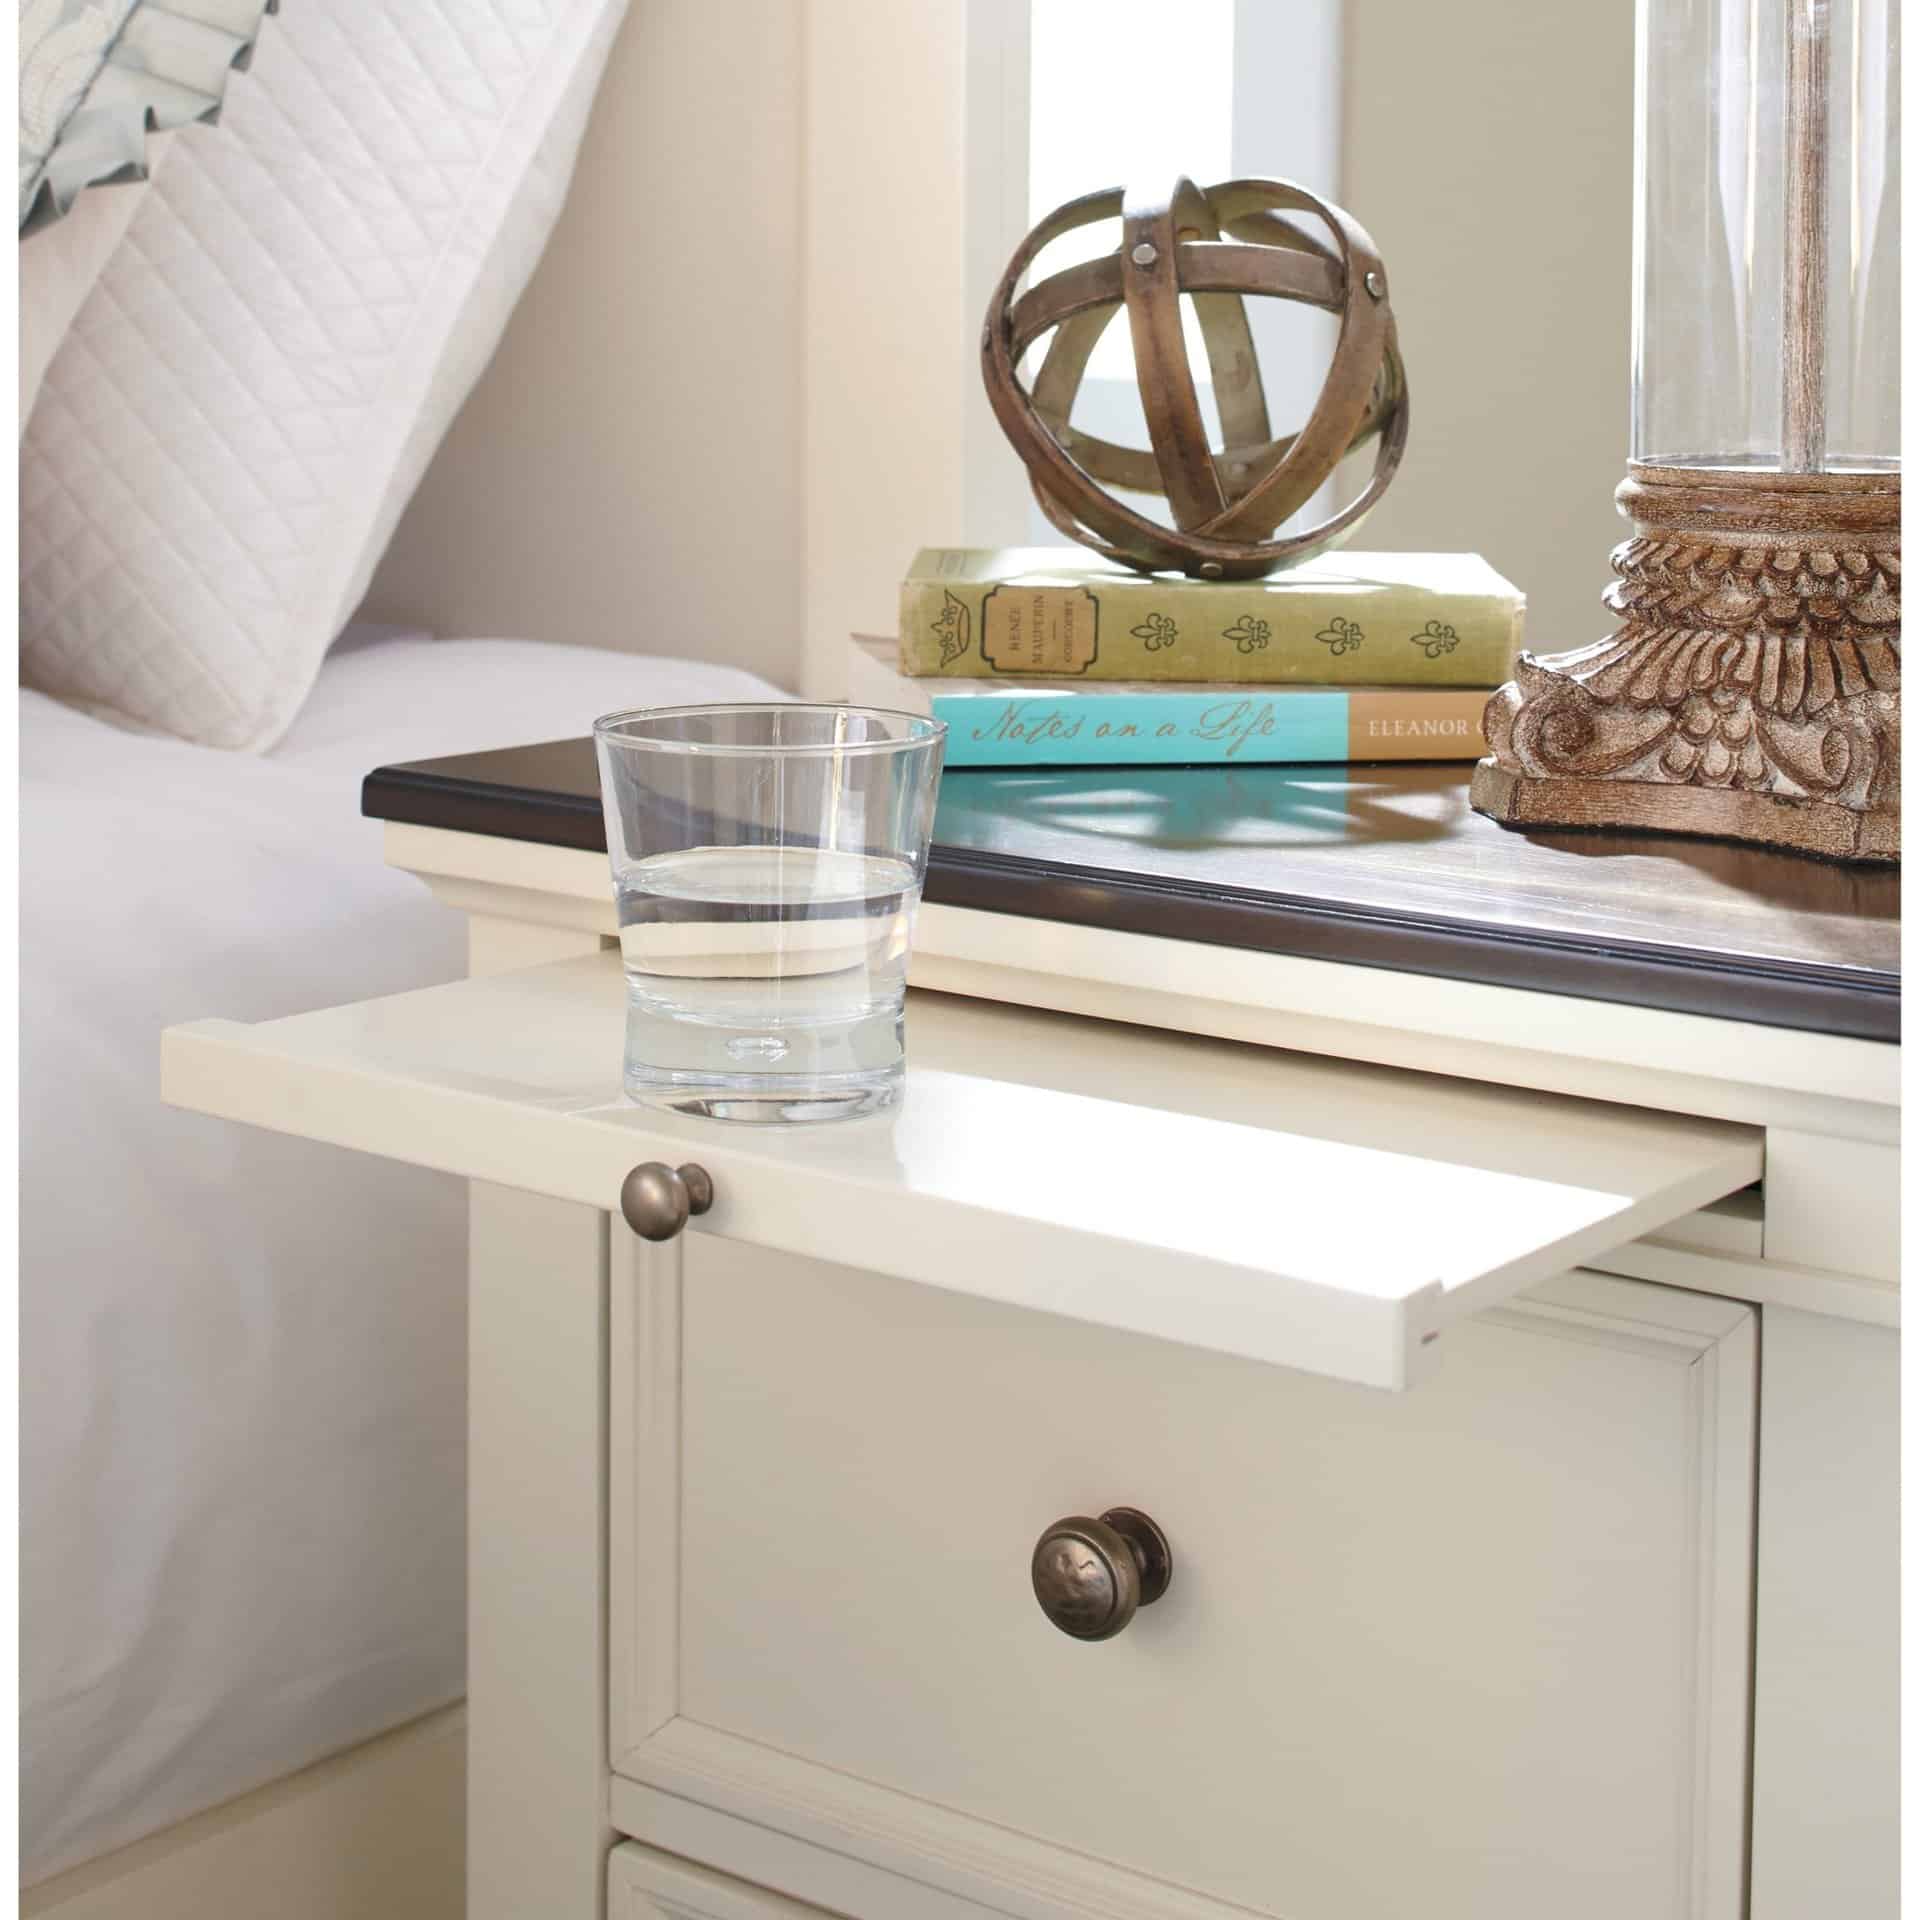
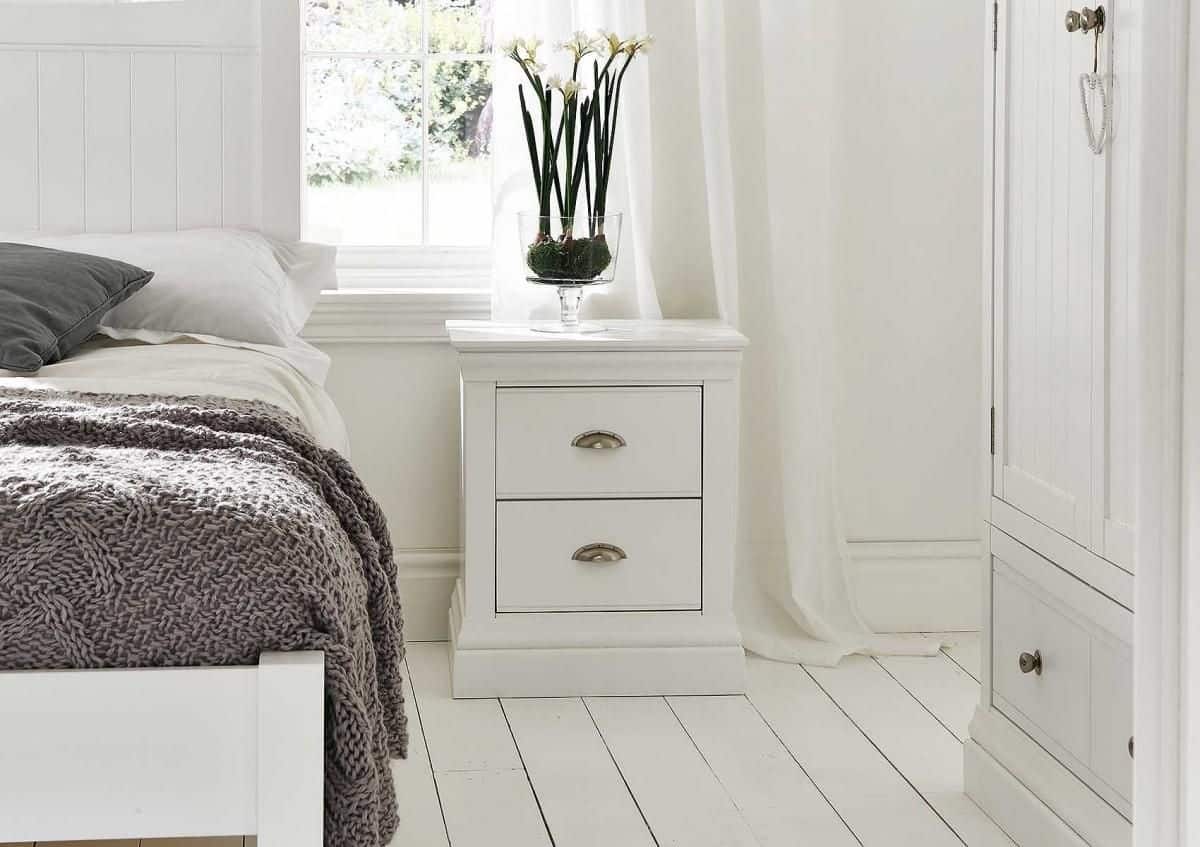
7. Add A Shelf To Add More Space
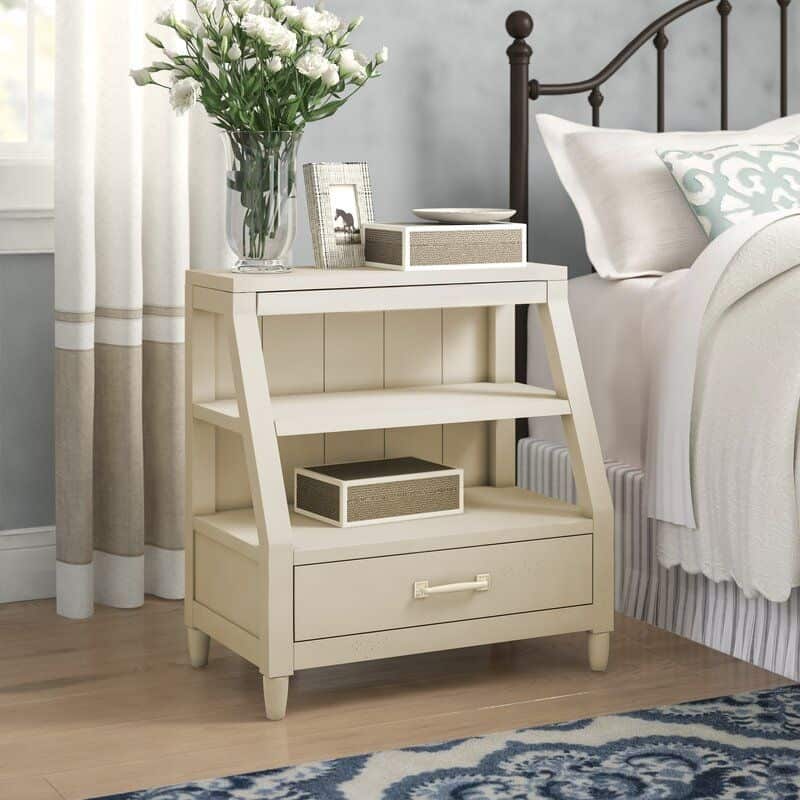
Add more space to your nightstand by adding shelves. This will allow you easy access and keep the look. An open shelving will help keep the room from feeling stuffy and closed off, while also making getting things easier on yourself.
The light paint also takes part in making the nightstand look beautiful, while also preventing the stuffy look in the bedroom. With this simple DIY project, you can easily add an extra shelf-and extra storage-to your bedroom furniture.
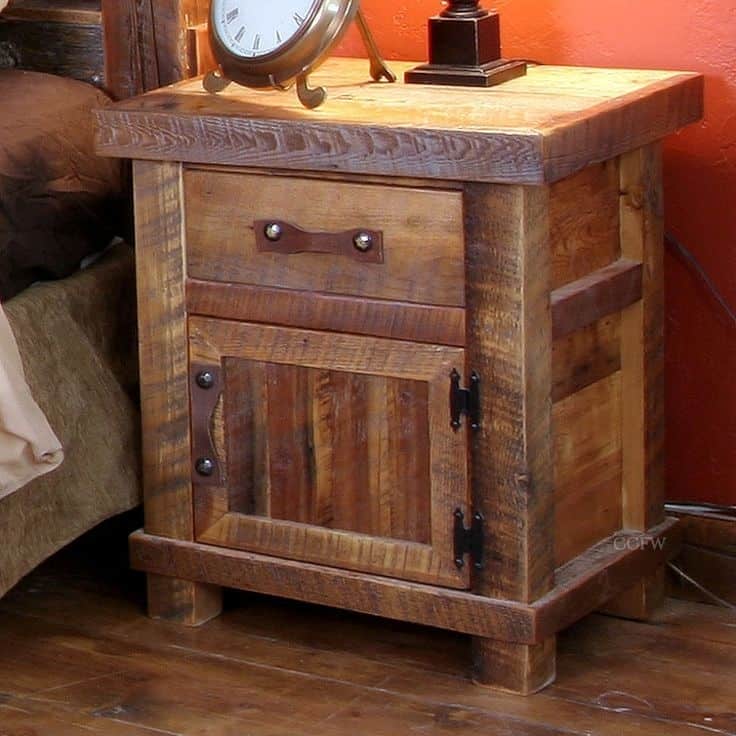
8. Infuse A Rustic Touch
This design is perfect for those who want a unique piece of furniture that has a homemade feel. The first step is to cut the lumber to size. You will need two wooden boards that are 30 inches long and six inches wide.
Cut the edges of the boards at a 45-degree angle so that they fit together perfectly when assembled. Next, attach the boards together using wood glue and nails. Once the glue has dried, sand the entire surface of it so that it is smooth. Finally, apply a finish of your choice and enjoy your new piece of furniture.
9. Make A Nightstand With Drawers
This plan will walk you through the steps of building a nightstand with two drawers. Simply choose your favorite wood and stain, and then follow the easy-to-understand plans. In no time at all, you’ll have a beautiful new nightstand that will add both style and storage to your bedroom.
You will need:
- Doorknobs
- Wood
- Drill
- Jigsaw
- Hammer
- Nail Gun
- Screwdriver
- Wood glue
- Clamps
First, cut the lumber to size and then drill pocket holes in the boards. Next, attach the boards together using wood screws and wood glue. Once the glue has dried, add the drawer fronts and handles. Finally, finish the piece by adding a coat of paint or stain.
10. Opt For The Modern Appeal

For a modern look, you’ll need a few boards, some sandpaper, wood glue, and a power drill. If you want to add a bit of storage to your nightstand, consider adding a drawer or two. Just be sure to measure twice before cutting any wood!
Once everything is cut to size, simply follow the assembly instructions in your chosen plan. You’ll have a brand new nightstand that will add a touch of style to any bedroom like real quick.
11. Give A Simple Finish For A New Look
You can transform an old, outdated nightstand into something fresh and stylish effortlessly. One option is to refinish it with a new coat of paint or stain. You can also add new hardware to give the piece a fresh look. If you’re feeling ambitious, you could even add some decorative trim or molding to the nightstand. Alternatively, if you’re looking for a more dramatic change, you could stand down it and apply a new finish.
12. Add Molding To The Nightstand
Fortunately, it is easy to build your own nightstand with a few simple tools and some basic woodworking skills. For an added touch of style, try adding molding to the nightstand. Molding is available in a variety of colors and styles, so you can easily find something that matches your existing furniture. Best of all, adding molding is a relatively easy task that can be completed in just a few hours.
13. Let It Flow

Pinterest.com
When you have to deal with the limited space, maximize the space in your house with the floating nightstand beside your bed. First, you’ll need to gather your supplies. For this project, you’ll need a piece of wood (we used a 1×6), a drill, a saw, and screws. You’ll also need paint or stain for the finish. Once you have all of your supplies, it’s time to get started!
To start, cut your piece of wood to the desired size. We cut ours to 18 inches long. Next, use your drill to make two holes in the top of the wood. These will be for the screws that will hold it to the wall. Once the holes are drilled, screw the nightstand to the wall using screws that are long enough to go through the wood and into the wall studs.
Now it’s time to add the finishing touches! Paint or stain your nightstand and allow it to dry completely.
14. DIY Mirrored Nightstand Idea
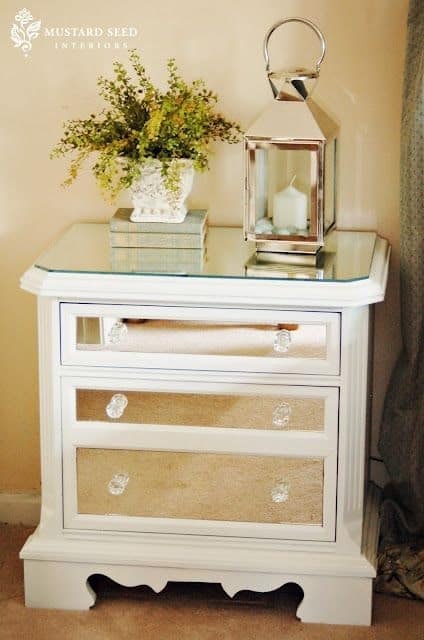
This type of nightstand can help to create the illusion of more space in the room by reflecting light. It can also add a touch of glamour to the space. To build this type of nightstand, you will need to purchase a mirror and two dresser drawers pulls.
First, attach the mirror to the top of the dresser using adhesive strips or screw it into place. Next, attach the drawer pulls to the bottom of the mirror using screws. Finally, position the nightstand next to your bed and fill it with your favorite nighttime essentials.
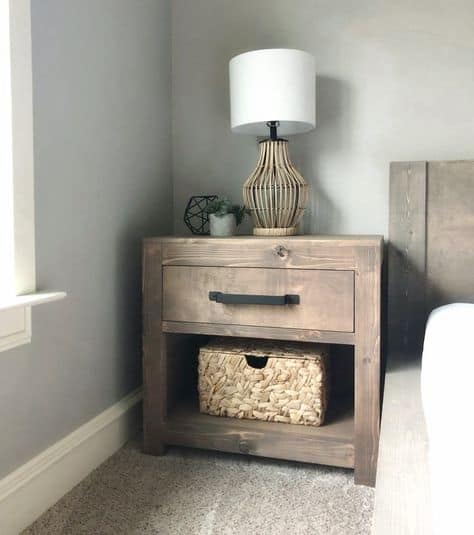
15. Make A Narrow Nightstand With Extra Storage
A narrow nightstand is the perfect solution if you are tight on space. These handy pieces of furniture provide a place to rest a lamp and store essential items within arm’s reach. Best of all, thanks to their slim design, narrow nightstands can fit into even the smallest of spaces. With this simple plan, you can make a beautiful piece of furniture that will perfectly suit your needs.
To start, you will need to gather your supplies. For the nightstand, you will need a piece of plywood that is 24 inches wide and 12 inches deep. You will also need two side panels that are 18 inches high and 12 inches wide. For the drawers, you will need four drawer fronts that are 12 inches wide and 18 inches high. You will also need two drawer boxes that are 12 inches wide and 18 inches deep.
To assemble the nightstand, start by attaching the side panels to the piece of plywood using wood glue and screws. Then, attach the drawer fronts to the drawer boxes using hinges. Finally, attach the drawer boxes to it using slides.
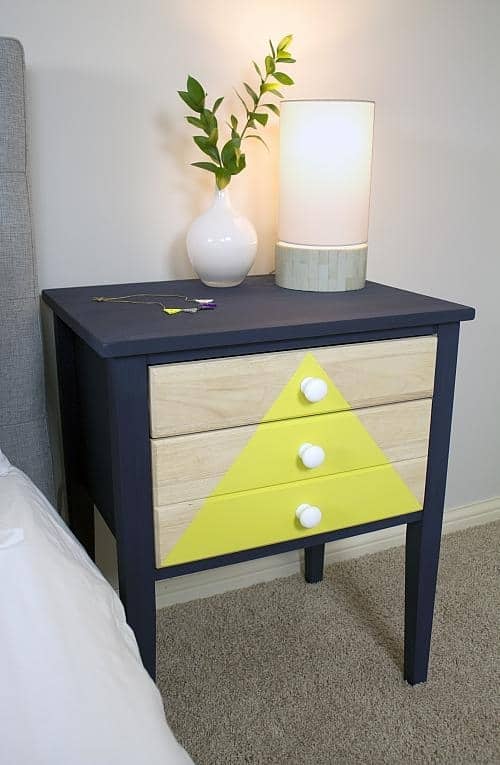
16. Create A Two-Tone Look
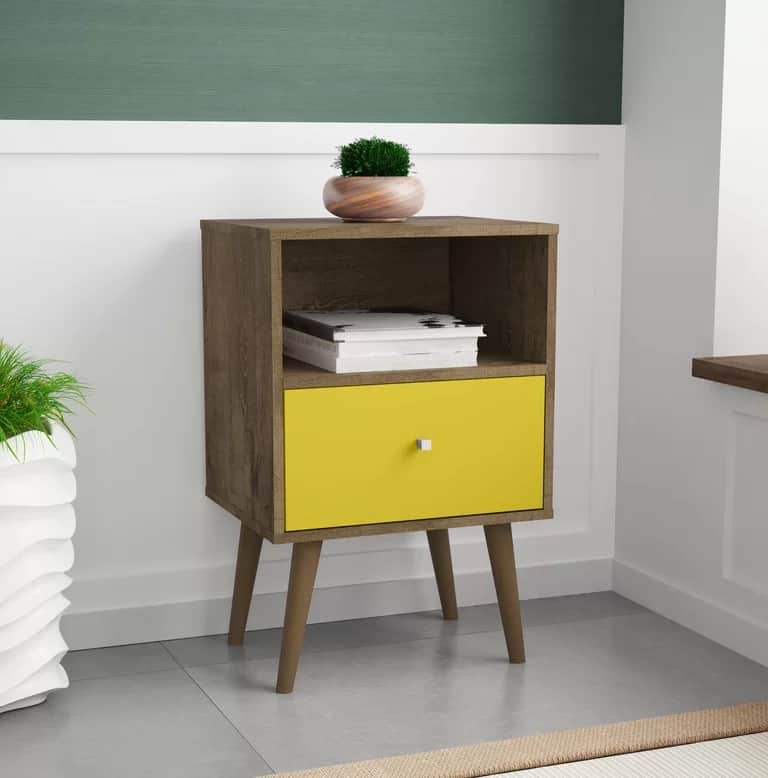
You can use any two colors that you like to upgrade the look of the nightstand. First, start by choosing the wood you want to use for your project. Next, cut the boards to size and assemble the frame of your nightstand. Then, attach the drawer fronts and hardware.
Apply one color to the top of it and the other color to the bottom. You can also add hardware in a contrasting color to further customize the look of your DIY nightstand. Building your own nightstand is a great way to save money and add a personal touch to your bedroom decor.
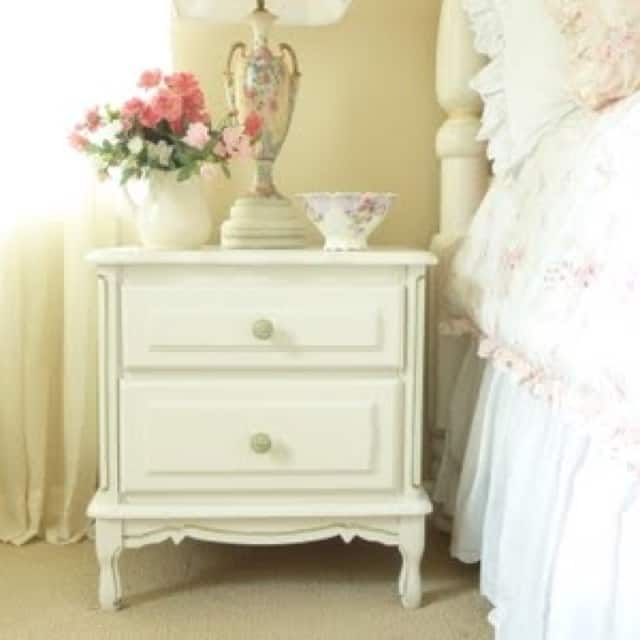
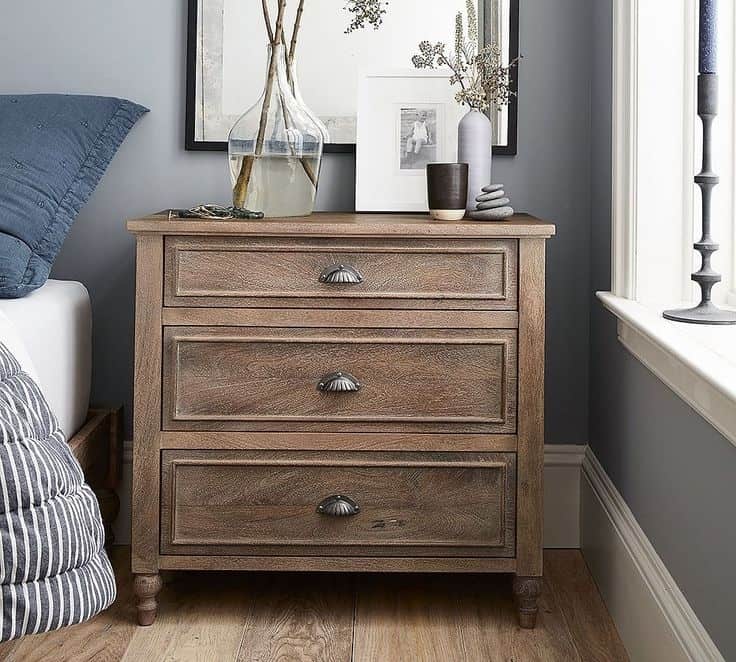
17. Highlight The Farmhouse Charm
Without needing certain woodworking skills, bring in the cozy atmosphere of the farmhouse style to your bedroom through this type of nightstand. You can make use of the old dresser or reclaimed wood to make it work. After that, sand the entire surface to even it out before giving it a new paint job. Apply one or two coats of paint, allowing each coat to dry completely before adding the next. To finish, add some knobs or pulls to the drawer fronts.
18. Install The Hidden Drawer
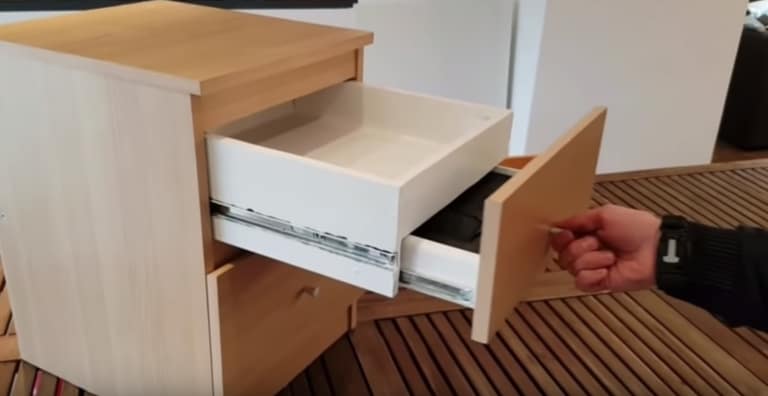
This type of project is perfect for those who like to keep their valuables hidden away, and it’s also a great way to add an extra level of security to your home. Plus, it’s a relatively simple project that can be completed in just a few hours.
To get started, you’ll need to gather some materials. You’ll need a piece of wood (preferably pine or cedar), a drill, screws, hinges, and a latch.
Once you have all of your supplies, the first step is to cut the wood to size. Then, drill four holes in the back panel of the nightstand – two for the hinges and two for the screws. Next, attach the hinges to the back panel using screws. Then, attach the front panel to the hinges. Finally, add the latch to keep the compartment hidden away.
19. The Flexible Feature
This will allow you to easily move it around the room as needed. You can also use the wheels to roll it out of the way when you need more floor space. Adding wheels to your nightstand is a simple way to upgrade its function and make it more user-friendly. With just a few supplies below and woodworking skills, you can build a rolling nightstand that will meet your needs and provide years of service.
Supplies needed:
- Wooden crate
- Drill
- Saw
- Screws
- Wheels
20. Make Use Of The Old Pallet
Pallet nightstands are relatively easy to build, and they can give your bedroom a rustic, farmhouse-inspired look. To get started, you will need to find a pallet that is in good condition. Once you have your pallet, disassemble it and remove any nails or splinters. Next, sand down the wood and apply a stain or paint of your choice. Finally, reassemble the pallet and add finishing touches like drawer pulls or knobs on top.
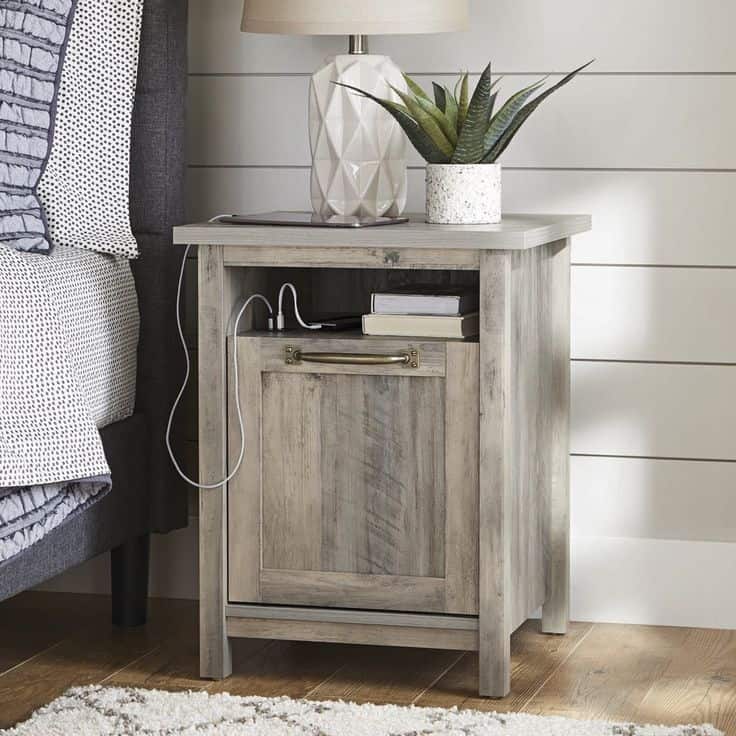
21. Build A Nightstand With Built-In USB Ports
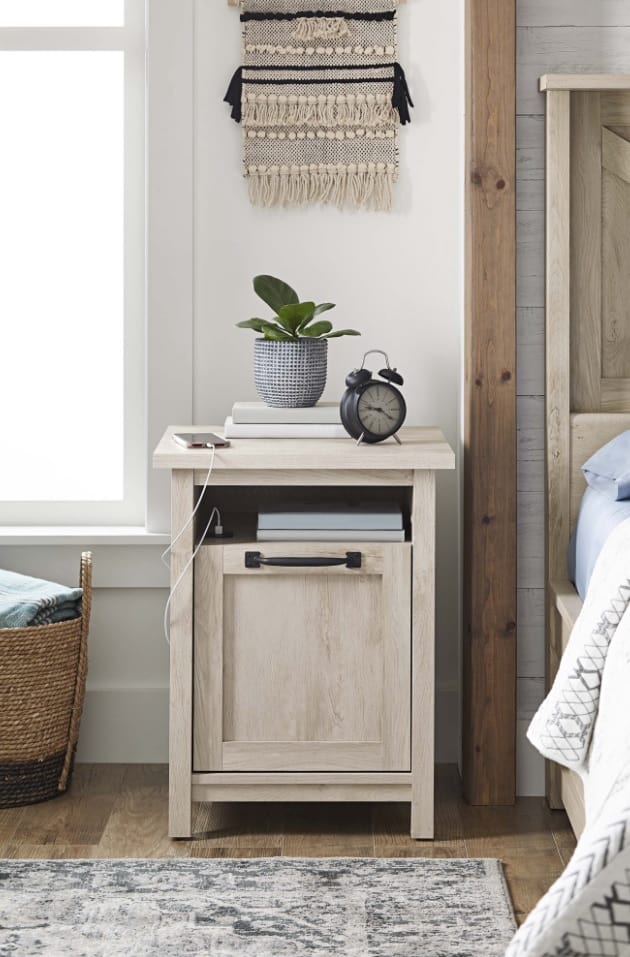
This is a great project for anyone who enjoys woodworking, and it’s also a great way to add some extra functionality to your bedroom. Plus, it’s a great way to save money on your bedroom furniture!
Building your own nightstand is actually quite easy, and you can find all the materials you need at your local hardware store. The most important part of this project is to make sure that you build it in such a way that the USB ports are easily accessible. You’ll also want to make sure that it is sturdy and stable, so that it doesn’t tip over when you plug in your devices.
22. Ensure It Is Stable Enough
With this simple addition, you can take your nightstand from ordinary to extraordinary in no time.
To start, you will need four legs for your nightstand. You can find these hairpin legs at any home improvement store or online. Once you have your legs, attach them to the bottom of it using screws or nails. If you’re using screws, be sure to pre-drill the holes so that the wood doesn’t split. You can then finish the legs by staining or painting them to match the rest of it. With just a few simple steps, you can take your nightstand from drab to fab.
23. Add A Sliding Barn Door
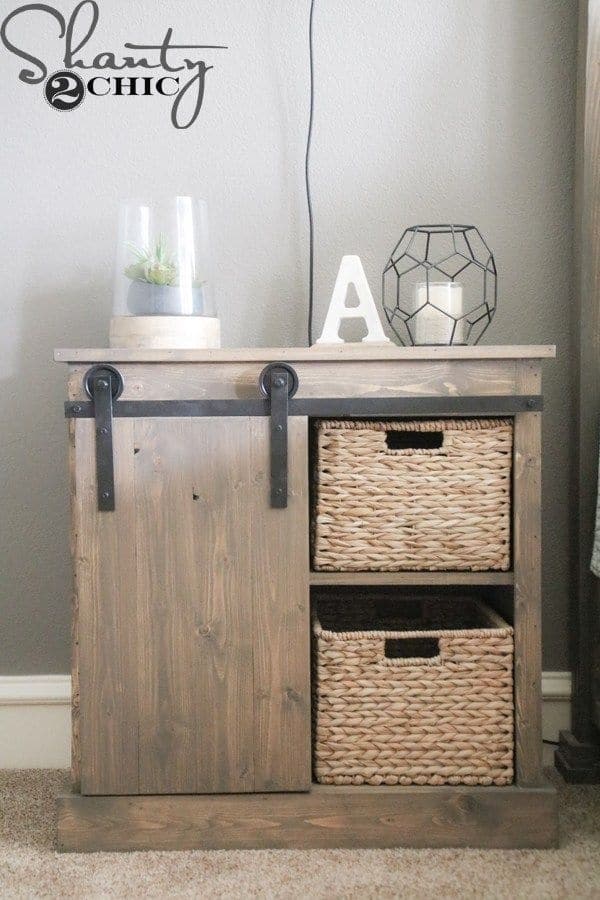
This unique design is not only stylish, but it’s also functional, providing easy access to whatever you choose to store inside. And the best part is that it’s easy to build using just a few simple tools and materials.
To get started, you’ll need to gather a few supplies. First, you’ll need a piece of plywood or MDF that’s at least 18 inches wide and 24 inches long. You’ll also need two 1×2 boards for the sides, a 1×4 board for the bottom, and a 1×6 board for the top. For the door, you can either use a piece of 1/4-inch thick plywood or MDF, or you can repurpose an old door that’s the same size. Finally, you’ll need a set of barn door hardware and some paint or wood stain to finish things off.
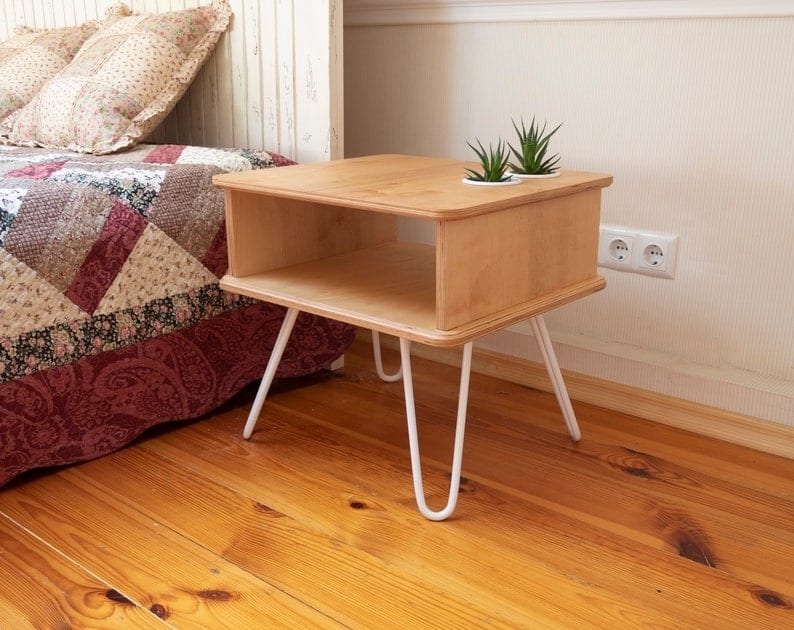
24. Bring The Mid-Century Modern Style
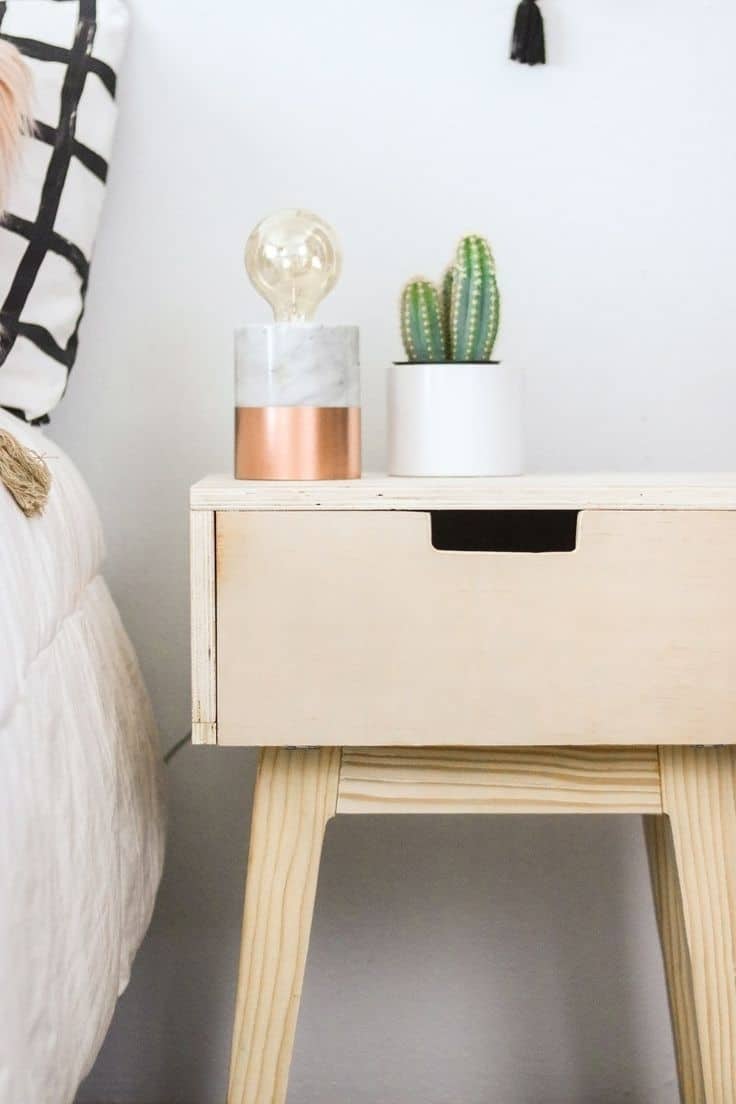
DIY Mid-century modern nightstand is a perfect project for a beginner. The plans are simple and easy to follow, and the finished product looks great. Plus, it’s a relatively quick project, so you can have a new nightstand in no time.
Supplies needed:
- 1 sheet of plywood
- 1 inch thick boards in the following dimensions:
- 2- at 18 inches long
- 1- at 12 inches long
- 1- at 6 inches long
- Paint or a sealant of your choice (optional)
- Screws
- Tape measure
- Circular saw
- Drill
25. Attach It To The Bed
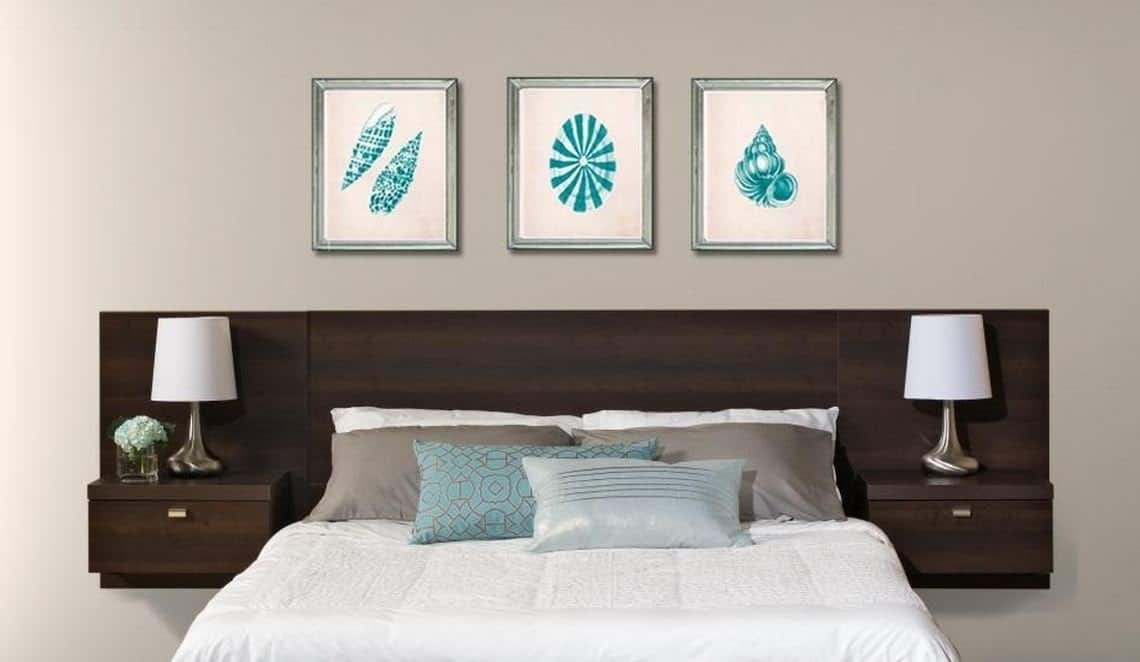
This DIY project is easy to do and can be completed in just a few hours. First, choose a nightstand that is the right size for your bed. Then, use screws or brackets to attach it to the headboard frame. Be sure to use screws that are long enough to reach into the bed frame, but not so long that they poke out on the other side.
Once it is attached, you can add a lamp, alarm clock, and other bedroom essentials. This simple project is an excellent way to maximize space in a small bedroom.
26. Build A Rustic X-Leg
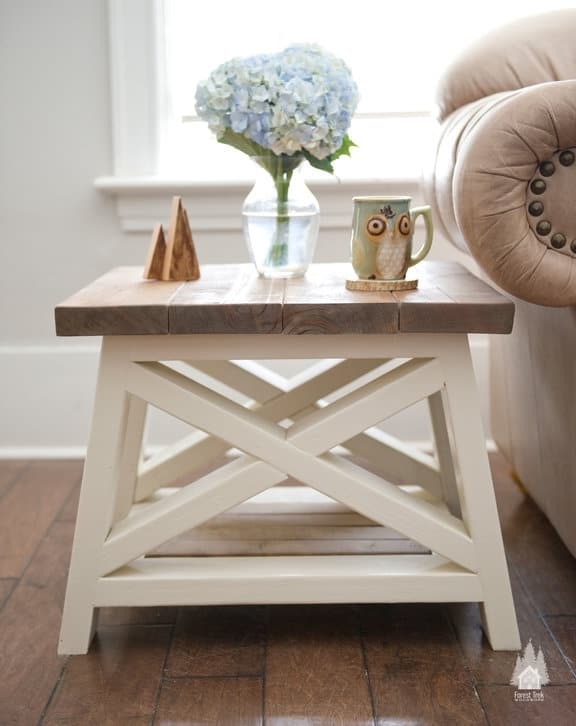
To start, cut four pieces of 2×4 lumber to the following dimensions: two at 16 inches long and two at 18 inches long. Next, use a miter saw to cut two 45-degree angles on each end of the 16-inch boards. Then, do the same with the 18-inch boards, but make sure to cut the angles in the opposite direction.
Now it’s time to assemble the frame. Begin by attaching the 16-inch boards to the 18-inch boards using wood glue and 3-inch wood screws. Then, reinforce the joints with corner brackets. Once the frame is complete, sand it down until it’s smooth.
Next, cut a piece of plywood to fit inside the frame and attach it using wood glue and 1-inch wood screws. Then, cut another piece of plywood to create a shelf and attach it. Paint white the legs and let the top expose the natural color of the wood to make it look contrasts beautifully.
Nightstands can be a great way to make a statement in your living space. They provide storage and a place to put your alarm clock, lamp, and other nighttime essentials. In this post, we’ve shown you how to build your own nightstand using our free plans. We hope you enjoyed the project and that it inspires you to create something beautiful for your home.