Is your office desk a disaster? Do you feel like it’s impossible to get anything done when the clutter is constantly staring at you?
When things get disorganized, it can be hard to get things done. Clutter can cause stress, which is not conducive to productivity. Whether your desk is just getting unlivable or if you seriously lack filing space in your home, do something about it.
These 25 DIY file cabinet ideas are easy and affordable to make with simple supplies that you probably already have.
Table of Contents
1. Install a Pegboard to Store Your Tools and Other Supplies
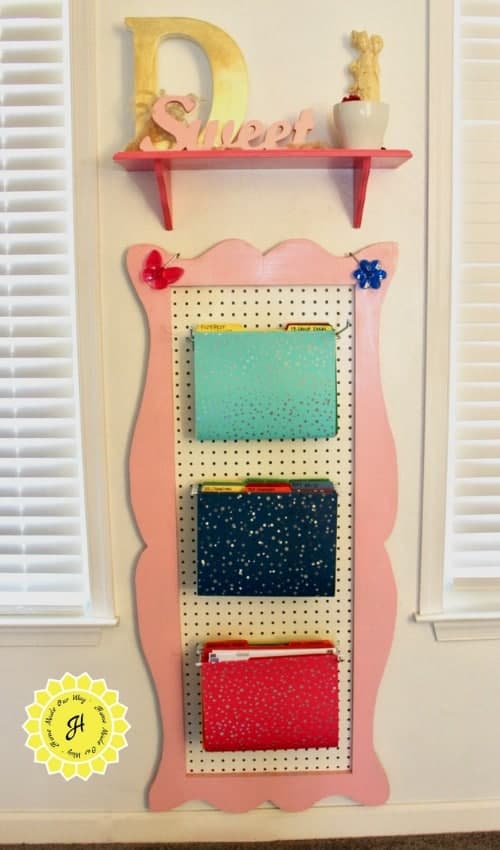
By installing a pegboard, you can easily store and organize everything you need in one place. Plus, it will add a personal touch to your file cabinet that you won’t find with a store-bought model. Best of all, installing a pegboard is easy to do and doesn’t require any special tools or materials.
What you will need:
- 2 – 1″ x 4″ x 8′ wood pieces
- 2′ x 4′ piece of pegboard
- 1/2″ staples
- Paint or spray paint if you purchase an unpainted pegboard
- Paint or spray paint for the frame
- 2 drywall anchors
- 6 screws
- Washers to use as spacers
- Frame Hanging Hardware
- 2 – 4″-6″ long pegboards hooks for each stack of files you want to hang
- Hanging files
- File folders
DIY tip: If you want to add a little bit of color to your DIY file cabinet, consider painting the pegboard before you install it. You can use any color you want to match your décor or personal style.
2. Use Tension Rods to Create Extra Storage Space Inside Cabinets
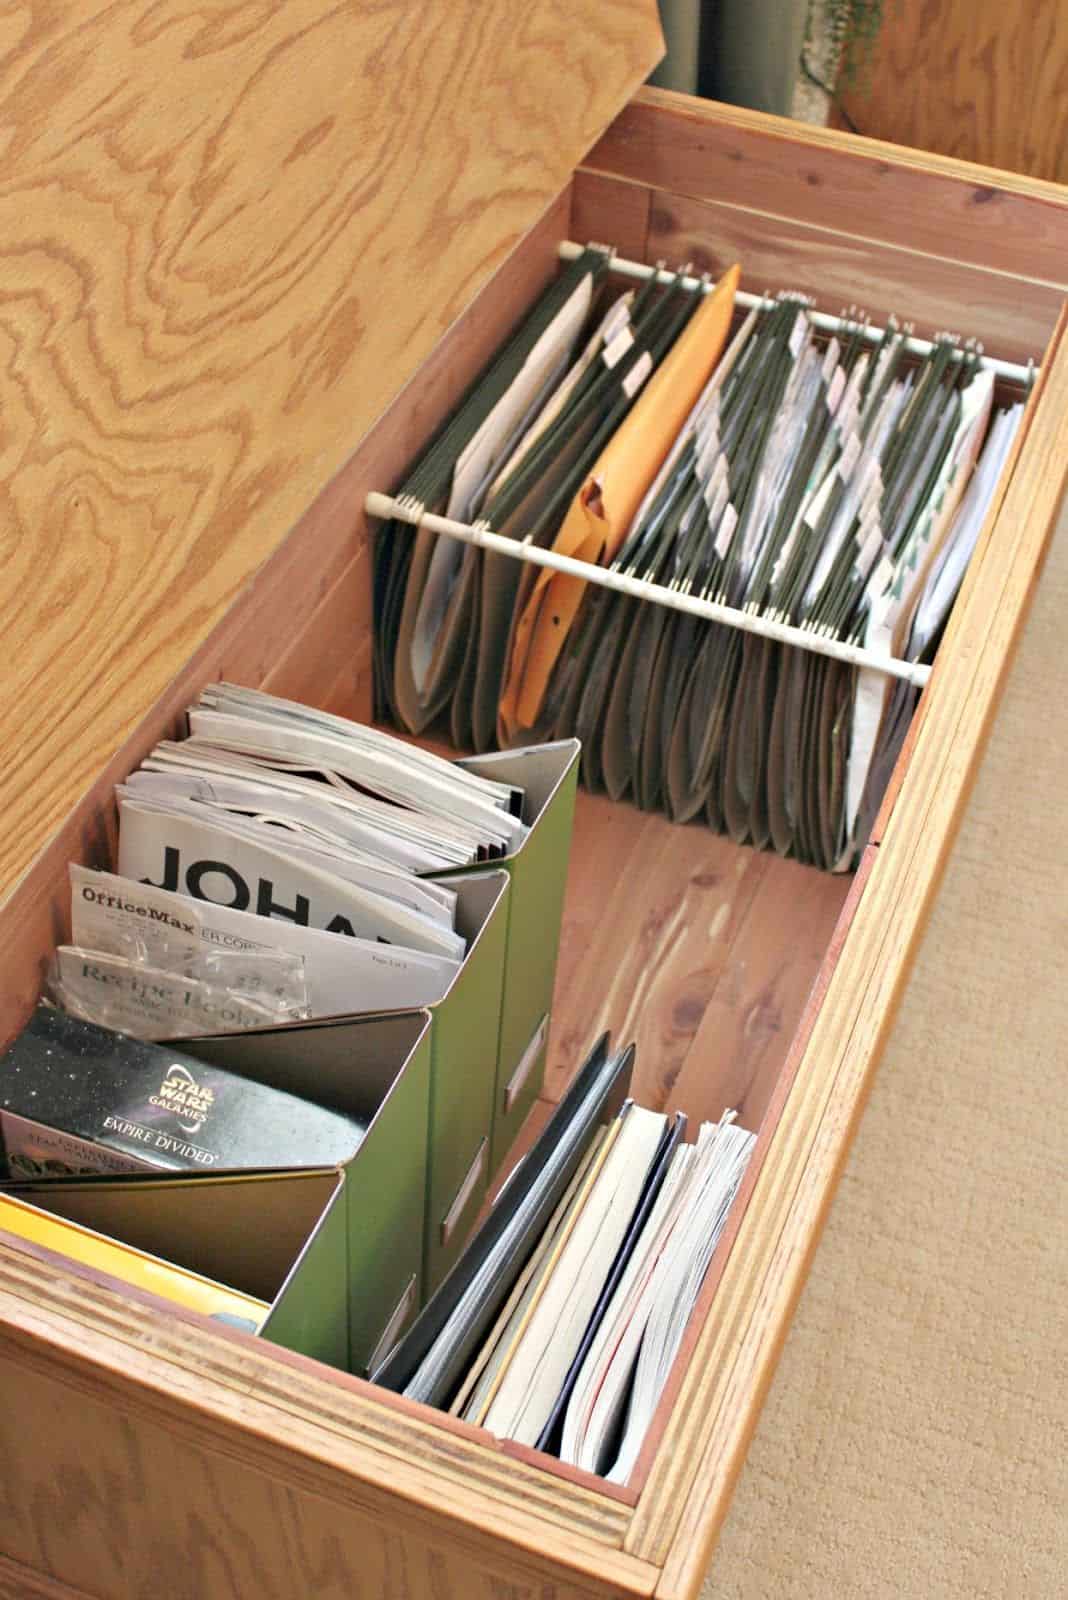
For your DIY file cabinet, tension rods can be used to create extra storage space inside the cabinets. Simply place the tension rod across the width of the cabinet and then use S-hooks or another type of hook to hang items from it. This is a great way to store things like file folders, hanging files, or even office supplies.
What you will need:
- Tension rod
- S-hooks or other hanging hardware
3. Hang Baskets on the Backs of Doors to Store Small Items
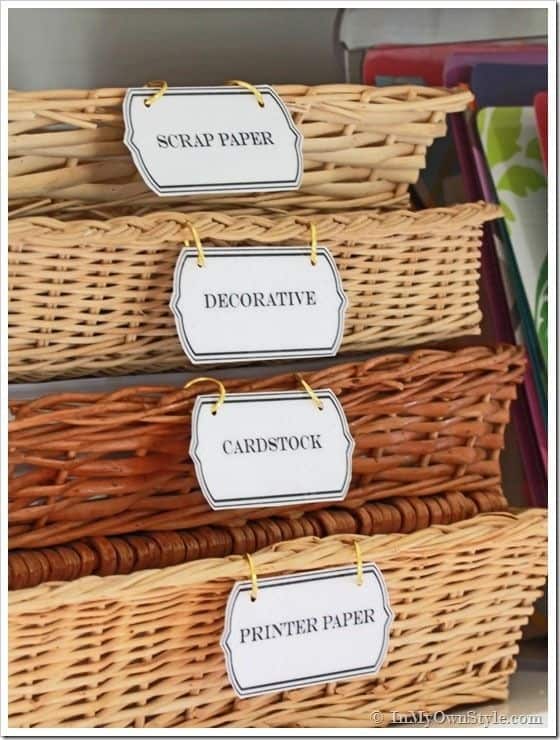
Hanging baskets on the backs of doors is a great way to DIY your own file cabinet. By doing this, you can store small items such as paper clips, stamps, and envelopes. This is a great space-saving solution for small items that you need to keep organized. Plus, it’s a budget-friendly way to organize your home office.
Simply find a few baskets that fit the back of your door, and then label them according to their contents. For example, you could label one basket “paper clips” and another basket “envelopes.” Then, whenever you need to access these items, simply open the door and grab what you need. This DIY file cabinet solution is easy to implement and it will help you keep your home office organized and tidy.
4. Mount a Wood Shelf Above your Desk
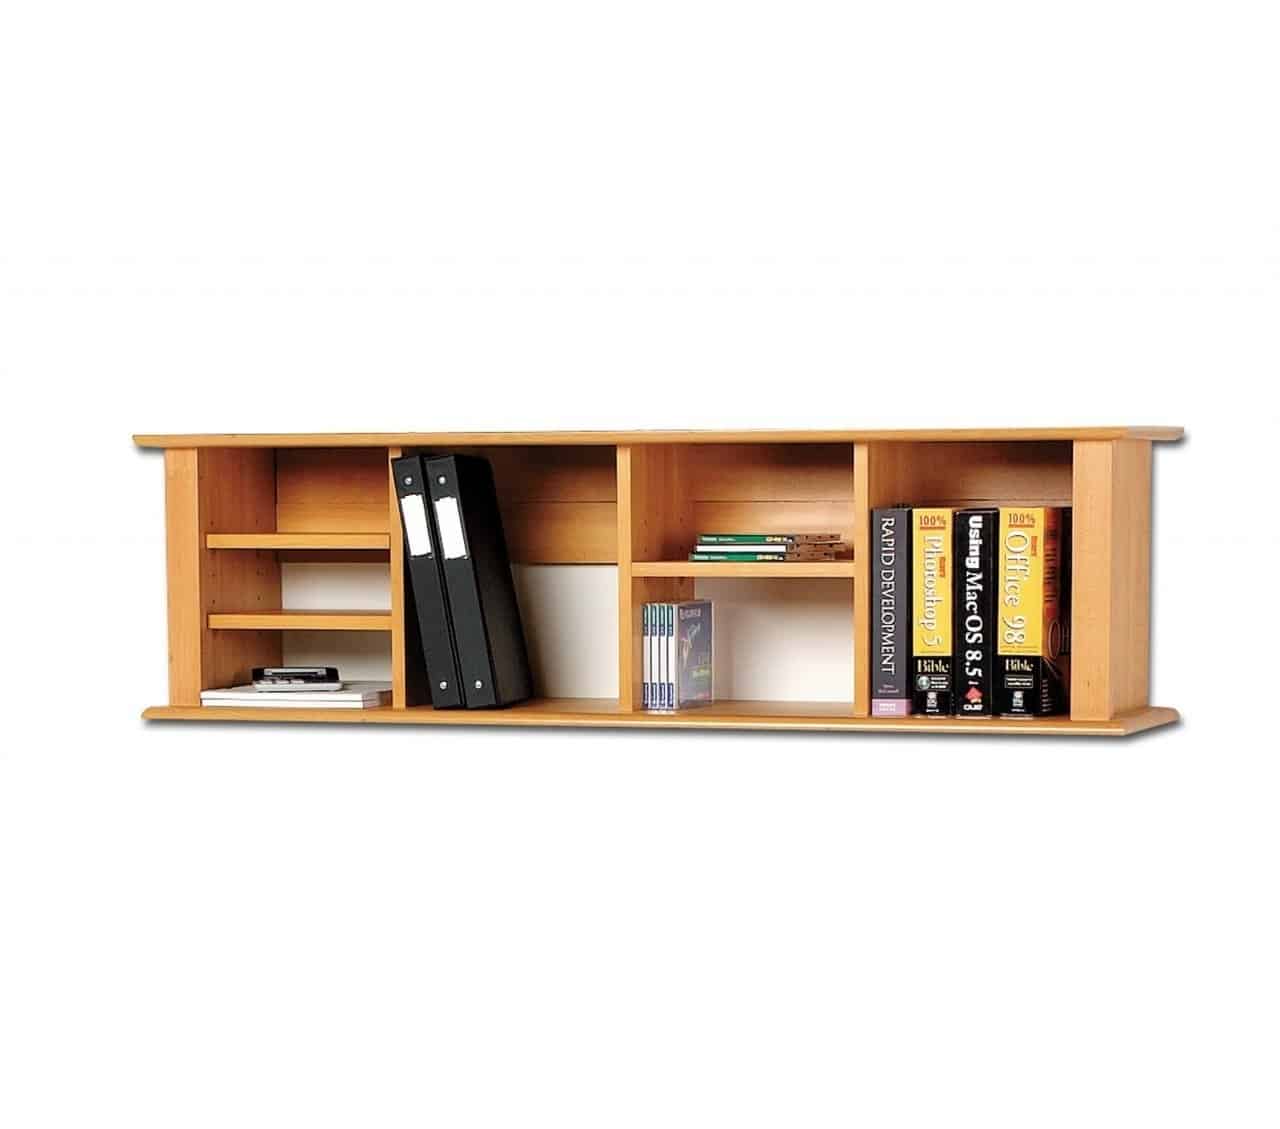
You can store supplies and paperwork within easy reach by mounting a shelf above your desk. This project is simple and inexpensive, and it only takes a few minutes to complete. First, measure the area where you want to mount the file cabinet. Then, cut a piece of plywood or MDF to size and attach it to the wall using screws or nails. Next, attach the file cabinet to the shelf using screws or brackets. Finally, paint or stain the file cabinet to match your decor.
5. Store cords and cables in empty toilet paper rolls
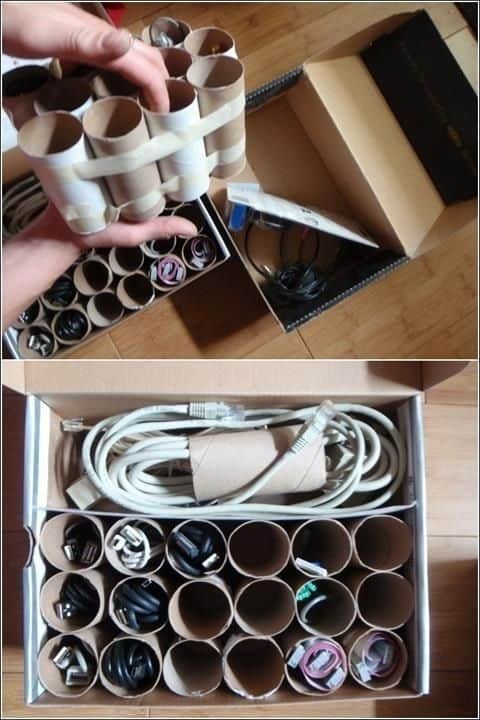
It’s always annoying when cords and cables get tangled up. But if you use toilet paper rolls, you can avoid that problem. Toilet paper rolls are a perfect way to store these items. Simply cut the rolls in half and label each one with the type of cord or cable it will contain. Then, use a sharpie to make a hole in the center of each roll. Finally, thread the cord or cable through the hole and secure it with a piece of tape.
6. Create labels for your storage containers
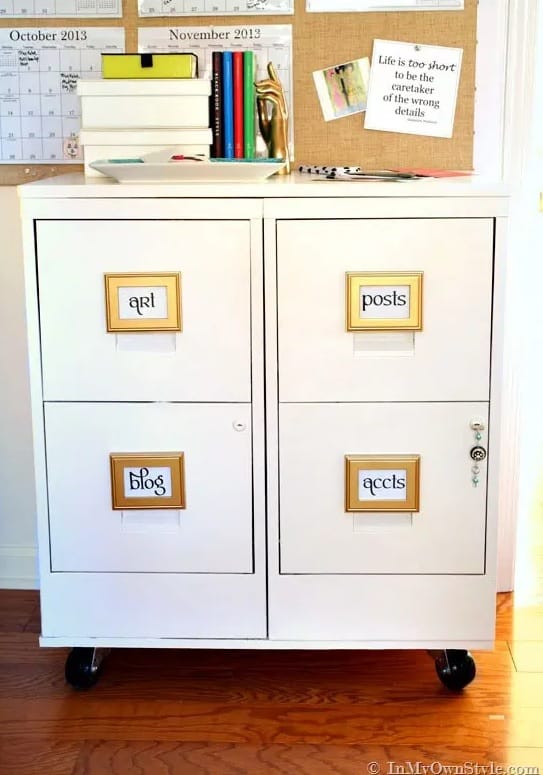
One of the simplest ways to organize your home office is to create labels for your storage containers. This way, you’ll always know exactly what’s inside each box or bin, and you won’t have to waste time hunting through stacks of paper when you’re looking for a specific document.
You can create labels using a label maker or a simple piece of paper and a printer. Just be sure to use the materials that will withstand being stored in a file cabinet – thermal transfer labels are a good option, as they’re durable and won’t fade over time.
7. DIY File Cabinet Drawer
You can use an old dresser or entertainment center as a file cabinet, and it will save you money and space.
Here are some tips on how to turn an old dresser or entertainment center into a DIY file cabinet:
- First, remove all the drawer box from the dresser or entertainment center.
- Next, measure the inside of the dresser or entertainment center and cut pieces of plywood to fit.
- Glue or screw the plywood into place.
- Paint or refinish the dresser or entertainment center, if desired.
- Add casters to the bottom of the furniture piece, so it can be easily moved around.
- Finally, add file folders and labels to the DIY file cabinet and fill it with your documents.
8. Buy a Desk with Built-in Storage Cabinet
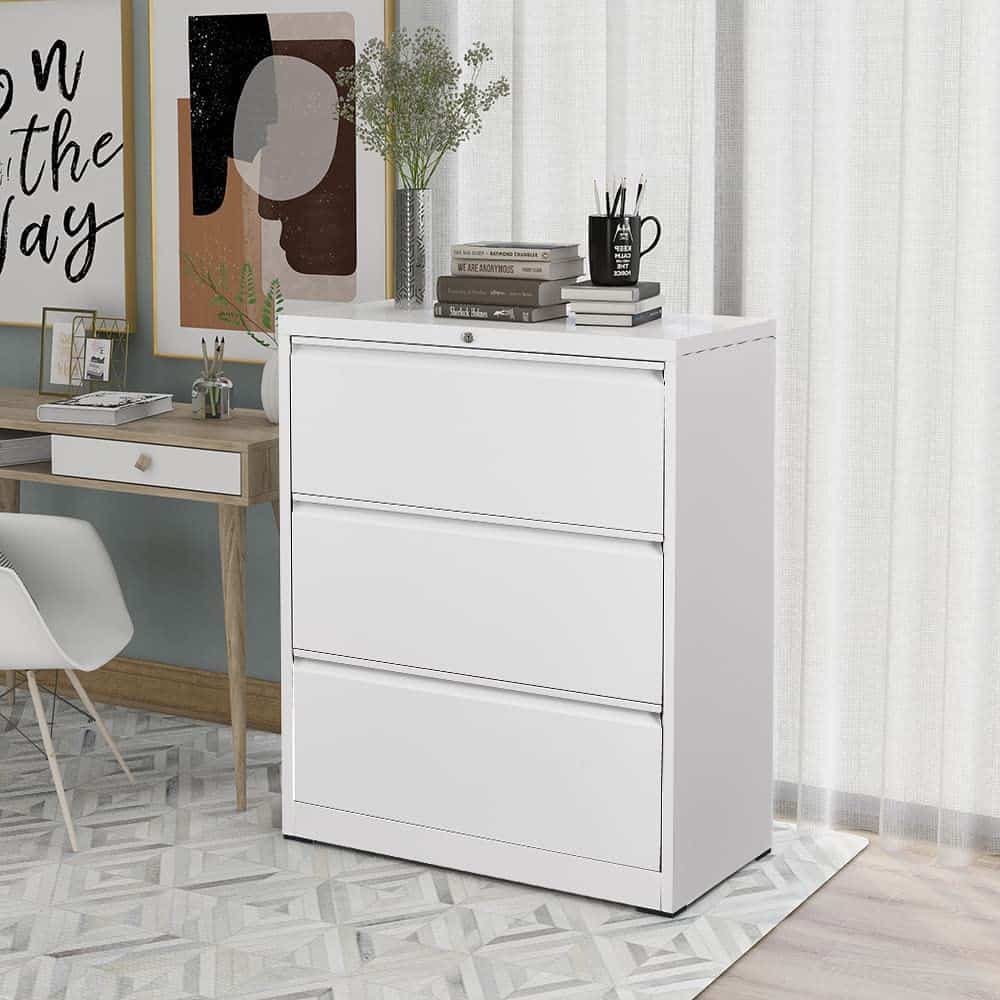
This type of desk typically has drawers or cabinets that can be used to store files, office supplies, and other materials. Desks with built-in storage are available in a variety of styles and sizes, so you can find one that fits your needs. One advantage of this type of desk is that it can help to keep your office organized and clutter-free.
Another advantage is that it can provide easy access to the items you need, so you don’t have to search through piles of paper or dig through boxes to find what you’re looking for.
9. Store Your Files in Baskets
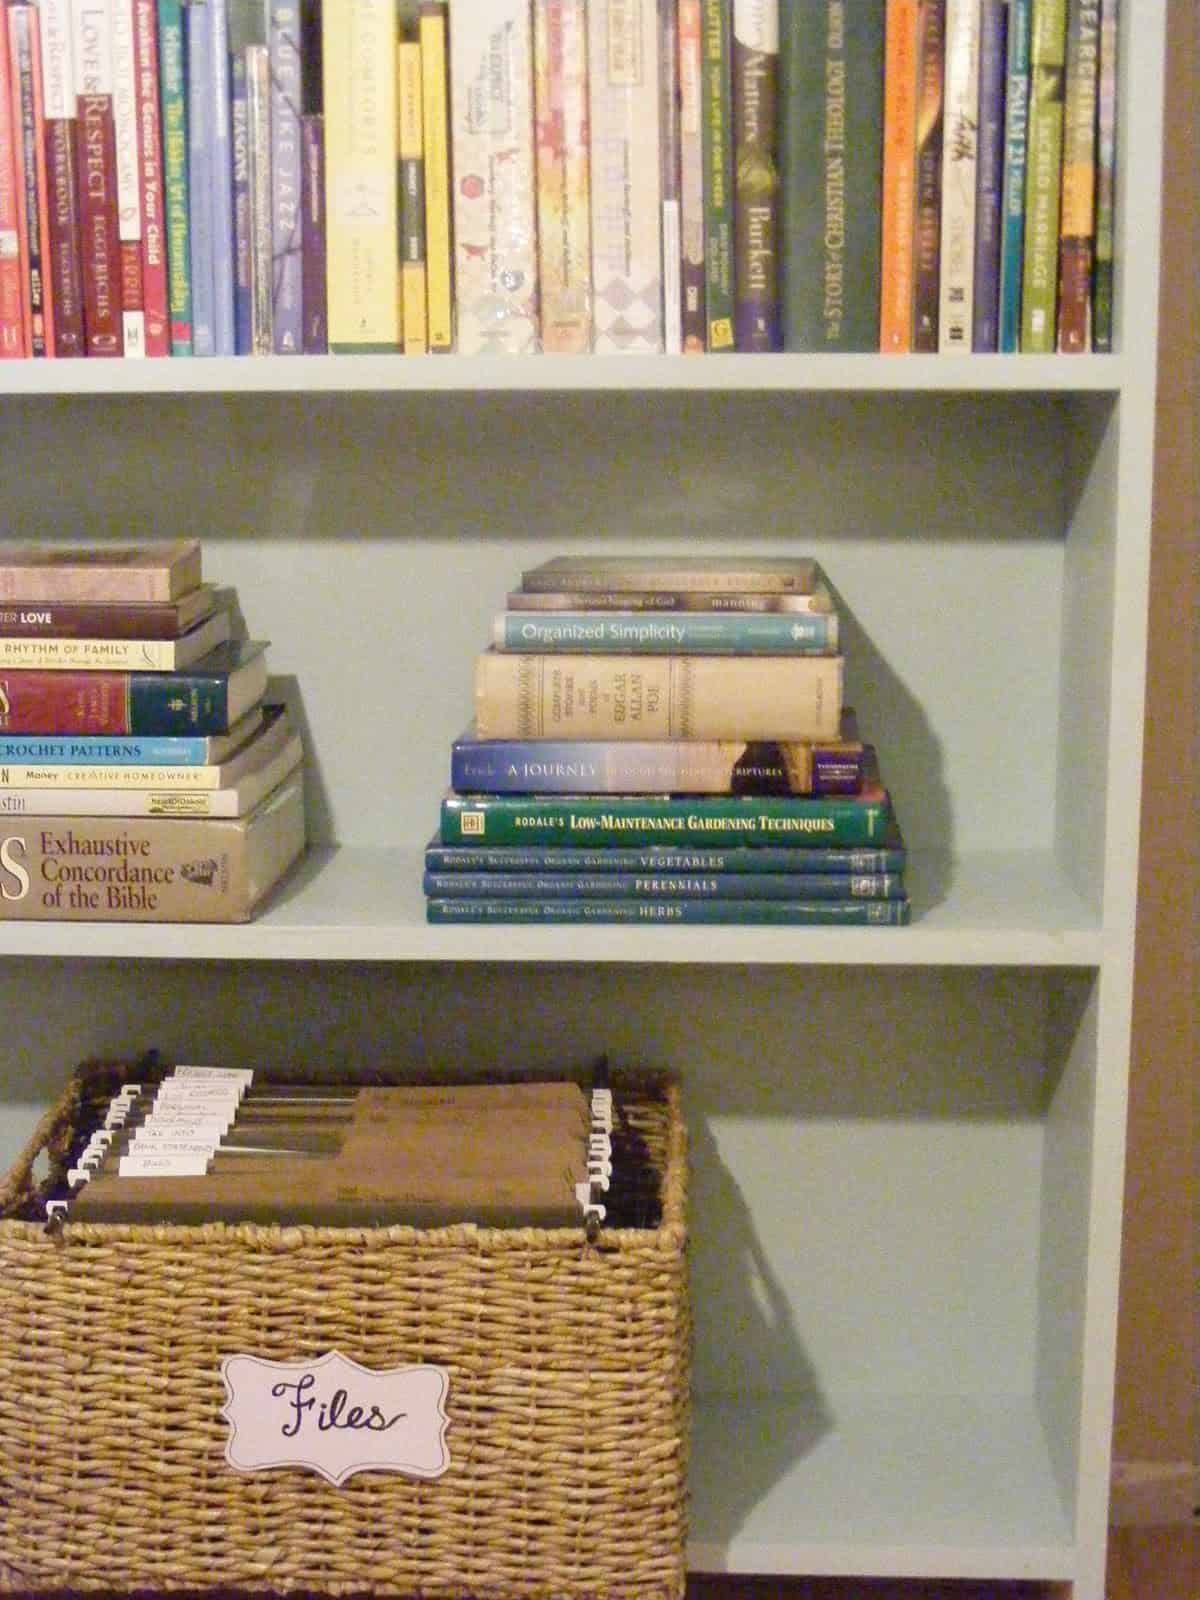
A more inexpensive and aesthetically pleasing option is to store your files in baskets or crates. This option is also more versatile, as you can easily add or remove baskets as your needs change. Baskets are also easier to transport than folders, which can be helpful if you need to move your files from one location to another.
10. DIY Your Own File Cabinet Using Recycled Materials
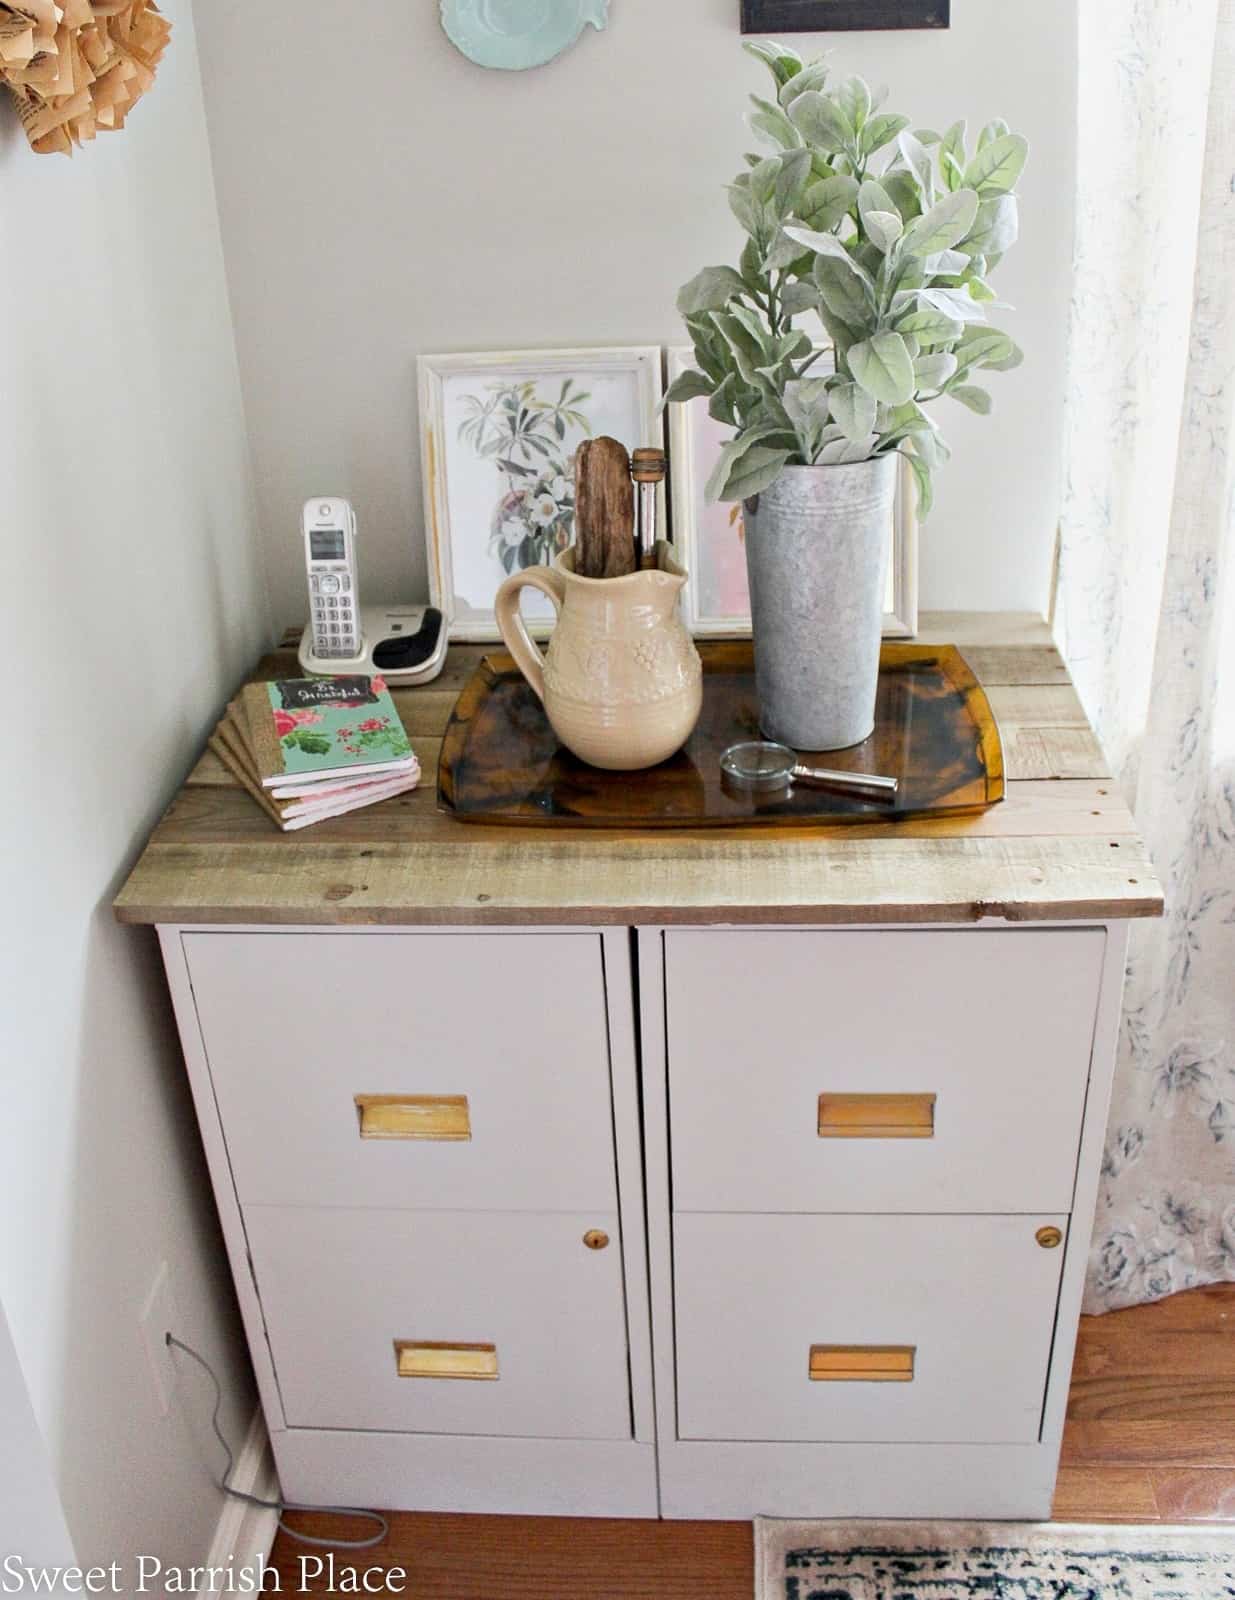
Making your own file cabinet is a great way to recycle materials and expand your DIY skills. Plus, it’s easy to make and much cheaper than buying a new one. Here’s what you need to do:
First, find an old cabinet or dresser that you can repurpose. Remove all the drawers and hardware, then sand down the surface of the piece. Once it’s smooth, apply a primer and paint it in your desired color.
Next, measure the inside of the cabinet and cut pieces of plywood to fit. These will be your shelves. Attach them to the cabinet frame with screws or nails, then add brackets to support the weight of files. Finally, replace the hardware and Viola! You’ve got yourself a brand-new file cabinet.
11. Use a Wall-Mounted File Holder to Keep Your Files Organized and Off the Floor
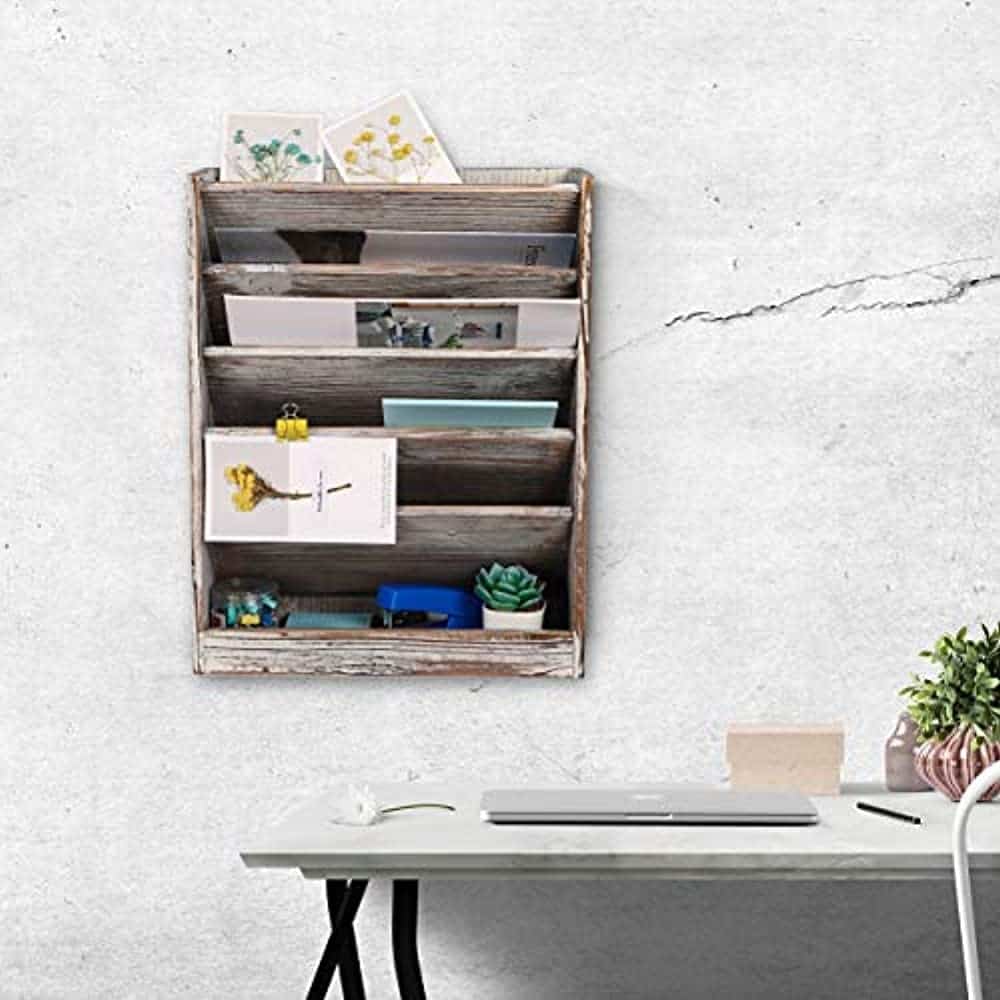
This file cabinet project is easy to make and easy to install. You can elevate your skill by using a wall-mounted file holder to keep your files organized and off the floor. This type of file cabinet is easy to make and easy to install. You can expand your skill by using a wall-mounted file holder to keep your files organized and off the floor. You can also use this type of file cabinet to keep your papers organized in your office or home.
12. File Cabinet with Drawers that Lock to Keep Your Important Documents Safe
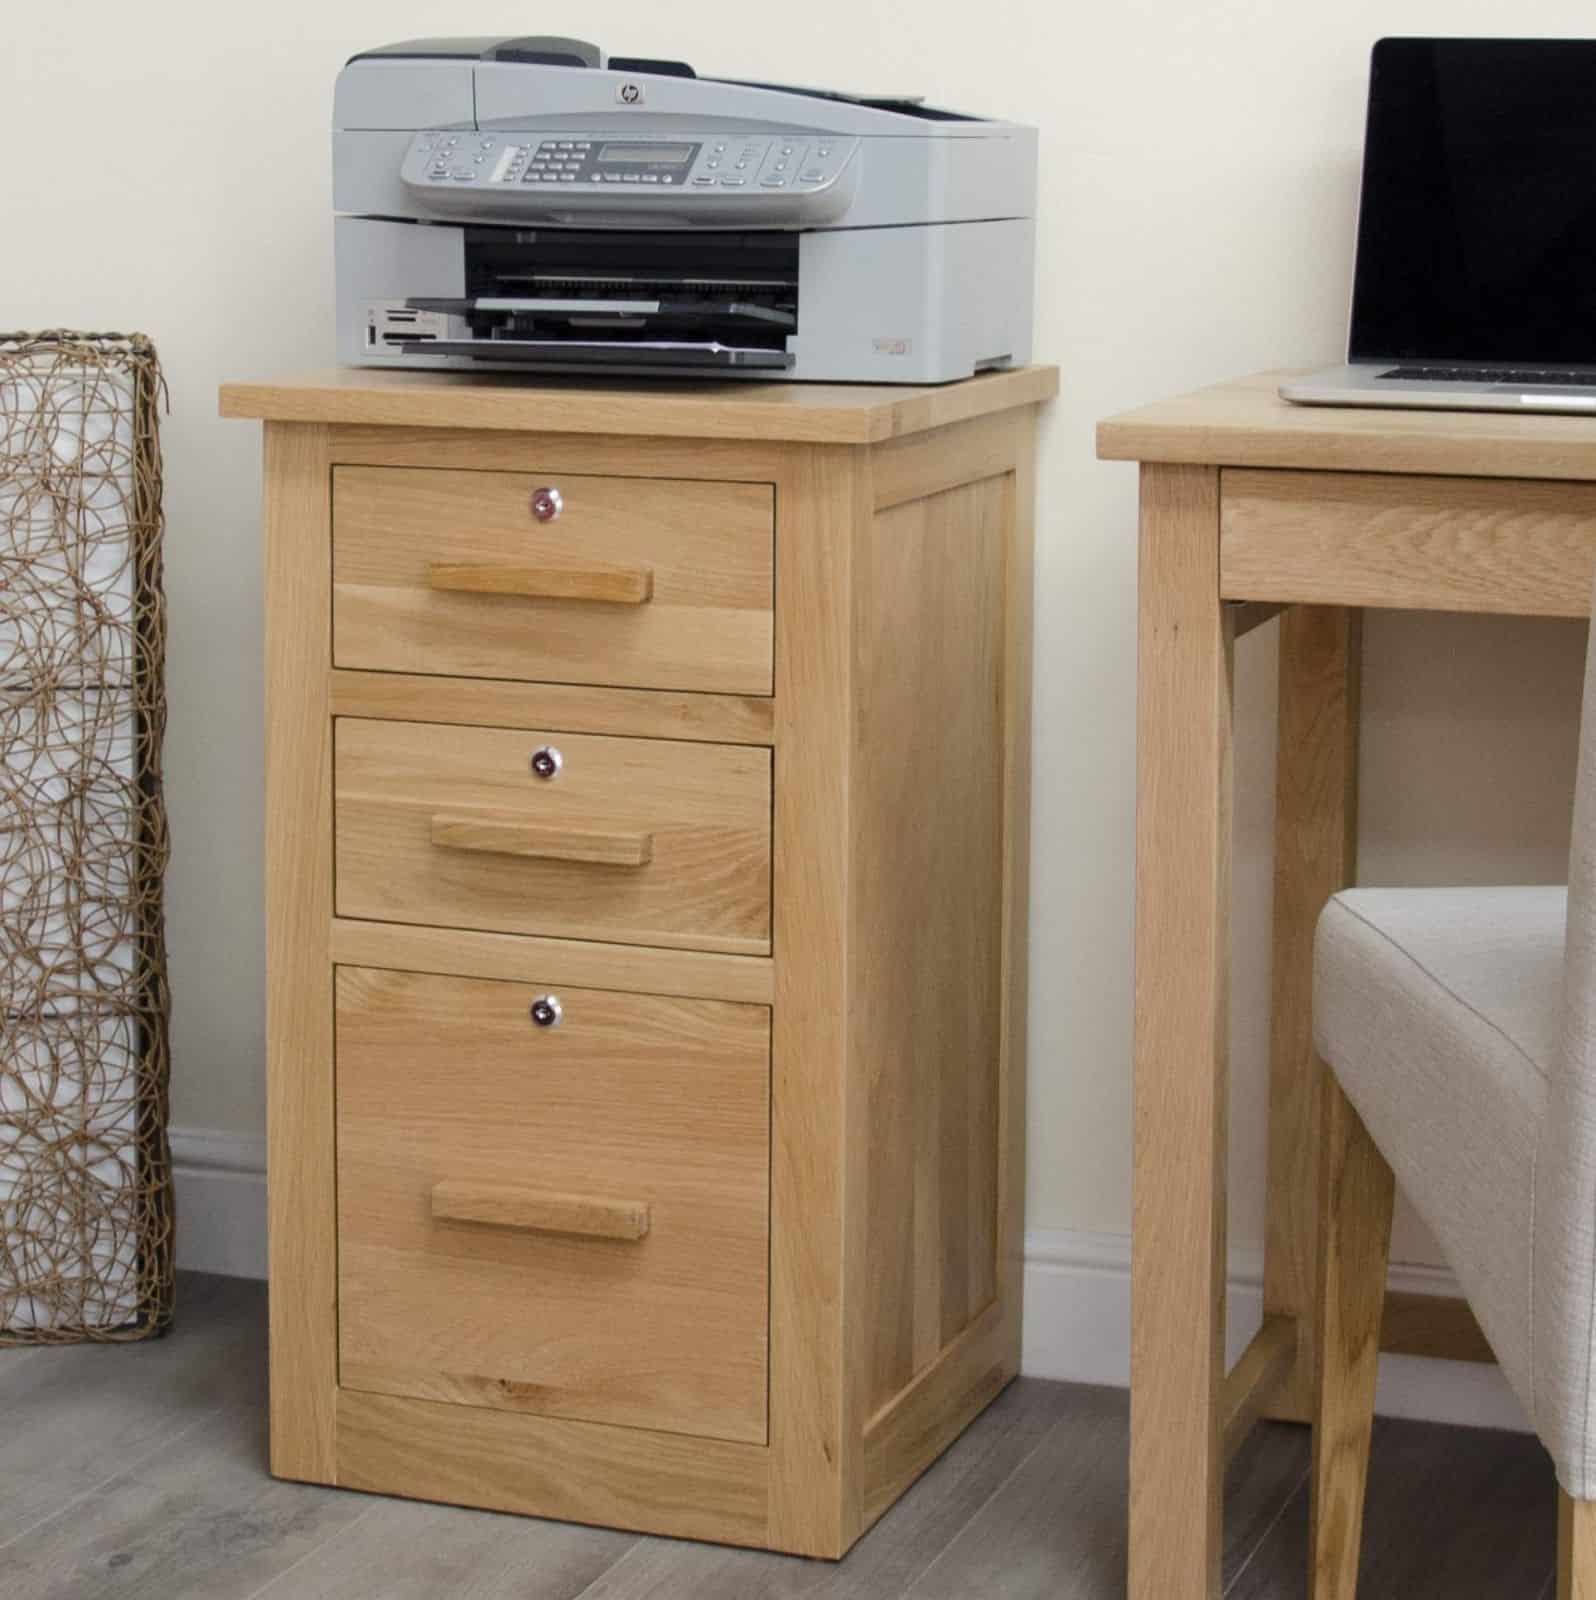
When it comes to security, you’ll want to make sure that the file cabinet you select has drawers that lock. This will help to prevent unauthorized access to your documents. In terms of organization, you’ll want to choose a file cabinet with multiple drawers so that you can easily categorize your files.
And if you’re looking for a bit of style and make a small office makeover, there are many file cabinets available in a variety of finishes and designs. With careful selection, you can find the perfect file cabinet for your home or office.
13. Store Extra Office Supplies in Plastic Bins Underneath Your Desk
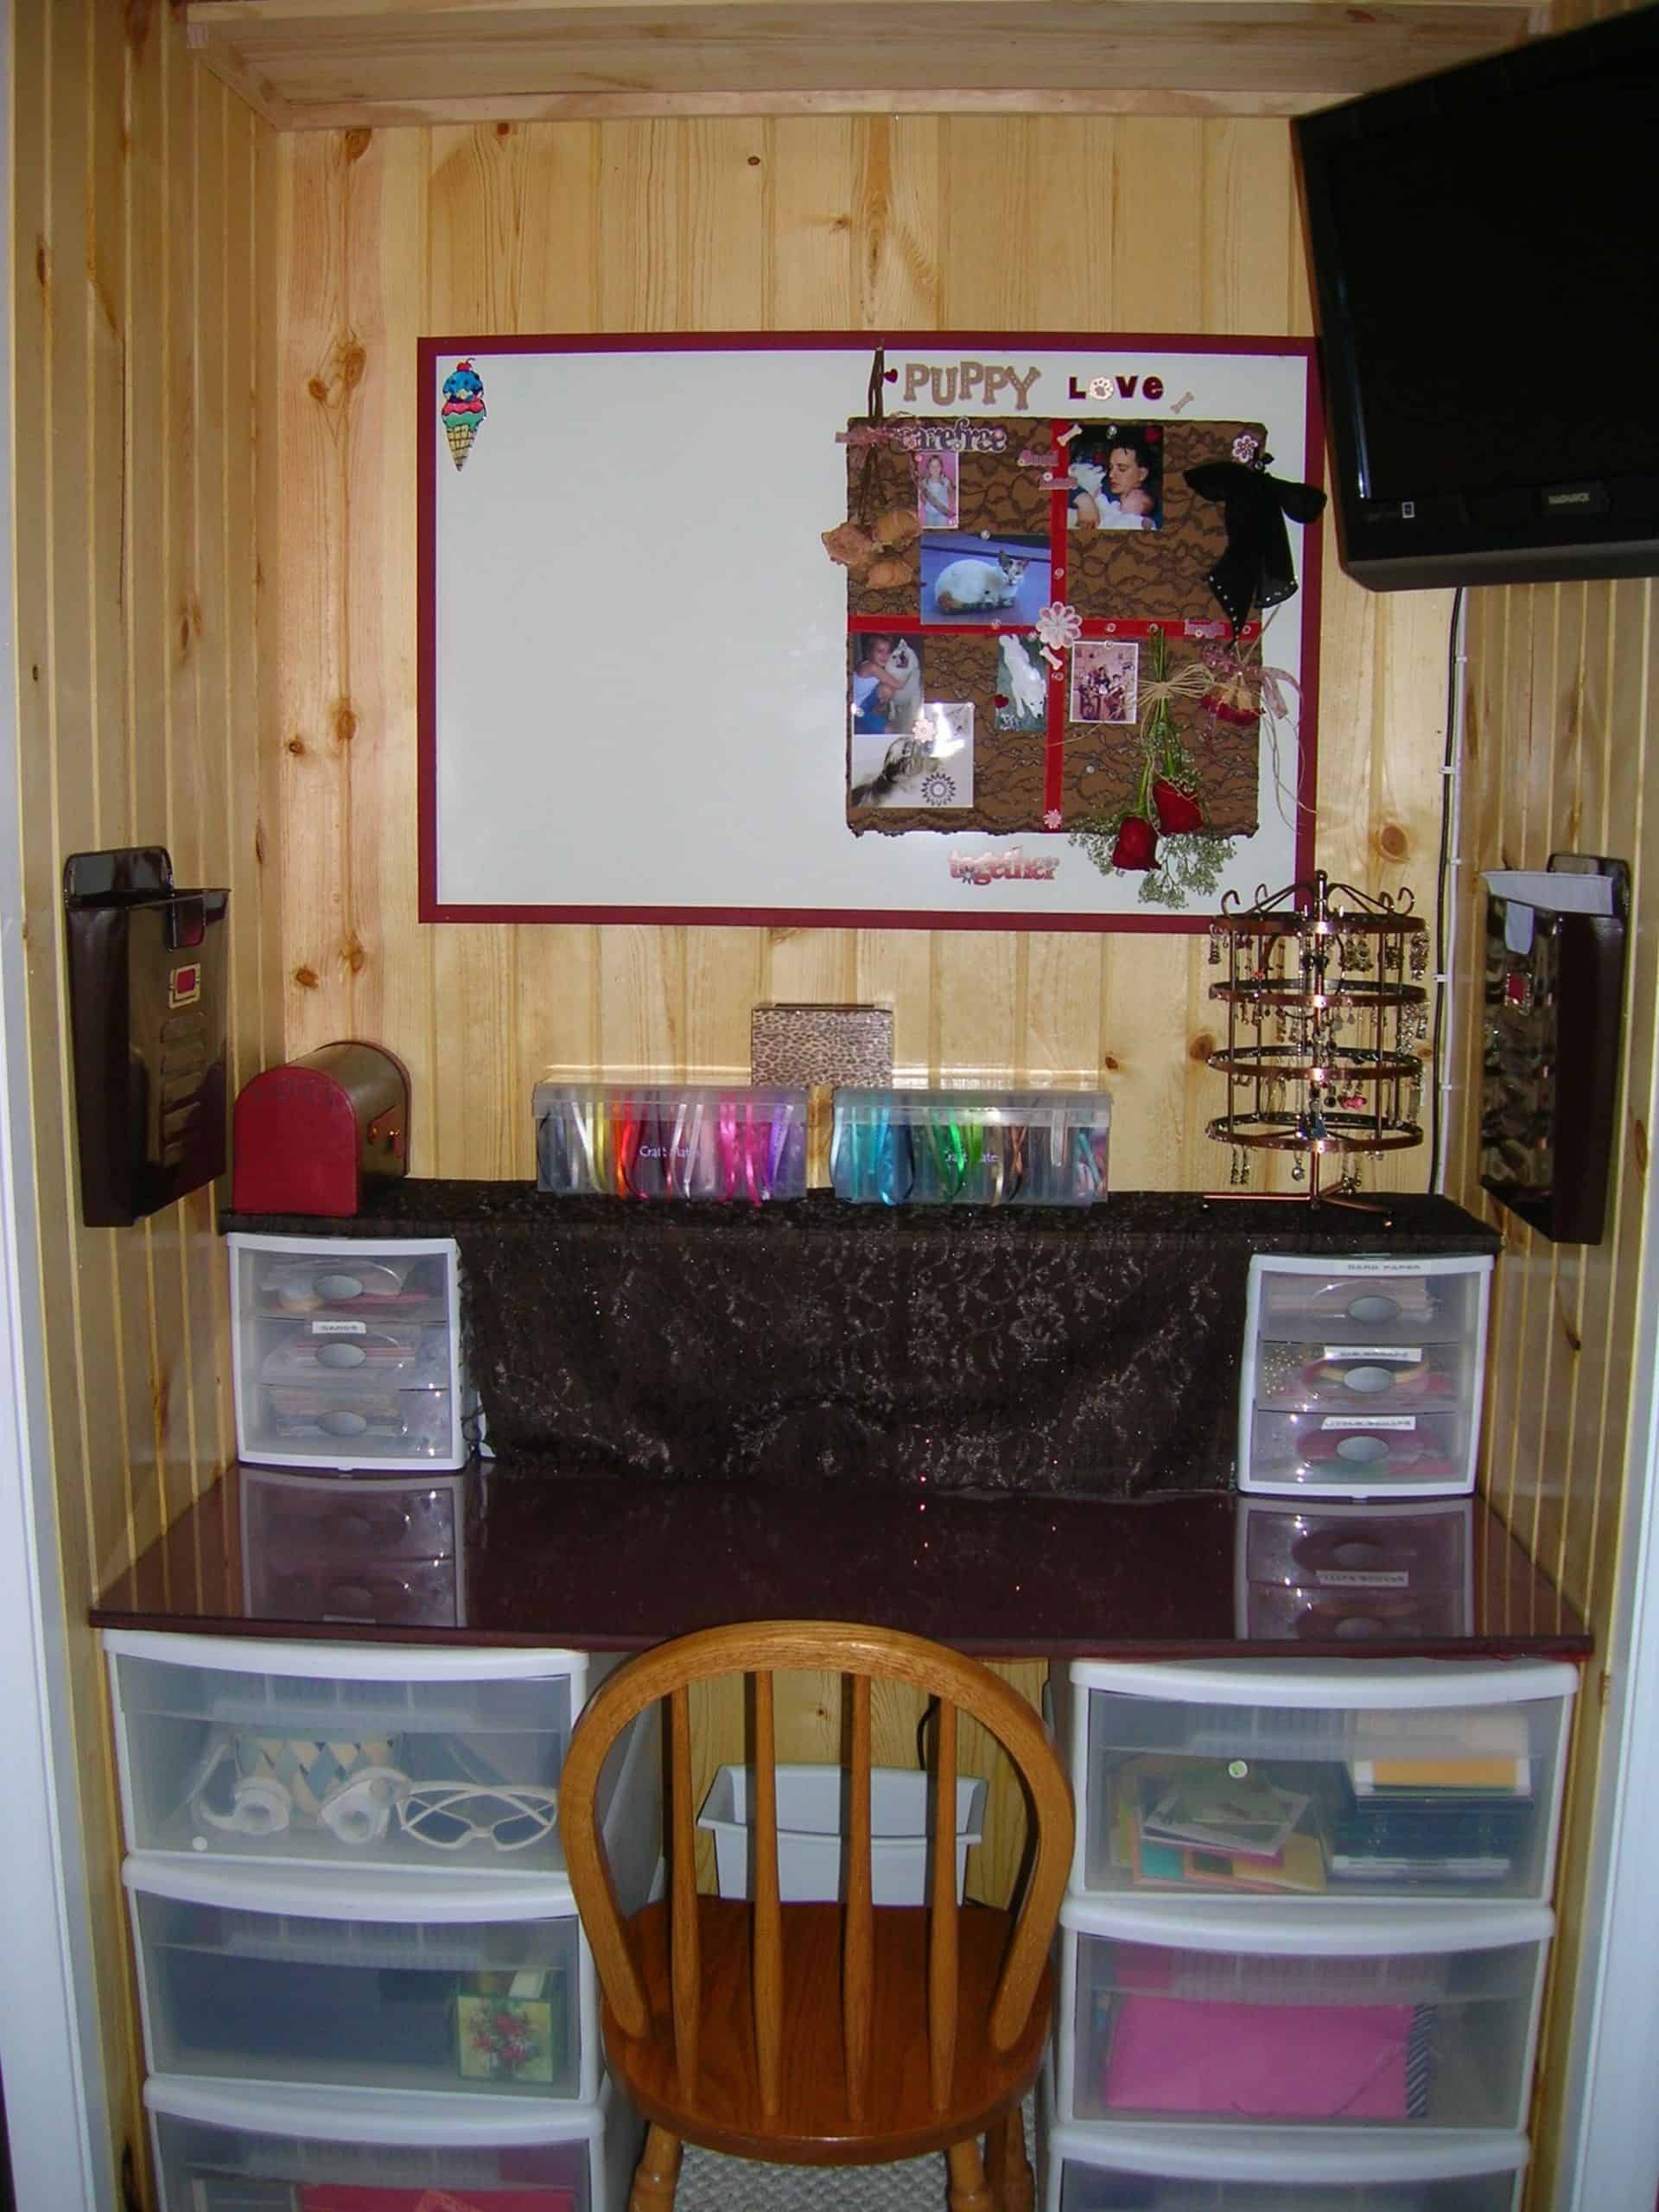
One way to free up some room is to store your extra supplies in plastic bins underneath your desk. That way, they’ll be out of the way, but still within easy reach. And if you label the bins, you’ll never have to go digging through them searching for that one elusive pen. This way, you’ll have easy access to all of your supplies without having to search through cluttered drawers. Plus, this storage solution is extremely affordable and can be easily customized to fit your needs.
14. Use Magazine Holders to Store Paperwork and Files
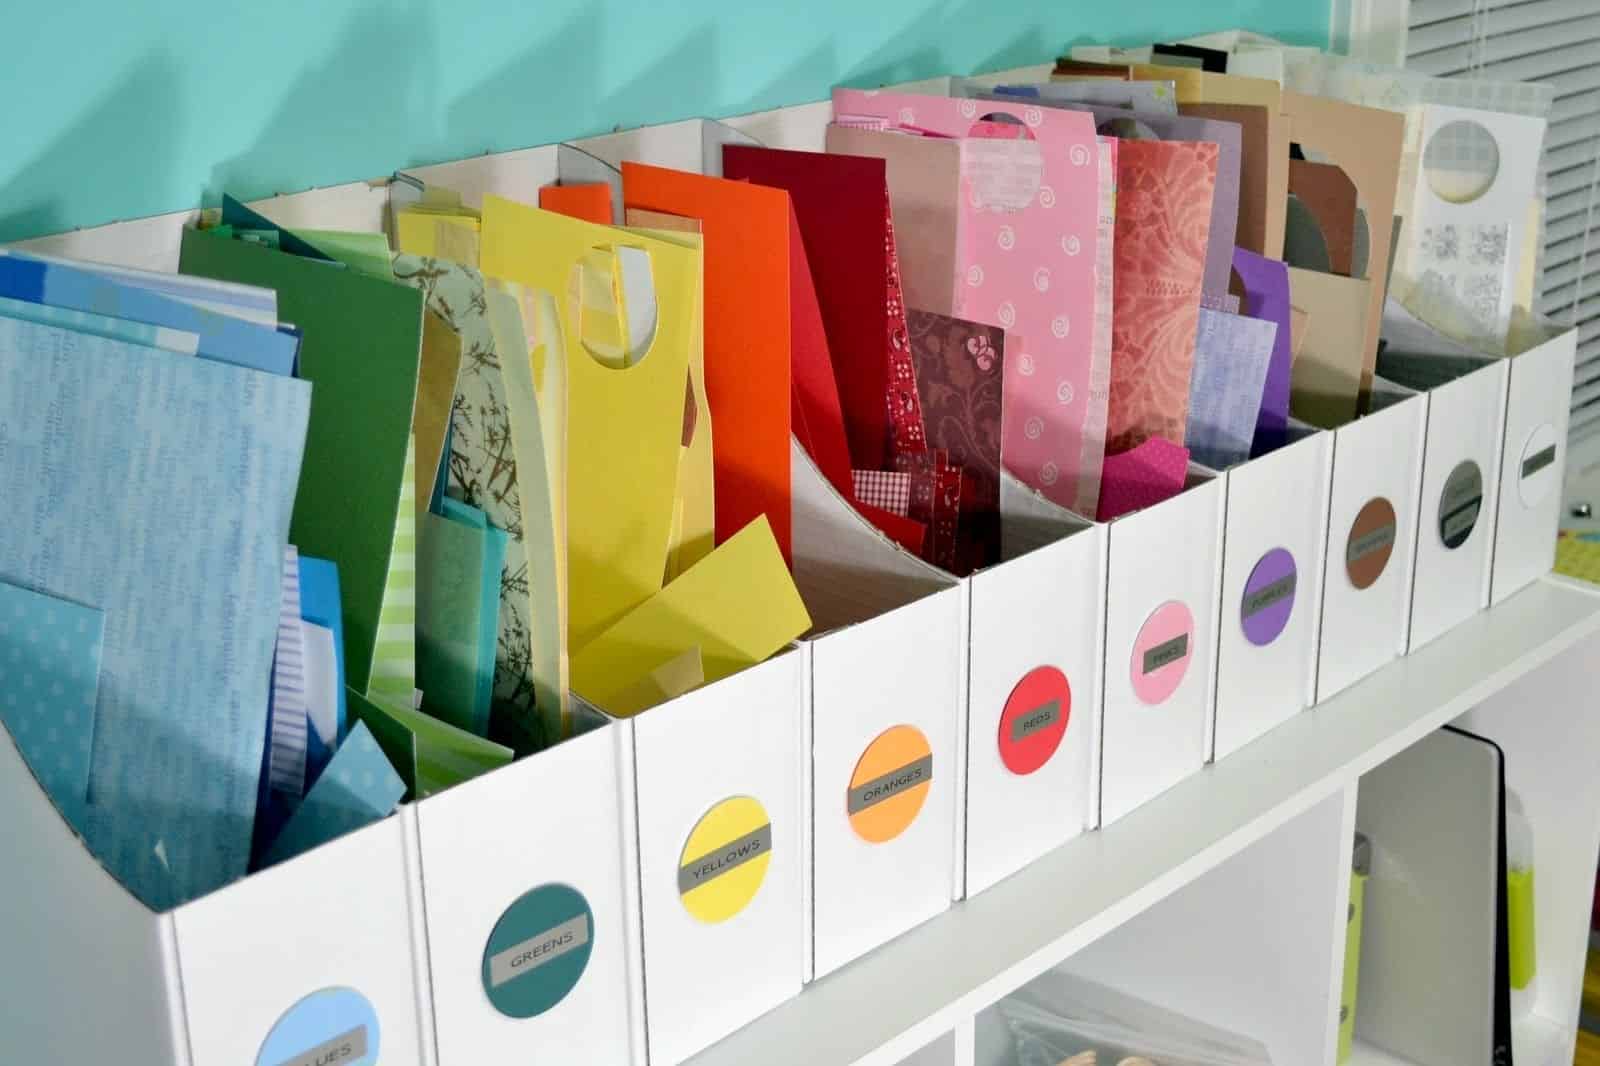
The magazine holders can be a great way to store paperwork and files. You can use them to keep your documents organized and tidy. Plus, they’ll help you save space on your desk or in your office.
This hack is not only cheap and easy, but it also creates a clean desk. Simply choose a spot for your “cabinet” and arrange the magazine holders however you like. Then start sorting your papers into folders and labelled files.
15. Install Shelves Above Your Desk
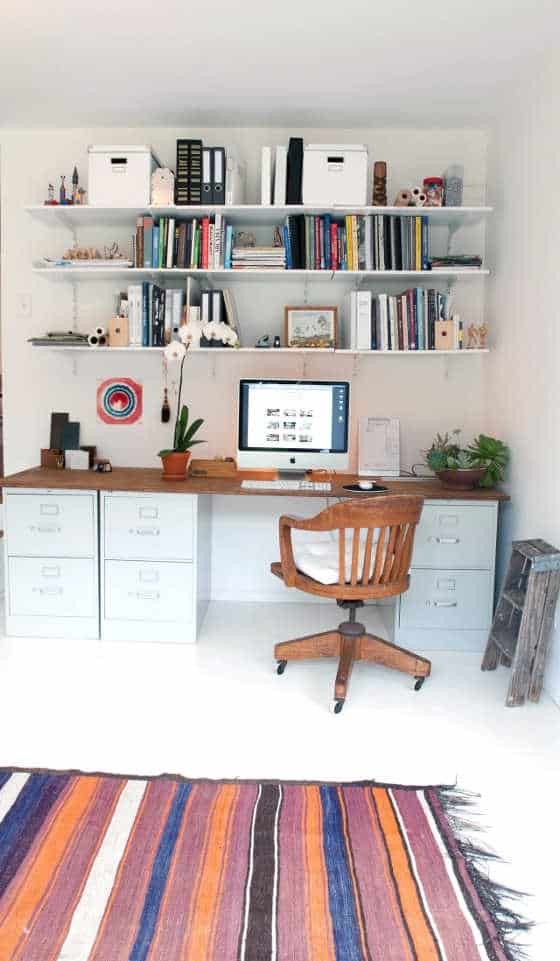
This is a great way to store office supplies and files that you need quick access to. You can find shelves at most home improvement stores or online. Installation is pretty simple and only takes a few minutes. First, measure the area where you want to install the shelves. Then, cut the shelf supports to size and attach them to the wall using screws or nails. Finally, place the shelves on the supports and load them up with whatever you need to store.
16. DIY a Filing Cabinet Using Recycled Materials
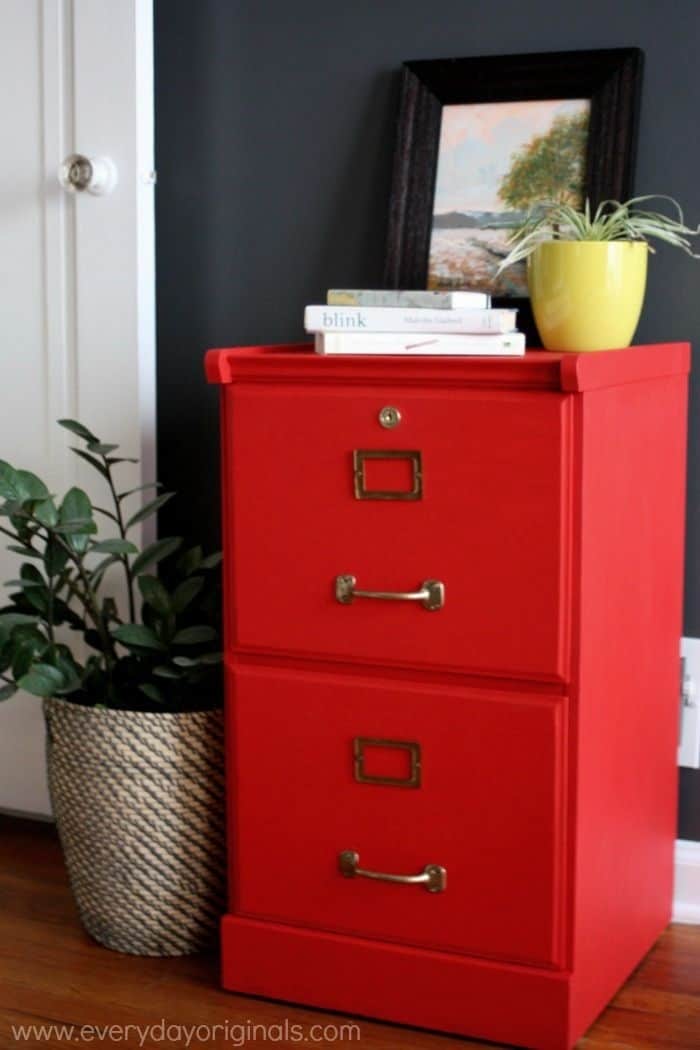
Upcycling is a great way to save money and reduce your environmental impact. Before you head to the store to buy a new file cabinet, consider upcycling an old one using recycled materials. You can give an old cabinet a new life with a fresh coat of paint or some new hardware.
If you’re feeling really ambitious, you can even add some storage bins or shelves to turn it into a multifunctional piece of furniture. Just add some dividers and label holders, and you can stay away from a boring filing cabinet that fits your specific needs.
17. Use a Shoe Rack to Store Hanging Files
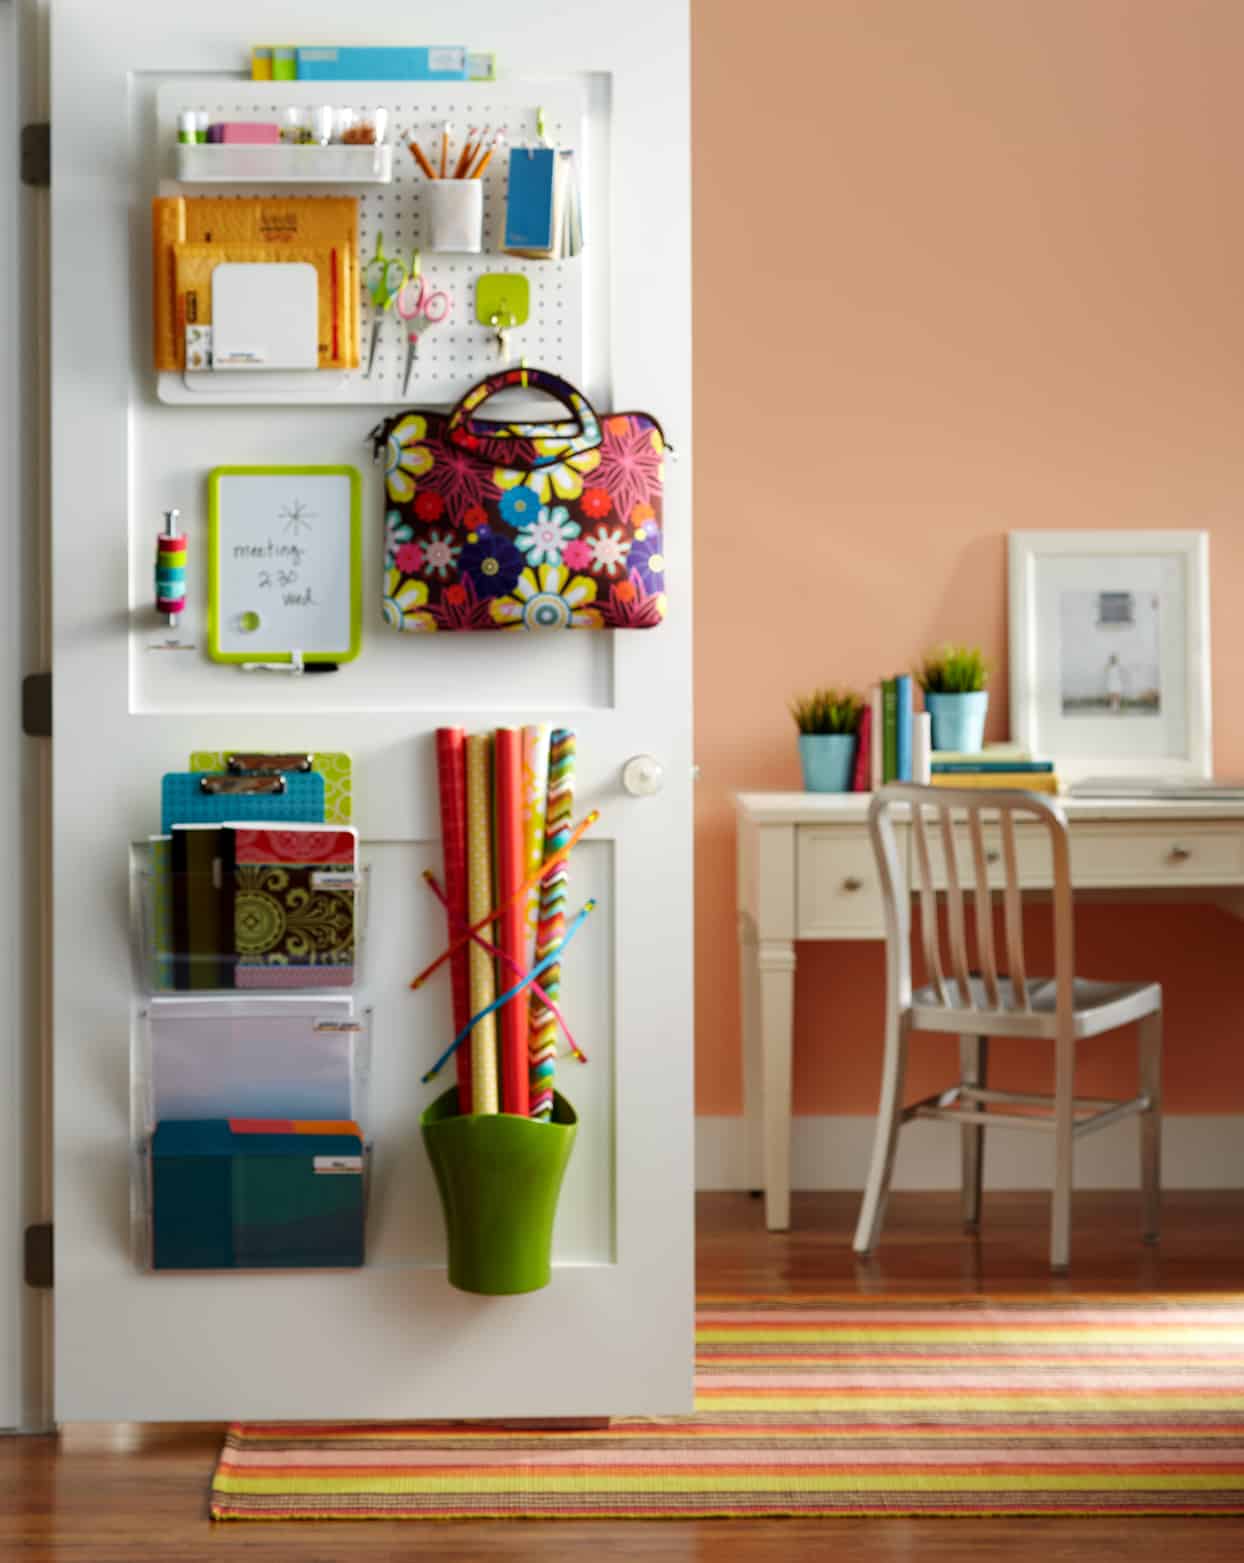
This simple DIY solution will keep your paperwork organized and out of the way. Simply hang the shoe rack on the back of a door or on a wall using heavy-duty command hooks. Then, label each shelf with a different type of document – such as “bills,” “cancelled checks,” or “tax documents.” For extra protection, place each stack of papers in a clear plastic bin before putting them on the shelf.
18. Hang a Corkboard or Whiteboard on the Wall to Store and Organize Paperwork
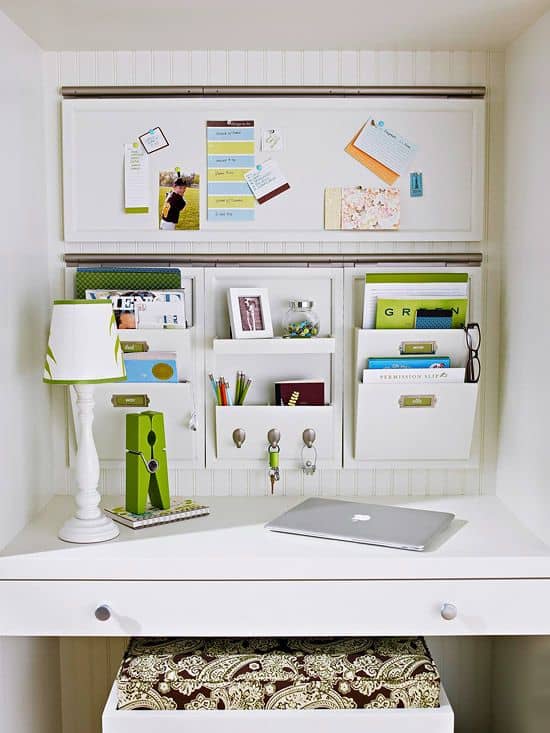
This DIY file cabinet is perfect for small spaces, and it’s a great way to keep your desk clear of clutter. Simply use push pins or magnets to attach your paperwork to the board, and you’ll be able to see everything at a glance. You can also use the board to jot down notes or reminders.
By hanging a corkboard or whiteboard on the wall, you can create a designated space for all of your paperwork. Papers can be sorted into categories and labeled for easy reference.
19. Get a Cabinet on Wheels
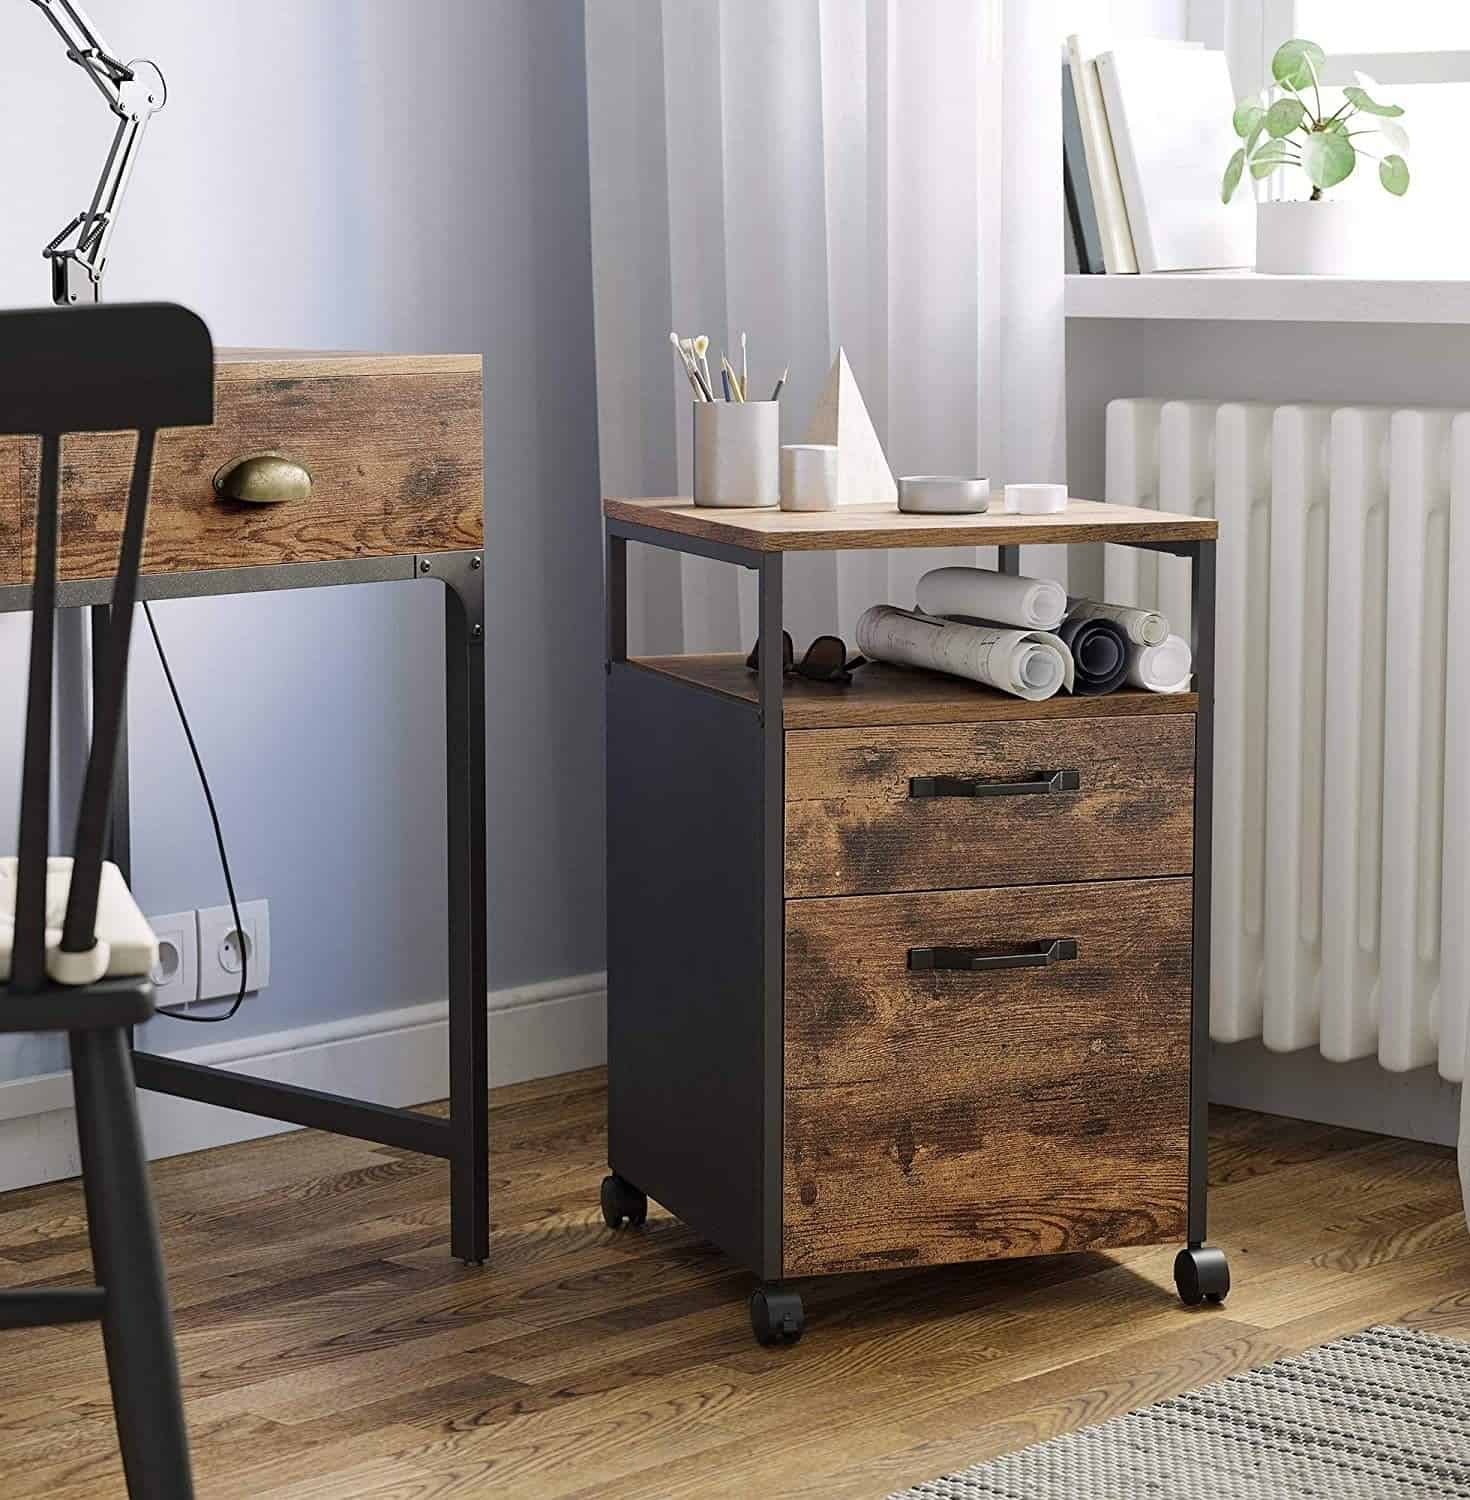
A rolling cart is a great way to organize your office supplies and files. It’s easy to find what you need when everything is in one place, and you can easily roll the cart from one room to another as needed. If you go the DIY route, make sure to sand and paint the piece before adding your supplies. Then, add casters to the bottom so that it’s easy to move around. Add label holders to the front of each drawer so that you can easily identify what’s inside.
20. Use Clear Plastic Bins to Store and Organize
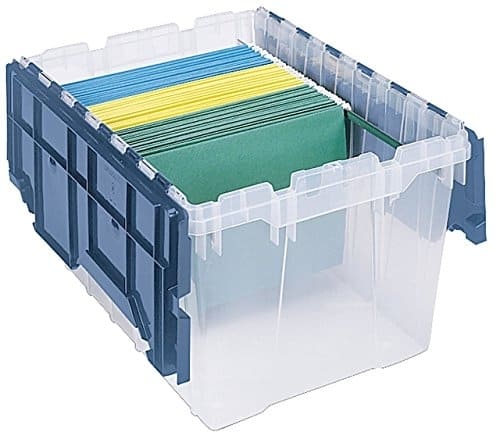
This simple hack is perfect for small spaces, as it allows you to organize your office supplies while still being able to see what you have on hand. Simply remove the drawers from the file cabinet and line them with clear plastic bins. Then, label each bin according to its contents. Voila! You now have a stylish and organized way to store your office supplies. Plus, the clear plastic bins make it easy to see when you’re running low on supplies, so you can restock before things get too chaotic.
21. DIY Your Own Rolling Cart Using Recycled Materials
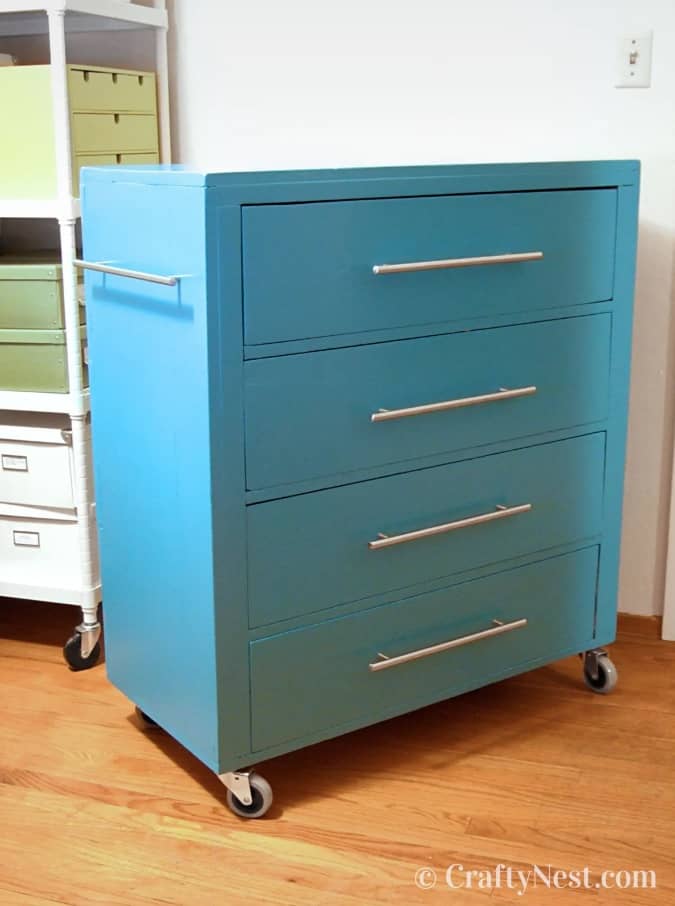
It’s a relatively simple project that can be completed in an afternoon, and it’s a great way to add some extra storage to your home. Best of all, it’s eco-friendly and budget-friendly—two wining combinations.
First, remove all the drawers from the file cabinet and set them aside. Next, sand down the entire file cabinet to remove any dirt and debris. Once the file cabinet is sanded down, paint it with your desired color. After the paint is dry, add casters to the bottom of the file cabinet so that it can roll around easily. Finally, reattach the drawers to the file cabinet and fill it up with whatever you need to store.
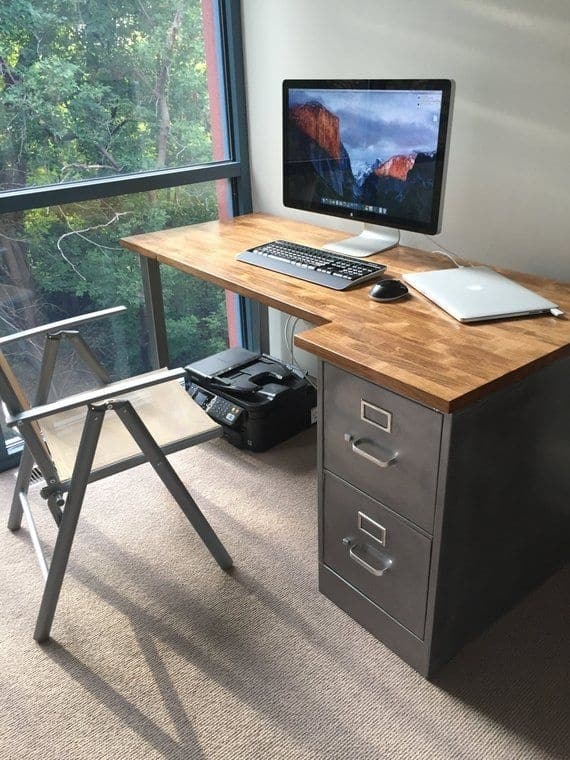
22. DIY File Cabinet Table
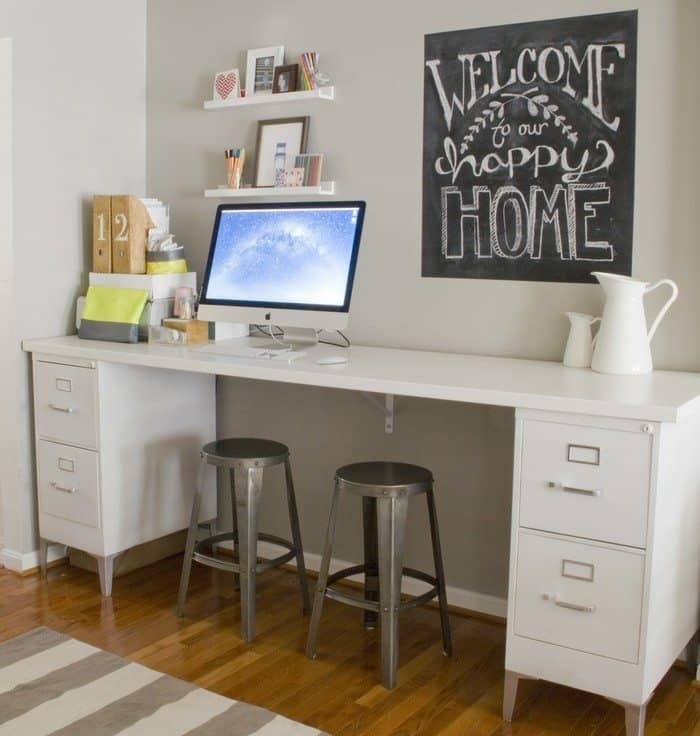
This project is perfect for anyone who wants to create a custom desk using a file cabinet. It’s a relatively simple project that can be completed on a weekend, and it’s a great way to save space in a small office. To get started, simply remove the drawers from the file cabinet and sand down any rough edges. Next, paint or stain the cabinet to your desired finish. Then, attach some legs to the bottom of the file cabinet using L-brackets. Finally, add a desktop to the top of the file cabinet, and you’re ready to start working.
23. DIY Bulletin Board Using Plywood
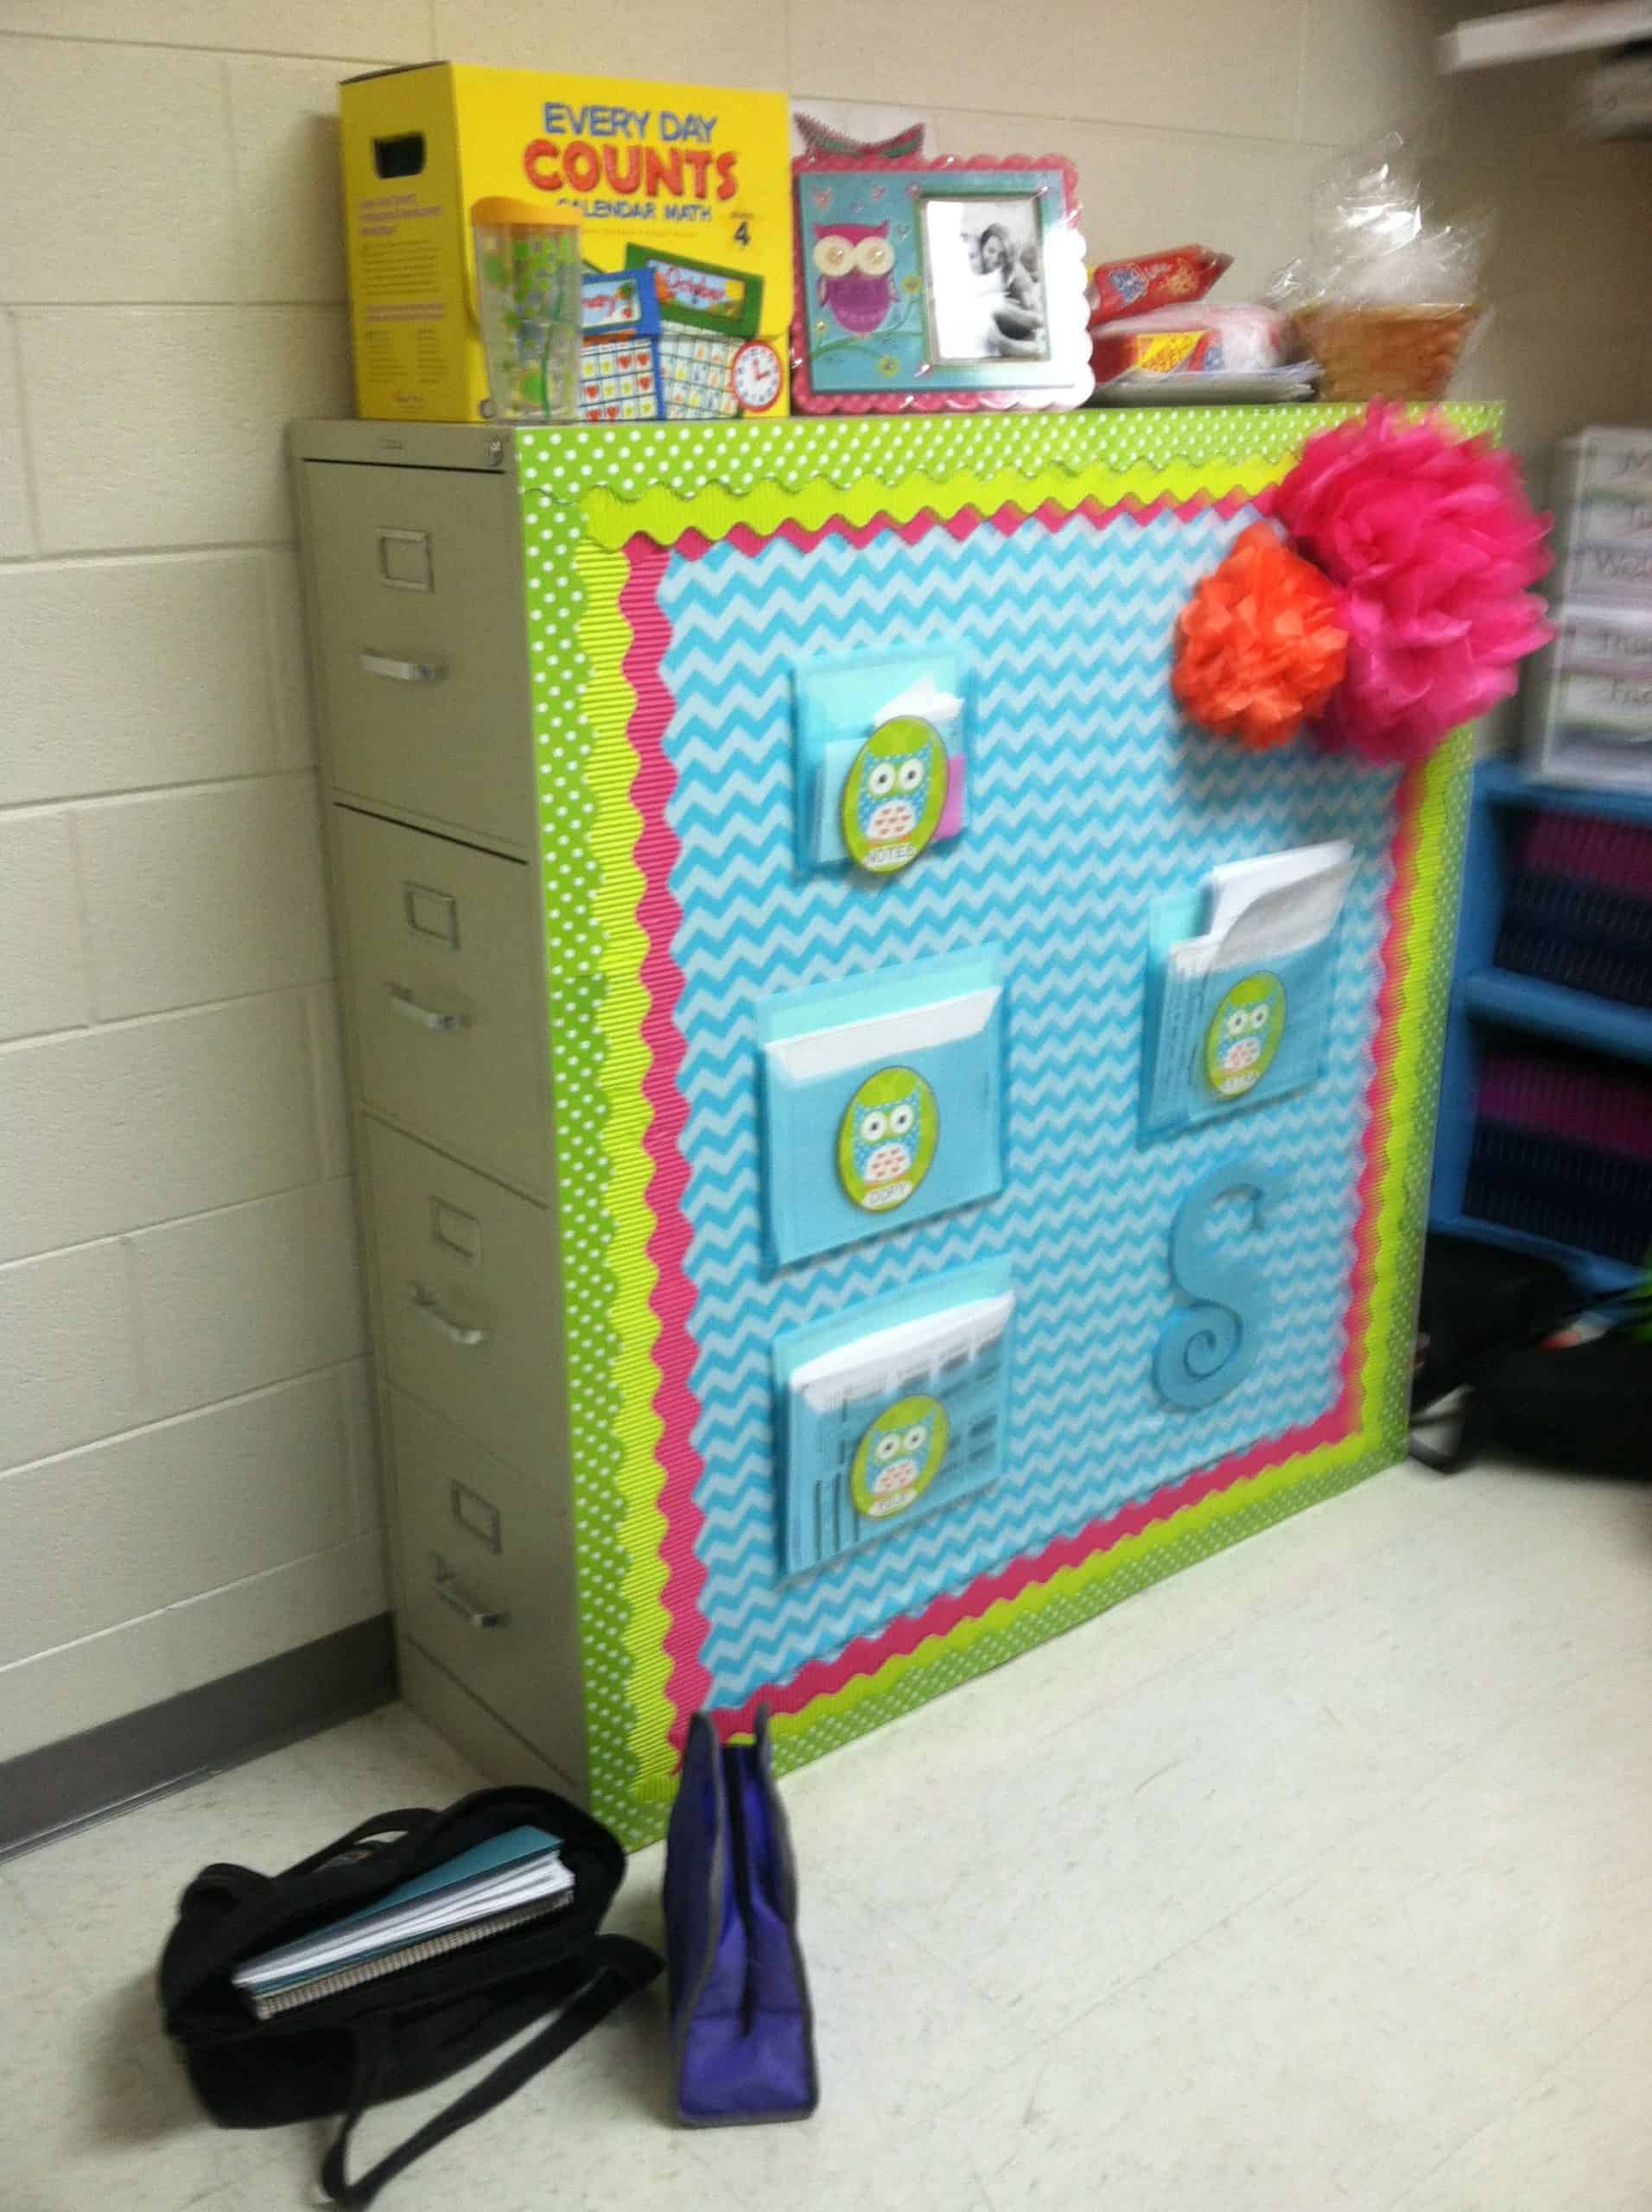
You can easily make your own bulletin board using recycled materials. All you need is an old file cabinet, some plywood, and a few other supplies. First, remove the drawer from the file cabinet. Then, cut a piece of plywood to fit snugly inside the opening. Next, cover the plywood with fabric or wrapping paper. Use a staple gun to secure the fabric in place. Finally, add any desired decorations, such as photos, notes, or clippings. Your DIY bulletin board is now ready to use.
24. A Storage Ottoman to Store Office Supplies and Files
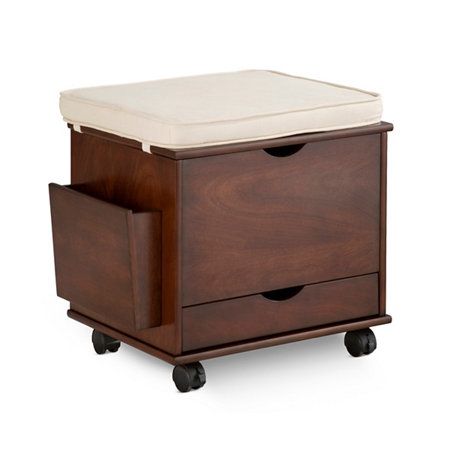
This project is perfect for anyone who needs a little extra storage for the supplies and files. The best part is that it only takes a few hours to complete, and you can customize it to match your décor. To get started, simply remove the drawers from the file cabinet and sand down any rough edges. Next, paint or stain the cabinet to your desired finish. Then, add some casters to the bottom so that it can be easily moved around. Finally, add a cushion to the top, and you’re ready to start organizing your space.
25. Simple DIY File Cabinet Makeover
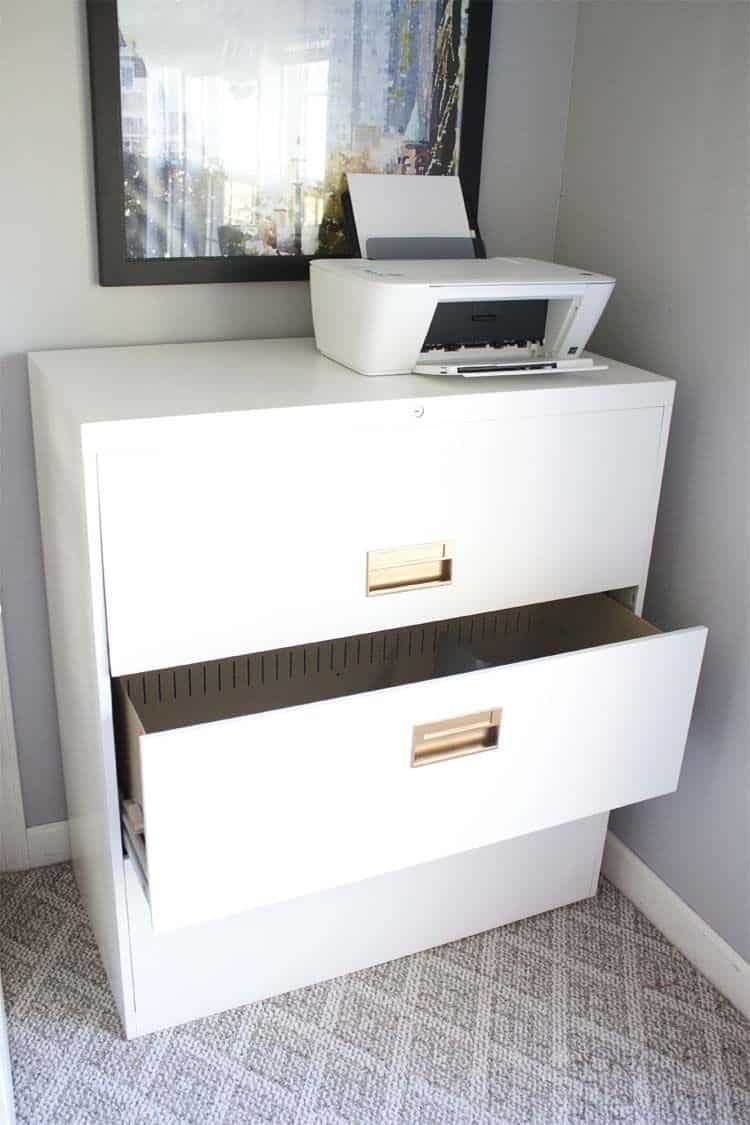
This basic cabinet is perfect for anyone who wants to give their file cabinet a makeover. It’s a quick and easy project that can be completed in an afternoon, and it doesn’t require any special skills or tools. To get started, simply remove the drawers from the file cabinet and sand down any rough edges. Next, paint or stain the cabinet to your desired finish. Finally, add some new hardware, such as knobs or pulls, to give it a fresh new look.
Whether you’re just starting out in your professional career or have been at it for years, a well-organized and functional office is key to success. With these clever DIY file cabinet ideas, you can get your office organized like real quick.
