If you’re like most cat owners, you know that your feline friend loves to scratch. In fact, cats need to scratch in order to keep their claws healthy and trim.
A good scratching post can help satisfy this natural need, and it can also help keep your furniture safe from scratches.
If you’re looking for a fun way to create a DIY scratching post for your kitty, check out these 11 ideas.
From simple posts made out of cardboard to more complex designs that include cat trees, there’s sure to be a DIY scratching post idea here that your cat will love.
So get ready to get crafty and give your kitty the perfect place to scratch.
Table of Contents
1. DIY Cat Scratching Post Vase
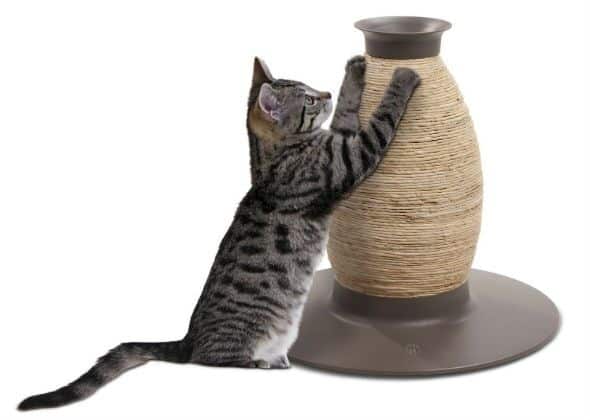
This cat scratching post vase was made using recycled materials. I used an old wooden table leg, a piece of wood, a plastic bottle cap, and some wire fencing.
Materials:
- Old Wooden Table Leg (I found mine on Amazon)
- Piece of Wood
- Plastic Bottle Cap
- Wire Fencing
Tools:
- Drill/Driver
- Saw
- Hammer
- Screwdriver
Steps:
- Cut off the bottom of the table leg. Then drill holes all around the edge of the table leg.
- Attach the table leg to the piece of wood. Use screws to attach both pieces together.
- Cut the top of the table leg down to size.
- Drill holes in the top of the table legs.
- Drill holes in the side of the table leg. Make sure these holes line up with the holes in the top of table leg.
- Attach the table top to the table leg. Use screws to attach the two pieces together.
- Drill holes in the sides of the table top.
- Attach the table legs to the table top. Use screws to attach them together.
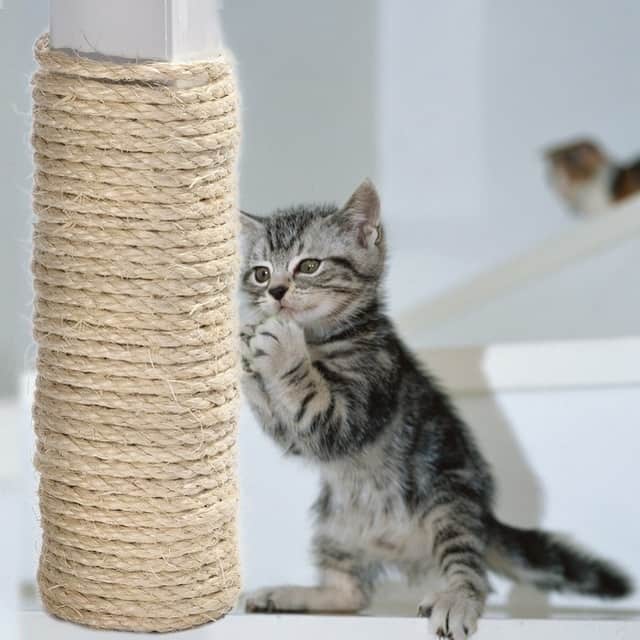
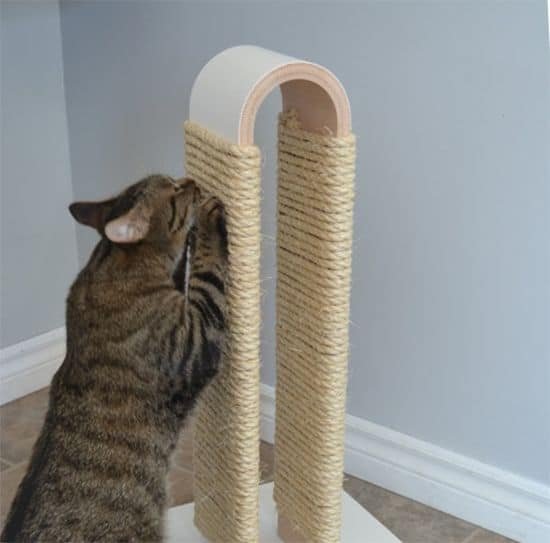
2. Natural DIY Cat Scratching Post
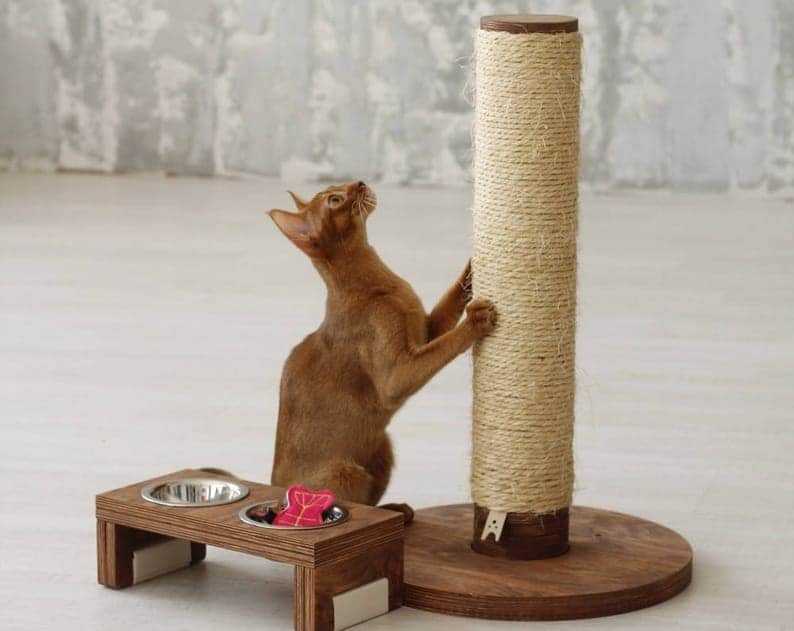
This natural cat scratching post is made from bamboo sticks. Bamboo is an excellent material because it’s strong, durable, and naturally insect-resistant.
The posts are designed to look like trees, so cats will feel comfortable using them. Cats often scratch trees for comfort, and this post mimics that behavior.
Bamboo is also easy to grow, so you won’t have to worry about buying any plants. All you need to do is plant a few seeds in the ground. Once the tree grows tall enough, you can harvest the wood and use it to build your post.
It only takes a few minutes to assemble, and you can hang it anywhere in your house. It’s ideal for small spaces such as apartments, condos, and townhouses.
You might like: DIY Cat Food Dispenser
3. Baby Yoda DIY Cat Scratching Post

This cat scratching post is made out of an old wooden crate and a piece of plywood. I found it online and thought it was pretty cool. It looks like something out of Star Wars.
I used a drill press to make holes in the top of the crate. Then I attached the wood to the bottom using screws.
The final step was to cover the plywood with fabric and attach the fabric to the back of the crate using staples.
It took me less than 30 minutes to build this project. It’s a great addition to any room because cats love it.
4. Cardboard Box DIY Cat Scratching Post
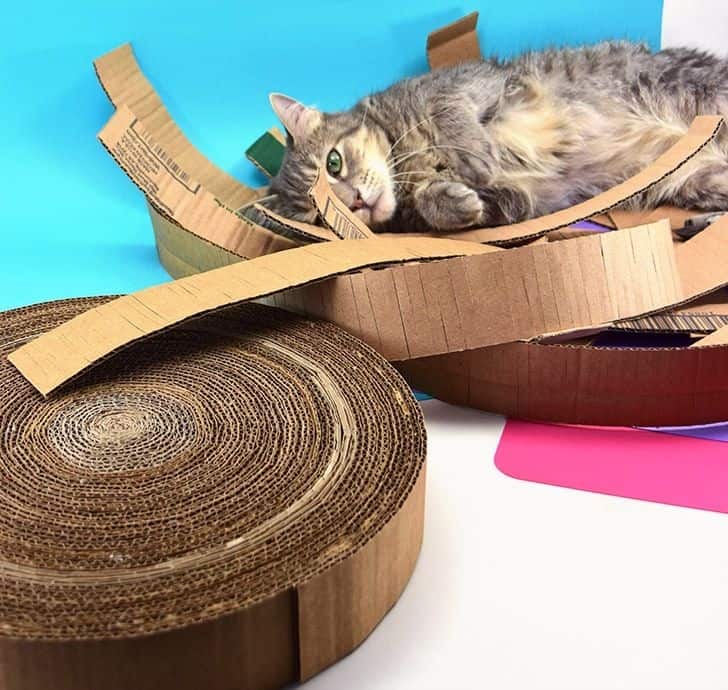
Cats love boxes. I mean, who doesn’t? But boxes aren’t exactly the best thing to scratch against. So why not build a cardboard box cat scratching post?
It’s pretty simple to build a cat scratching post. All you need is a piece of plywood, an old cardboard box, and some screws. Once you’ve got all those parts, it’s time to assemble the box!
Start by drilling holes for the screws. Next, put the plywood on top of the box. Then, screw the plywood down. Now, it’s time to add the legs. Just attach two more pieces of plywood to the bottom of the box.
Finally, add the last piece of plywood to cover the whole thing. Screw the lid onto the box. Now, you have a sturdy cat scratching post that won’t fall apart.
5. Cactus DIY Cat Scratching Post
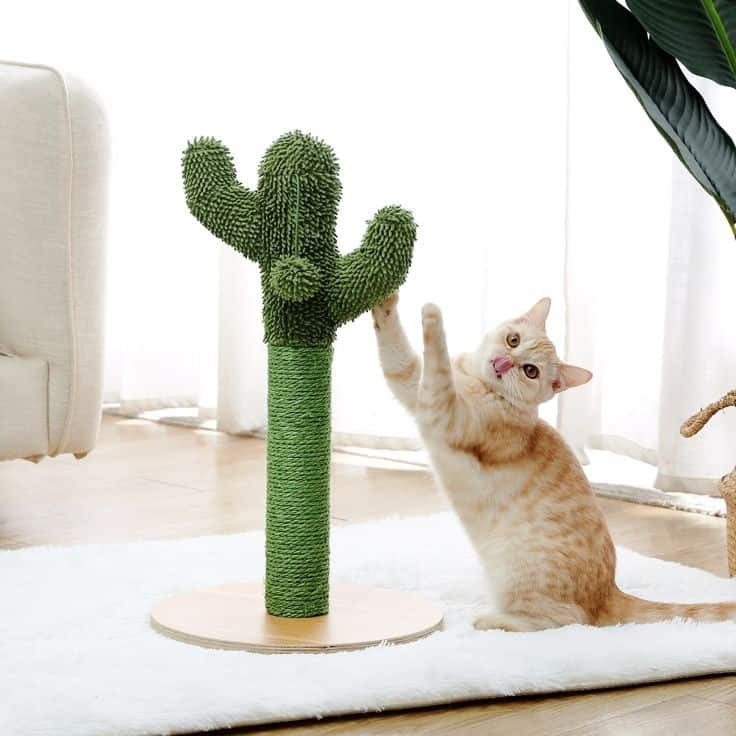
Cacti are an excellent option for cat scratching posts because they are durable, low maintenance, and available in a variety of shapes and sizes.
They come in all sorts of colors and patterns, too, so you can pick one that matches your house decor. Most cacti are made from wood pulp, so they won’t rot away over time.
A cactus DIY cat scratching post should last at least two years before it starts to deteriorate. To keep it looking good, simply water it regularly.
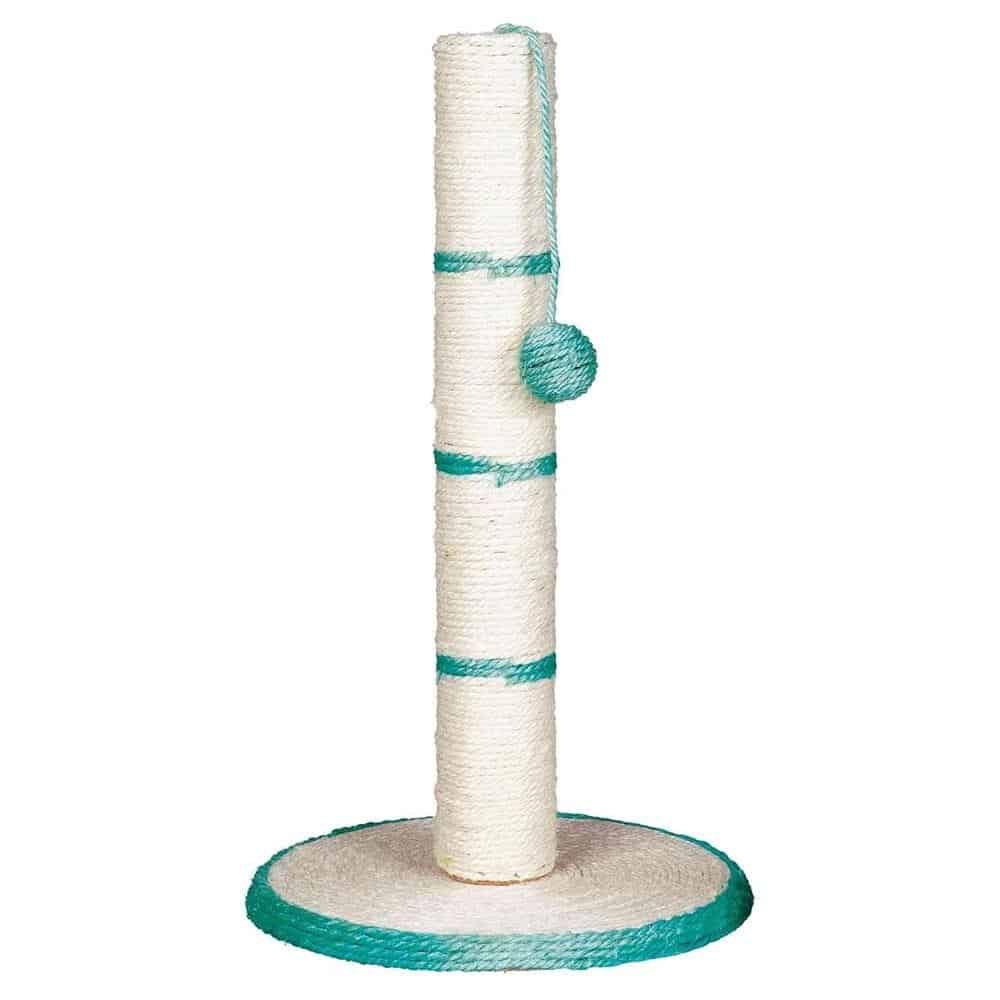
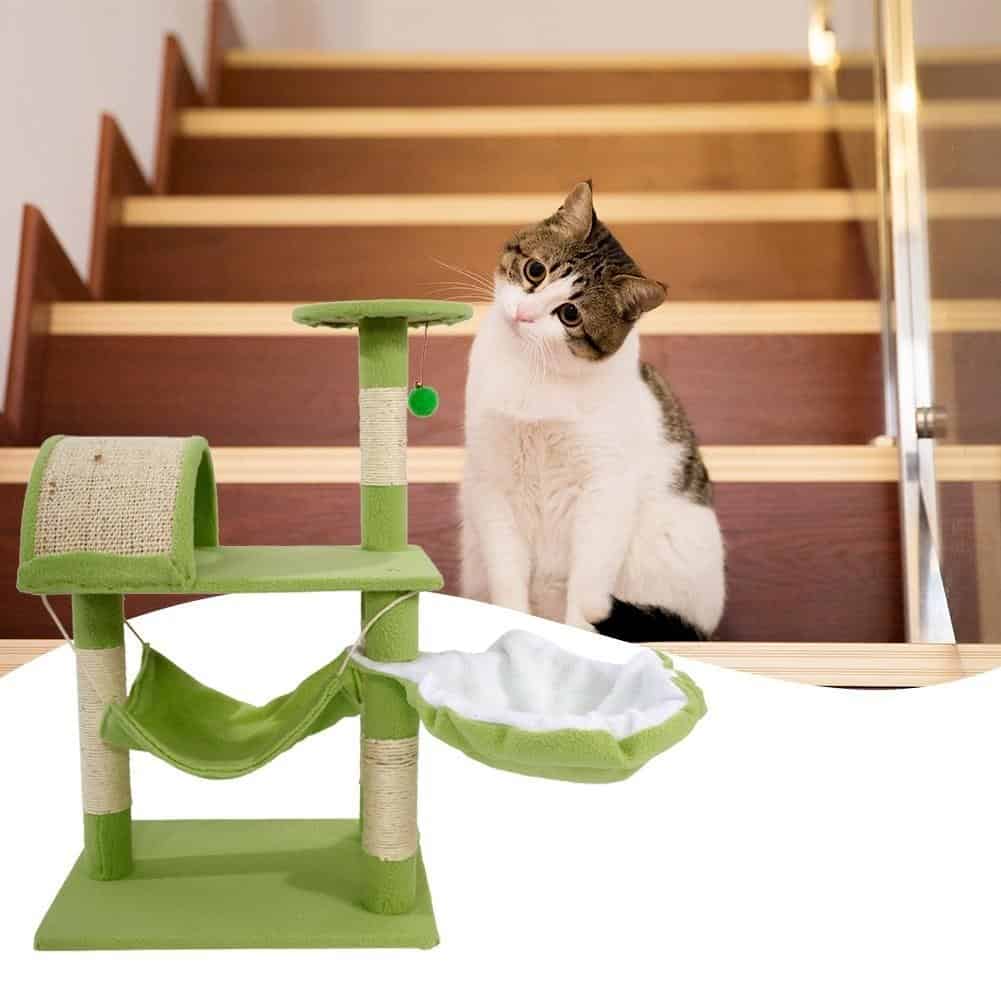
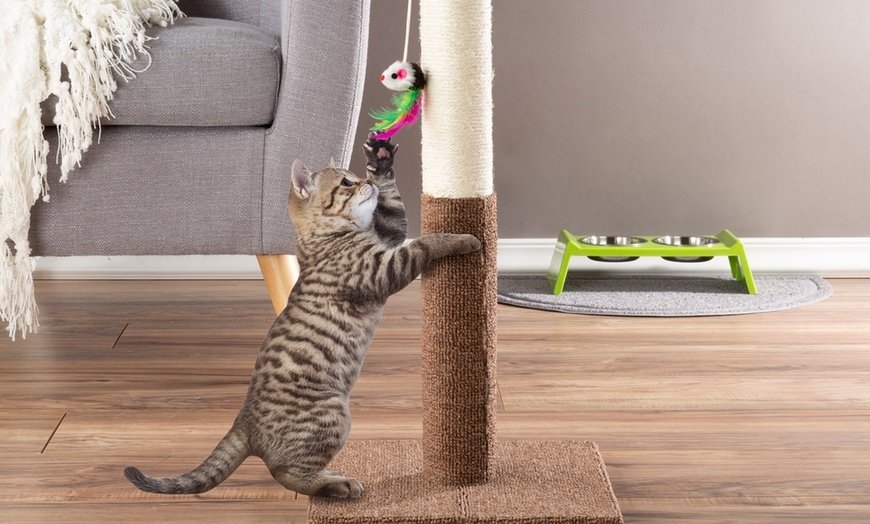
6. Rainbow Cat Scratching Post
Rainbow cat scratching post is an ideal toy for cats. It provides comfort and entertainment for cats. It helps keep cats busy during the day and provide them with a safe place to play and relax.
It’s made from durable materials such as rubber and plastic. It comes in different shapes and sizes. It’s suitable for indoor and outdoor use. It’s available in different colors.
The best part of rainbow cat scratching post is that it’s affordable. It costs less than $10. You can purchase it online or from pet stores.
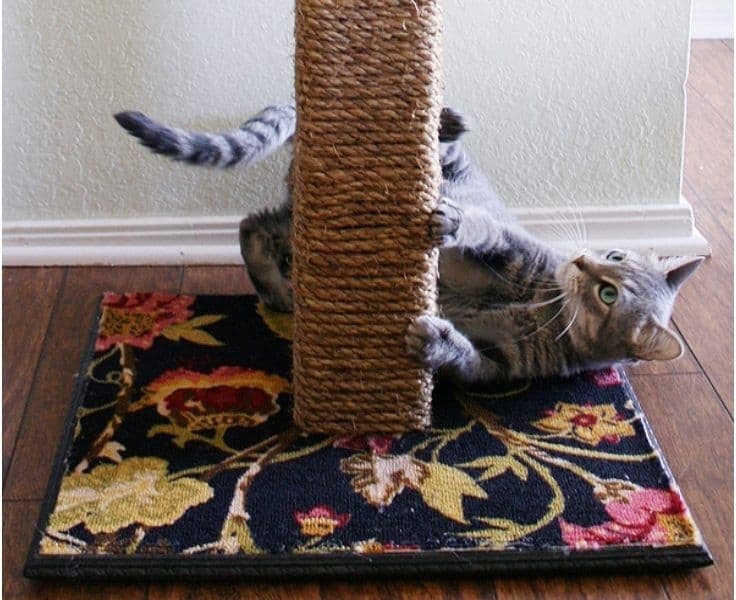
7. Carpet Cat Scratch Post
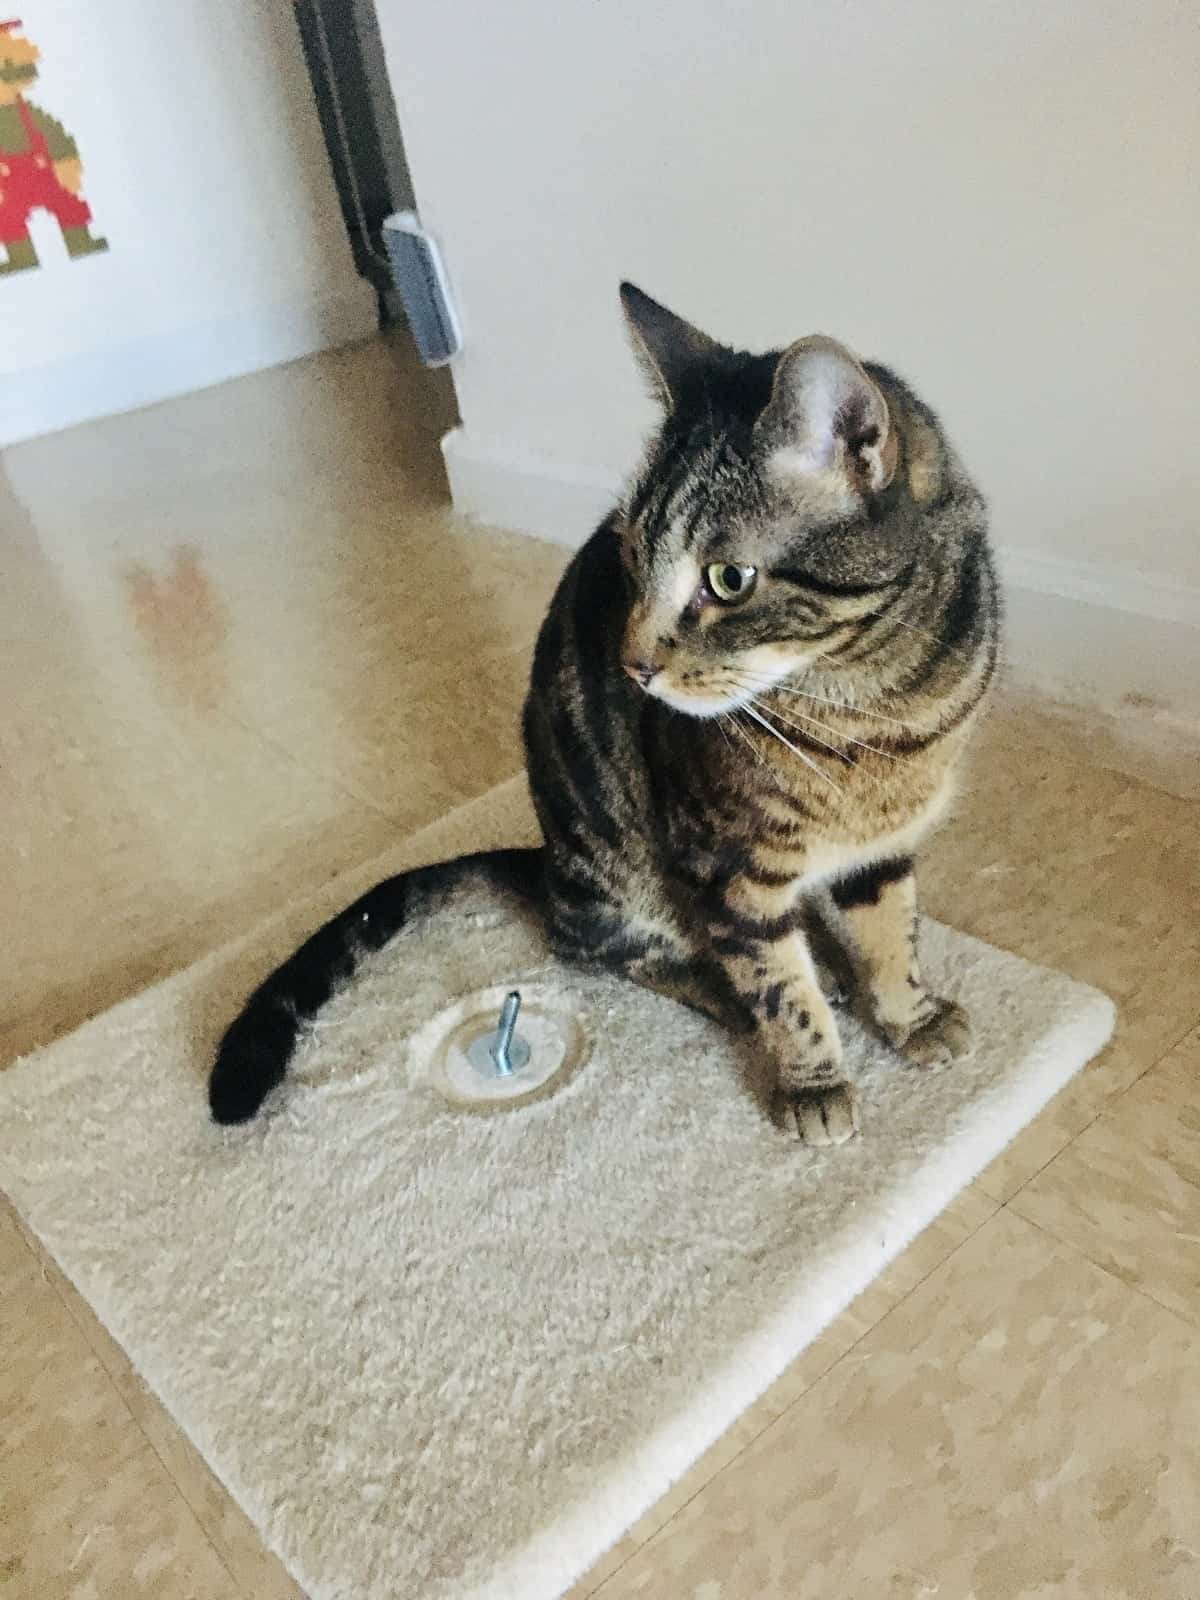
Carpet cat scratch posts are an excellent way to keep cats away from furniture and other items. They are also a good deterrent against unwanted visitors such as squirrels, raccoons, and birds.
A carpet cat scratch post consists of a piece of wood or metal (depending on the size) that is placed inside a hole drilled in the floor. Cats love to scratch these posts because they feel safe and secure while doing so.
When using a carpet cat scratch post, place it near the door or window of your house. Make sure that the post is sturdy and won’t fall over easily.
8. Cat-Shaped Scratcher
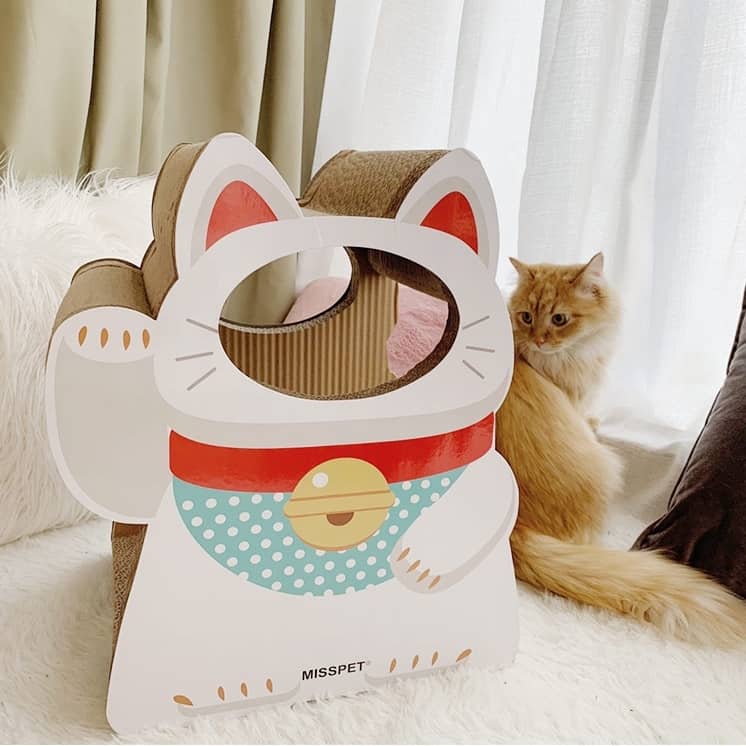
A cat-shaped scratcher is an adorable toy that will keep your cat entertained for hours. It’s made from durable plastic and features a soft plush interior that feels good against your cat’s fur.
The scratching post is shaped like a cat’s body and includes a retractable claw to help encourage your cat to scratch. Your cat will love the feeling of his claws raking across the surface of the scratcher.
Cat-shaped scratchers come in a variety of sizes, allowing you to pick the right size for your cat. Some models include a removable tray for scooping food and water. Other models feature a small compartment for storing treats.
Cat-shaped scatchers are available in several styles, including solid, striped, and patterned. Each style offers a unique look and feel that your cat will appreciate.
9. PVC Pipe Cat Scratcher
PVC pipe cat scratcher is made of durable plastic material. It is designed to provide cats with an entertaining and stimulating scratching surface.
The PVC pipe cat scratcher features a unique design that allows the user to easily remove the scratching posts from the base. The post comes apart from the base, allowing the user to place the post anywhere he/she wants.
This PVC pipe cat scratcher is a great addition to any indoor or outdoor cat enclosure.
10. Cat Scratching Book Board
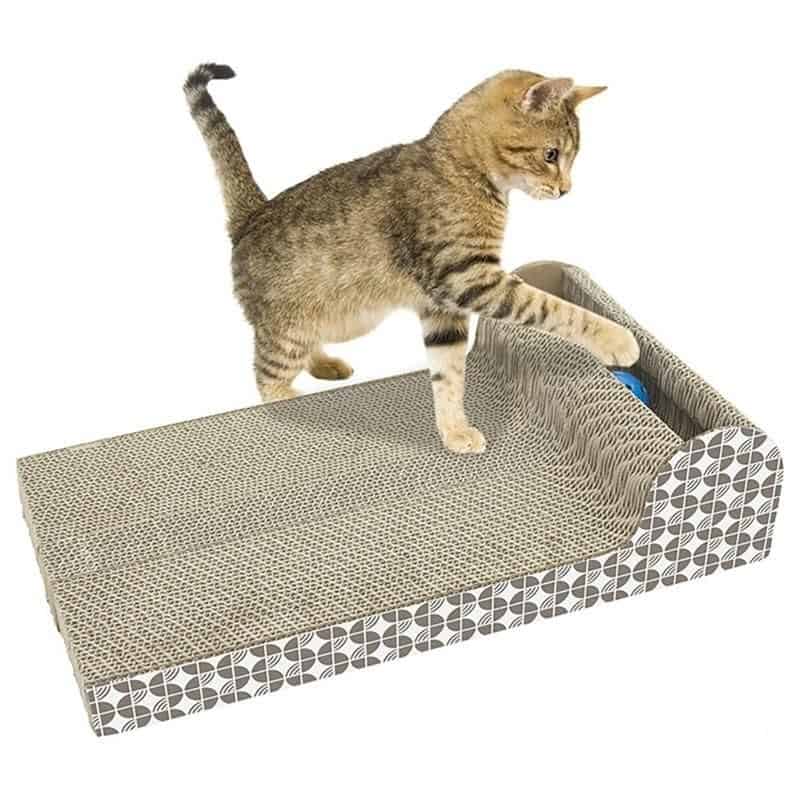
Cat scratching books are an excellent way to keep cats entertained while you’re away from home. Cats love to scratch and claw, and these books provide them with plenty of opportunities to do so.
Cats love to play with toys, but sometimes they tire of those quickly. Instead, they prefer to scratch and claw. So why not give them something else to do?
These cat scratching books are made of wood and feature a variety of textures and patterns. Some include small holes to allow the cat to reach inside and grab hold of the material. Others have raised areas that the cat can climb onto.
The best part is that these cat scratching books are inexpensive, easy to assemble, and great for any room in the house. They’re also a great gift idea for cat lovers!
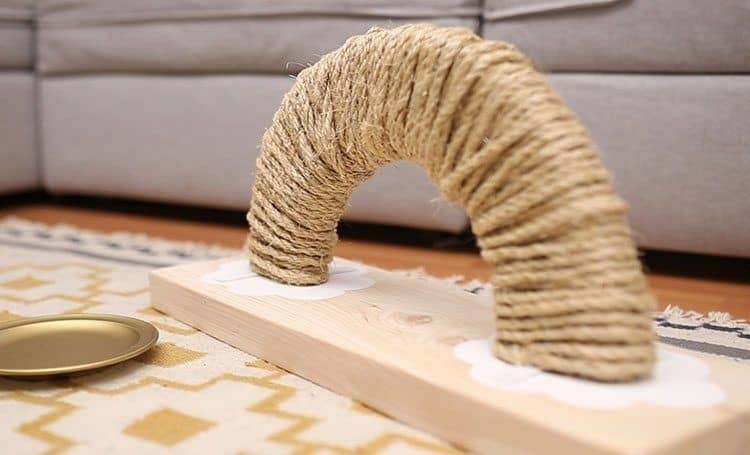
11. DIY Color Blocked Sisal Rope Cat Scratcher
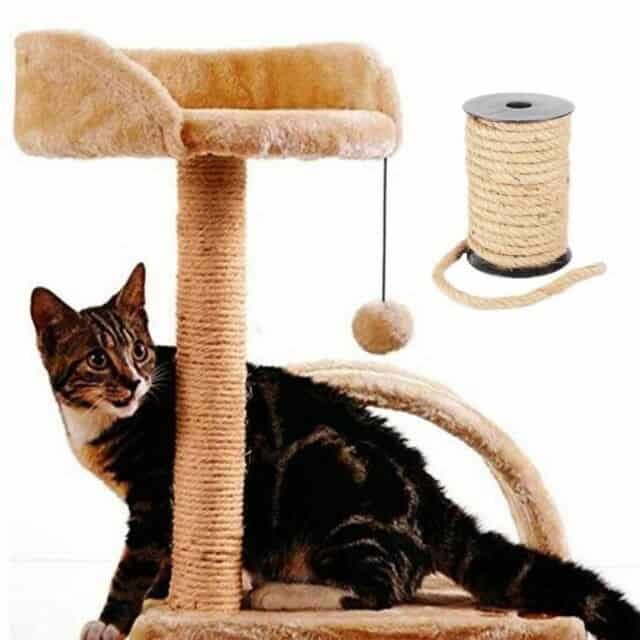
This is an easy project for anyone who wants to add a unique touch to their home while saving money.
I used a piece of sisal rope to make my cat scratcher. I bought a pack of colored sisal rope at Walmart for $5.00. I had two packs left over so I decided to make something else using them.
Step 1: Cut the sisal rope into 10 inch lengths.
Step 2: Tie knots every few inches to secure the ropes together.
Step 3: Use scissors to trim off any excess rope.
Step 4: Hang the rope cat scratcher in a place where your cat likes to scratch.
Step 5: Enjoy your colorful cat scratcher!
12. DIY Modern Geometric Cat Scratcher
This cat scratcher is made using recycled materials and is an inexpensive project that will last for years. I used old wooden pallet boards that were laying around my house, but any scrap wood would work.
Materials Needed:
- Wooden Pallet Boards (I used 3)
- Wood Glue
- Paint Brush
- Paint Tray
- Sandpaper
- Screws
- Drill
- Hammer
- Nails
Step 1: Measure and Cut Your Wood
Measure and mark the length of your boards. Then, measure down 2 inches from the top of the board and make another mark. Use these two marks to determine the width of your board. Make sure to account for the thickness of the boards.
Cut the boards to size.
Step 2: Attach the Boards Together
Using wood glue, attach the boards together. Be sure to apply glue to both sides of the boards. Allow the boards to dry completely before moving on to step three.
Step 3: Paint the Board
Paint the entire surface of the board. Once the paint dries, sand off any rough edges.
Step 4: Add Finishing Touches
Add finishing touches such as nails and screws to secure the boards together.
13. DIY Minimalist Sisal Rope Cat Scratcher
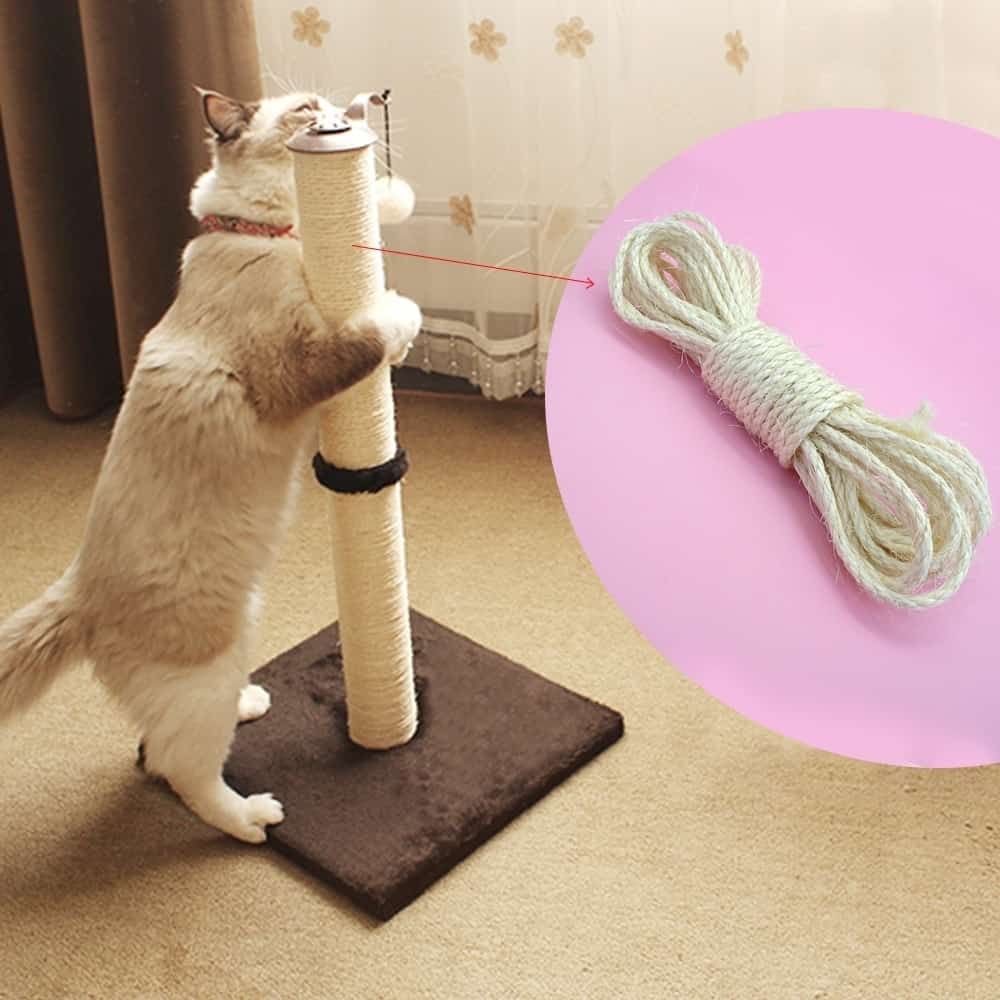
This is my first ever cat scratcher! I made it using sisal rope that I bought at Home Depot. I used a drill bit to cut the rope into strips and then tied them together to form a circle. I put the entire thing inside a plastic bag and hung it from the ceiling.
I tried it out on our two cats, who both loved it! It was pretty easy to make and I’m glad I did it because now we won’t have to worry about scratching posts anymore!
14. DIY Sase Sisal Rope Cat Scratcher
This cat scat sisal rope toy is the best thing I ever made. My cats loved it so much that I had to make more. I hope you enjoy my tutorial.
Materials Needed:
- 1/8″ thick Sisal Rope (I got mine at Walmart)
- 3/16″ diameter PVC Pipe
- 5/32″ Diameter PVC Cap
- Drill
- Pliers
Steps:
1. Cut the Sisal Rope into 8 equal sections.
2. Use pliers to bend the ends of the rope into an “L” shape.
3. Slide the cap onto the pipe and secure it using pliers.
4. Attach the rope to the pipe using pliers.
5. Fill the pipe with kitty treats.
6. Enjoy!
15. DIY Colorful Sisal Rope Cat Scratcher
This DIY project is simple and inexpensive, yet it creates a unique and colorful cat scratcher that will last for years.
Cat owners everywhere should try this out.
It’s a perfect solution for those who don’t want to spend money on expensive toys for their cats.
A sisal rope cat scratcher is a great addition to any home.
Here’s how to make one:
First, find a piece of sisal rope.
Cut the rope into about 3 feet pieces.
Then, cut each piece into four equal parts.
Next, tie the four pieces together using a knot.
Finally, use tape to secure the knots.
Now you’re ready to hang your sisal cat scratcher.
16. DIY Cardboard In A Box Cat Scratcher
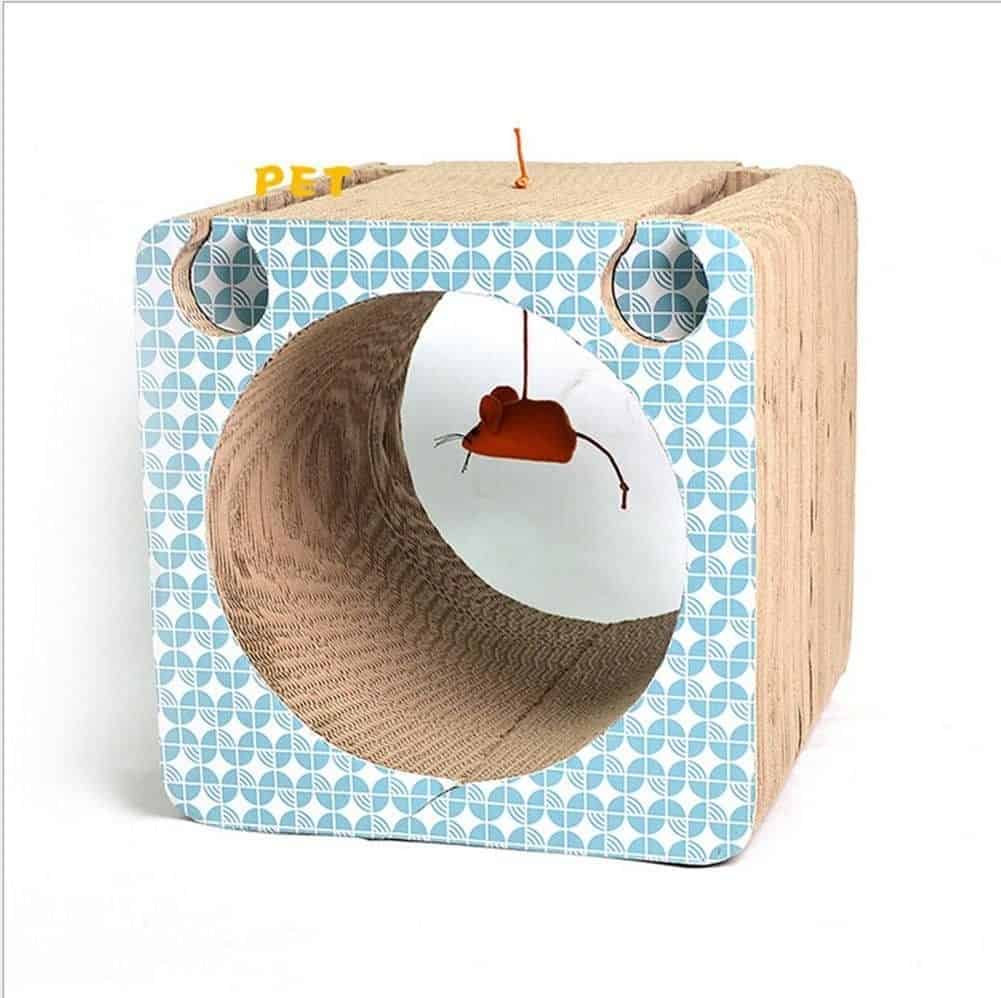
Cat scratchers are great toys for cats. They scratch things, and they’re also great for keeping your cat entertained and occupied.
But what about cardboard boxes?
They’re cheap, easy to find, and they don’t require any fancy tools. Plus, they’re perfect for scratching posts.
So why not use cardboard boxes as cat scratchers? Here’s how:
First, cut off the top of a box. This will give you a flat surface for your cat to climb up and scratch.
Next, cut out a hole in the middle of the box. This will allow your cat to go inside the box and scratch.
Now, just fill the box with treats and let your cat enjoy his new toy!
This DIY project is simple, inexpensive, and effective. And your cat will love it!
17. DIY Round Cardboard Cat Scratcher
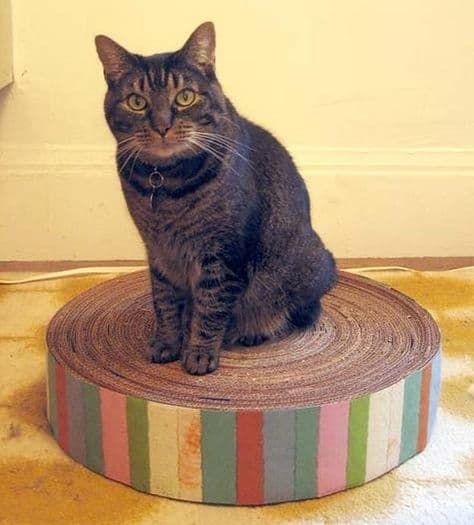
Cats are known to scratch furniture and walls. This can lead to damage to the surface. A simple DIY solution is to use cardboard boxes to create a cat scratching post.
This project is quick, inexpensive, and requires no tools. All you need is a box of cardboard.
Step 1: Cut the cardboard into pieces.
Cut the cardboard into four equal parts along its length. The width should be about two inches.
Step 2: Fold each piece of cardboard into a triangle shape.
Fold each piece of cardboard into an equilateral triangle shape.
Step 3: Place the cardboard triangles together.
Place the cardboard triangles together to form a rectangle.
Step 4: Cut off the corners.
Cut off the corners of the rectangle to give it a rounded appearance.
Step 5: Add a handle.
Add a handle to one side of the rectangle to hold it up.
Step 6: Attach the cat toy to the wall.
Attach the cat toy to the backside of the cardboard. Make sure the cat toy is facing away from the wall.
Step 7: Enjoy your cat scratching post.
Enjoy your cat scratching post.
18. Modern DIY Cat Scratcher Post
Do you have cats? Do you enjoy watching them play with toys?
Well, here’s something you can do yourself: a cat scratcher.
This simple device is made out of wood and holds up well over time.
It’s inexpensive and requires no tools to install.
Here’s what you need to create one:
- A piece of wood about 3/4″ thick.
- A hammer.
- Some nails.
- Wood glue.
- Sandpaper.
- Paint.
Step 1: Cut the wood into two pieces. The length should be slightly longer than the width of the box.
Step 2: Use a nail to mark the center of each side of the box.
Mark the top edge of the box too.
Step 3: Using a hammer, drive three nails into the sides of the box.
Use a nail gun if you’d prefer.
Step 4: Glue the two pieces together. Let dry.
Step 5: Sand the edges smooth.
Step 6: Coat the entire surface with paint.
Let dry.
Step 7: Hang the scratcher in a window or door where your cat likes to scratch.
Now, whenever your cat wants to scratch, he has a place to go.
This project takes very little effort and is inexpensive to make.
So, if you want to give your cat a better scratching spot, try this DIY cat scratcher.
19. Hanging Scratching Pad For Cats
If you have a small space and don’t want a scratch post taking up floor space, this hanging scratching pad is the perfect solution.
It’s easy to make with just a few supplies, and it can be hung from a door knob or any other hook.
Plus, it’s reversible so you can get double the use out of it.
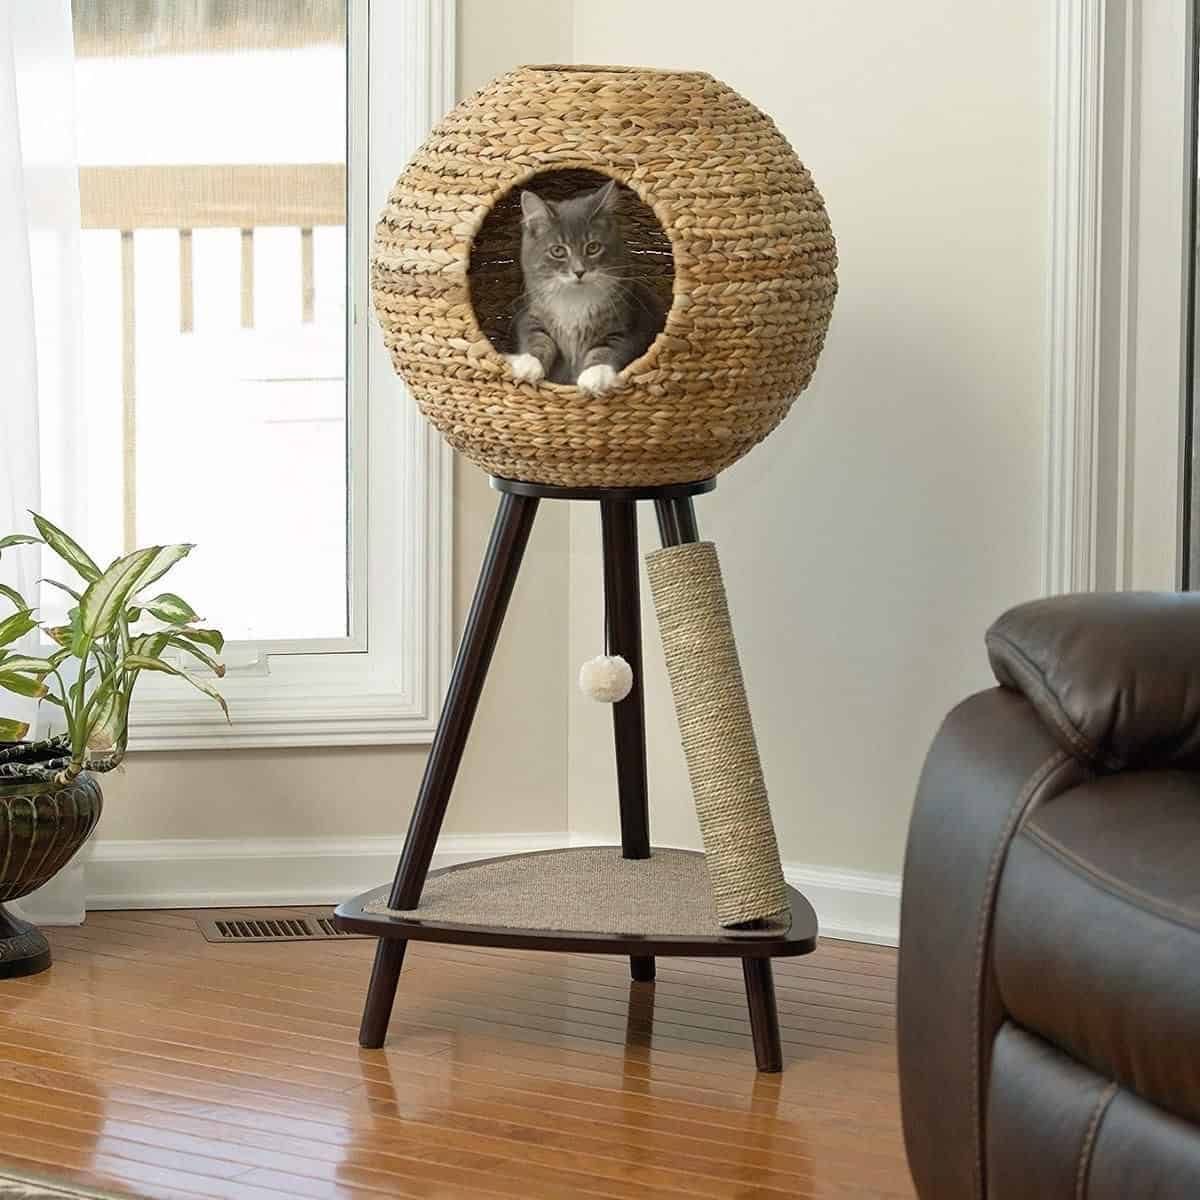
20. Homemade Cat Scratching Post
Cat owners often spend hours trying to find the perfect cat scratching post.
They search far and wide for one that won’t scratch their furniture, isn’t too tall, and doesn’t fall apart after a couple years of use.
But what about those cats that don’t enjoy climbing up trees? What about those cats that prefer to scratch things instead of climb up trees?
There’s no need to sacrifice your home decor to accommodate your feline friend. A homemade cat scratcher is easy to construct and inexpensive to buy.
All you need is a piece of plywood and a bunch of nails.
Here’s how to make a DIY cat scratcher:
Step 1: Cut the Plywood into Pieces
Cut the plywood into four equal pieces. Each piece should measure 12 inches x 20 inches.
Step 2: Drill Holes Into the Plywood
Drill holes into each piece of plywood using a drill bit sized for 3/8 inch wood screws.
Step 3: Attach Nails to the Backside of the Plywood
Attach wooden dowels to the back side of each piece of plywood. The dowels should be spaced evenly across the entire surface area of the plywood.
Step 4: Screw the Pieces Together
Screw the pieces together using 3/8 inch wood screw. Make sure to fully tighten the screws so they’re secure.
Step 5: Hang the Scratcher
Hang the scratcher where your cat can easily reach it. If you want to hang it on a wall, attach an additional piece of plywood underneath the first layer of plywood.
Now your kitty has a place to scratch without damaging your house.
Conclusion
What kind of cat scratching post would you like to see in your home? Would you prefer something simple or elaborate? If you want to give your cat his very own space to scratch, then you should consider building a DIY cat scratching post ideas.
A cat scratching post is a great way to provide your feline friend with a place to relax and relieve stress. They also come in handy if you don’t have enough room to dedicate a spot to your furry pal.
Cats love to scratch posts because they allow them to stretch their claws and claws are essential to their survival. The best cat scratching posts are durable and sturdy, so that your kitty won’t hurt himself when he scratches.
Cats have been domesticated for thousands of years. They’ve adapted to living indoors and eating human food.
However, many cats still love to explore nature and get outside. This means that they’ll require time outdoors to satisfy this instinct.