Wood countertops are a beautiful and natural addition to any kitchen. They can be expensive, though, if you hire a professional to install them.
But did you know that you can install them yourself?
It’s actually not as difficult as you might think! In this blog post, we will provide 27 stunning DIY wood countertops ideas for your kitchen. We will show you how to create beautiful countertops using a variety of different materials and techniques.
We’ve got the perfect DIY wood countertops for all of your needs. Whether you’re looking to go classic or contemporary, we have just what you need.
Let’s give it a try!
Table of Contents
1. Butcher Block Kitchen Countertops
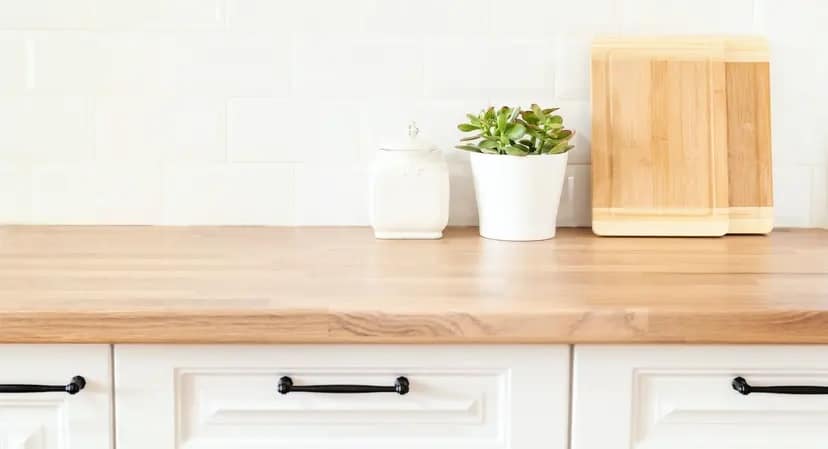
You can achieve different looks by simply sanding and refinishing the counters. It also add a warm hint and character that can’t be found with other materials. Plus, they’re easy to care for and relatively affordable.
With the basic carpentry skills and materials, you can make this butcher block countertop.
The good news is that butcher block is relatively easy to install, and even beginners can achieve professional-looking results with a little care and attention to detail.
2. Live Edge Wood Countertops
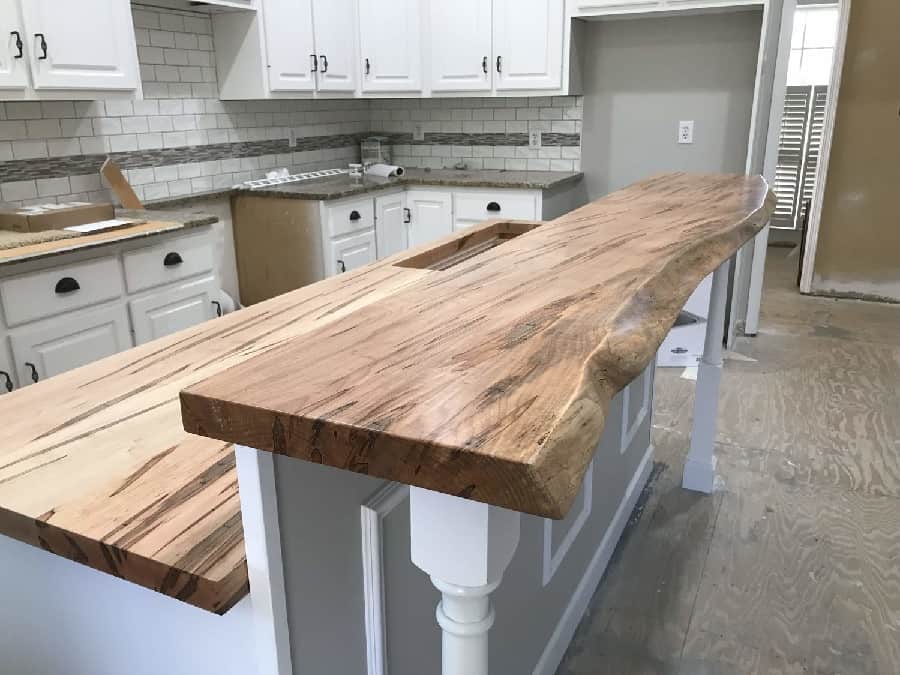
Live edge countertops are made from slices of tree trunk or branches, and they make a stunning addition to any kitchen.
First, you’ll need to choose the right piece of wood. Look for a piece that’s at least 12 inches wide and 2 inches thick. The length will depend on the size of your countertop. Once you have your piece of wood, use a saw to cut it into the desired shape.
Once your wood is cut to size, sand it down until it’s smooth. Then, apply a sealant or finish of your choice. This will help protect the wood from stains and moisture. When choosing a finish, keep in mind that darker finishes will show more scratches and imperfections than lighter ones. Finally, install your new countertop.
3. Reclaimed Wood Countertops
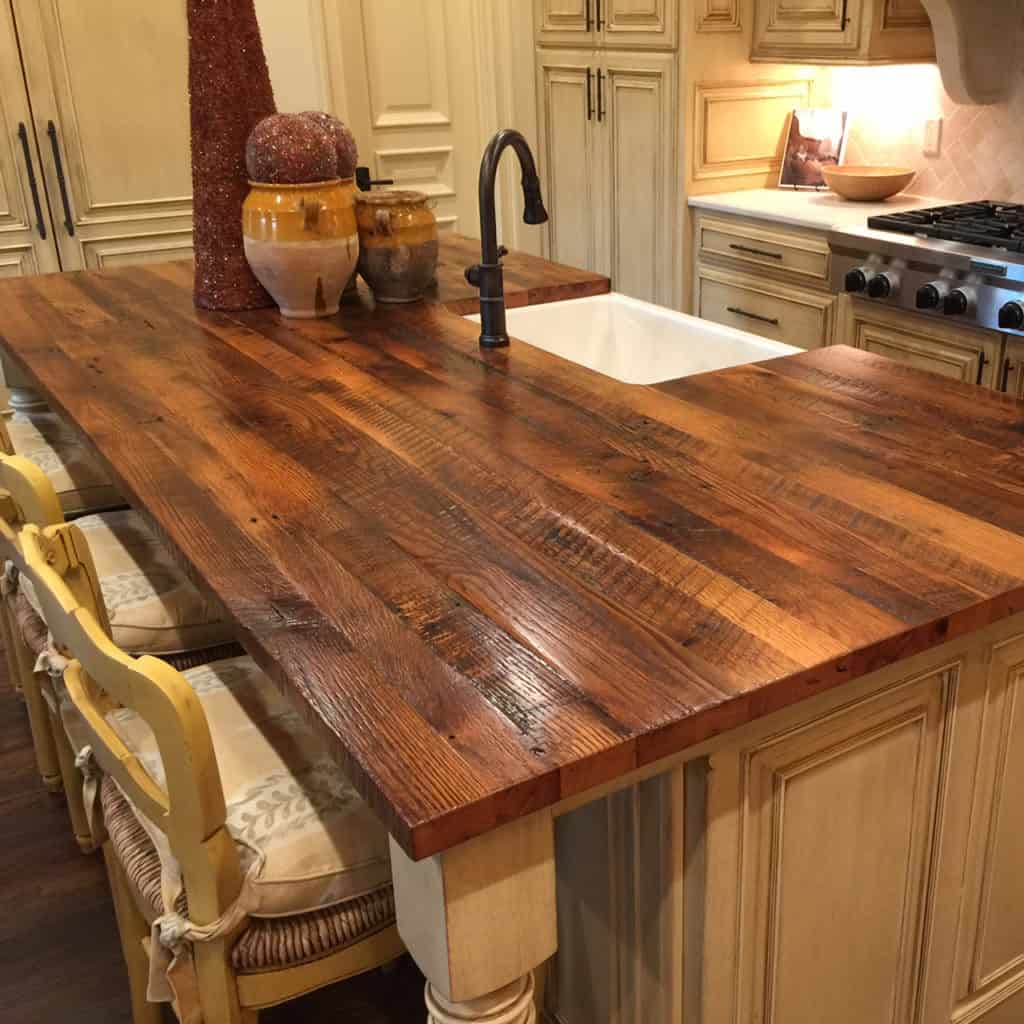
Reclaimed wood from an old barn or fence can be used to create unique countertops that will give your kitchen a rustic, country feel.
You can stain or paint the wood to match your existing cabinets, or you can leave it natural for a more natural look.
First, make sure the wood is properly sealed and sanded before installation. Second, use a level when installing the countertop to avoid unevenness. And finally, be sure to caulk any gaps between the countertop and the wall to prevent water damage.
4. Driftwood countertops
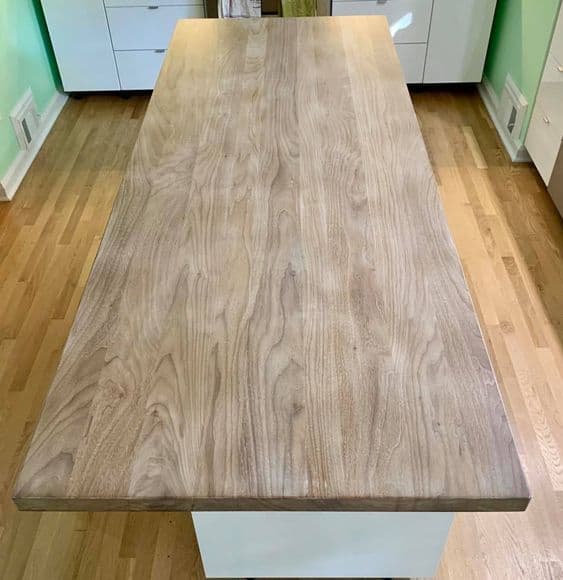
To make this driftwood countertop, just gather up some driftwood from your local beach or riverbank, and then follow these simple steps.
First, sand down the driftwood pieces to smooth out any rough edges. Then, arrange the pieces on a flat surface to create your desired countertop shape. Once you’re happy with the arrangement, glue the pieces together with a strong adhesive.
Next, apply a layer of epoxy resin to the countertop. This will help to protect the wood and give it a smooth, shiny finish. Finally, add some sealant to the joints between the pieces of wood to prevent water damage.
5. Upcyled Pallet Wood
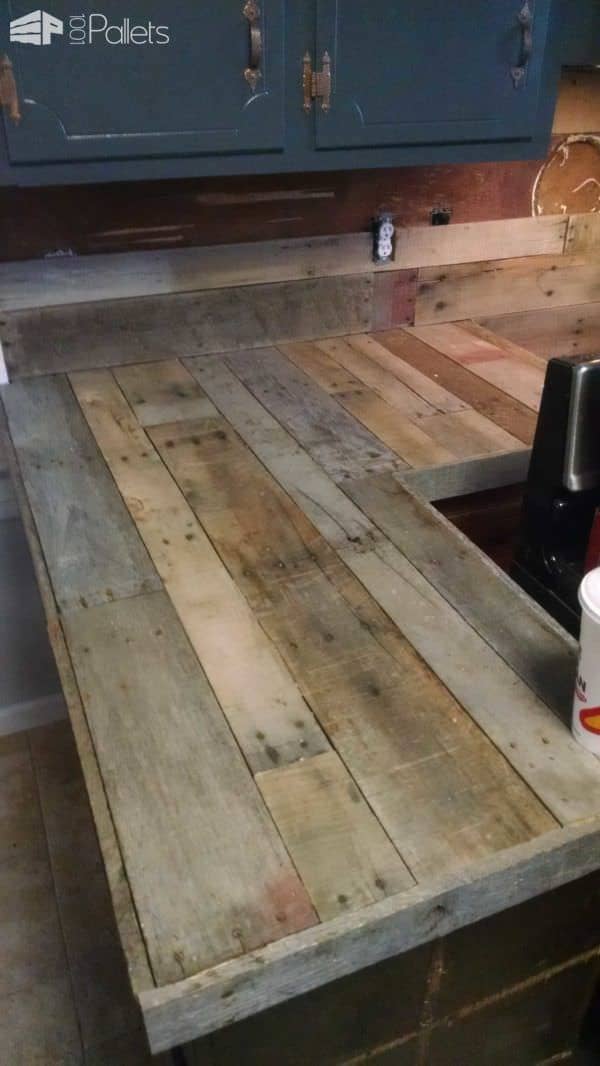
Pallet wood is a great option for DIYers, as it is easy to work with and relatively inexpensive. To create your own pallet wood countertop, start by measuring the area where you want to install the countertop.
Cut the boards to size and then sand them down to create a smooth surface. Next, apply a layer of wood sealer to protect the wood from moisture.
Finally, Install the boards using finishing nails or screws, and enjoy your new countertop.
6. Laminate wood countertops
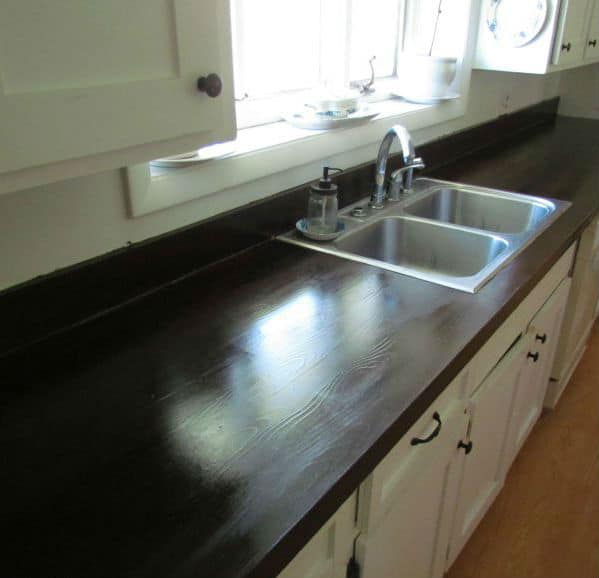
Laminate wood countertops in particular are a popular choice for DIYers because they are relatively inexpensive and easy to install. Laminate countertops are also durable and easy to care for, making them a great option for busy families.
If you’re thinking of installing laminate wood countertops in your kitchen, here are a few things to keep in mind. First, be sure to measure your space carefully before you buy your countertop material.
You’ll also need to choose a laminate finish that complements the rest of your kitchen décor.
And finally, be sure to follow the manufacturer’s instructions carefully when installing your new countertops.
7. Wood Tile Installation
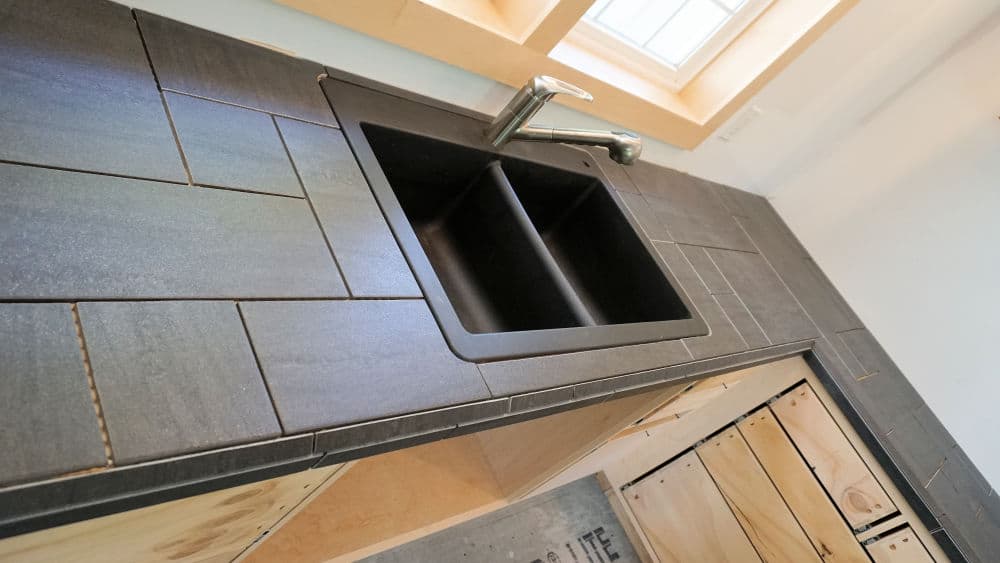
The wood tile countertop can be a good option if you want the look of a wood countertop without the maintenance. These are tiles that have a wood grain look, and they come in different colors. You can find them at most home improvement stores.
The tiles are easy to install, and you can do it yourself if you’re handy with woodworking tools. The only downside is that the tiles can be scratched or chipped, so you’ll need to be careful with them. But overall, they’re a good option if you want the look of wood without the hassle.
8. Painted wood countertops
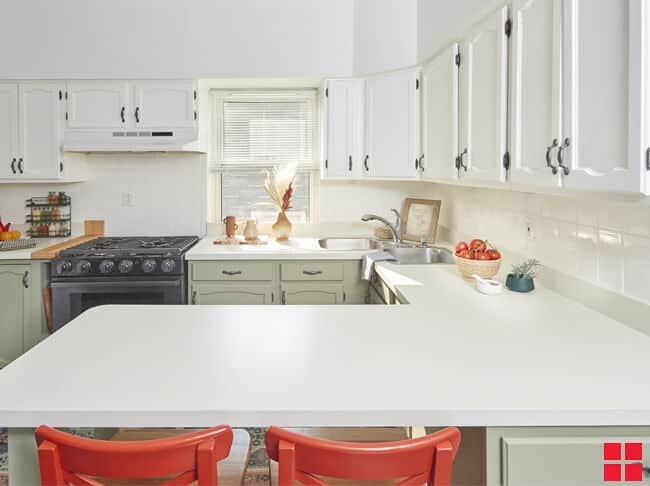
This eye-catching DIY project is surprisingly easy to do, and it can really help to brighten up your space. Plus, painting your countertops is a great way to customize your kitchen and make it truly unique.
If you’re not sure what color to paint your countertops, try choosing something that coordinates with your backsplash or cabinets.
Or, if you’re feeling really bold, go for a bright and eye-catching color that will really make your kitchen pop.
9. Cedar Wood Countertops
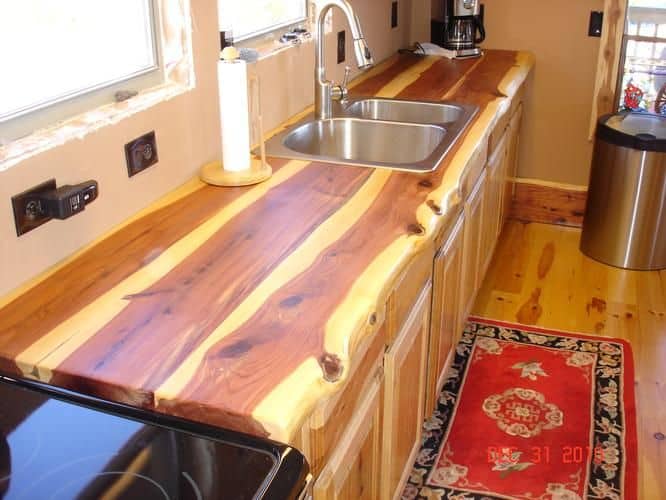
Cedar is a popular choice for wood countertops because it is naturally water-resistant and resistant to rot and insect damage.
It is also a softwood, so it is easy to work with and cut to size. To install cedar countertops, start by measuring the area where the countertop will go.
Cut the lumber to size using a table saw or circular saw, then sand the edges smooth. Next, apply a coat of mineral oil to the surface of the wood using a clean cloth.
Allow the oil to soak in for several hours, then buff away any excess. Finally, attach the countertop to your base cabinets using screws or brackets.
10. Bamboo the Eco-Friendly Material
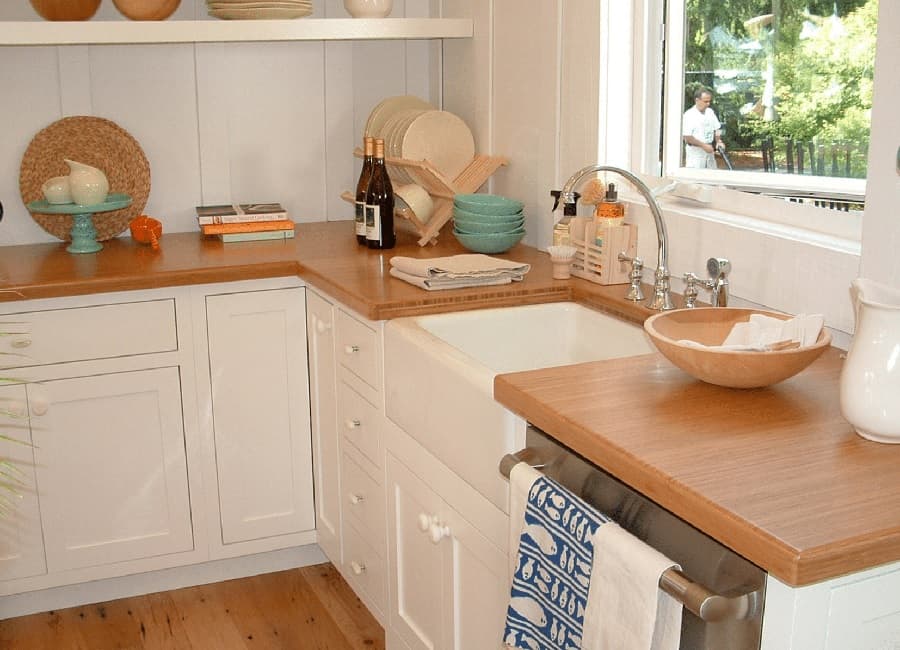
Bamboo is a sustainable material that is both beautiful and durable.
It’s also relatively easy to work with, which makes it a great option for DIYers. When installing bamboo countertops, be sure to use a food-safe sealer to protect the wood from moisture and stains. You’ll also need to avoid using harsh chemicals on the countertop, as they can damage the finish.
This will help to protect your countertops from spills and stains.
11. Use the Maple Boards
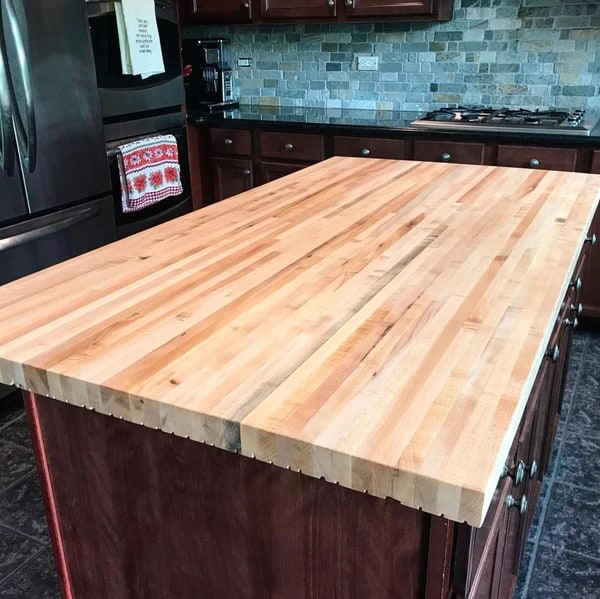
Maple is an ideal choice for a countertop because it’s extremely hard and durable. Plus, it’s very easy to clean and maintain. The key to a successful countertop is all in the preparation. First, you’ll need to sand the surface smooth and then apply a sealer to protect it from moisture.
Once that’s done, you can stain or paint your countertop any color you like. Then just add a few coats of polyurethane to protect the finish.
12. Black Walnut Countertops
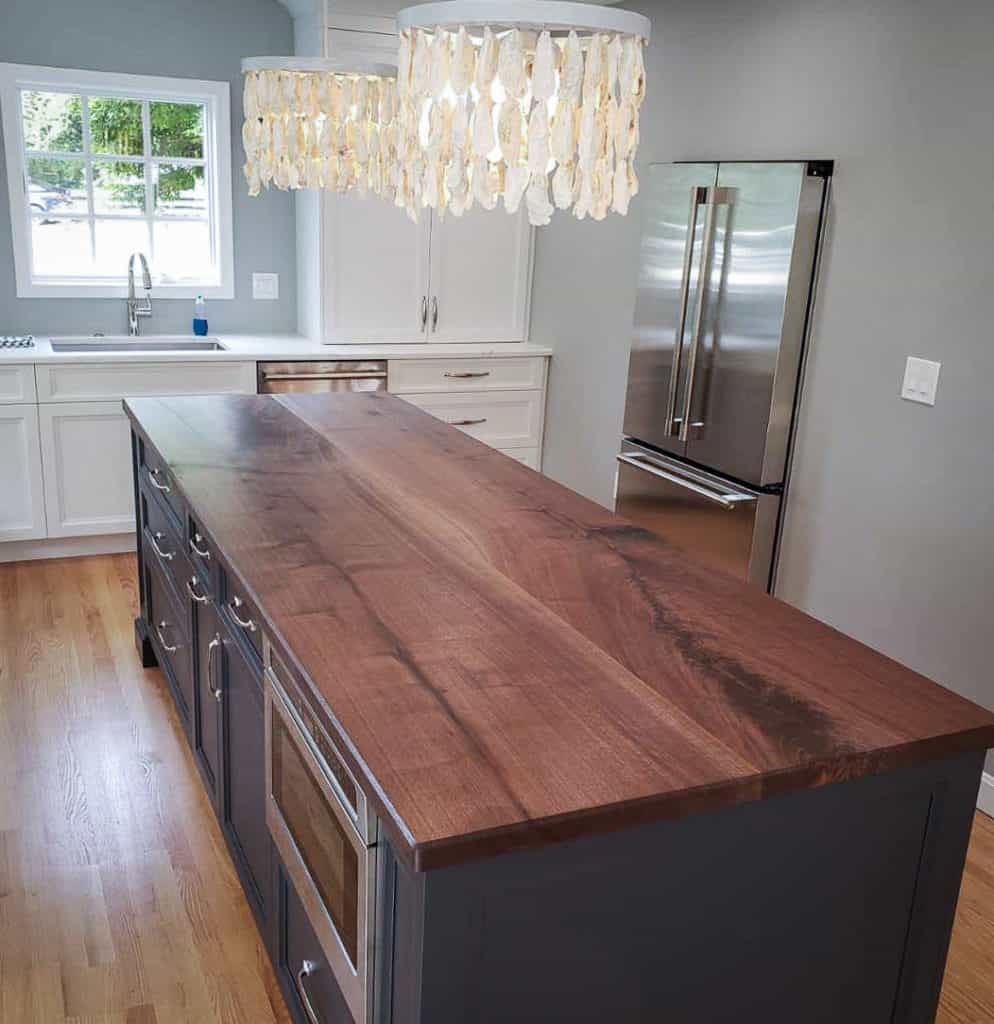
This hardwood is naturally resistant to scratches and nicks, making it ideal for heavy-use areas like the kitchen. Walnut also has a rich, dark color that can help to give your kitchen an elegant look.
If you’re considering a DIY wood countertop project, here are a few things to keep in mind. First, walnut is a bit heavier than other woods, so be sure to use sturdy supports when installing your countertop. Second, because of its hardness, walnut can be difficult to work with using hand tools.
A power drill or saw will make the job much easier. Finally, be sure to seal your countertop well before use to protect it from water damage.
13. Minimalist Cherry Countertops
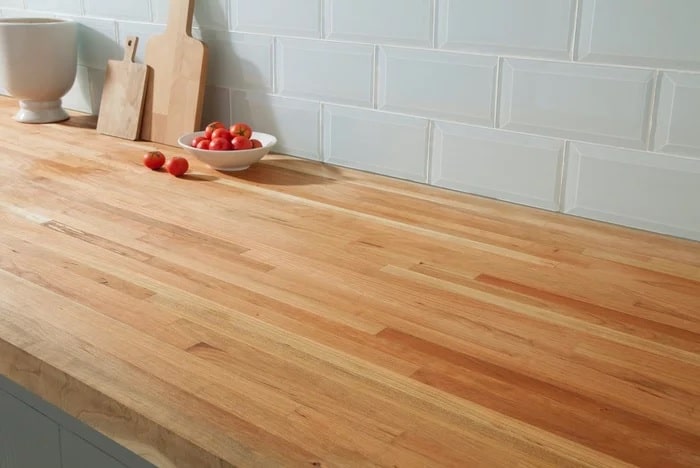
It’s a hardwood with a straight grain that takes stain well, so you can achieve almost any look you desire.
And because it’s so dense, cherry is also resistant to scratches and dents. First, measure your cabinets and cut the cherry boards to size. Be sure to use a sharp saw blade to avoid splintering the wood. Next, apply a generous amount of wood glue to the tops of the cabinets and carefully set the cherry boards in place.
Use clamps or weights to hold the boards in place while the glue dries. Once the glue has dried, sand the countertops smooth and apply a finish of your choice.
14. Oak Countertops
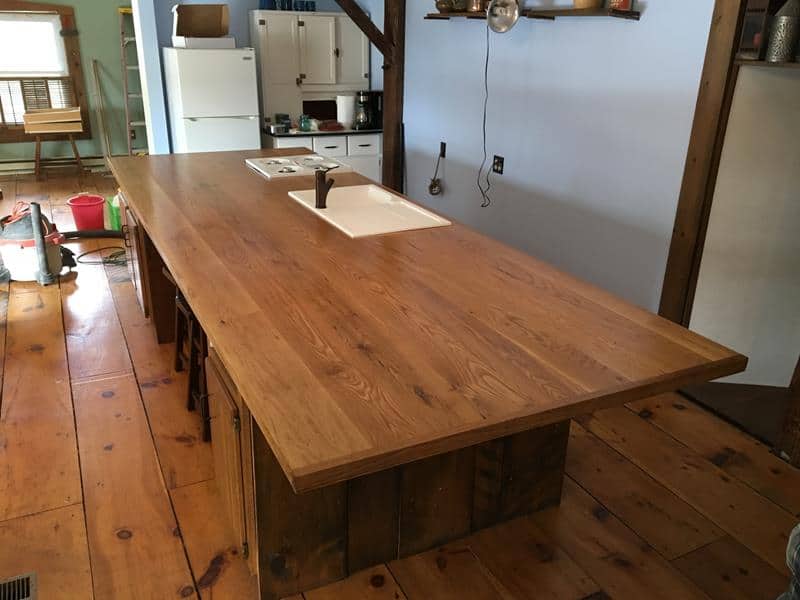
Oak is a strong and durable wood that can withstand years of wear and tear. It also provides a beautiful natural grain that can add warmth and character to your kitchen.
Supplies you will need to make this oak countertop:
- Oak boards
- Wood glue
- Clamps or weights
- Sandpaper
- Food-grade finish of your choice
To begin, apply a generous amount of wood glue to the tops of your cabinets. Next, carefully set the oak boards in place. Use clamps or weights to hold the boards in place while the glue dries. Once the glue has dried, sand the countertops smooth and apply a finish of your choice.
15. Mahogany Countertops
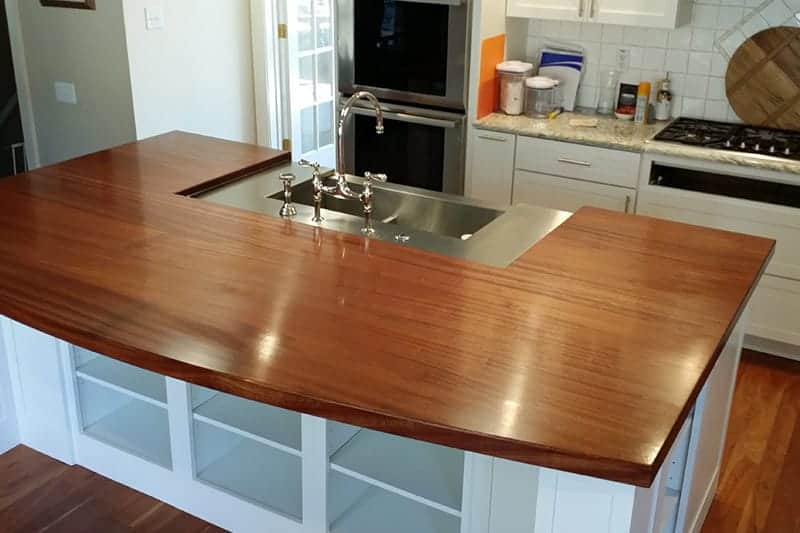
This hardwood is both beautiful and durable, making it an excellent choice for a countertop surface. To create your own mahogany countertop, you will need to purchase enough lumber to cover the desired area, as well as some finishing materials.
Once you have all of your supplies, you can begin the process of cutting and assembling the wood. After the countertop is assembled, you will then need to sand it smooth and apply a finish.
16. Teak countertops
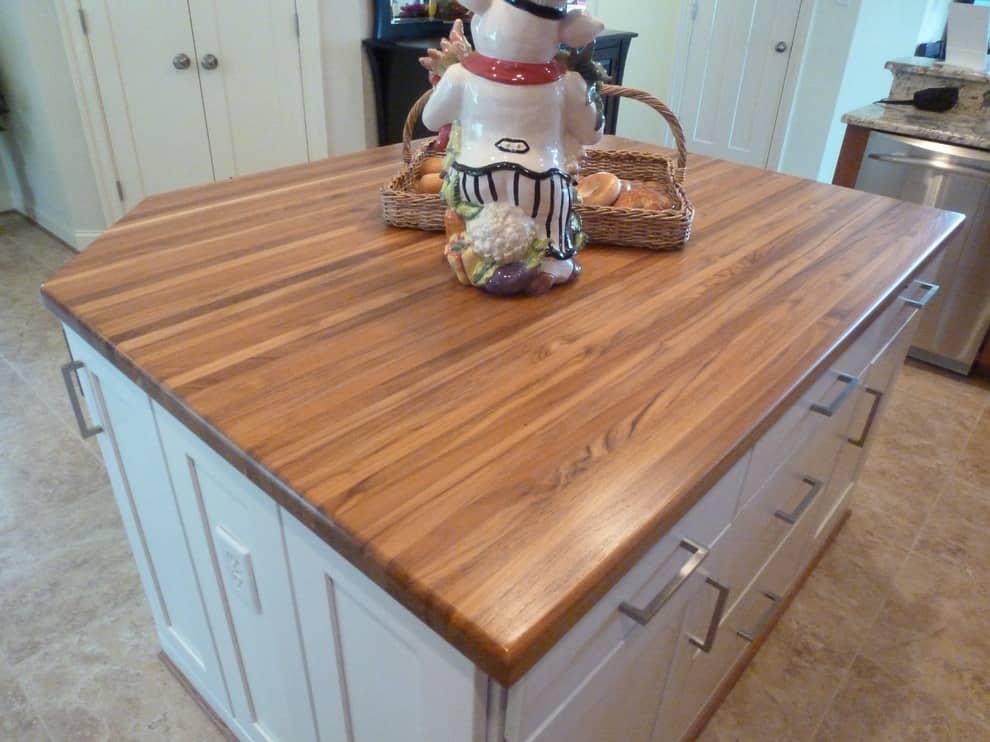
Teak countertops are durable and easy to care for, and they can add a touch of luxury to any space. If you’re considering adding teak countertops to your kitchen, here are a few things to keep in mind.
First, teak is a very dense wood, so it’s important to choose a thickness that will support the weight of your dishes and cookware. Second, teak is naturally oil-rich, so it’s important to seal the wood properly before use. Otherwise, the oil can seep out and damage your countertop. Finally, teak countertops require regular maintenance, so be sure to factor this into your budget.
17. Rustic Wood Countertops
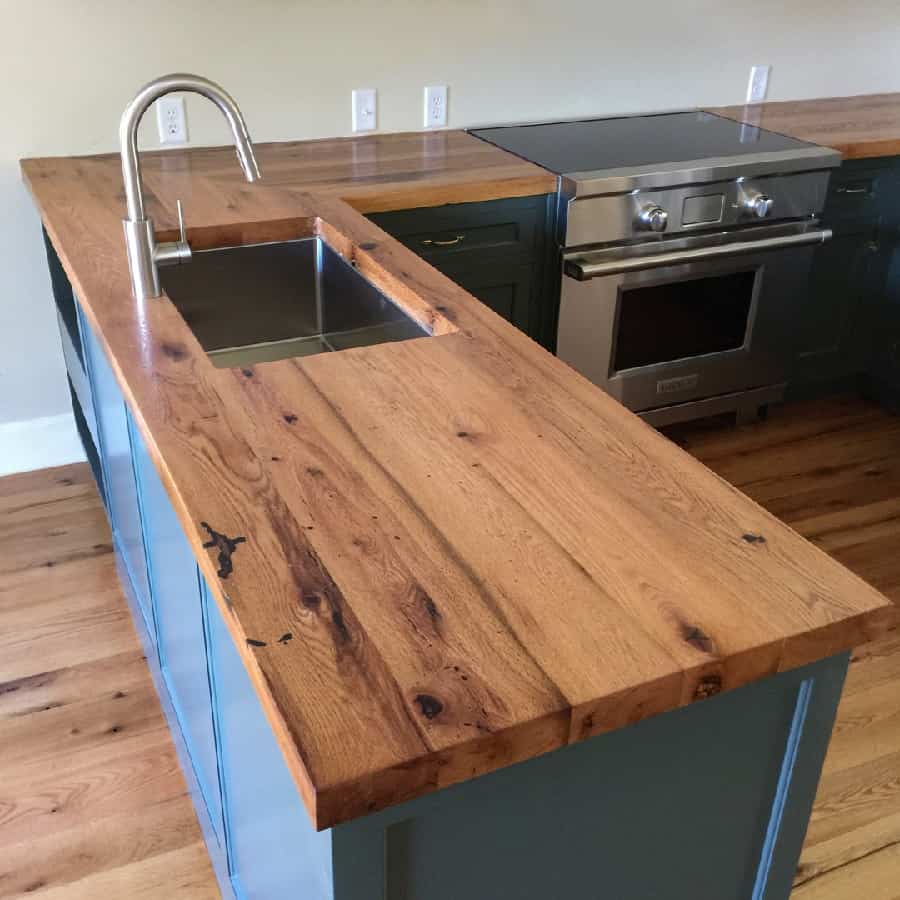
Rustic style add a touch of warmth and charm, and they’re easy to customize to fit your space. You can make them from scratch using reclaimed wood, or you can purchase pre-made countertops and finish them yourself.
Either way, you’ll need to sand, stain, and seal the wood to protect it from water damage. You can also add an extra layer of protection by applying a food-safe oil finish.
18. Modern Style Wooden Countertops
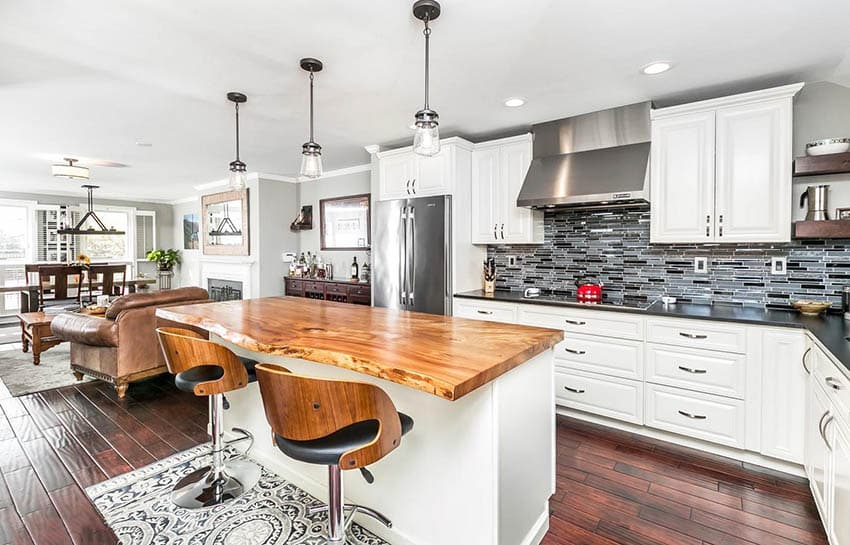
This sleek appearance of the wooden countertop accentuate the modern look. The wood used for this countertop is a light-colored hardwood. The DIY wood countertops ideas creates a seamless and clean look in the kitchen. The surface is easy to maintain and can be wiped clean with a damp cloth. So it can be the best option if you don’t have much time to clean it.
To start, you will need:
- Wooden board
- Saw
- Drill
- Dowel jig
- T-bar clamp
- Belt sander
- Wood glue
- Clamps
19. Weathered Wood Countertops
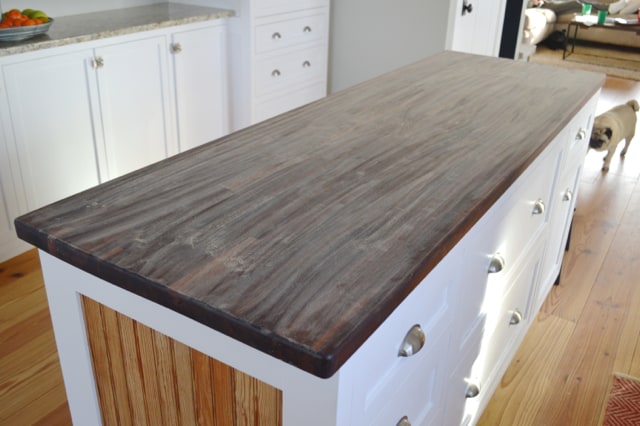
A weathered wood countertop is the perfect way to add a bit of rustic charm to your space, and it’s a project that can be completed in just a few hours. To get started, you’ll need to gather some supplies. First, you’ll need to choose the right wood. Second, you’ll need to select a finish. And third, you’ll need to gather the couple tools and supplies needed to complete the project.
Once you have everything you need, the project is actually quite simple. First, Cut the wood to size and then sand it down until it’s smooth. Next, you’ll apply the finish of your choice. And finally, you’ll install the countertop in your desired location.
20. Distressed Wood Countertops
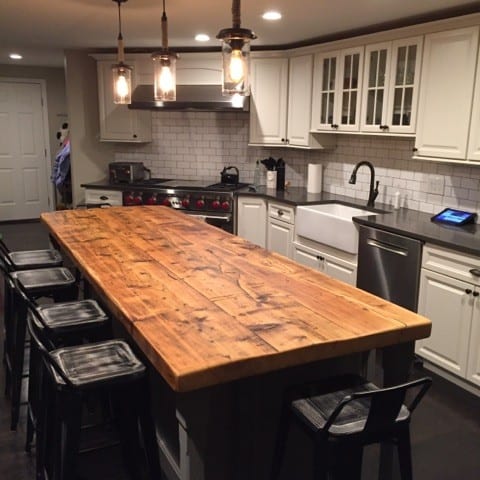
While traditional countertop materials like stainless steel and granite can give your kitchen a modern feel, distressed wood brings a touch of warmth and character. Plus, it’s easy to DIY.
Here’s how:
First, sand down the surface of your countertop to rough up the wood grain. Then, apply a dark stain or paint to the top. Once the stain or paint is dry, use a hammer and nails to create a distressed look. Finally, seal the countertop with a clear coat of polyurethane to protect it from spills and everyday wear and tear.
21. Knotty Wood Countertops
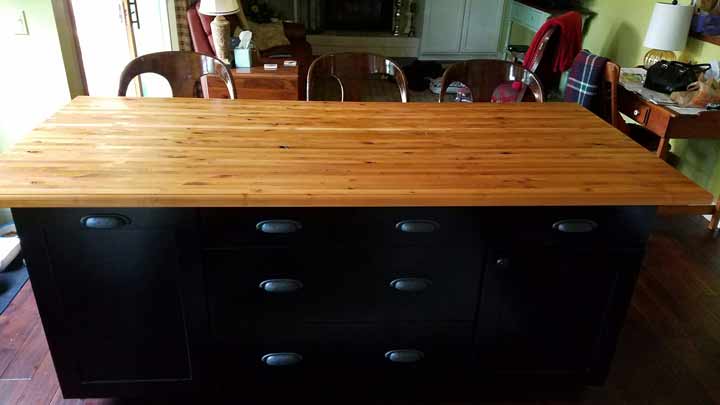
Knotty woods have a rustic charm that can give your kitchen an effortlessly cool vibe. Best of all, knotty wood countertops are actually quite easy to make yourself. All you need is a piece of knotty wood, some sandpaper, mineral oil, and beeswax.
Once you have all of your supplies, simply sand down the wood, apply mineral oil, and then finish with a layer of beeswax. In just a few simple steps, you’ll have a beautiful and unique wood countertop that will instantly transform your kitchen.
22. Industrial Wood Countertops
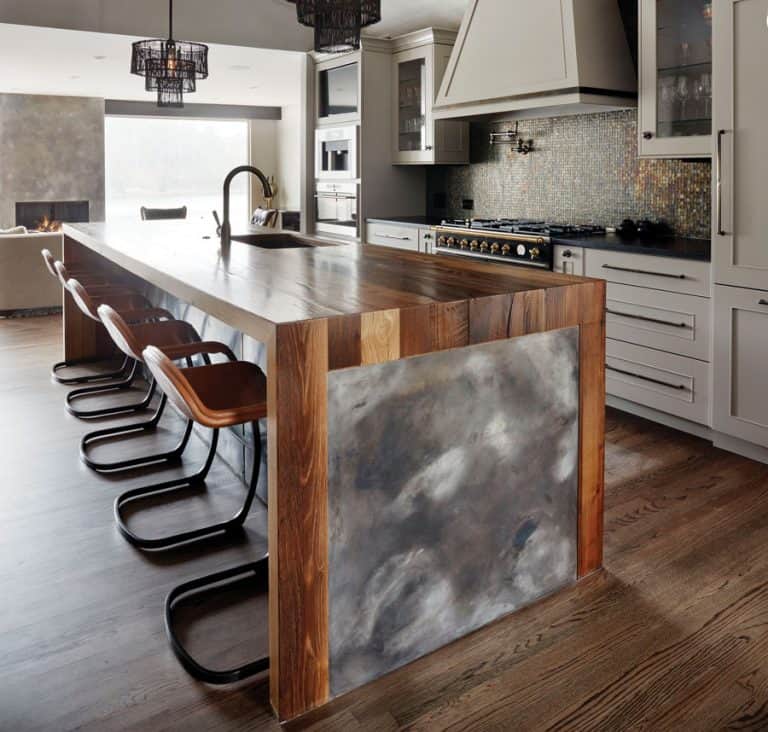
Make the countertop work both functionally and aesthetically at the same time. You can use the wood material to accentuate the industrial style to your kitchen. First, measure the area where you want your countertops to go. Then, cut the boards to size and sand them down. Next, apply a layer of wood sealer. Once that’s dry, stain the boards in your desired color. Finally, apply a layer of Polyurethane to protect the countertops and give them a glossy finish.
23. Farmhouse Wood Countertops
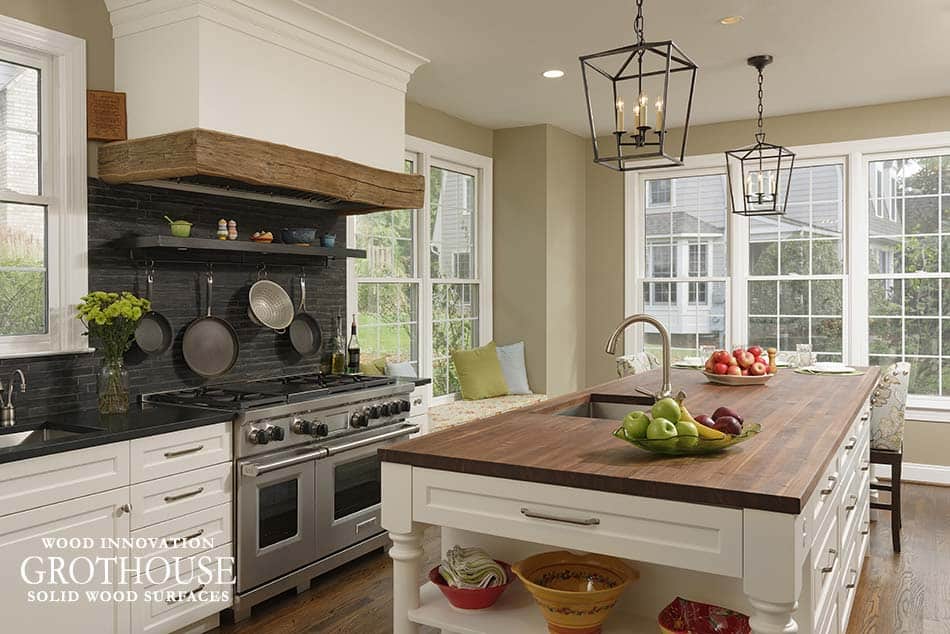
The countryside ambiance can easily be created by applying the farmhouse design to the kitchen while also functional. To get a farmhouse-style look, you’ll want your countertop to be wide enough to extend beyond the edge of your cabinets.
As for thickness, most countertops are about 1-1/2 inches thick. Once you’ve cut your wood to size, the final step is to finish it. You can stain or paint your countertop, but for a natural look, simply apply a few coats of varnish.
24. DIY Small Wood Countertops
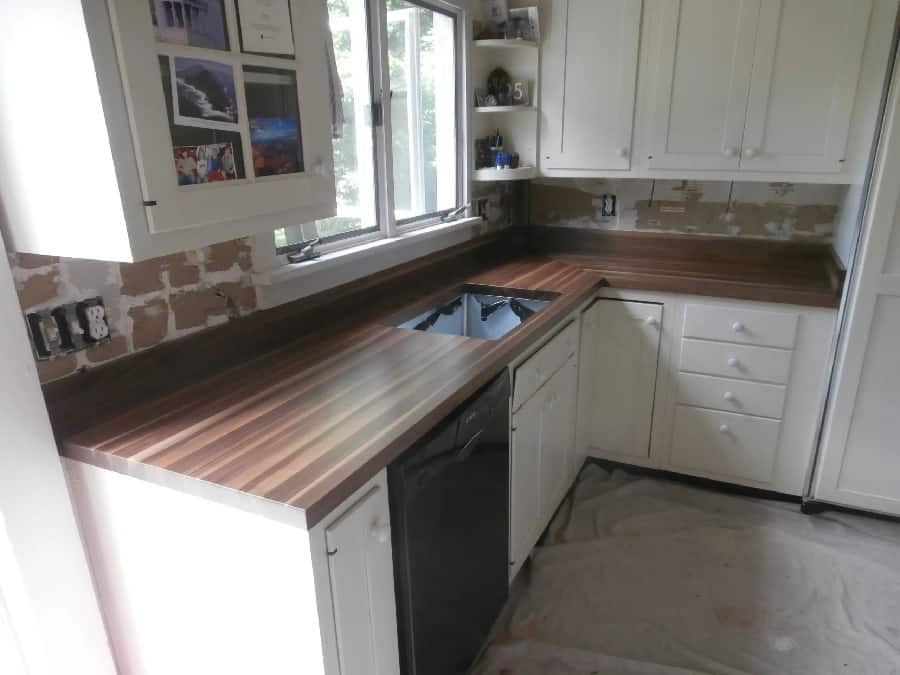
If you have to deal with the limited area, the small wood countertop can be the best option. You will need some boards to create this countertop. You can use the old pallets or any other recycled wood materials. The key is to make sure that the boards are in the good condition before starting your project.
After you have prepared the boards, you need to decide the design of your countertop. If you want something simple, you can just make a rectangular countertop. But if you want to be more creative, you can make a countertop with a different shape. For example, you can make an L-shaped countertop or U-shaped countertop.
Once you have decided the design, the next step is to cut the boards according to the size of your countertop.
25. End Grain Wood Countertops
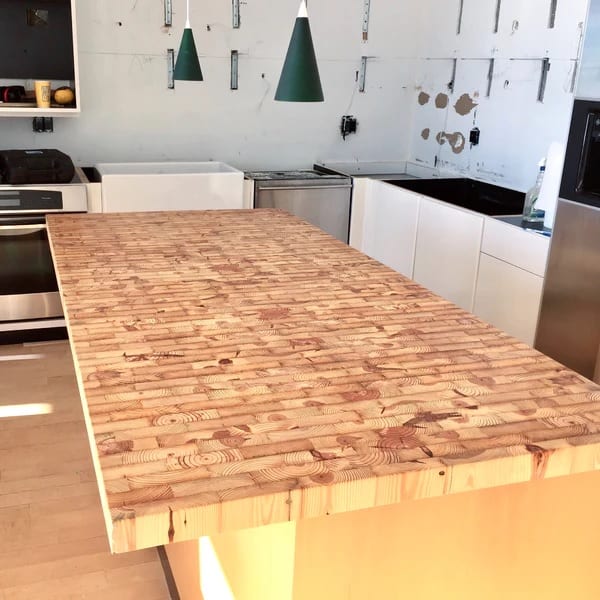
End grain wood countertops offer a unique and eye-catching option for those looking to add a touch of personality to their kitchen. Unlike traditional wood countertops, end grain countertops are made by slicing logs into thin pieces and then gluing them back together so that the end grain is exposed.
This results in a beautiful, one-of-a-kind pattern that adds interest and depth to the countertop. In addition to their good looks, end grain wood countertops are also extremely durable and easy to care for. With proper sealing and maintenance, they will last for years to come.
26. Herringbone Wood Countertop
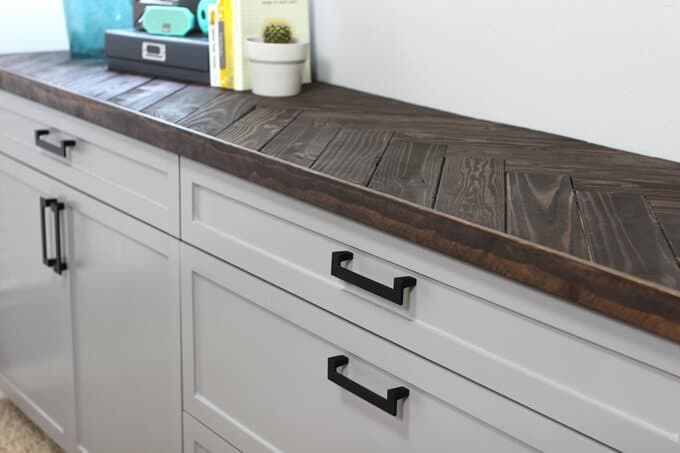
When you plan to make a touch of stylish look to your living space, try the herringbone pattern. Herringbone patterns can be created with any type of wood, so you can choose a color and finish that matches your kitchen cabinets or appliances.
To create a herringbone wood countertop, start by measuring the space and cutting the boards to size. Then, attach the boards together using wood glue and finishing nails. Once the glue has dried, sand the surface smooth and apply a sealer to protect the wood.
27. Chevron Pattern in Style
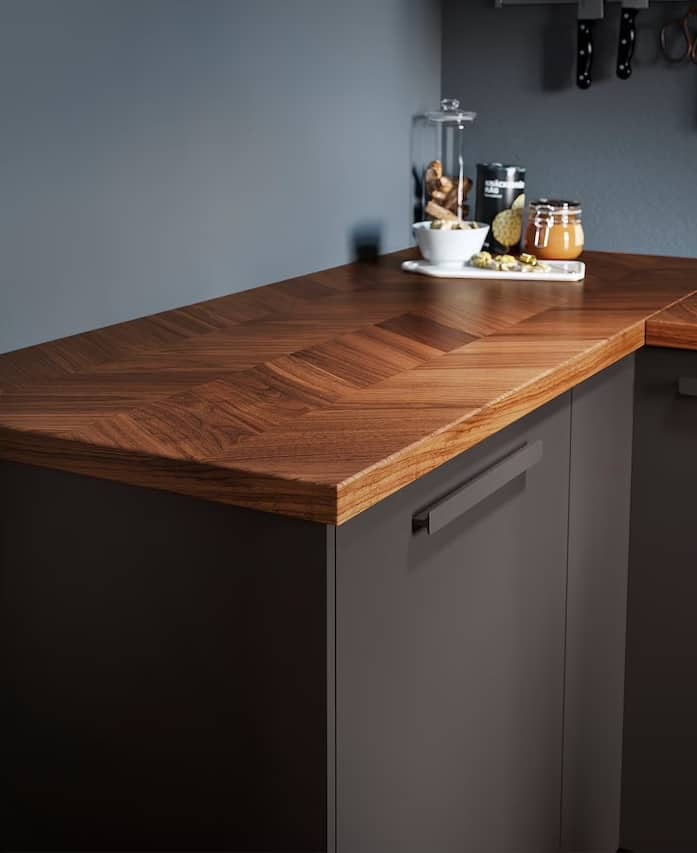
To make a chevron wood countertop, ensure you have the measurement of the area where the countertop will be installed and some supply materials below:
- Several boards of the same thickness
- Wood glue
- Clamps
- Sandpaper
- A drill with a hole saw attachment
- Tung oil or another food-safe finish
After you have prepared the supplies, then, use a saw to cut the boards for the countertop to the correct size. Next, lay the boards down in a chevron pattern and secure them together with screws or nails. Finally, apply a coat of sealant to protect the wood and give it a beautiful shine.
It can be tough to know where to start when it comes to kitchen countertops. With all of the different materials and styles available, it can be hard to make a decision. We hope that this roundup of gorgeous DIY wood countertops has given you some inspiration for your own kitchen renovation or remodel.
If you’re looking for a natural, warm material that will add character and charm to your space, wooden counters are a great option. So get creative with these ideas.
