Do you ever feel like you’re constantly swimming in a sea of paperwork and office supplies? If so, it might be time to consider investing in a wall-mounted desk. Not only are they sleek and stylish, but wall-mounted desks can help save valuable floor space in your home or office.
If you’re handy with a drill and saw, you might be wondering if it’s worth it to try and build a wall-mounted desk yourself. This type of desk can help you organize your space more efficiently and save you some much-needed floor space. In this blog post, we will provide DIY wall-mounted desk plans that you can use to get started.
Please note that this project is similar to this DIY floating desk.
Table of Contents
1. Reclaimed Wood Wall-Mounted Desk Plans
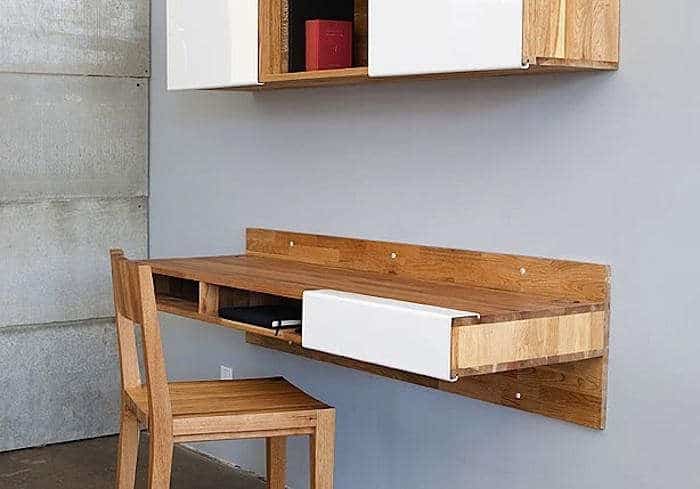
Consider upcycling the good quality of old pallet wood and transform it into something more beneficial. Not only will this desk provide you with a great workspace, but it will also add a touch of rustic charm to your home office or bedroom. You will need a few pallets, some reclaimed wood, a saw, screws, sandpaper, and a drill.
Once you have all of your supplies, you can begin following the DIY plans. The first step is to cut the pallets down to size. Next, you will need to stand down the edges of the wood to prevent splinters. Once the wood is smooth, you can begin screwing it into place. The final step is to add any finishing touches, like paint or varnish.
2. Simple Office Desk
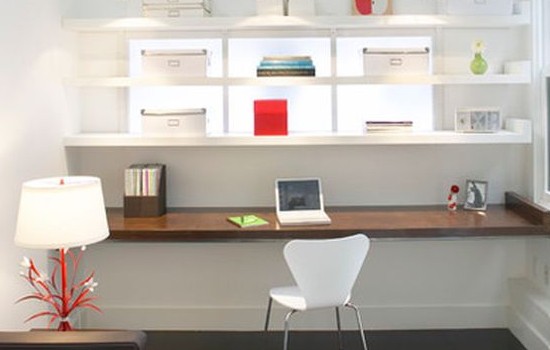
Keep the simple look of your living space by opting for a wall-mounted desk with clean lines and a modern design. This type of desk is perfect for small spaces because it doesn’t take up any floor space. Plus, it’s easy to build! You will need some MDF, a saw, screws, sandpaper, and a drill. Once you have all of your supplies, you can begin following the DIY plans.
The first step is to cut the MDF down to size. Next, you will need to stand down the edges of the wood to create a smooth surface. Once the wood is smooth, you can begin screwing it into place. The final step is to add any finishing touches, like paint or varnish.
3. Slim Wall-Mounted Desk Plans
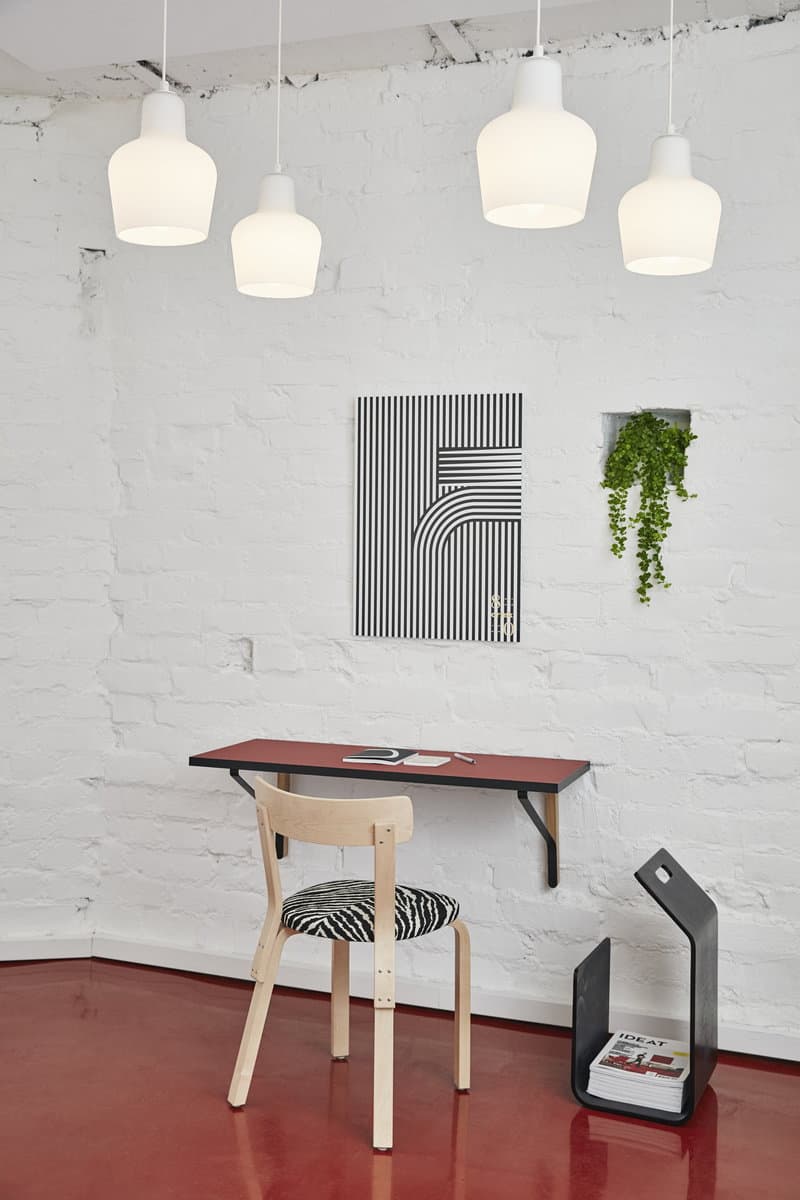
Opt for making use of empty wall space to create a sturdy and stylish desk that is perfect for small spaces. The best part about these DIY desk plans is that they are easy to build and can be customized to fit your specific needs.
To build this desk, you will need:
- Lumber for the frame and shelves
- MDF or plywood for the desktop surface
- Dowel rods for support
- Wood glue
- Paint or stain
- Step one: Cut the lumber for the frame and shelves. We used a miter saw to make our cuts, but you can also use a handsaw or circular saw.
- Step two: Assemble the frame and shelves using wood glue and dowel rods.
- Step three: Cut the MDF or plywood to size and attach it to the frame with wood glue.
- Step four: Paint or stain the desk and allow it to dry.
4. Fold It Down When Not Using It
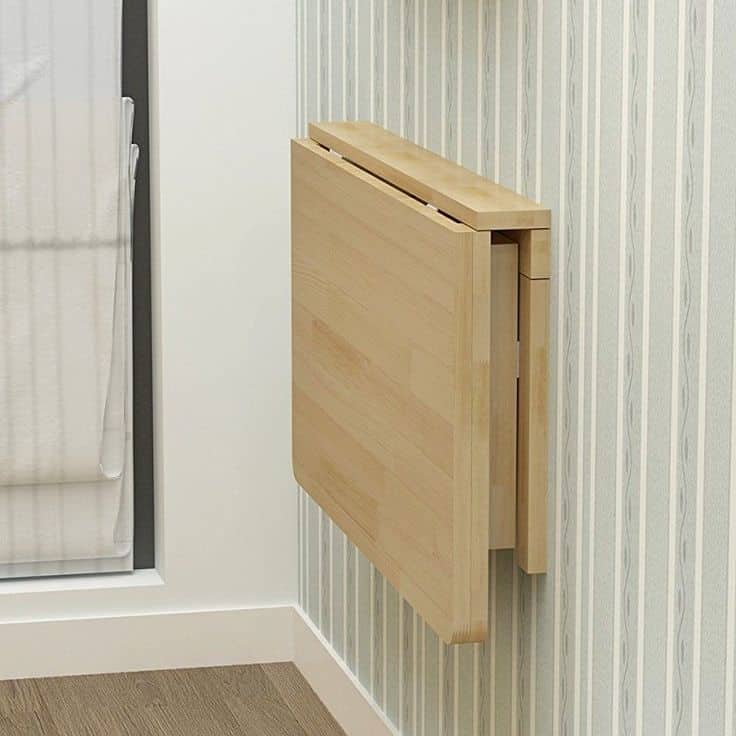
It is a smart hack to save space in a small room. By mounting the desk to the wall, you can create a workspace that takes up less floor space. And when you’re not using the desk, you can simply fold it down, so it’s out of the way.
Before you start building, it’s important to make sure you have the right tools and materials.
Here’s a list of what you’ll need:
- A drill
- Screws
- Saw
- Measuring tape
- Level
- Wood glue
- Clamps
- Drill bit
- Saw blade
- Wood filler
- Sandpaper
- Paint or stain
5. Murphy Desk Plans
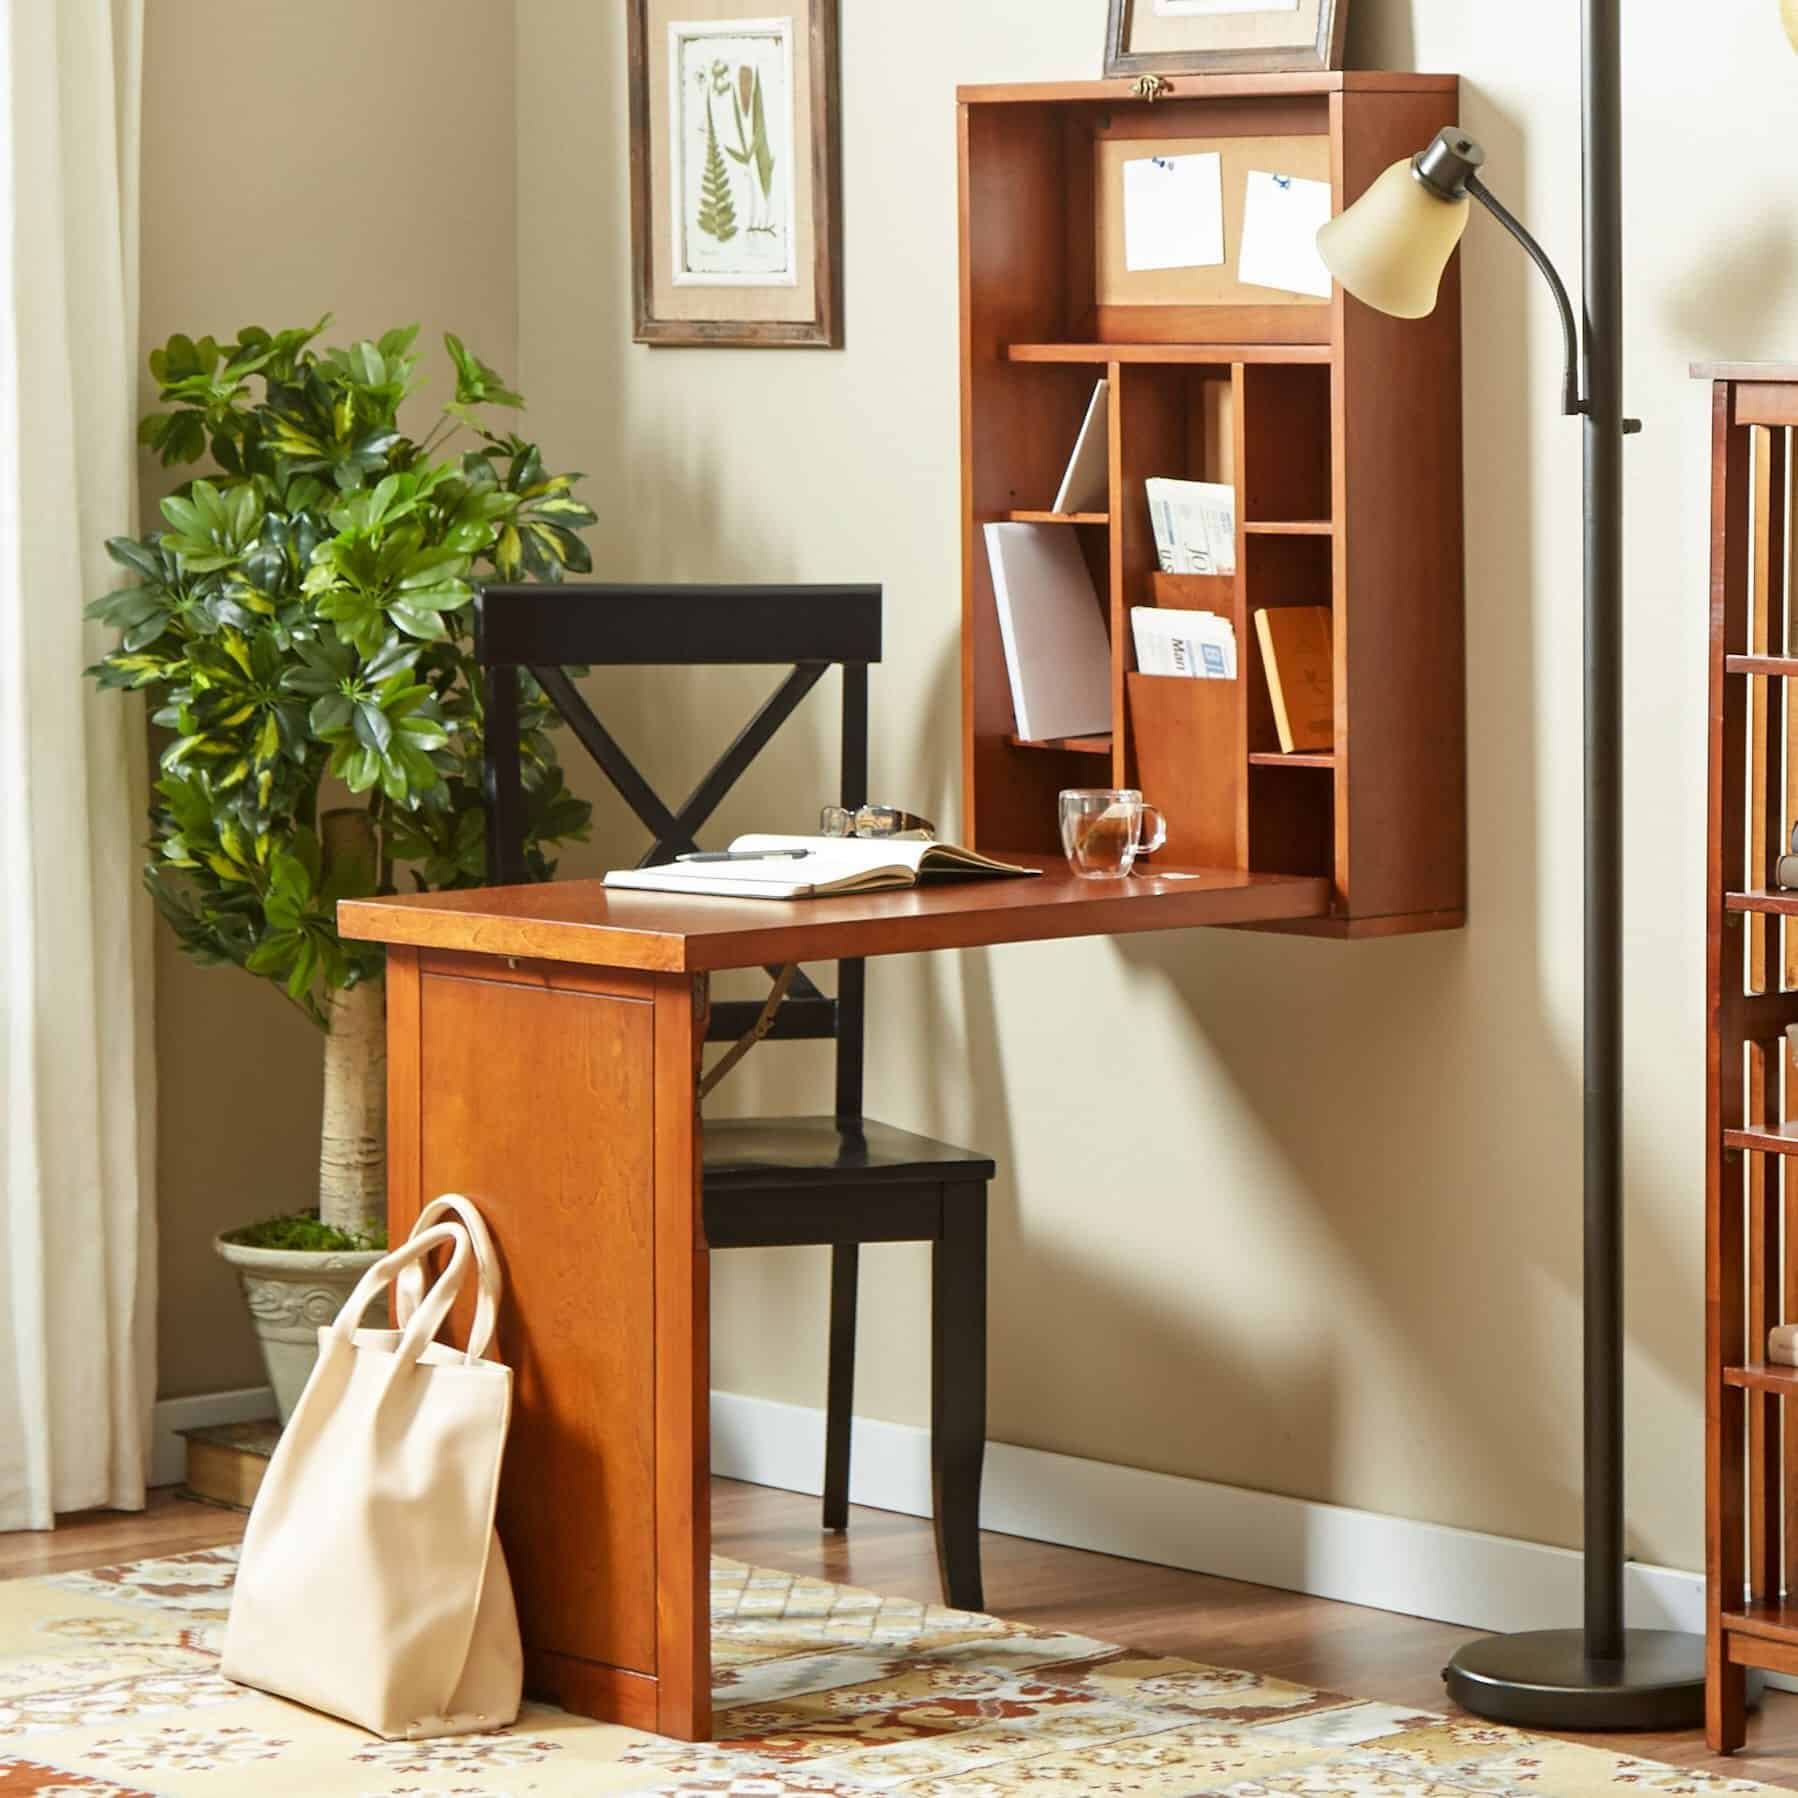
It is the perfect solution for creating a workspace in even the smallest room. These desks fold up against the wall when not in use, and can be easily mounted to any wall. Plus, they’re easy to build!
To build a Murphy Desk, you will need:
- Lumber for the frame and shelves
- MDF or plywood for the desktop surface
- Dowel rods for support
- Wood glue
- Paint or stain
6. Stay Minimalist
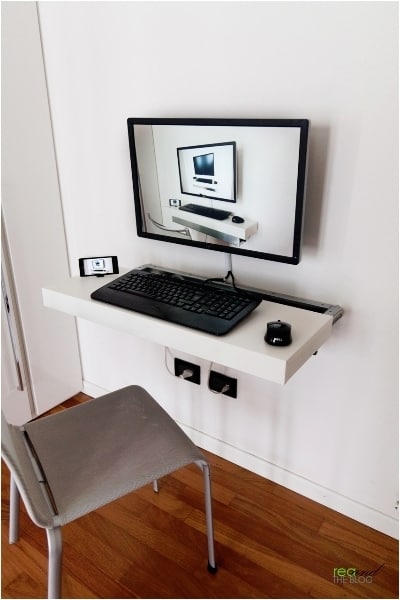
The desk is perfect for those who want to save space without compromising on style. It is made of high-quality materials and comes with all the necessary hardware for easy installation. It can be mounted on any wall in your home office or bedroom and comes with a built-in shelf for storage. To keep the minimalist look, you can play with the neutral finishing. Opt for the white finishing or let it exposes the natural color of the wood.
7. Rustic Wall-Mounted Wall Desk
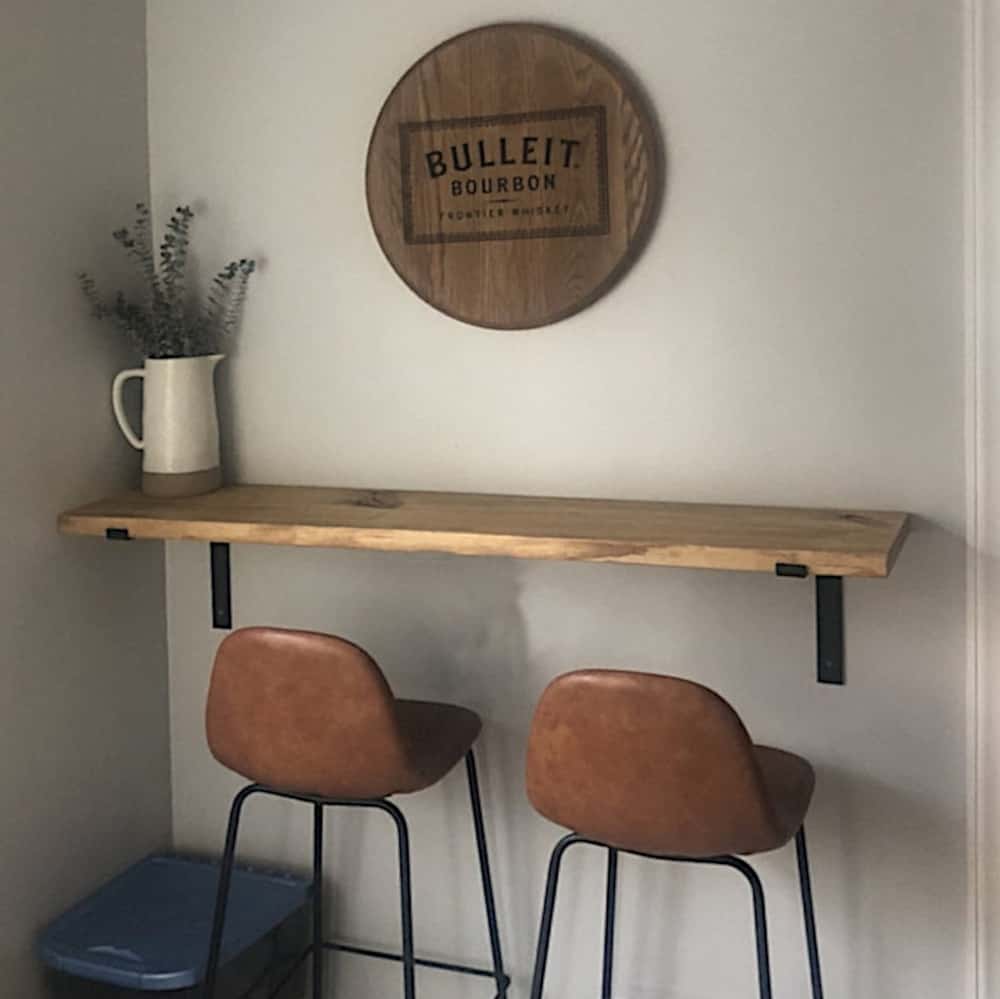
This type of desk is perfect for those who live in small spaces or do not have a lot of room for a traditional desk. It is a very stylish desk that will add character to any room. All you need is some basic woodworking skills and a few tools.
The first step is to cut the lumber to size. You will need two pieces of 1×4 lumber for the desktop. Next, drill pilot holes in the desk top and screw the bracket into place. Finally, sand the surface smooth and finish it with a coat of paint or stain.
8. The Beauty Of Farmhouse Design
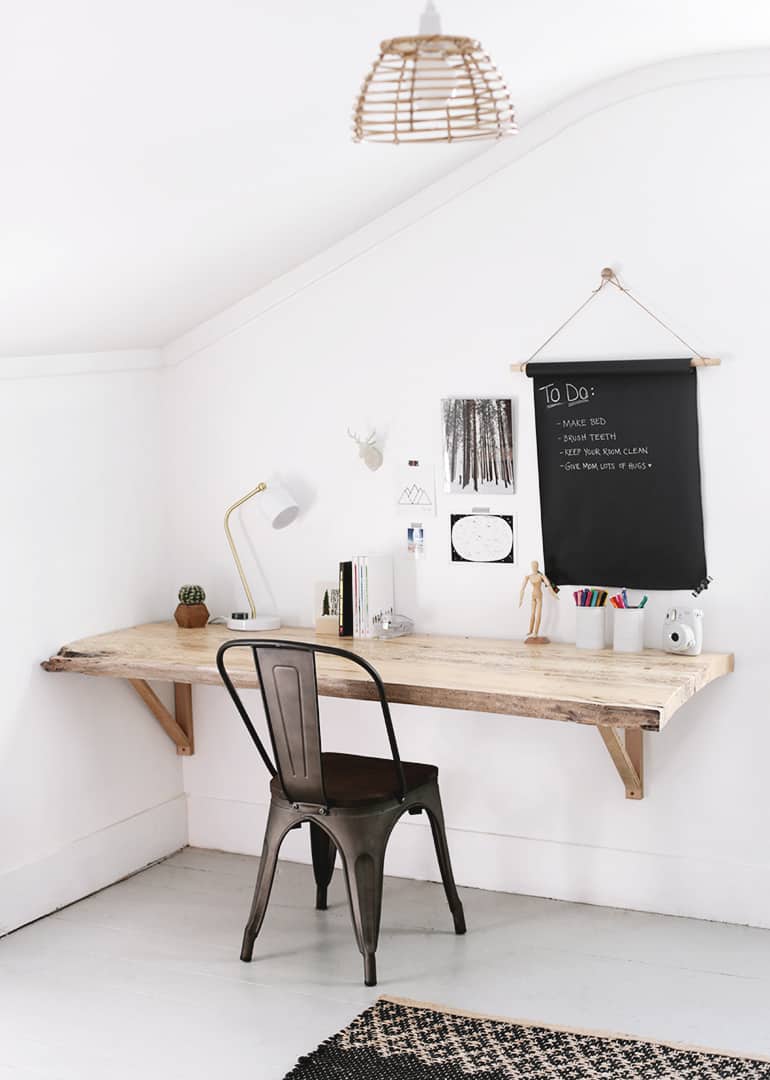
This project is perfect for people who want a fun and creative way to save money while getting a great desk. The first step is to find the right plans. Next, gather the supplies needed, including wood, screws, nails, a drill, saw, and measuring tape. After that, it’s time to start building the desk.
The most important part of this project is making sure the desk is level and screwed into the wall correctly. The beauty look of the farmhouse style will spice up your space like real quick.
9. White Wall-Mounted Writing Desk
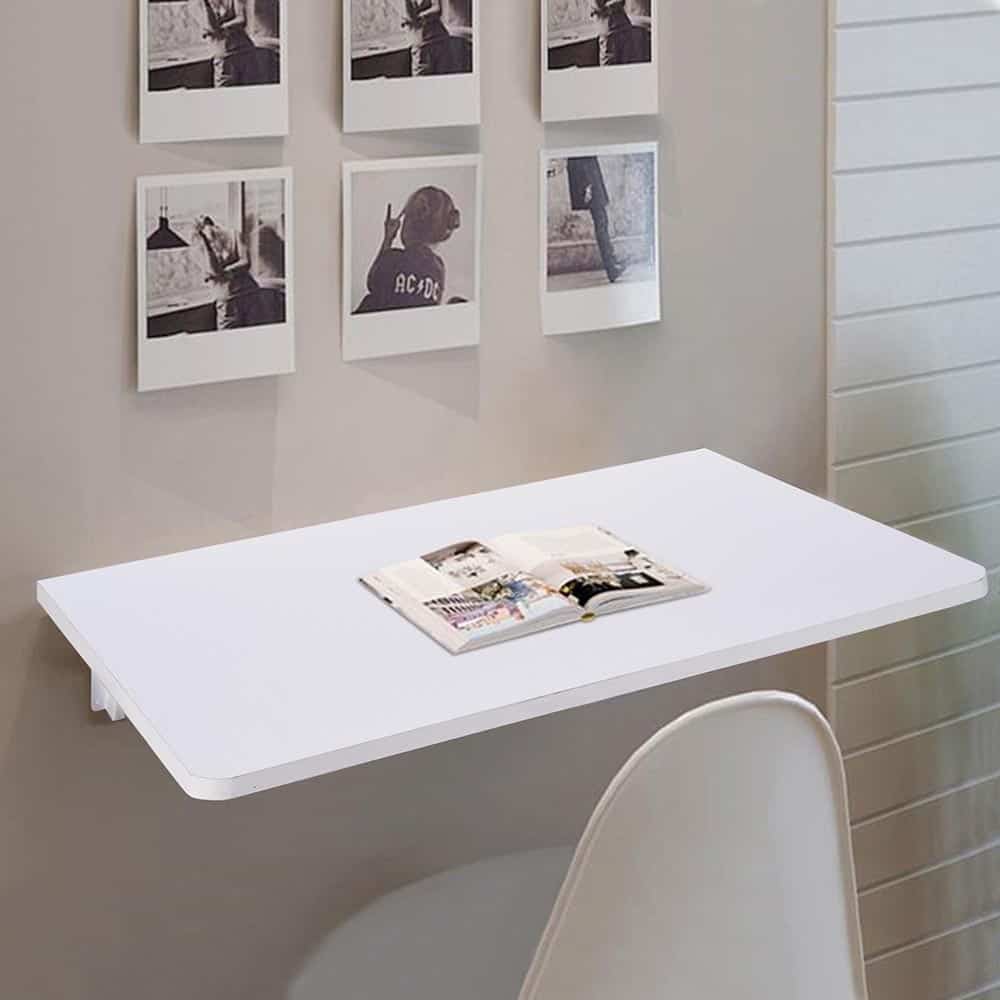
The white finish and clean lines of this desk make it a great fit for any decorating style. Plus, the wall-mounted design means that you can save valuable floor space. It would be perfect for a home office, bedroom, or even a kitchen nook.
With the simple materials and basic woodworking skills, you can bring this functional decorative piece to your space.
10. Complement It With Storage Plans
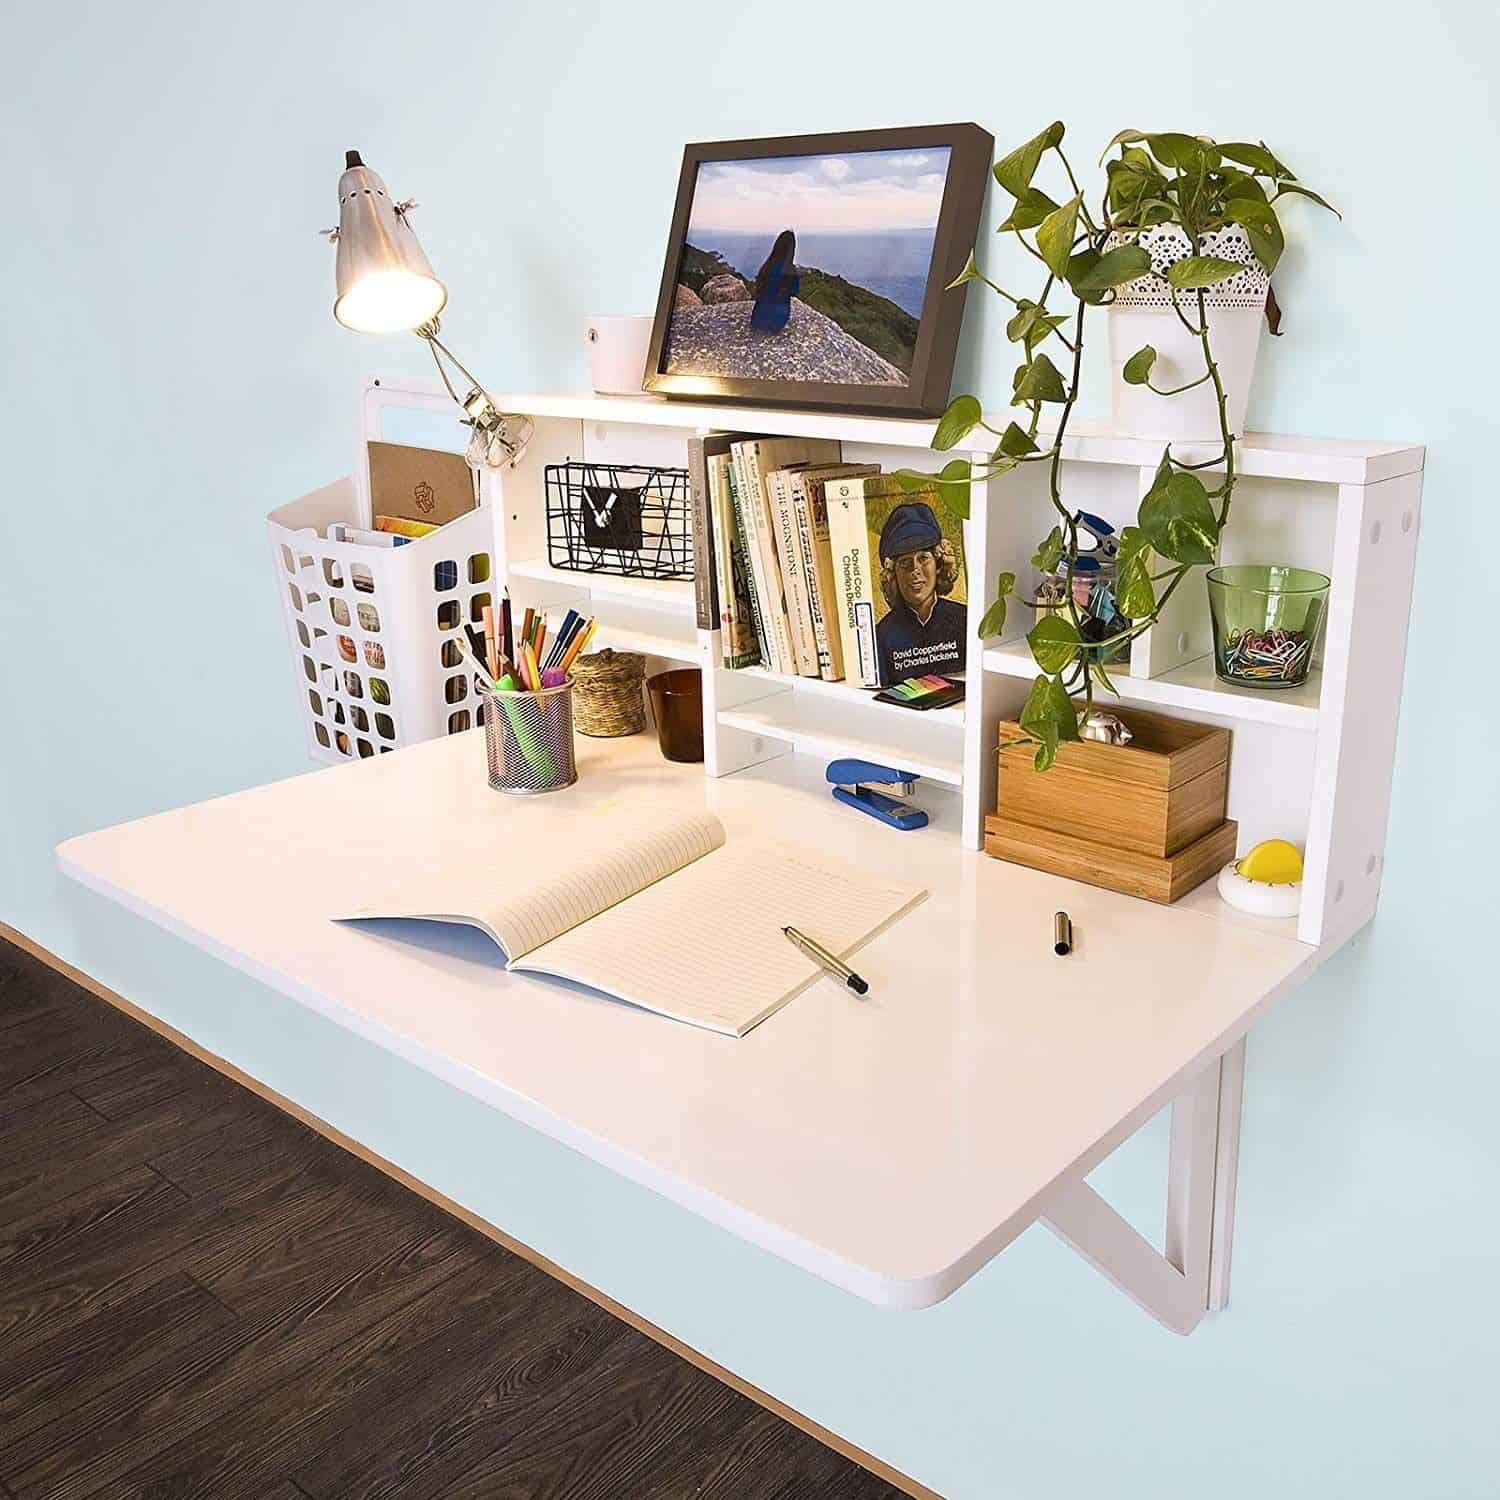
With a little planning and some basic carpentry skills, you can build a desk that provides ample storage and workspace, without taking up too much floor space. Plus, by mounting the desk to the wall, you’ll free up valuable floor space for other furniture or decorations. Best of all, DIY wall-mounted desk plans are relatively easy to follow, so even if you’re a beginner, you can easily create a beautiful and functional desk. Beautify it with some decorative pieces for a perfect look.
11. IKEA Wall-Mounted Desk Plans
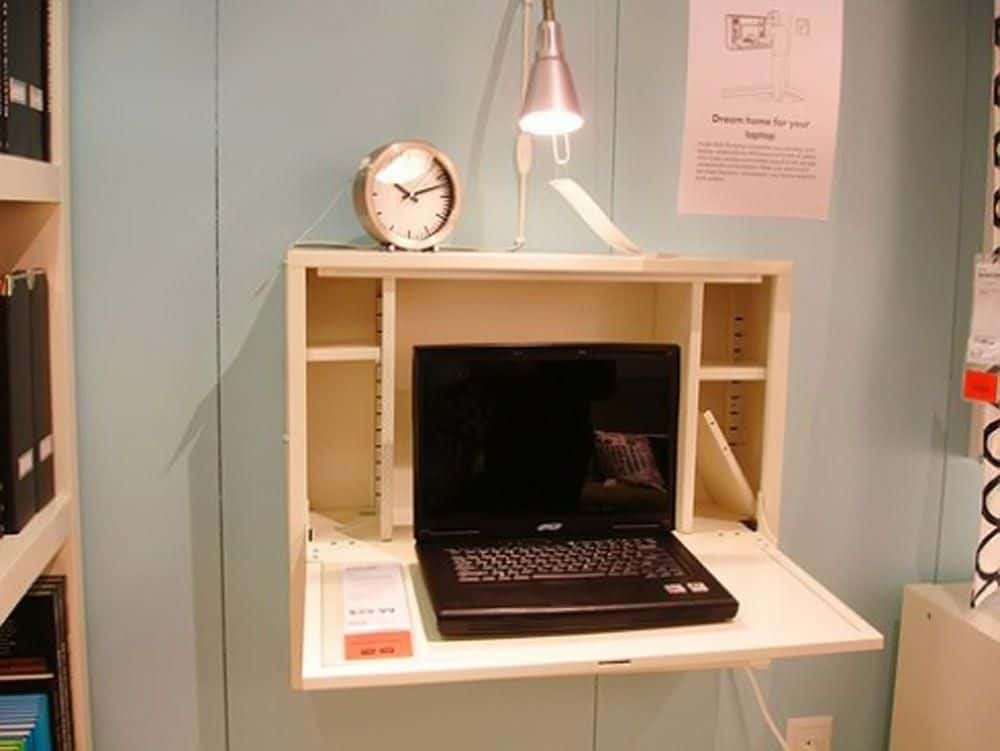
By following these easy steps, you can build a sturdy and stylish desk that will last for years. The first step is to determine the size of the desk you need.
You’ll need two pieces of 4×8-foot plywood for the top and bottom of the desk, as well as four 2×4-foot boards for the sides. Use a sharp saw and make straight cuts so that your desk will be level when it’s finished. The next step is to construct the frame of the desk. To complete this, simply attach the four 2×4 boards together using wood screws or nails.
Be sure that the frame is level and square before proceeding to the next step. Now it’s time to add the plywood top and bottom. First, pre-drill holes in the plywood so that it will be easier to attach it to the frame. Then, using wood screws or nails, attach the plywood to the frame. Be sure that the screws or nails are driven into the studs in the wall so that your desk will be secure. Finally, it’s time to add any storage accessories you need, such as shelves, drawers, or cabinets.
12. Small Wall-Mounted Desk Plans
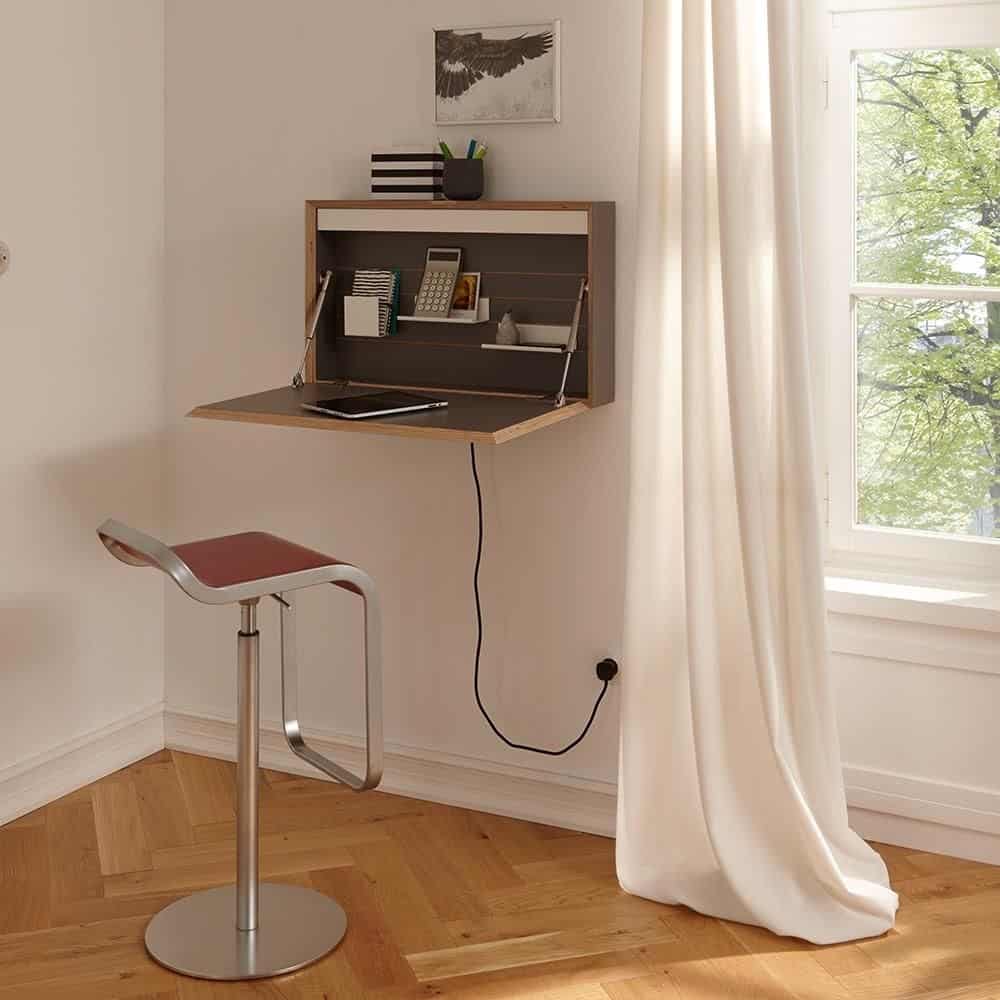
This project is great for small spaces or for creating a minimalistic look in your home office. And the best part is, it’s easy to build.
You’ll need a few tools and materials for this project, including a saw, drill, screwdriver, wood screws, and hinges. Start by measuring the area where you want to mount the desk. Then cut two pieces of wood to size using a saw.
Next, assemble the frame. Now it’s time to attach the hinges and attach the desk to the wall.
13. A Cool Industrial Style
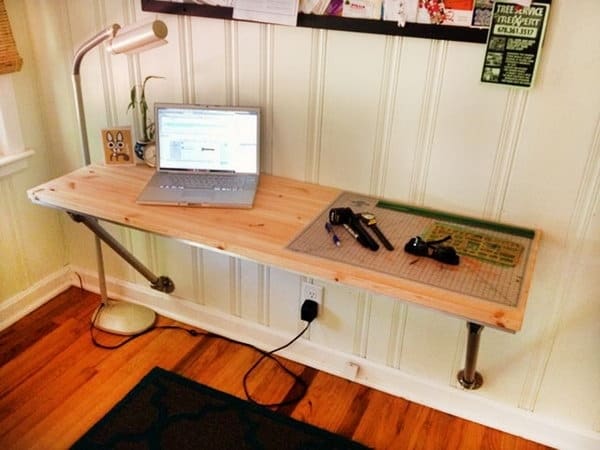
This industrial desk is made from reclaimed wood and the base is made from the plumbing pipes. It’s a great project for someone who loves DIY and industrial style furniture.
To make this desk, you’ll need reclaimed wood, plumbing pipes, brackets, screws, and a drill. Start by measuring the area where you want to mount the desk. Then cut the wood to size using a saw.
Next, drill four holes in each piece of wood. Two of the holes should be at the top, and two should be at the bottom.
Now it’s time to attach the brackets. Place one bracket on each side of the desk, making sure that they’re level. Then use screws to secure the brackets to the wall.
14. Easy To Make Wall-Mounted Desk Plans
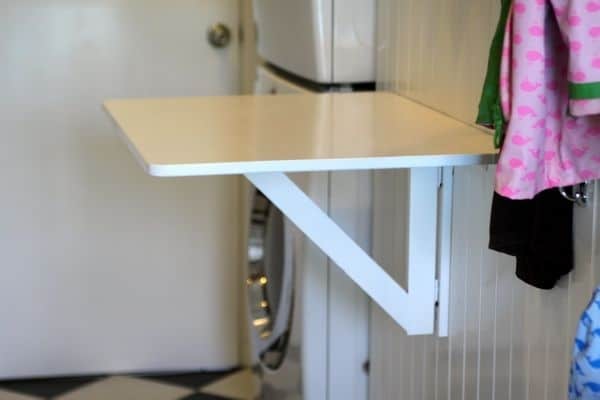
This would be a perfect choice if you are a beginner in carpentry. The design is pretty straightforward and the steps are easy to follow.
You will need a few tools for this project, including a saw, drill, screwdriver, wood screws, brackets, and L-brackets. The first step is to measure the area where you want to mount the desk. Then cut two pieces of wood to size using a saw.
Next, drill four holes in each piece of wood. Two of the holes should be at the top, and two should be at the bottom.
Then, attach the brackets. Place one bracket on each side of the desk, making sure that they’re level. Then use screws to secure the brackets to the wall. Finally, add the L-brackets to the top of the desk for extra support.
15. DIY Floating Wall-Mounted Desk Plans
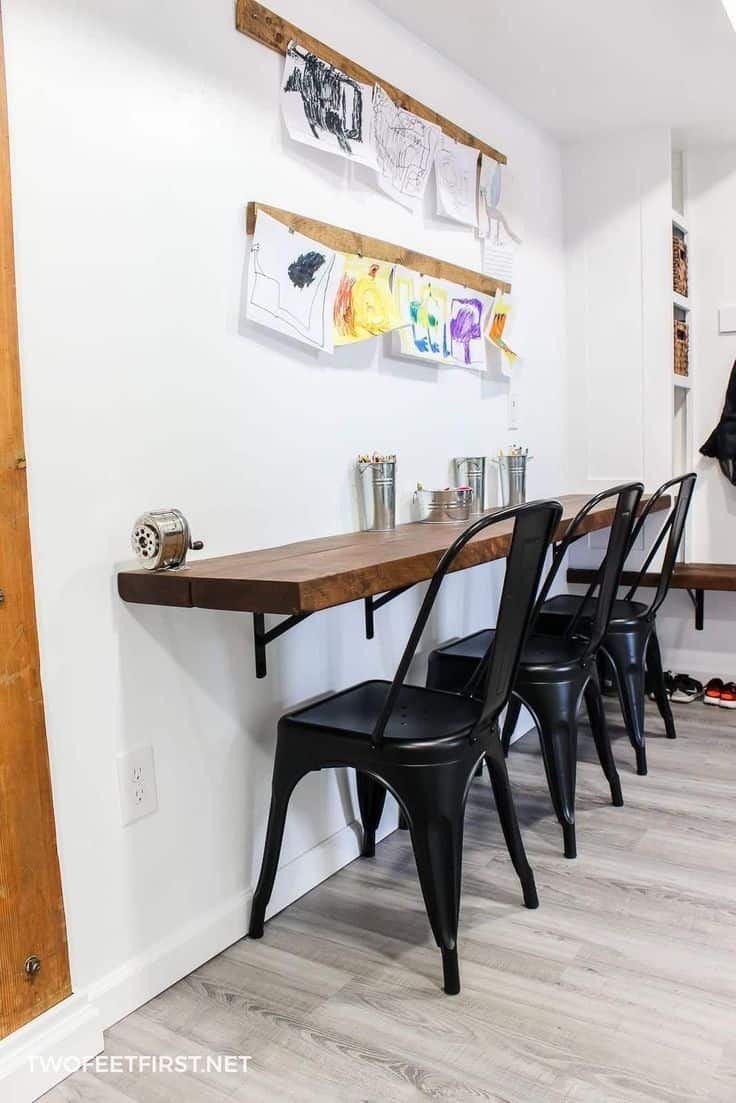
It is a great option if you want to create a more ergonomic workspace. By positioning your desk at the proper height, you can improve your posture and prevent neck and back pain. Wall-mounted desks are also very versatile, and can be easily customized to meet your specific needs.
Supplies needed:
Saw, drill, screwdriver, wood screws, L-brackets, and brackets.
The first step is to measure the area where you want to mount the desk. Then cut two pieces of wood to size using a saw. Next, drill four holes in each piece of wood. Two of the holes should be at the top, and two should be at the bottom.
Place one bracket on each side of the desk, making sure that they’re level. Then use screws to secure the brackets to the wall. Finally, add the L-brackets to the top of the desk for extra support.
16. Modern Design Dream Desk
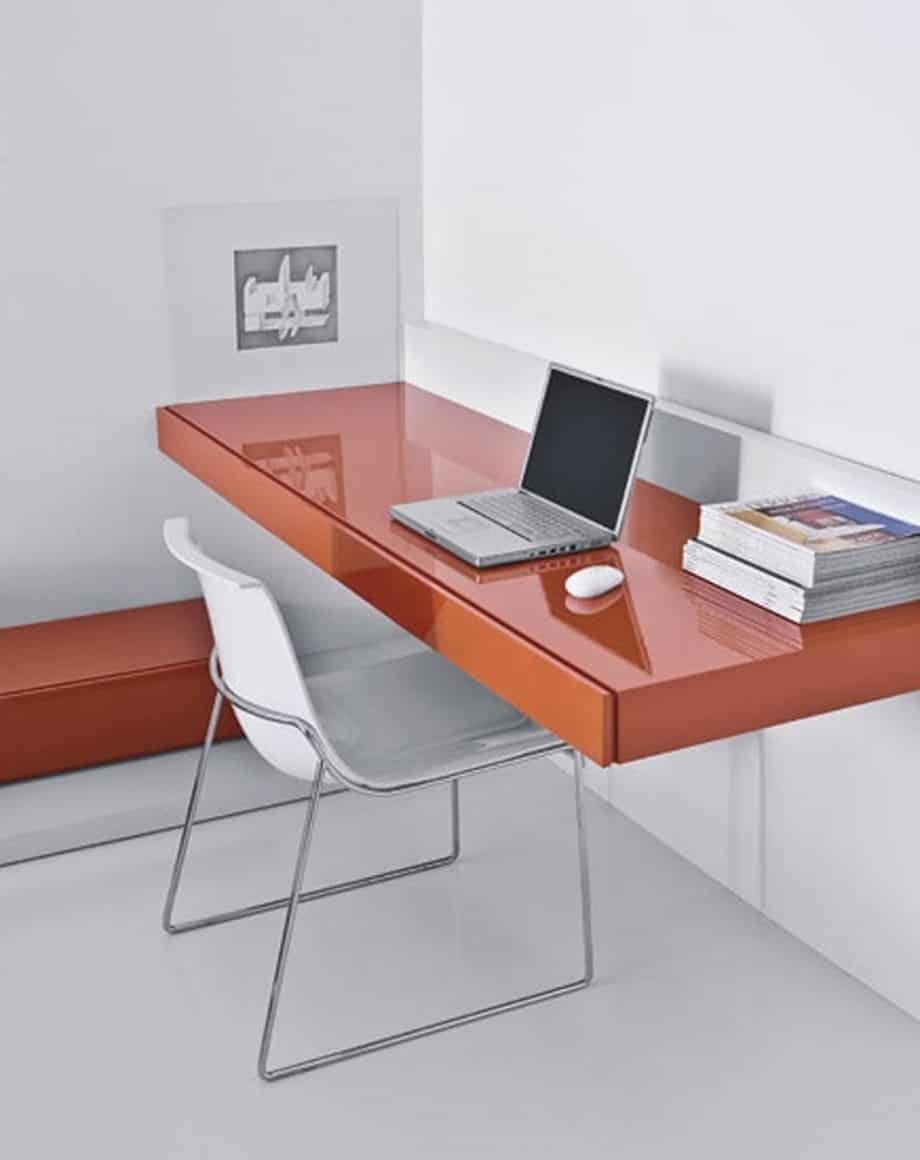
Modern wall-mounted desk plans tend to be clean and simple in design, which can help to create a more minimalist look in your space. This would be a smart choice if you are planning to add a functional feature that will complement your space.
You’ll need a few tools and materials for this project, including a saw, drill, screwdriver, wood screws, brackets, and L-brackets. Opt for the finishing you desire that will complement the modern look as well.
17. Make Use Of The Corner Area
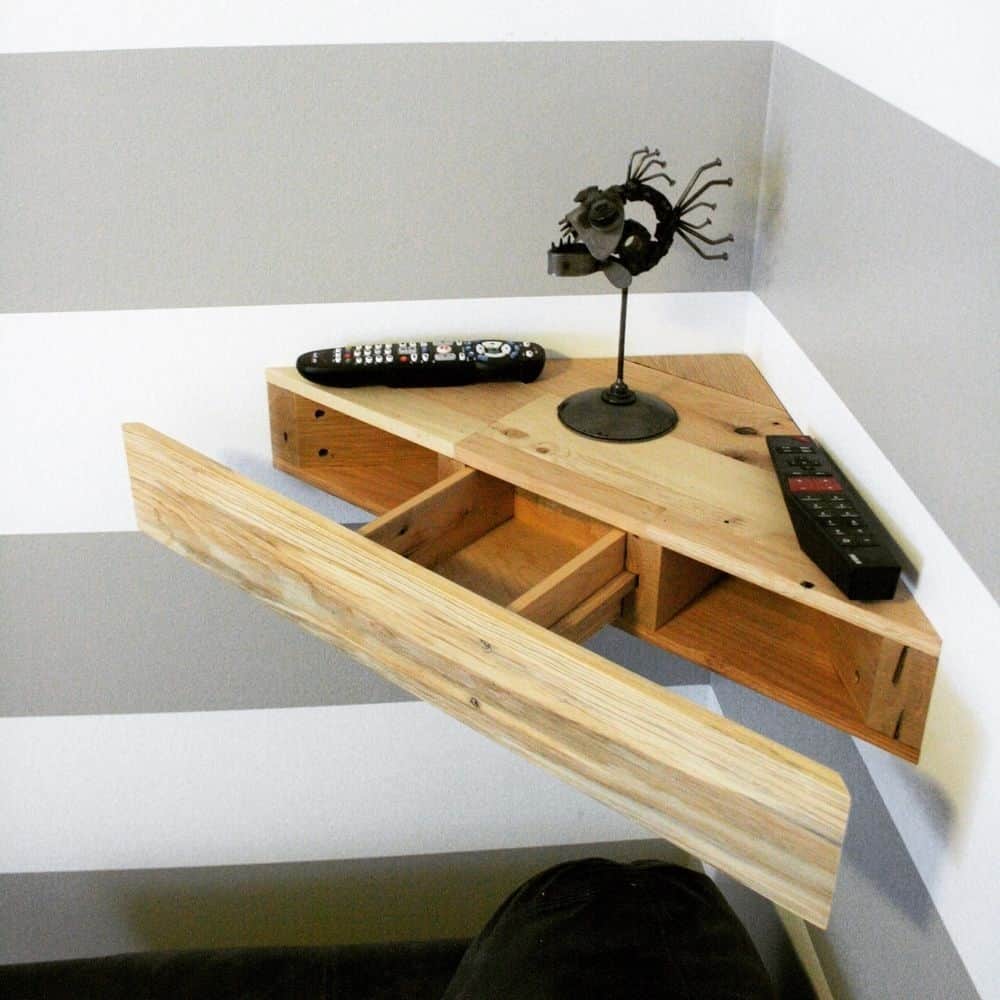
Corner Wall-Mounted Desk Plans will allow you to make the most of your space, while also providing you with a desk that is easy to use and maintain. By mounting your desk to the wall, you’ll clear up valuable floor space while still having plenty of room to work. And since it is so easy to build, you can have your desk up and running in no time. Now you can put your small stuff on the desk and let them stay in place well.
18. Woodworking Plans For A Wall-Mounted Desk
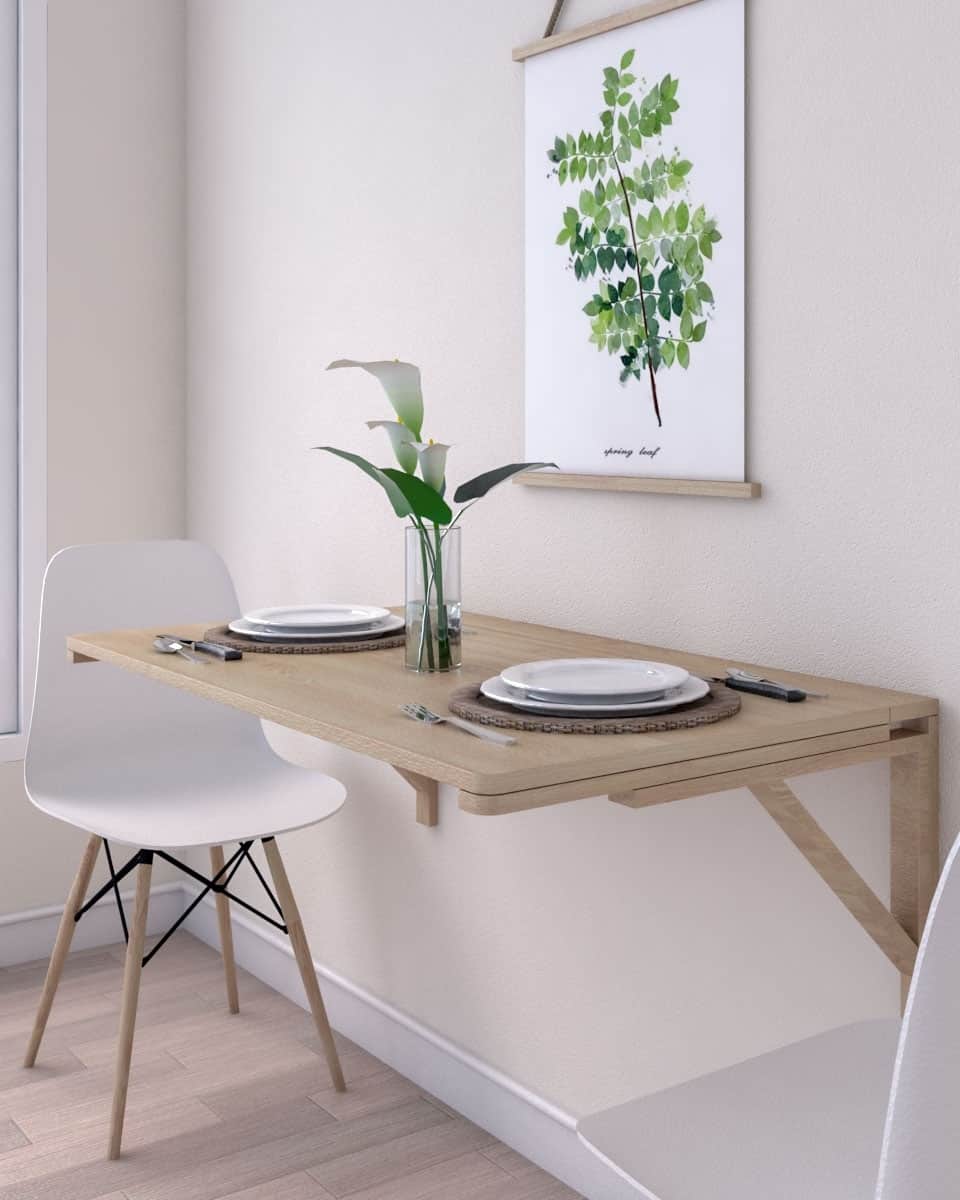
There is nothing to worry about if you are a beginner in wood working and planning to create your own wall-mounted desk as a working station at home. This project is perfect for you as it does not require too much time and effort to finish. You will only need some fundamental wood working skills, tools, and materials.
A saw, measuring tape, drill, screwdriver, wood screws, and sandpaper are the supplies that you will need to create your own wall-mounted desk. You can always follow the given instructions below or come up with your own design.
19. How To Make A Wall-Mounted Desk
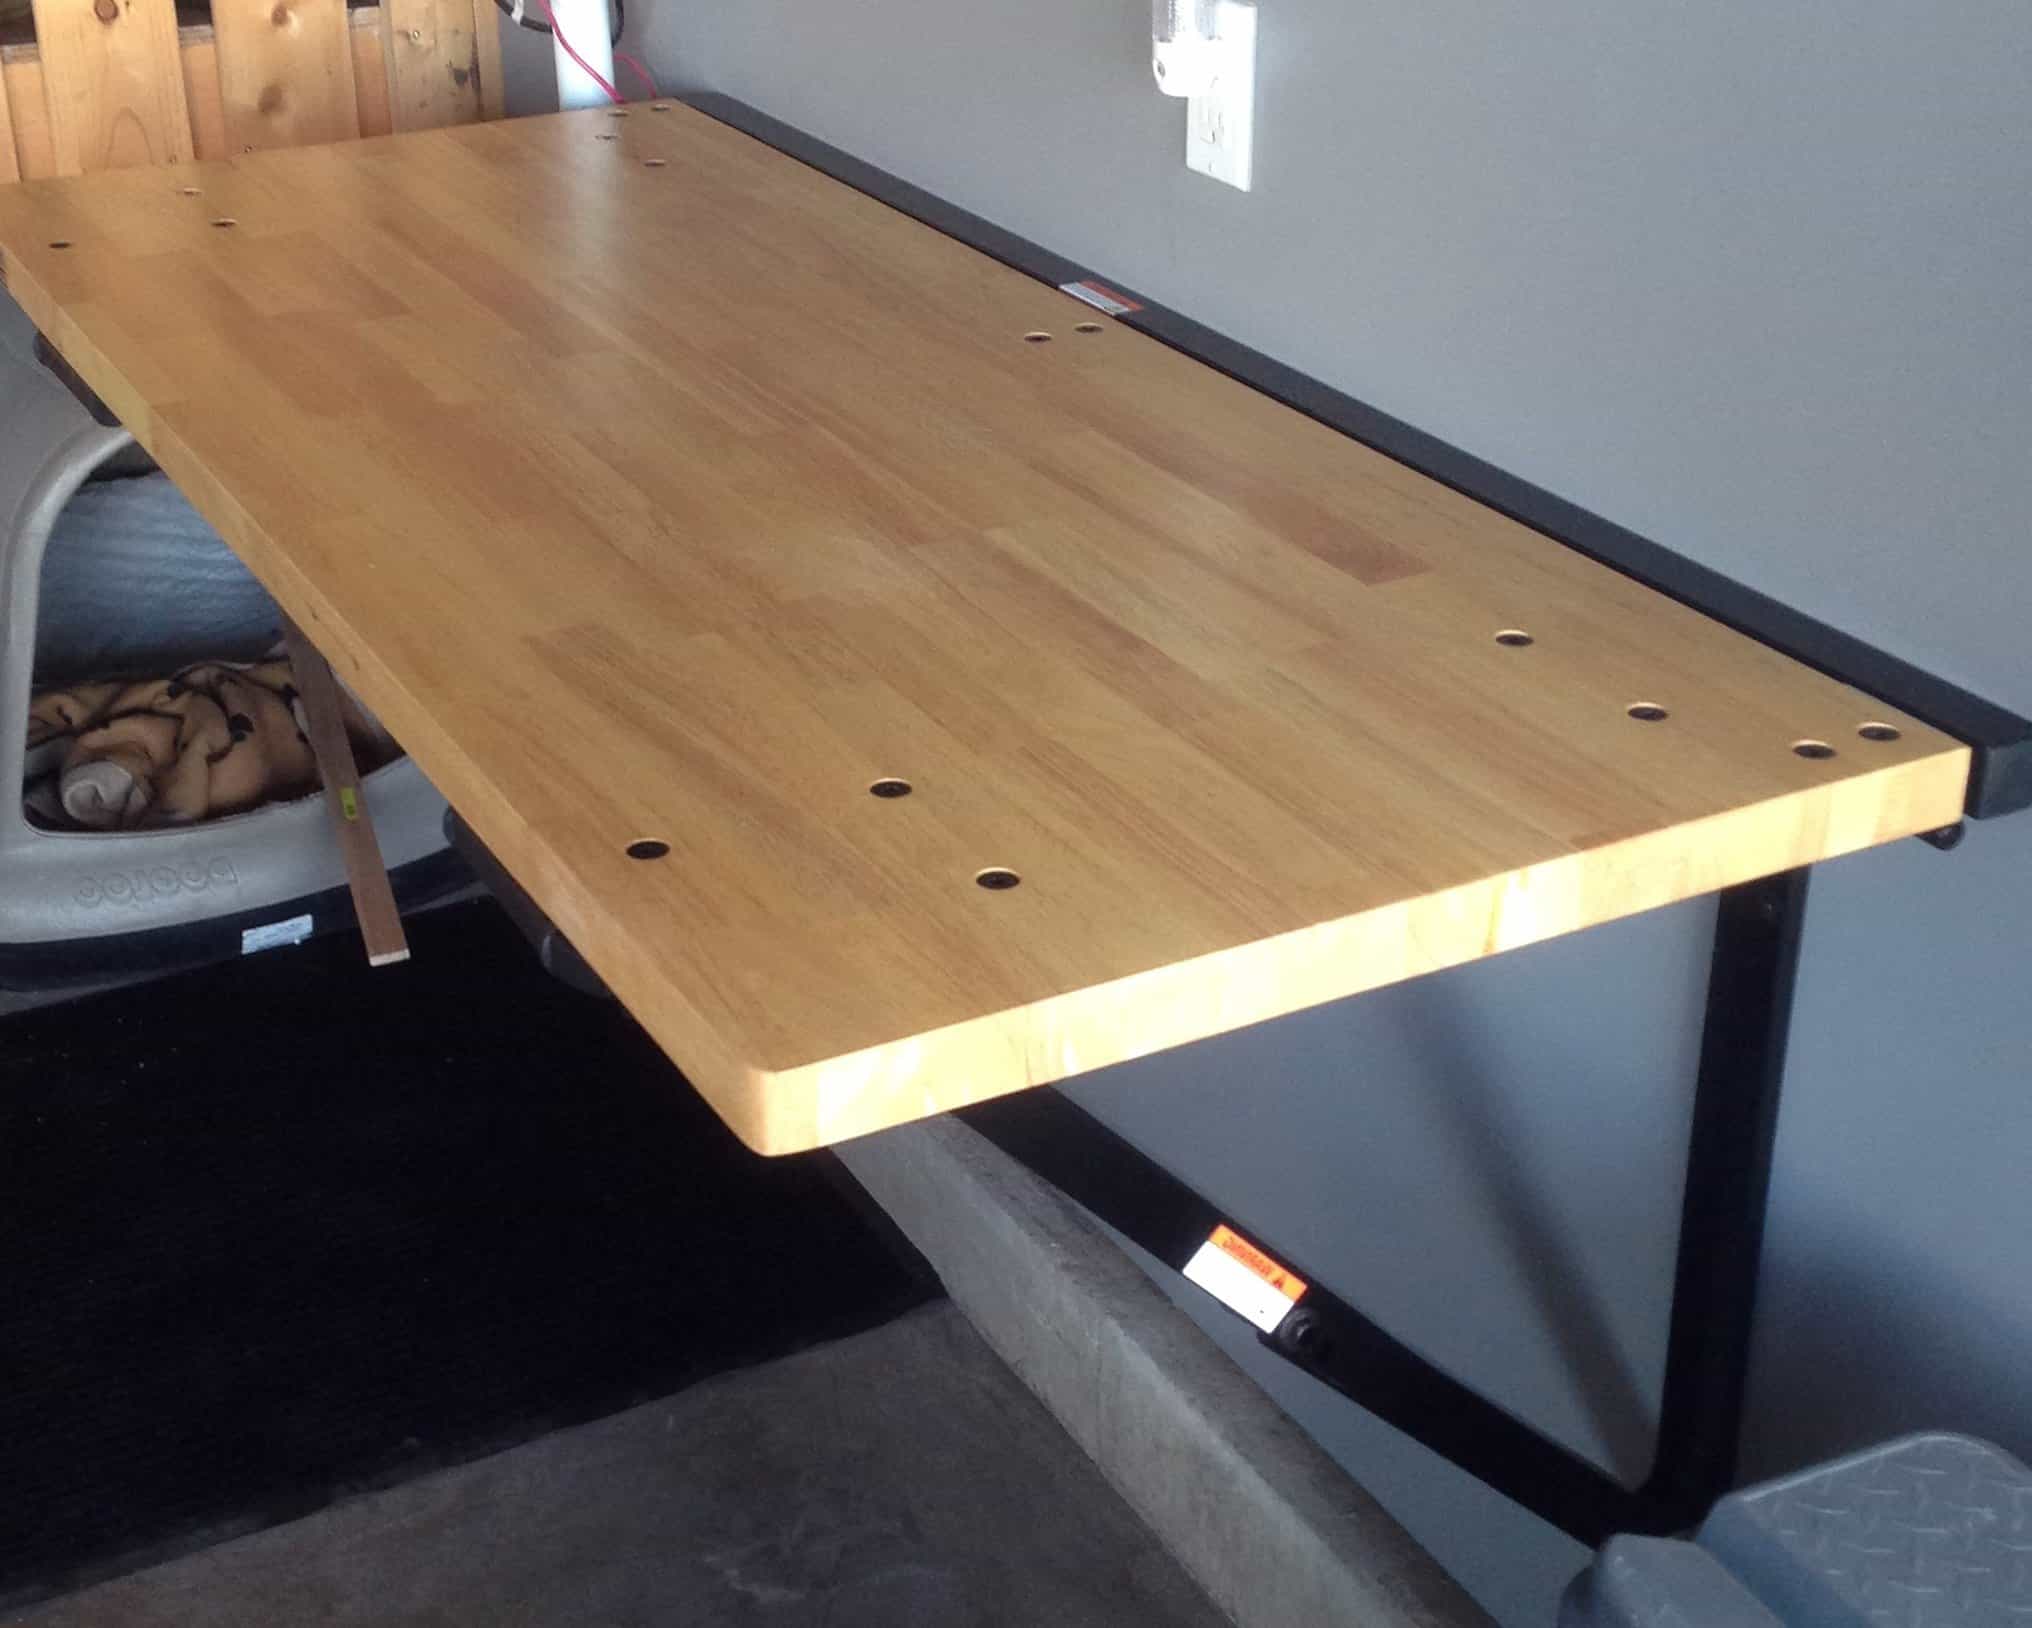
The best part of creating a DIY wall-mounted desk is that it is easy to make even if you are a beginner. You will not need any special skills or tools, and it is a project that can be completed in a few hours.
What you will need:
- A piece of wood (I used a piece of MDF that was left over from another project)
- A saw
- Plywood
- Ruler or measuring tape
- Pencil
- High Gloss paint
20. Budget-Friendly Wall-Mounted Desk
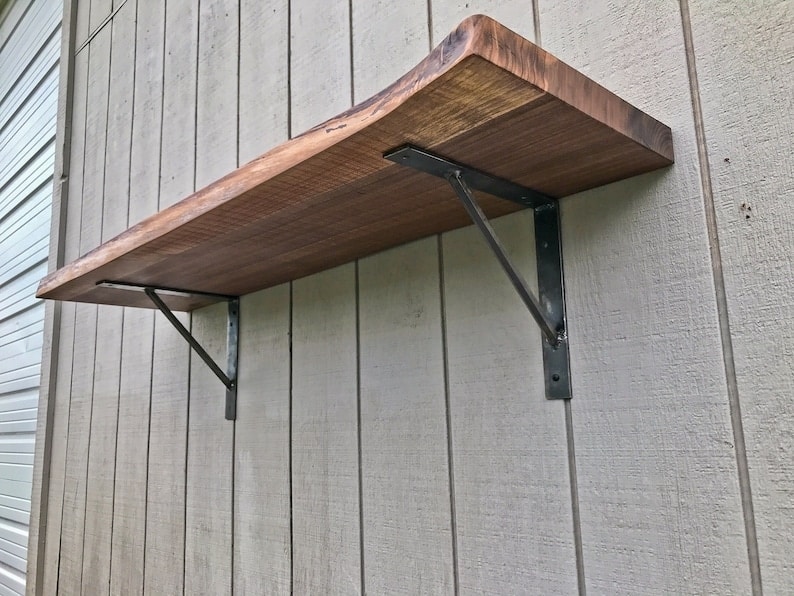
The basic idea is to make a desktop by attaching two brackets to the wall and screwing in a piece of wood. You can use any type of wood, but we recommend using reclaimed wood for a rustic look. Reclaimed wood can be found at most lumberyards or online. If you want to add some character to your desk, consider sanding down the wood and adding a stain or paint finish. For a more modern look, try using a clean, contemporary bracket style.
21. L-Shaped Wall-Mounted Desk
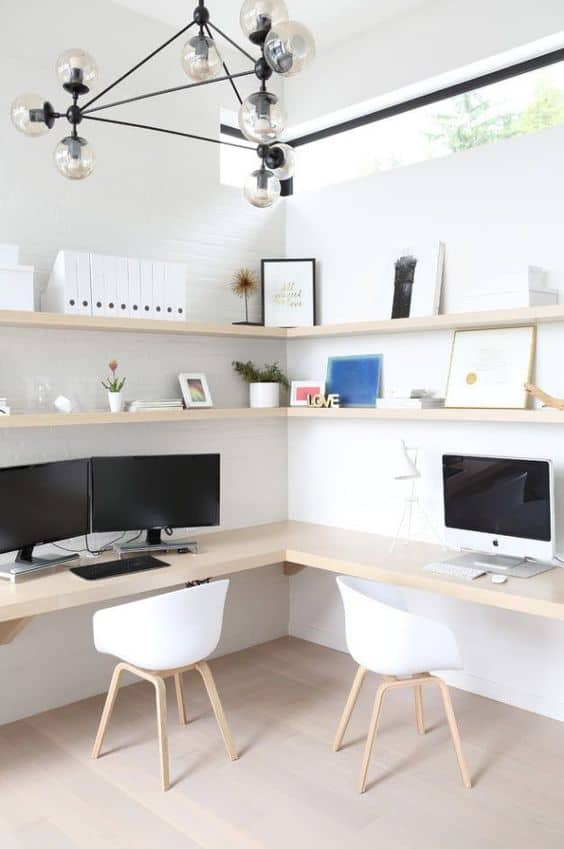
It is a smart option if you would like to maximize the space in your house. You can use the L-shaped desk in two ways. You can use it as a working station, or you can use it as a dining table. The best thing about this desk is that it is easy to build, and you can do it yourself without any problem, which can be the can be the best solution if you have a limited area.
You will need some tools and materials for this project, including a saw, drill, screwdriver, wood screws, brackets, and L-brackets. You can use any type of wood for this project, but we recommend using reclaimed wood for a rustic look.
22. Floating Wall-Mounted Desk Project Tutorial
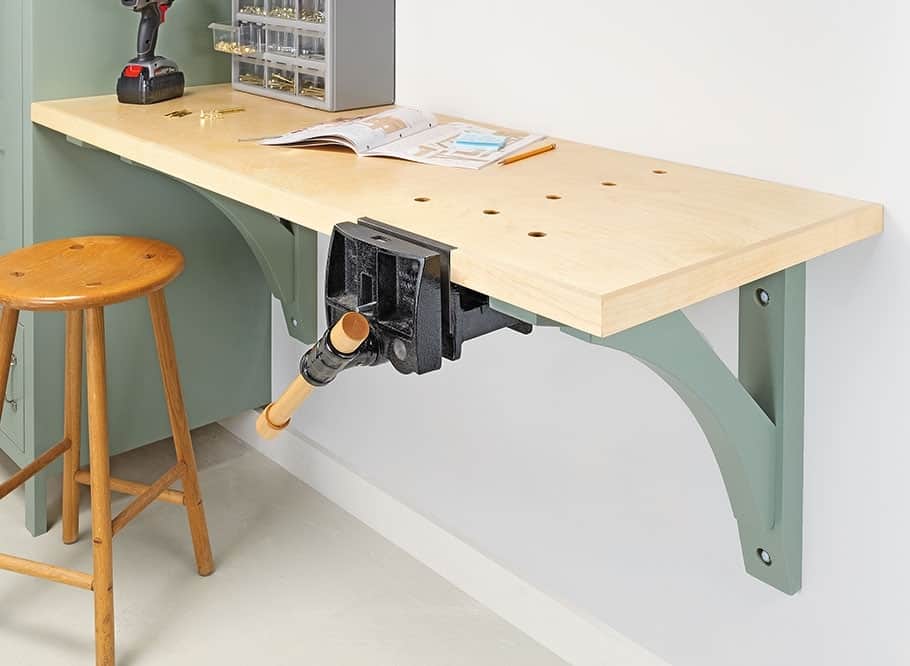
It is a sleek and simple design made from the lightweight material, plywood. It can be easily mounted to any wall in your home or office with its attached brackets, so you have more room for work. Furthermore, it has a spacious top surface and two shelves that are perfect for storing your office supplies and other belongings. You can build this desk in just a few hours with some basic tools and materials.
What You’ll Need:
- Plywood
- Drill
- Jigsaw
- Measuring Tape
- Level
- Brackets
Even if you only have a small space to work with, there’s sure to be a plan in this roundup that will work perfectly for you. With a bit of effort, you can create an efficient and organized workspace that fits your needs. Most of these desks can be made with simple tools and materials that you may already have on hand. So, what are you waiting for? Get started on your new organized workspace today.
