The kitchen is one of the most used rooms in the house, so it’s important to have a space that is both beautiful and functional. When it comes to renovate your kitchen, the cabinets are a key focal point. They can make or break the look of the entire room. If you’re looking for some inspiration to update the look of the kitchen, we’ve got 25 DIY kitchen cabinet ideas for you!
From simple updates like painting your cabinets a new color, to more elaborate projects like adding new hardware or changing the shape of your cabinets, there is something for everyone here.
So get started on giving your kitchen the makeover it deserves!
Table of Contents
1. Painted Kitchen Cabinet
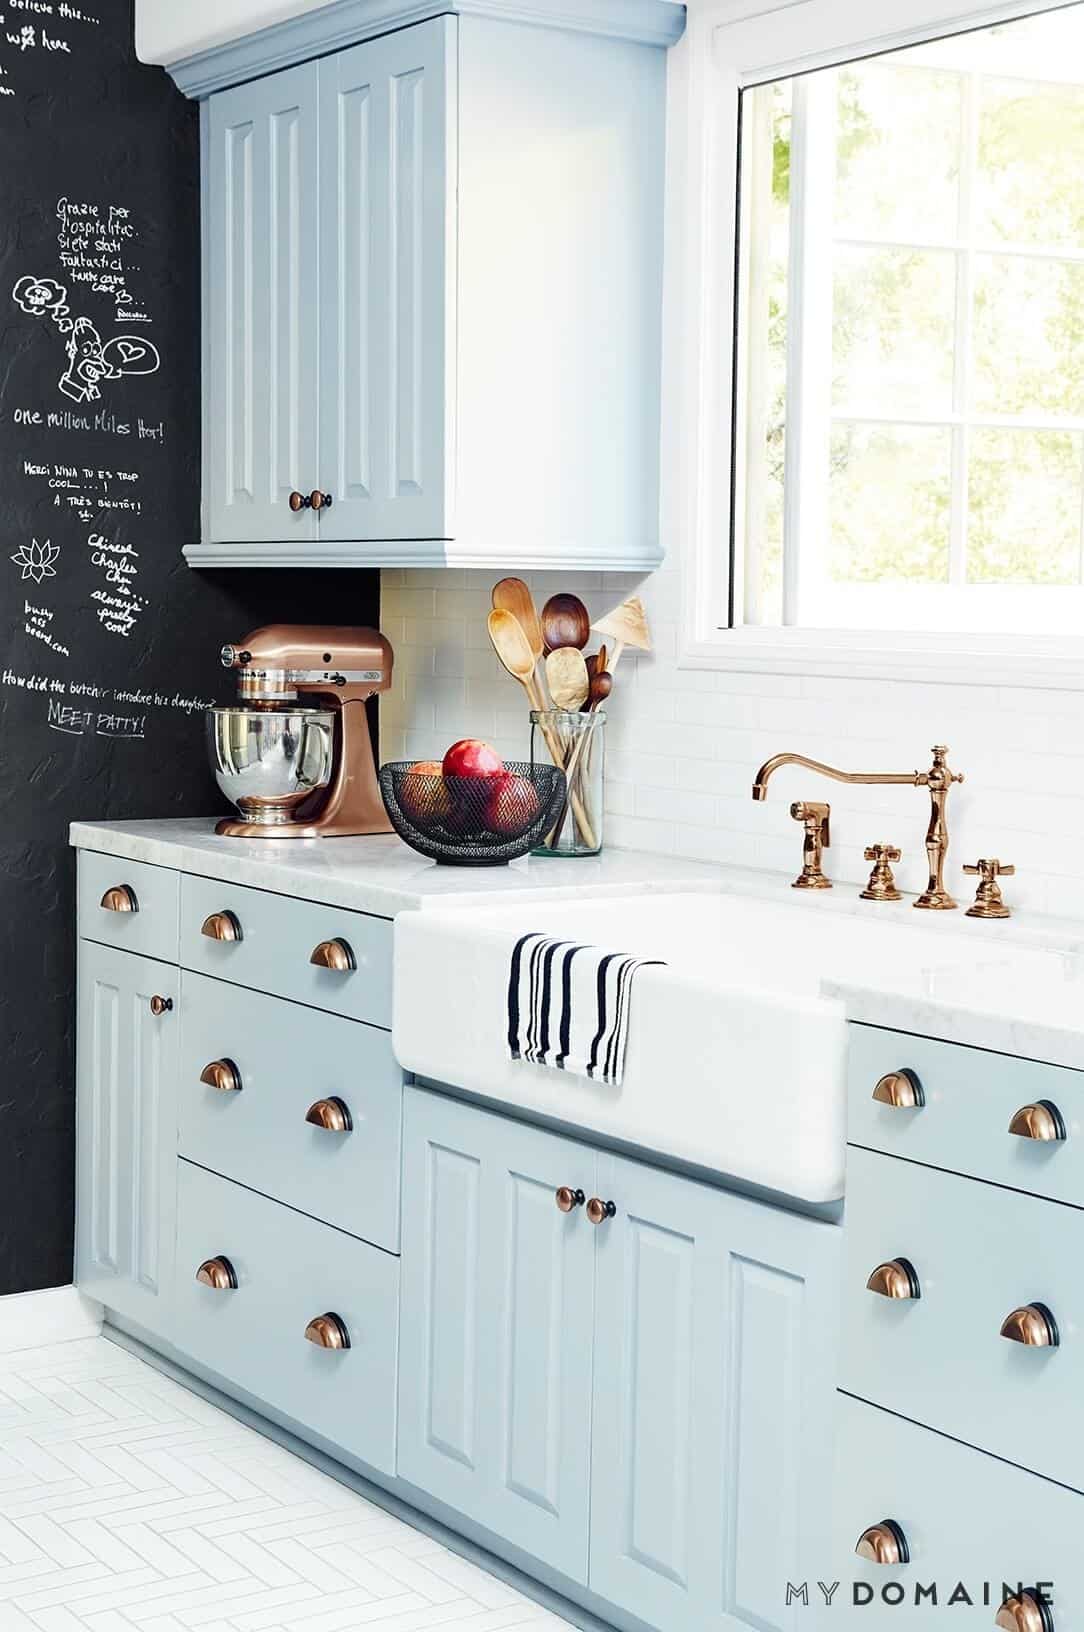
If the rest of the kitchen is in good condition, painting the cabinets can make a big difference in the overall look of the space. A fresh coat of paint can brighten up the space and make it feel new again. Choose a color that you love. It’s important to pick a shade that you’ll be happy with for years to come.
Second, prep your cabinets by cleaning them thoroughly and sanding down any rough spots. This will help the paint adhere better and produce a smoother finish.
Finally, be sure to use a high-quality paint designed for use on cabinets.
2. White Kitchen Cabinet
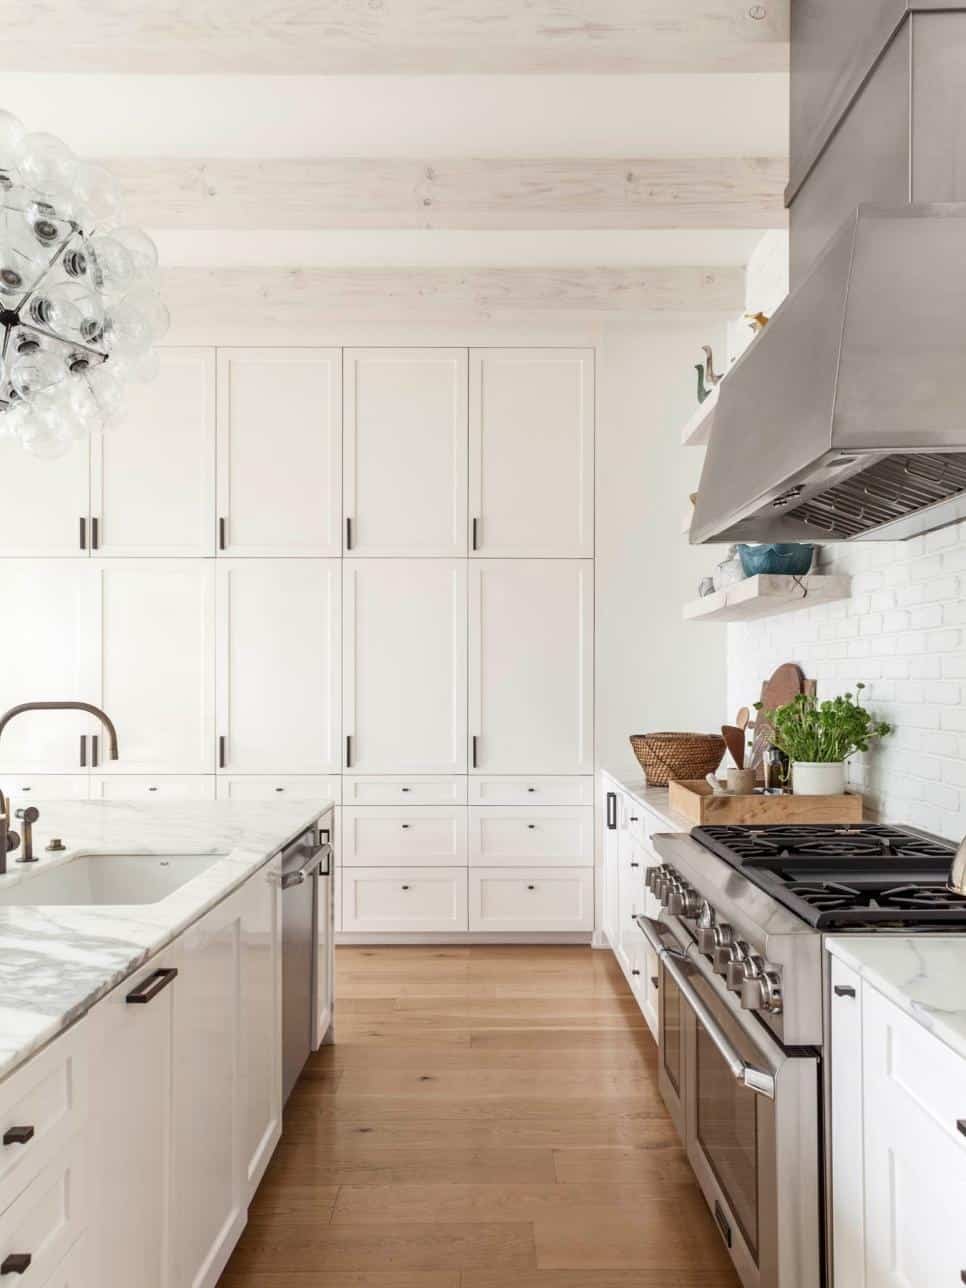
One of the easiest ways to update the look of the old kitchen cabinet is by painting it. You might be surprised at how much of a difference this simple change can make. White cabinets create the illusion of more space and make the whole room feel brighter and cleaner. Plus, painting is a relatively simple project that most homeowners can tackle on their own.
3. Industrial Kitchen Cabinet
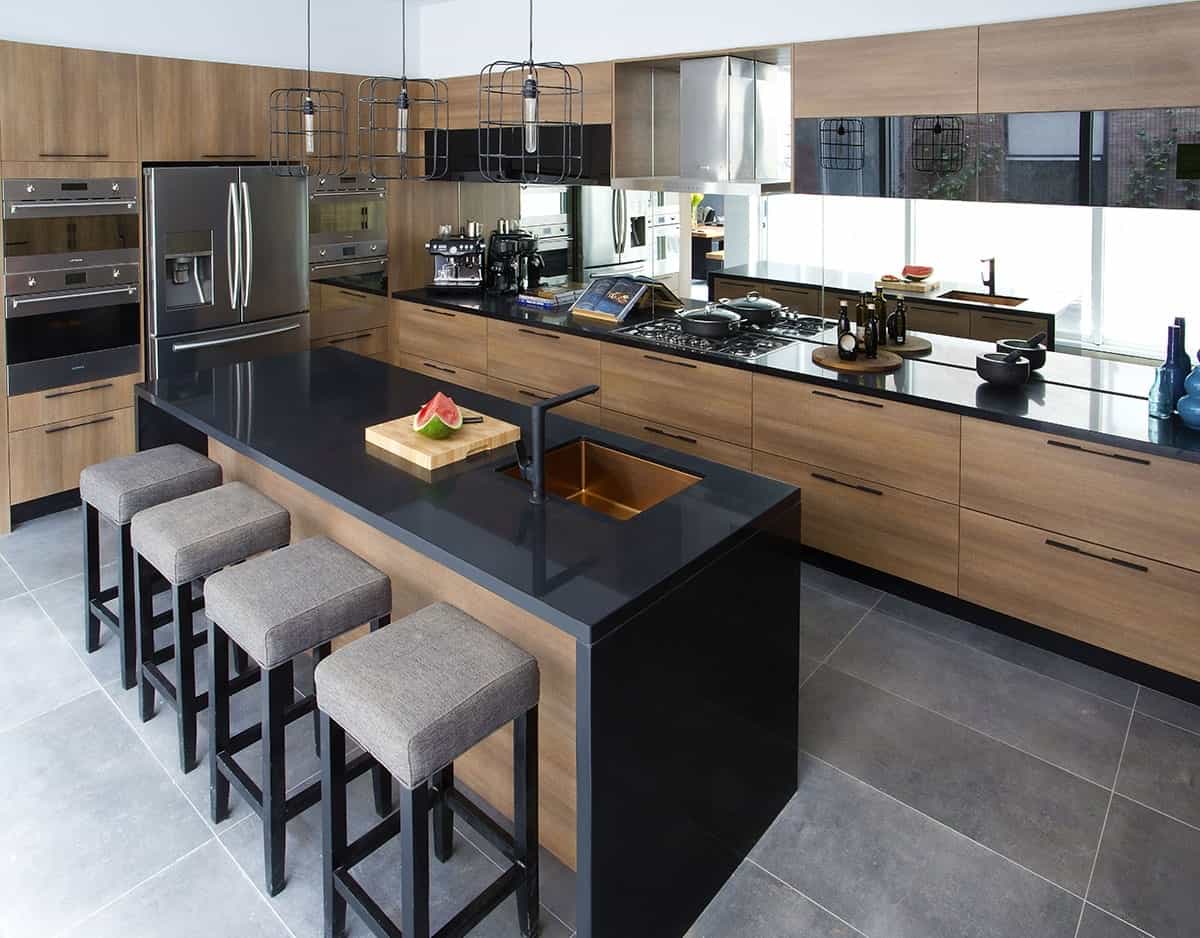
This kitchen cabinet is accounted for a distressed finishing, mixed metals and a minimalist approach to style. The result is a cool, edgy look that is perfect for the modern home. Industrial kitchen cabinets are often made from reclaimed wood or metal, giving them a unique character that is sure to stand out in any kitchen.
4. Bring The Farmhouse Style
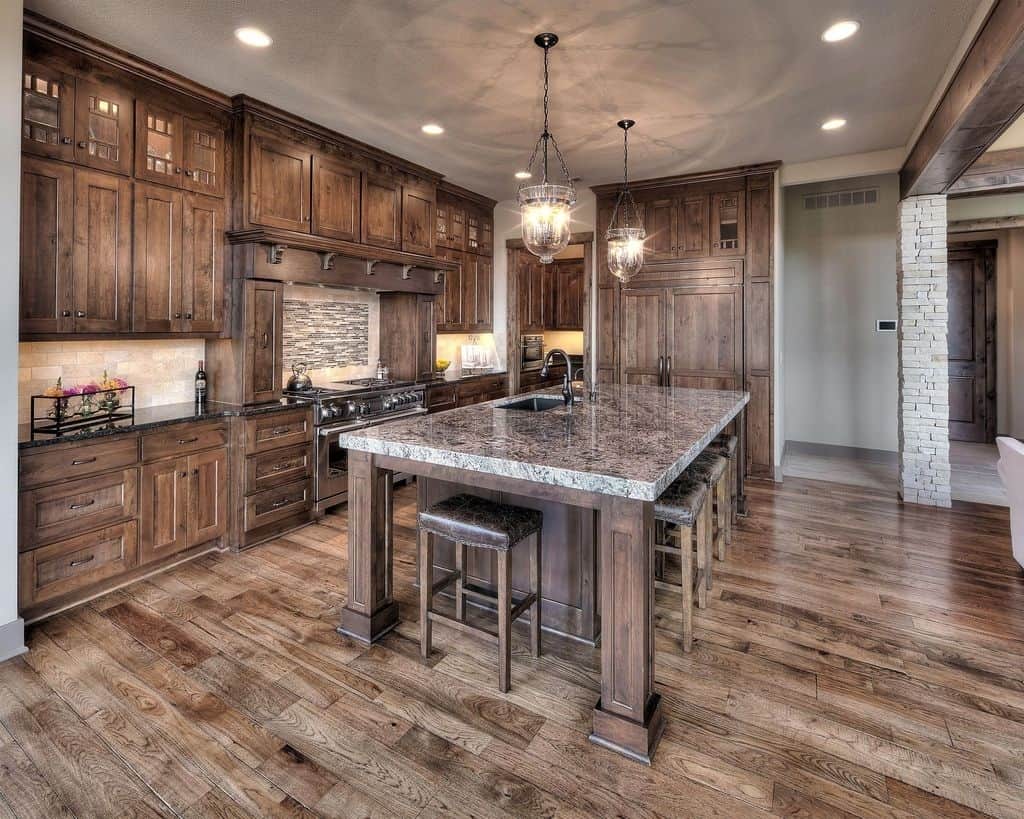
A farmhouse kitchen cabinet is the perfect way to add a touch of rustic charm to your home. Distressed finishing and natural materials give it an authentic look that is perfect for a country-style kitchen. The cabinets are also very practical, with plenty of storage space for all of your food and kitchen supplies. If you’re on a budget, consider using laminate or veneer instead. Finally, remember that the farmhouse look is all about simplicity.
Keep your cabinet design clean and uncluttered for the best results.
5. DIY Glass Door Kitchen Cabinet
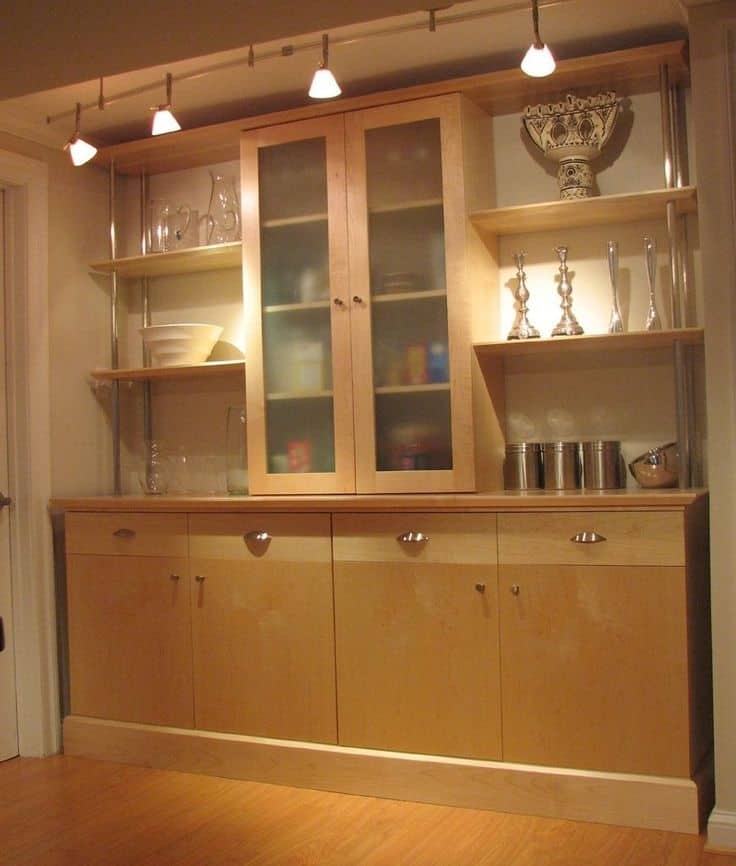
Glass doors on kitchen cabinets are a great way to open up the look of your kitchen and make it appear more spacious. They also allow you to show off your favorite dishware and glassware. Plus, it’s a fairly easy DIY project that anyone can do. Just be sure to measure your cabinet door carefully before cutting the glass, and use a sturdy piece of plywood or MDF for the backing.
6. The Beauty Of Rustic Design
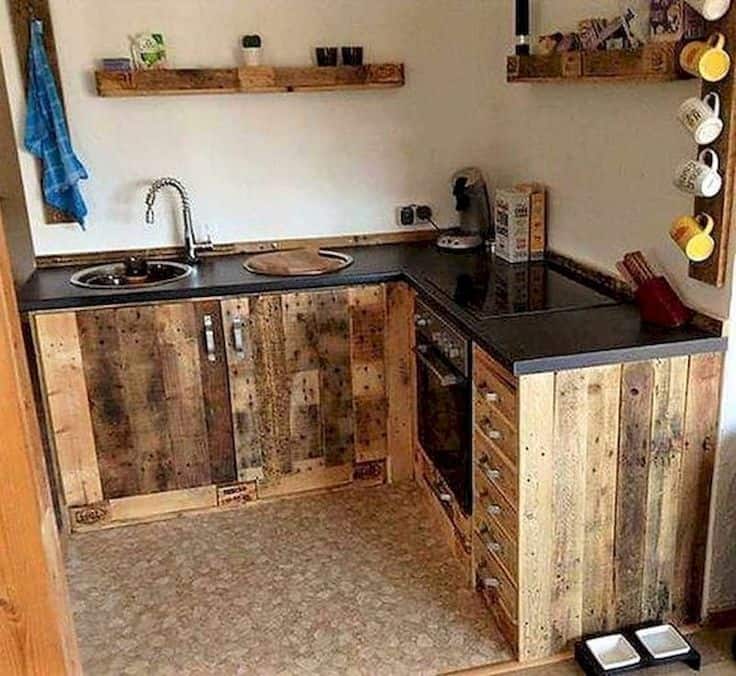
Distressed finishing is the key to achieving that rustic look. This involves techniques like sanding, distressing and glazing to give the wood a worn, antique appearance. Natural materials like reclaimed wood or knotty pine are also perfect for creating a rustic kitchen cabinet. These woods have a rugged texture and rich color that adds character to any space. When choosing rustic kitchen cabinets, it’s important to consider the overall style of your kitchen.
7. Simple Kitchen Cabinet
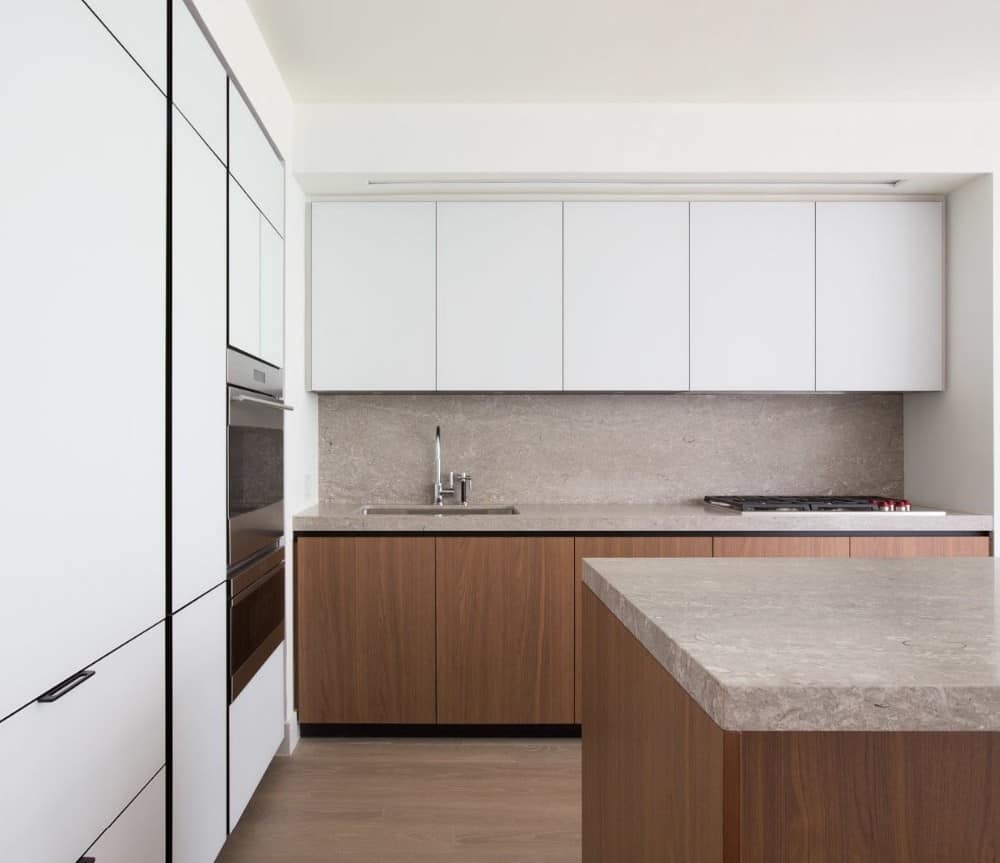
This kind of kitchen cabinet is easy to make, which is also relatively low cost. It is a cool option if you are on a budget. To make this cabinet, you will require some basic carpentry skills and access to a saw and other power tools. One popular choice is to use plywood or melamine boards, which can be cut to size and then easily assembled with screws or nails.
What you will need:
- Tape measure
- Plywood or melamine boards
- Circular saw
- Jigsaw
- Screws or nails
- Drill
8. Go Black
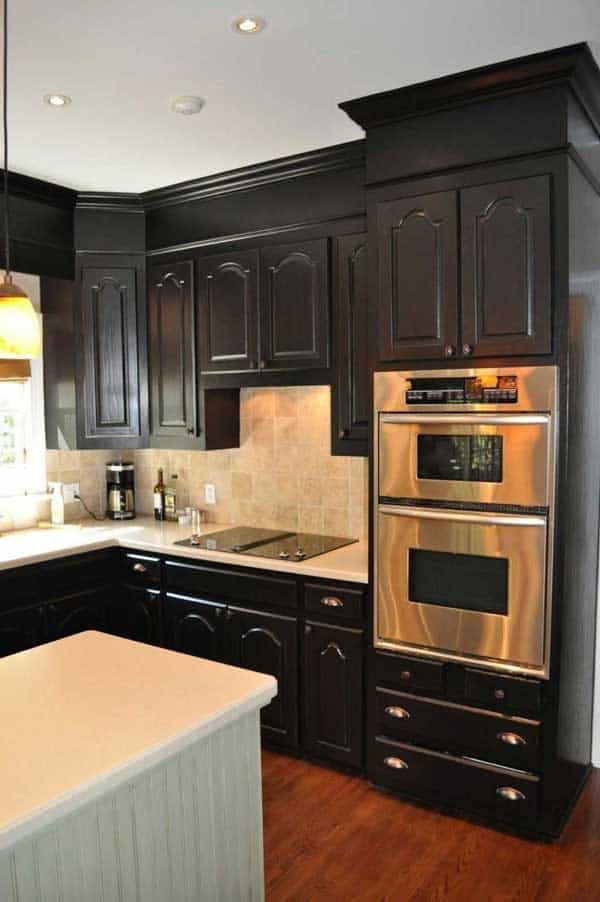
Black kitchen cabinets are elegant and bold, and they can make a big impact in your kitchen. They can also be very practical because they hide dirt and smudges well. If the kitchen is painted white, then this cabinet will be a focal point. The black painted cabinet is easy to make. You don’t need any fancy tools or woodworking skills, so it’s perfect if you’re a beginner.
9. DIY Easy Kitchen Cabinet
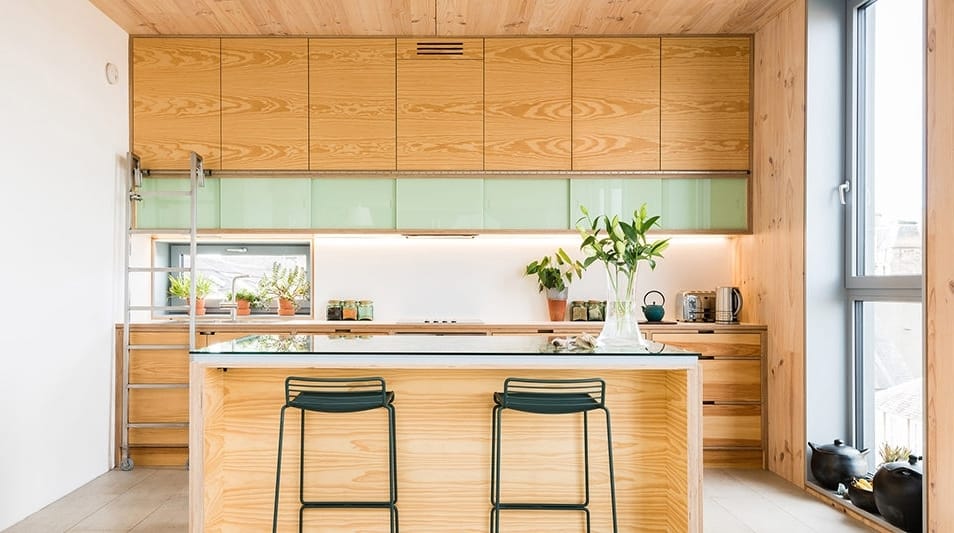
This project is relatively cheap and easy to do, even for beginners. Plus, it’s a great way to give your kitchen a fresh new look.
Here’s what you’ll need:
- 25mm MDF board
- A saw
- A measuring tape
- PVA glue
- Clamps
- Sandpaper (120 grit)
- Paint or varnish (optional)
Start by measuring and cutting your MDF boards to size. Then, use sandpaper to smooth out the edges. Next, apply PVA glue to the boards and clamp them together.
Allow the glue to dry overnight, then unclamp the boards and sand them down again (this time using a finer grit sandpaper). If you’re painting or staining your cabinets, now is the time to do it.
Once the paint is dry, re-clamp the boards and drill pilot holes for your hinges. Finally, attach the hinges and screw the cabinets to the wall. That’s it!
10. The Inexpensive Project
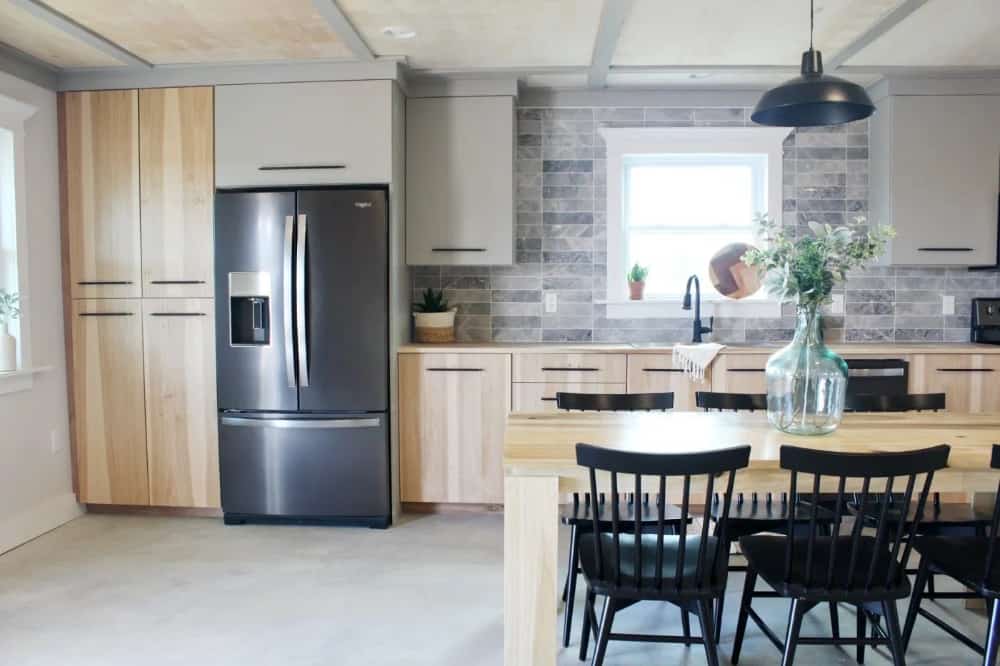
If you’re working on a tight budget, DIY-ing your cabinets can be a great way to save money. However, it’s important to make sure you’re prepared for the project before you get started. In addition to measuring your space and planning out your design, you’ll need to choose the right materials. Plywood is a popular choice for DIY kitchen cabinets because it’s durable and relatively inexpensive. However, if you want a more polished look, you may want to opt for MDF or particleboard.
11. DIY Minimalist Kitchen Cabinet
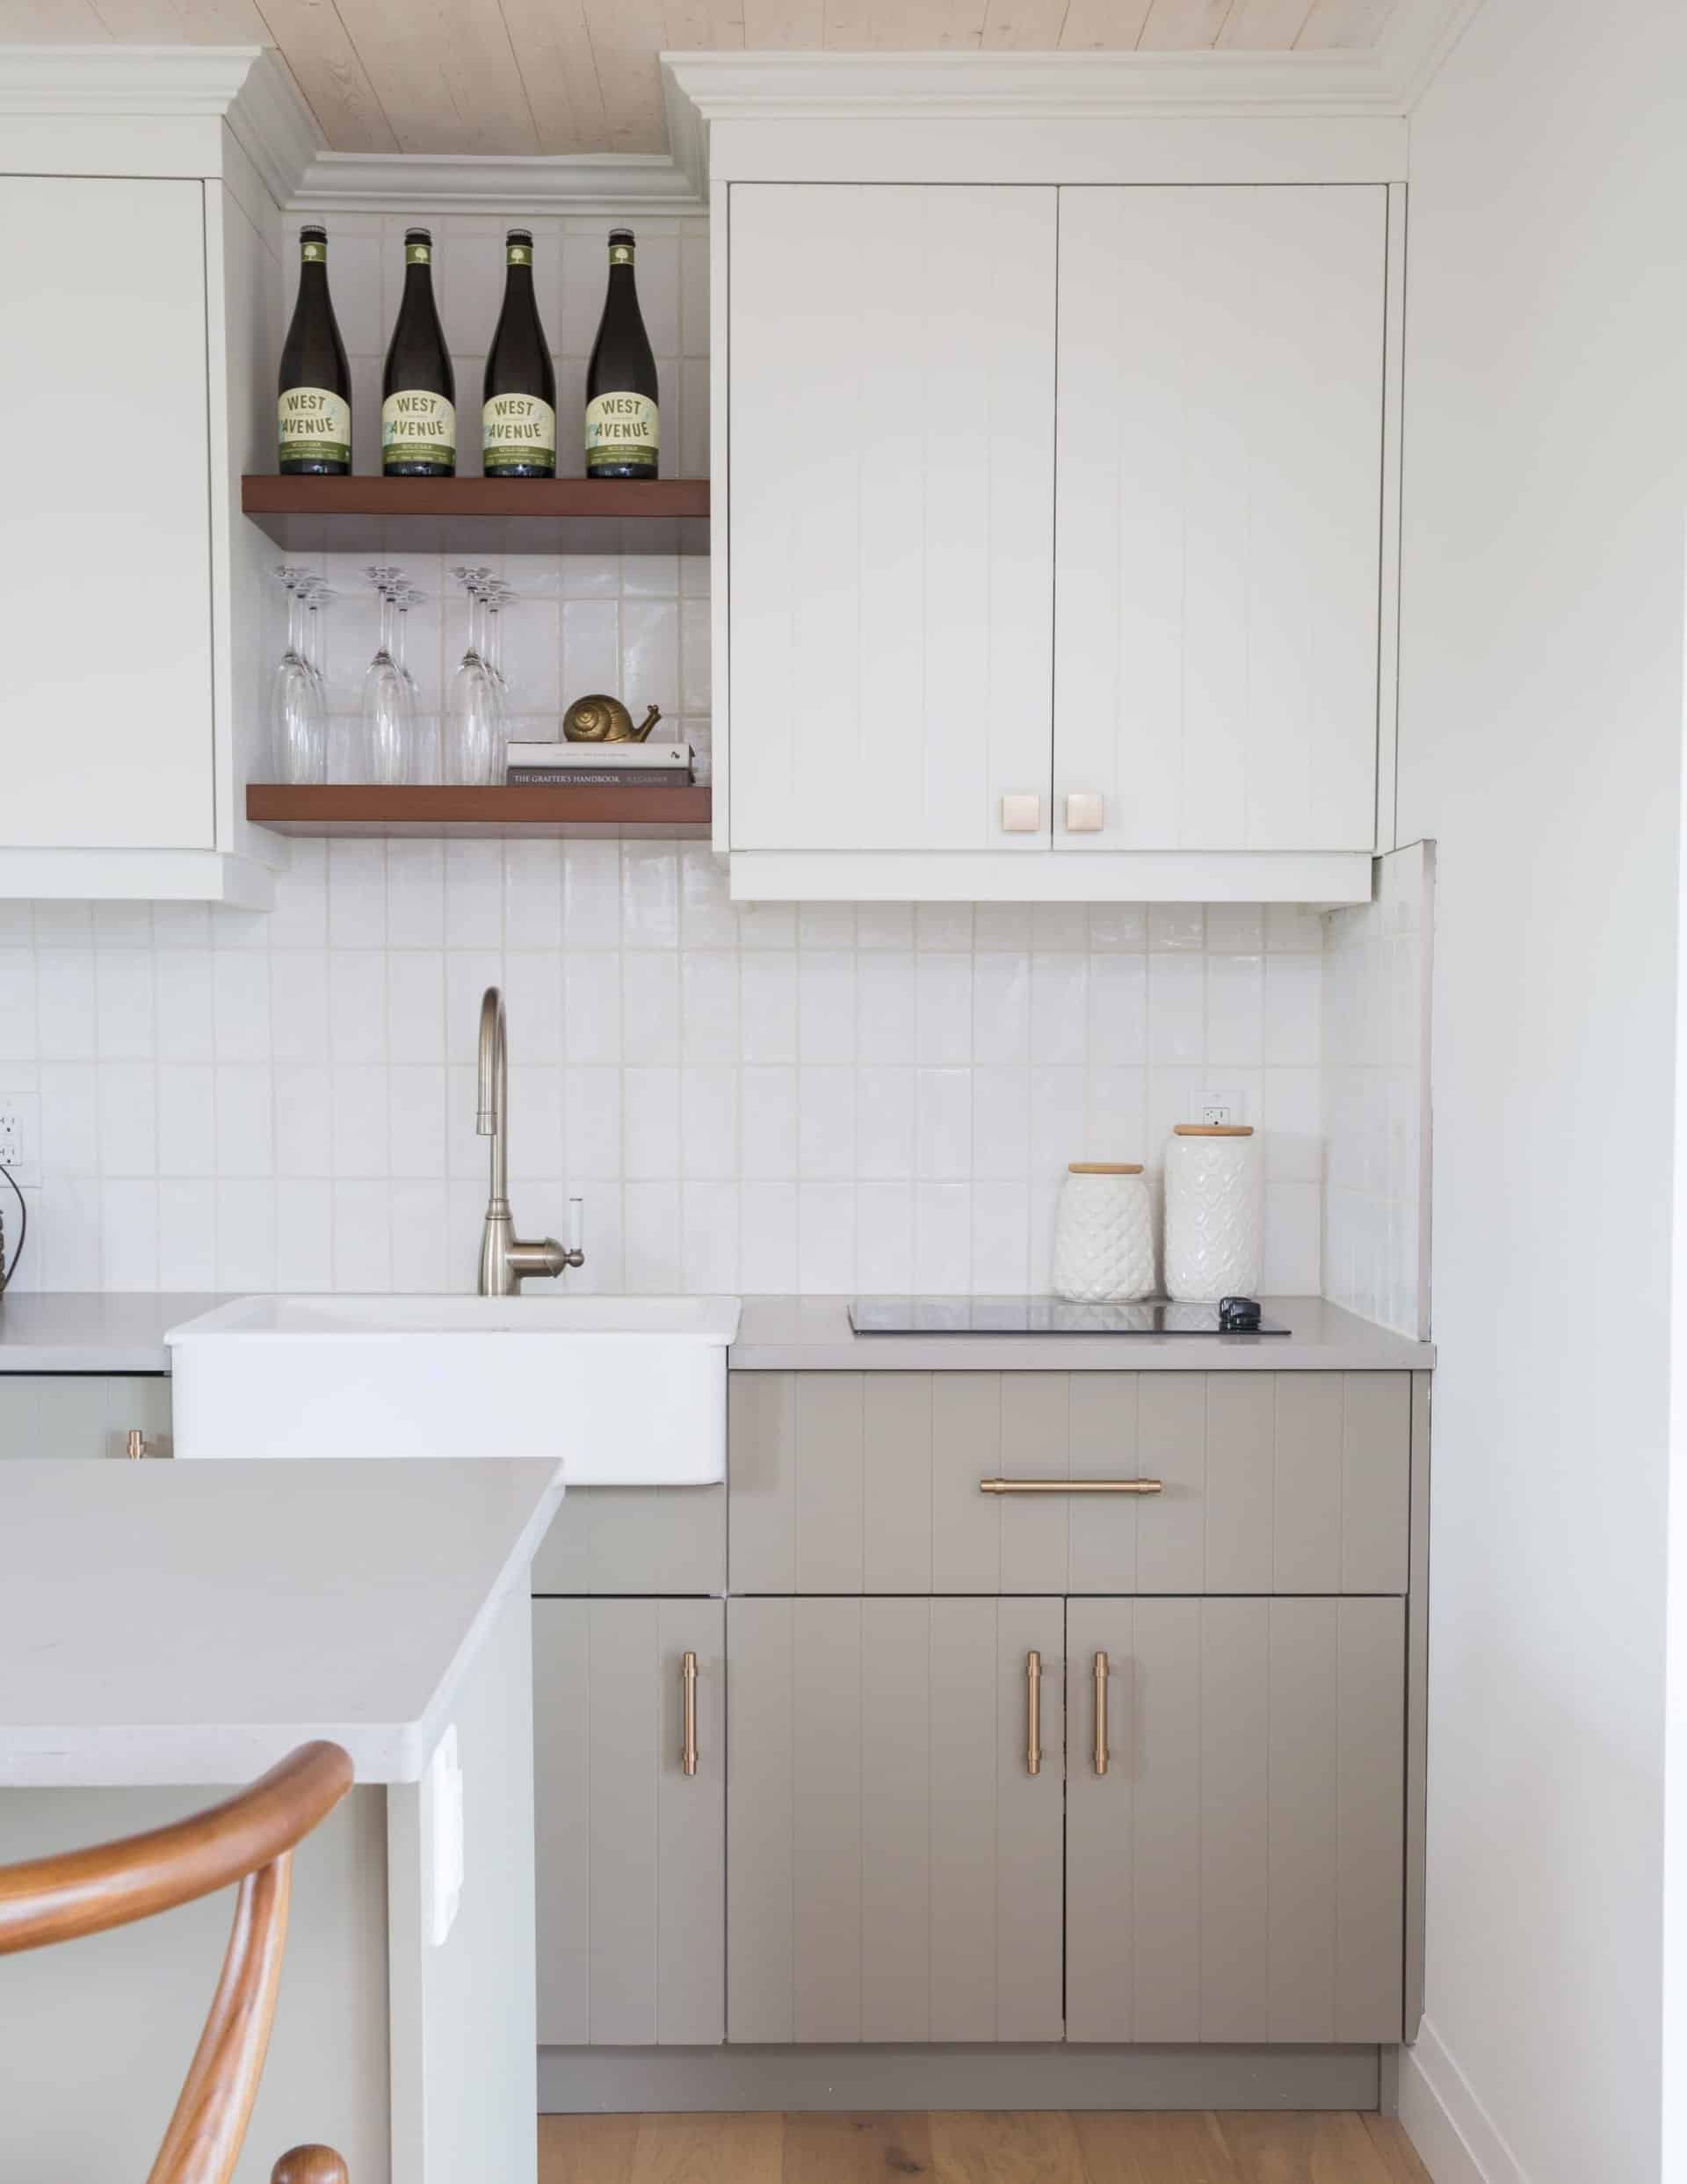
Minimalist kitchen cabinet is a simple and elegant project that can be completed on a weekend. The minimalist style is all about clean lines and functionality, so the focus should be on creating a functional storage space that is uncluttered and stylish. Start by removing all the doors from the cabinets, then sanding and painting or staining the wood.
Once the paint or stain is dry, add new hardware to give the cabinets a fresh look. Finally, add some minimalistic accessories, such as a few cookbooks or a beautiful vase, to complete the look.
12. Make It Look Elegant
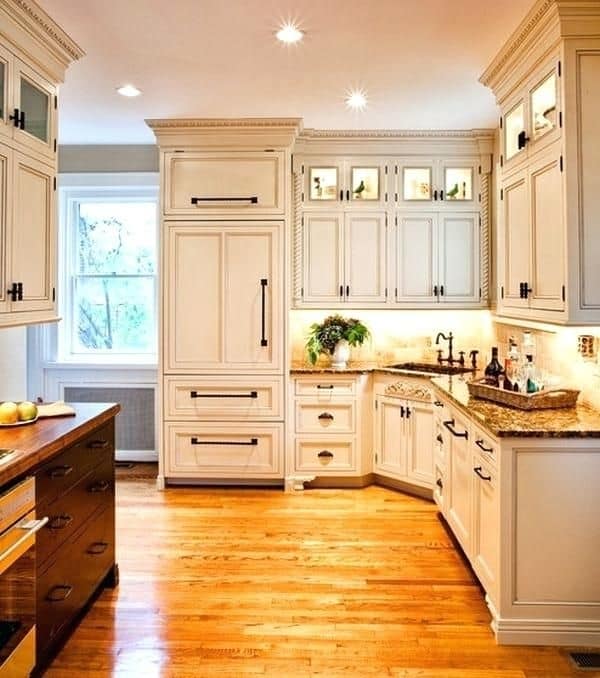
Elegant kitchen cabinet is something many people want in their home. The kitchen is the heart of the house and where many family memories are made. But an elegant kitchen does not have to be expensive. You can also try spray-painting the existing hardware if you want to give it a new look without buying all new pieces. If you want an elegant hint in your kitchen, consider painting your cabinets a light color, such as white or cream.
13. DIY Kitchen Cabinet With light
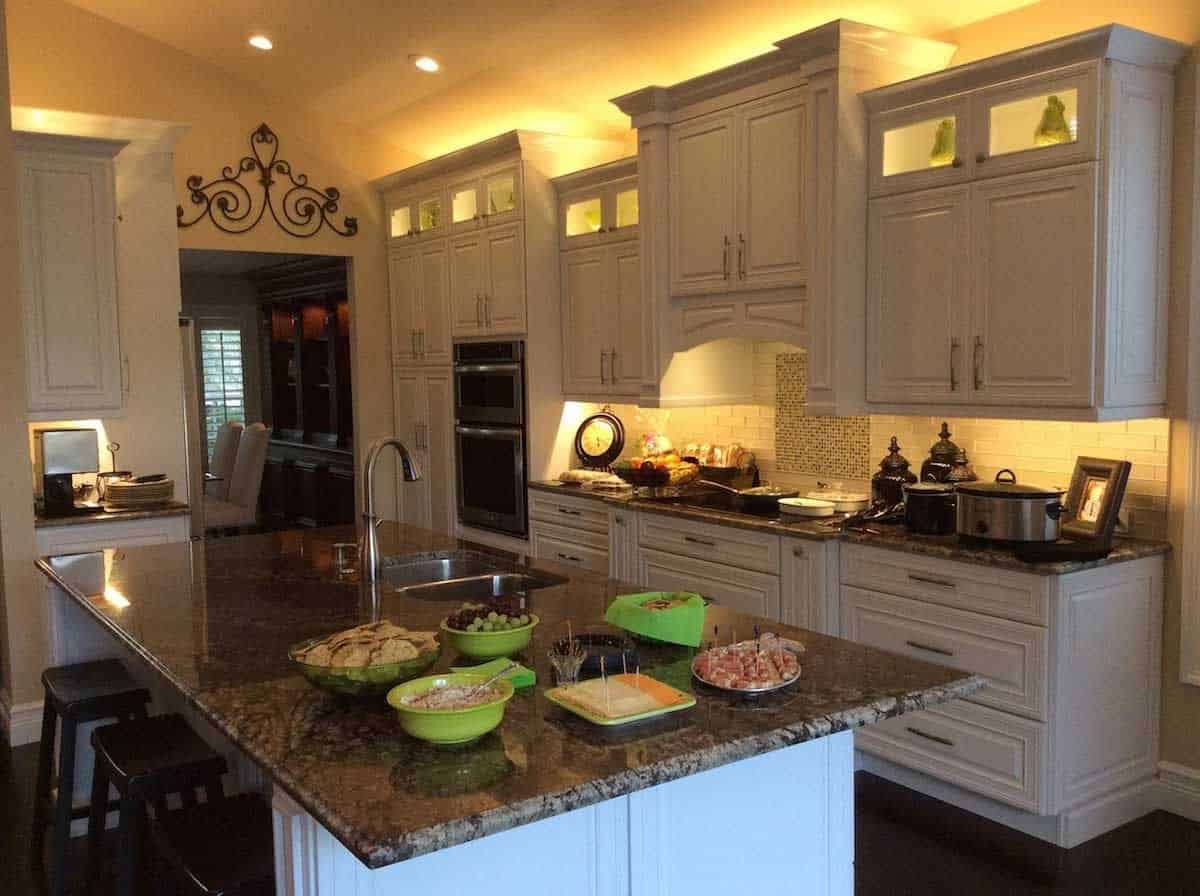
This easy project is a great way to add a touch of class to your kitchen without spending a lot of money. Plus, the added bonus of having extra light in your kitchen will make food prep so much easier. All you need for this project are some basic tools, some LED lights, and a little bit of time. When turned on, these lights will illuminate the contents of the cabinets and create a beautiful glow. With these simple steps, you can easily transform your kitchen cabinets into an elegant focal point.
14. DIY Corner Cabinet
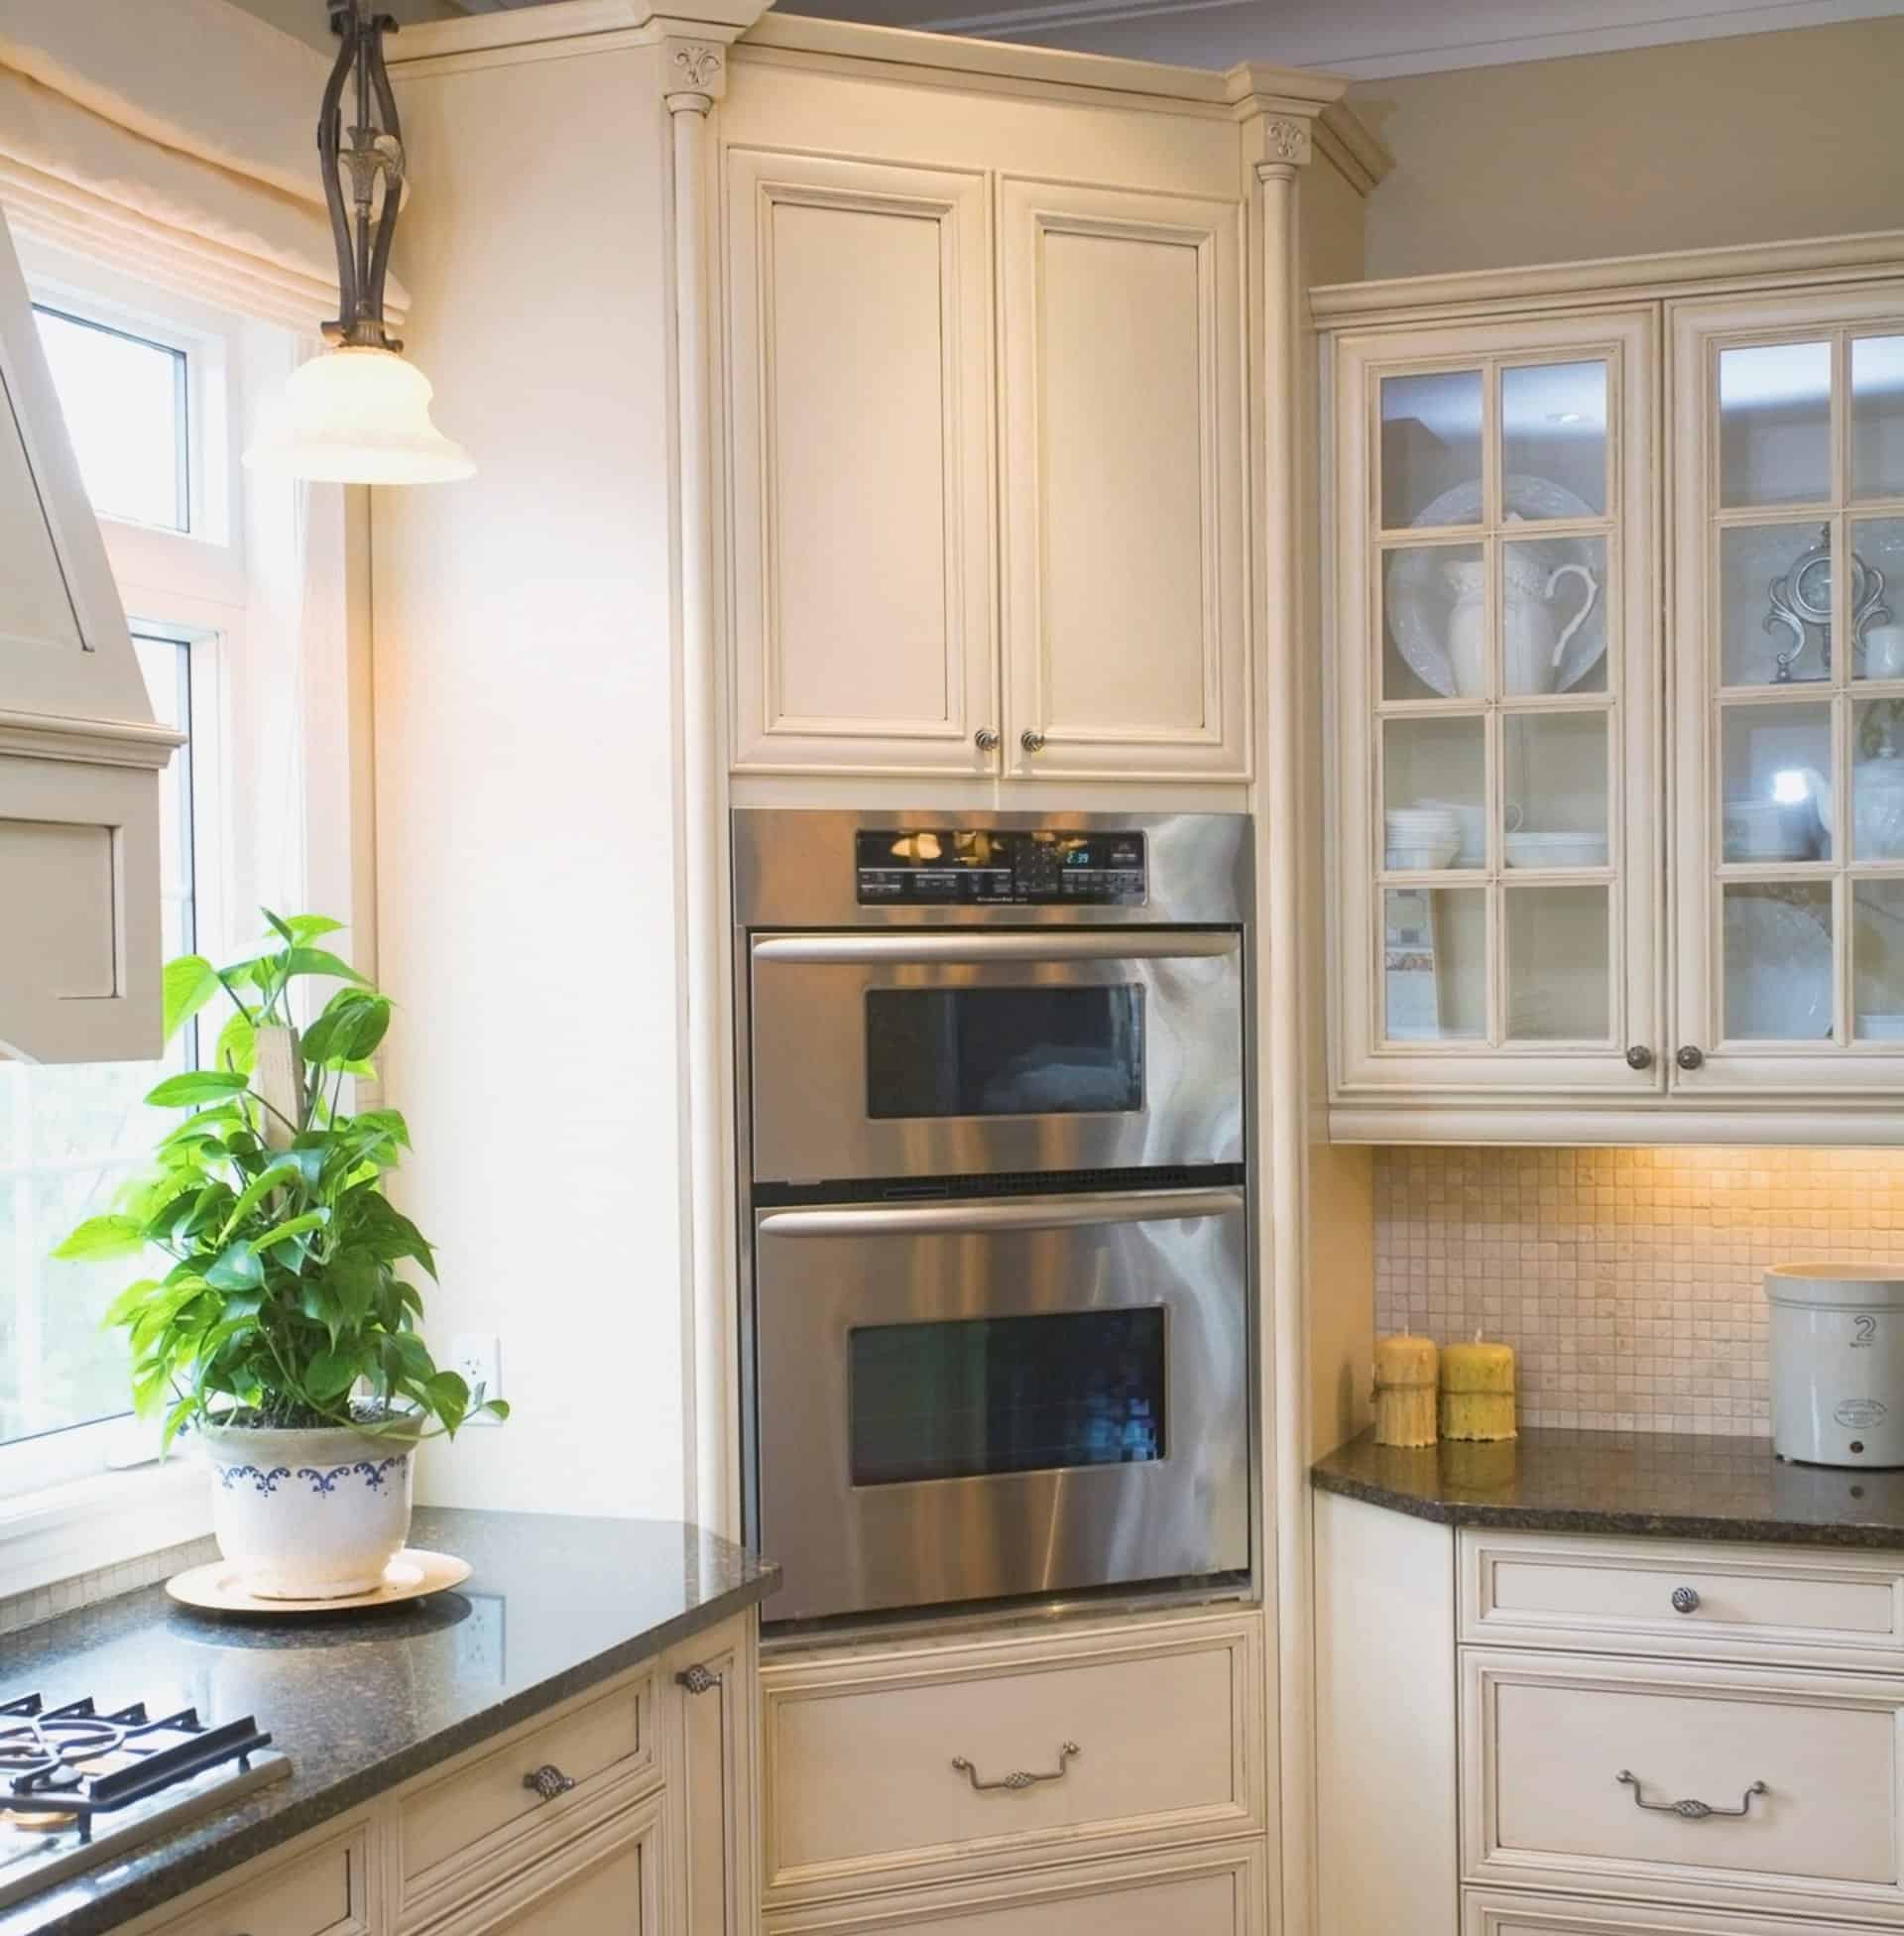
A corner kitchen cabinet can be a great way to maximize the space in your kitchen. By taking advantage of the corner space, you can add extra storage and counter space. DIY corner kitchen cabinets are relatively easy to build, and they can be custom-designed to fit your specific needs. By adding shelves, racks, or even a small countertop, you’ll be able to make use of that corner space like never.
15. Add The Wire Chicken To The Door
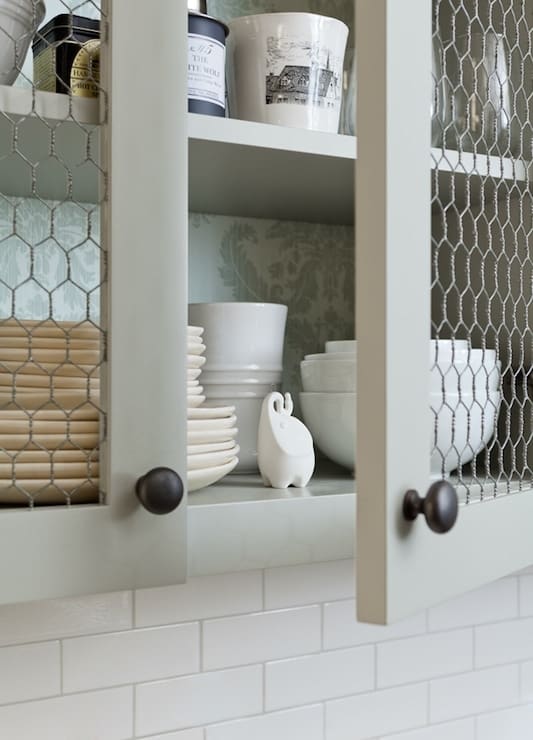
The wire chicken is a great addition to any kitchen cabinets. They are simple to install and come in a variety of sizes to fit any need. Install the wire on the cabinet door. Add the chicken wire to the inside of the cabinet door. This will allow you to see what is inside the cabinet without opening it. Other than that, it offers you a good air circulation to the cabinet.
Supplies needed:
- Chicken wire
- Scissors
- Stapler
- Wire cutter
- Wood
16. Add Some Cabinet Hardware
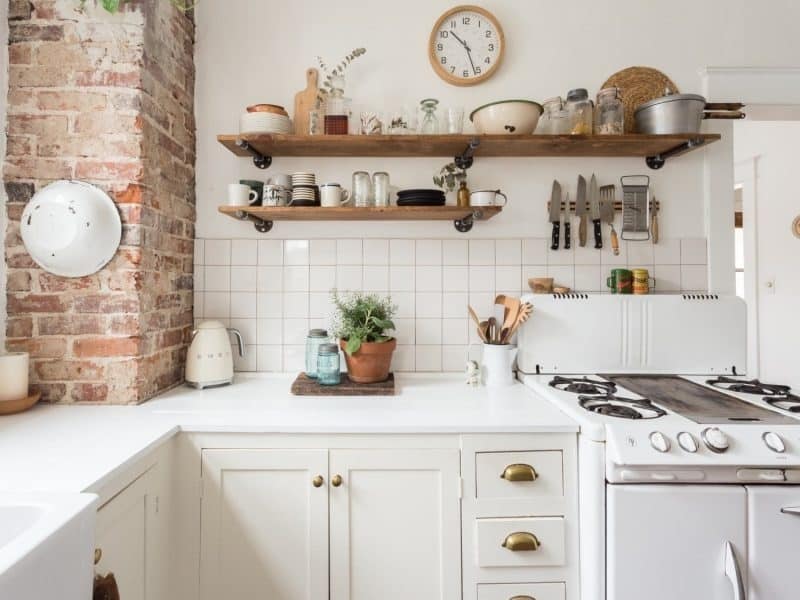
Make use of the old dresser and turn it into something more useful, like a kitchen cabinet. This is a great idea if you want to add more storage space in your kitchen without spending too much money. If you’re handy with a paintbrush and a screwdriver, one great way to give your kitchen a facelift is to upcycle an old dresser into a DIY kitchen cabinet. Just remove the drawers, sand down any rough edges, and add a fresh coat of paint. To complete the project, add some new hardware.
17. Applying Wallpaper To The Kitchen Cabinet
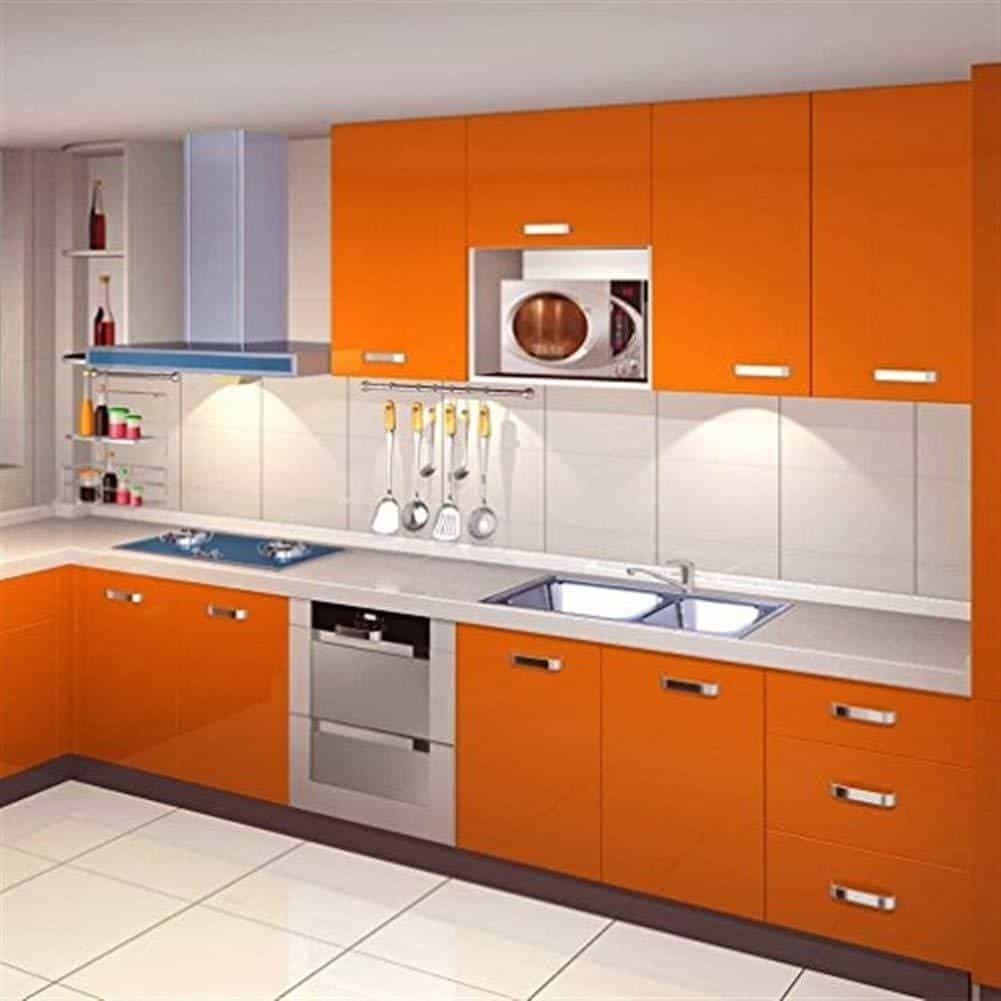
One simple and inexpensive way to update your cabinets is to apply wallpaper to them. Wallpaper comes in a variety of colors and patterns, so you can easily find something that fits your style. Applying wallpaper to your cabinets is a relatively easy DIY project that can be completed in a few hours.
First, remove all the doors from your cabinets and then sand down the surfaces to rough them up a bit. This will help the wallpaper adhere better. Next, measure and cut the wallpaper to fit each door. Apply paste to the back of the wallpaper and then smooth it onto the door. Once all the doors are covered, reattach them to the cabinets and enjoy your new look.
18. Make A Pallet Wood Kitchen Cabinet
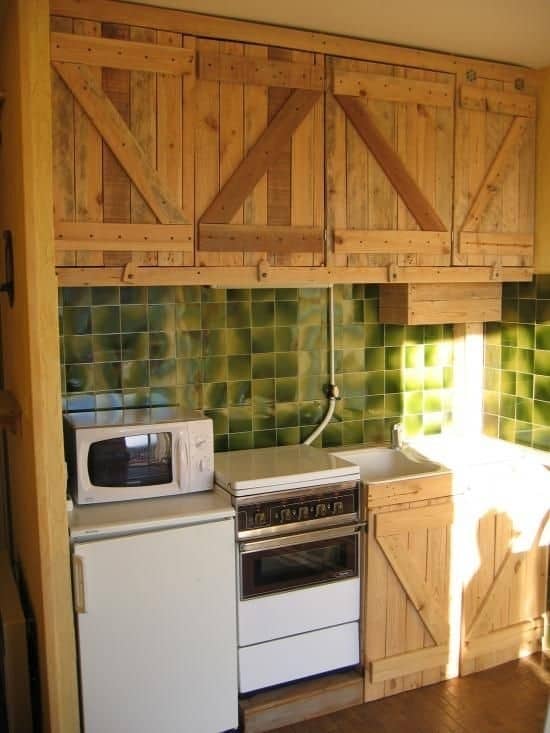
Pallet wood is a great material to use for DIY projects because it is inexpensive and easy to work with. Plus, it has a rustic charm that will give your kitchen some character. If you are working with limited space, making a pallet wood kitchen cabinet is a great solution.
The cabinet will take up less space than a traditional cabinet, and it will add some charm to your kitchen. You can paint or stain the wood to match your existing kitchen decor, or you can leave it natural for a more rustic look. Pallet wood is also very affordable, making this DIY project a great option for those on a budget.
19. Install The Sliding Door
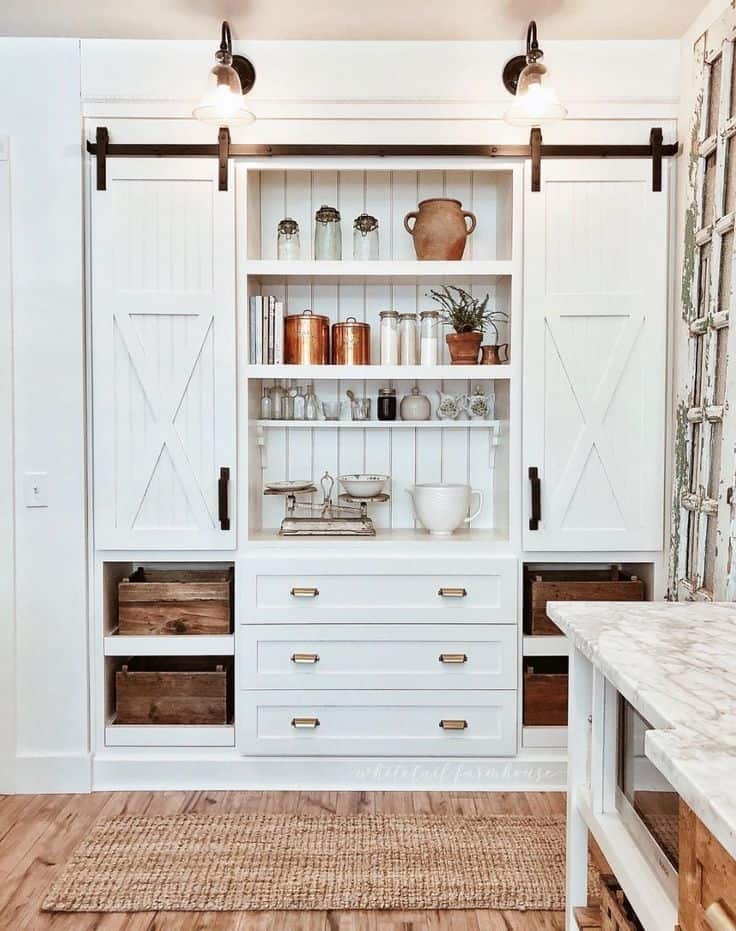
This is an easy project that can be completed in a couple of hours, and it will make your home look cooler while freeing up some space. Barn doors are also relatively inexpensive, so this is a great option if you’re on a budget. Plus, they’re easy to open and close, so you won’t have to worry about bumping into them when you’re trying to get something out of the cabinet.
To install a barn door, you’ll need to purchase a few supplies from your local hardware store. First, you’ll have to measure the width of the opening and then buy a barn door kit that’s the same size. Next, you’ll have to purchase some L-brackets and screws.
20. Use Mason Jars for Storage
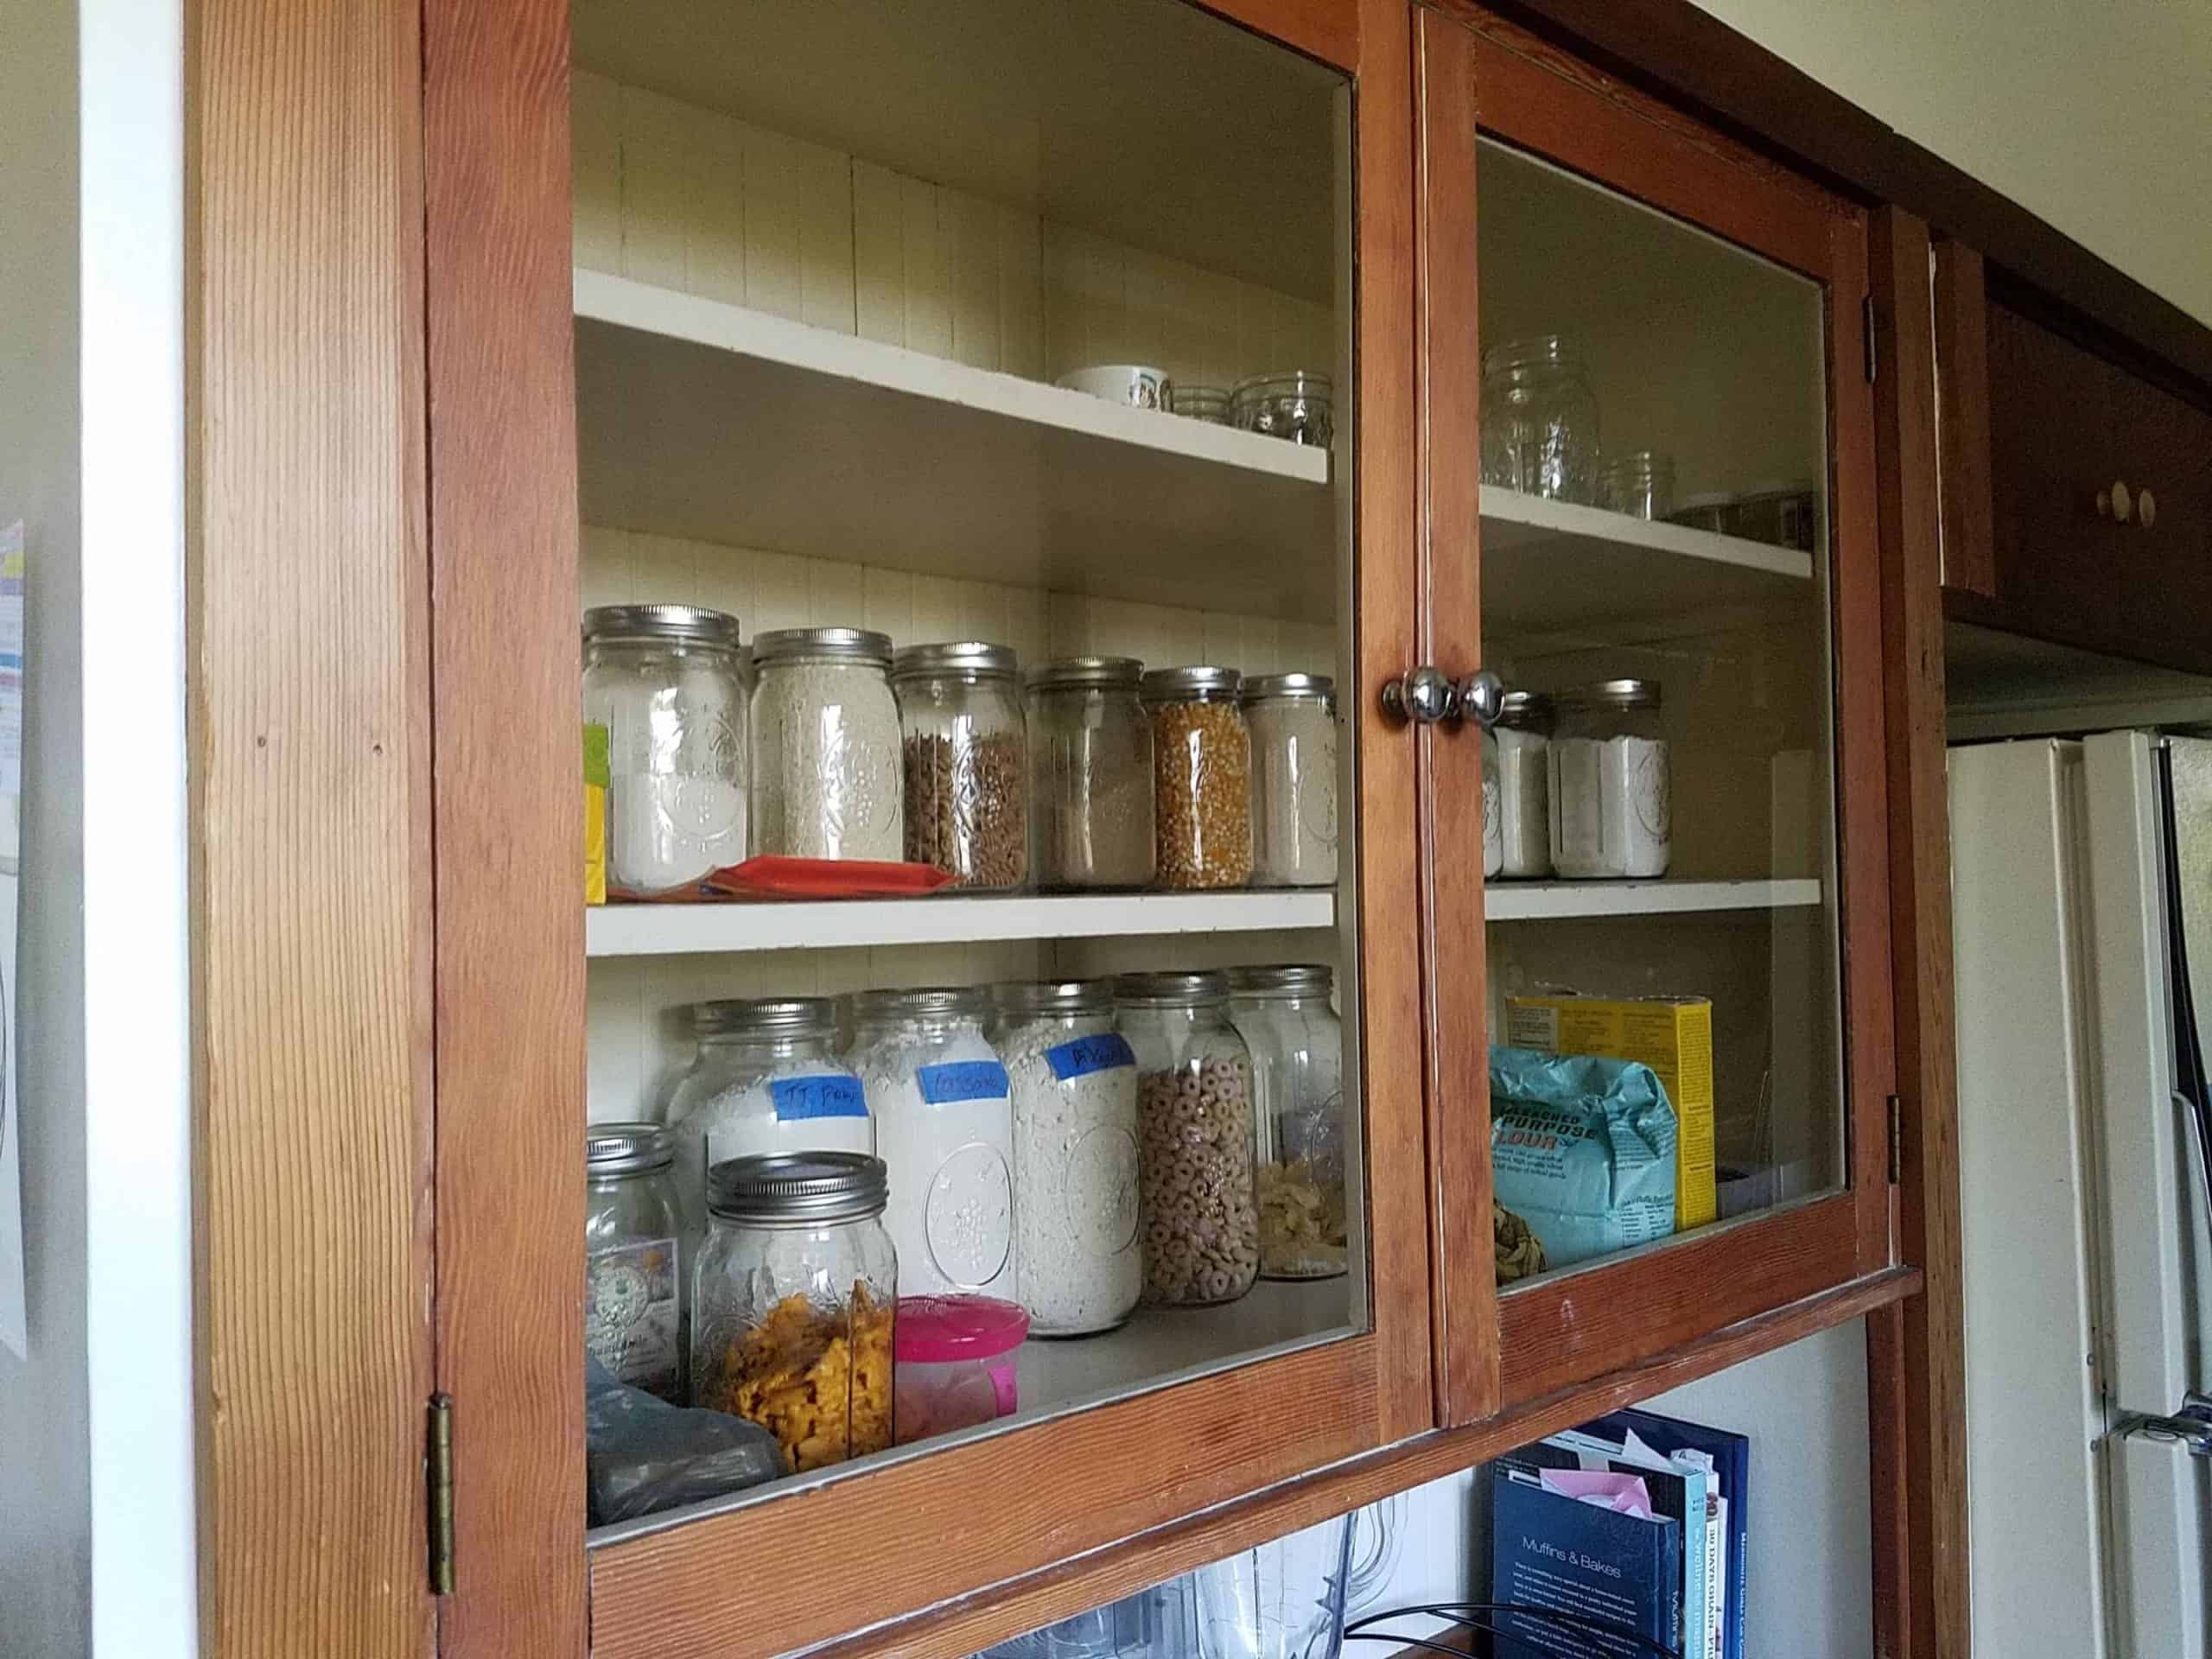
Consider using the mason jars to store your items like spices. You can use the small, medium and large mason jars to store different items. This will help to clear some space in your kitchen cabinets.
They’re inexpensive, and you can find them in a variety of sizes. Plus, mason jars are perfect for storing everything from spices to pasta. Just make sure to label each jar, so you can easily find what you’re looking for. And if you’re worried about the jars taking up too much space, don’t worry. Mason jars are stackable, so they’ll fit perfectly in your kitchen cabinets.
21. Use Chalkboard Paint
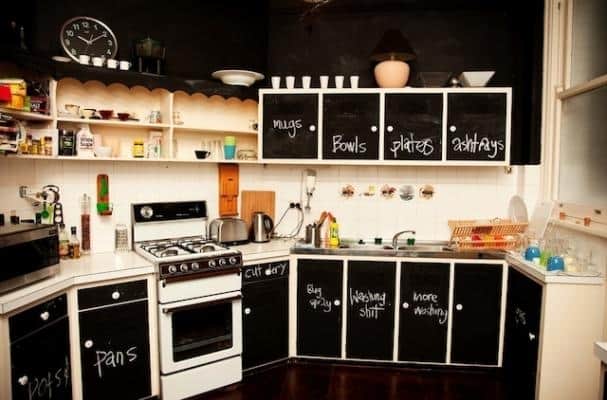
One of the simplest and most effective ways to give your kitchen a facelift is to use chalkboard paint on your cabinets. This inexpensive material can thoroughly change the look of your space, and it provides a handy spot to store the items and is easily labelled. You can also write down the recipe on it if it works for you. No more searching through cookbooks or scrolling through websites, just jot down the recipe on your cabinet, and you’re good to go.
22. Install The Tile Backsplash
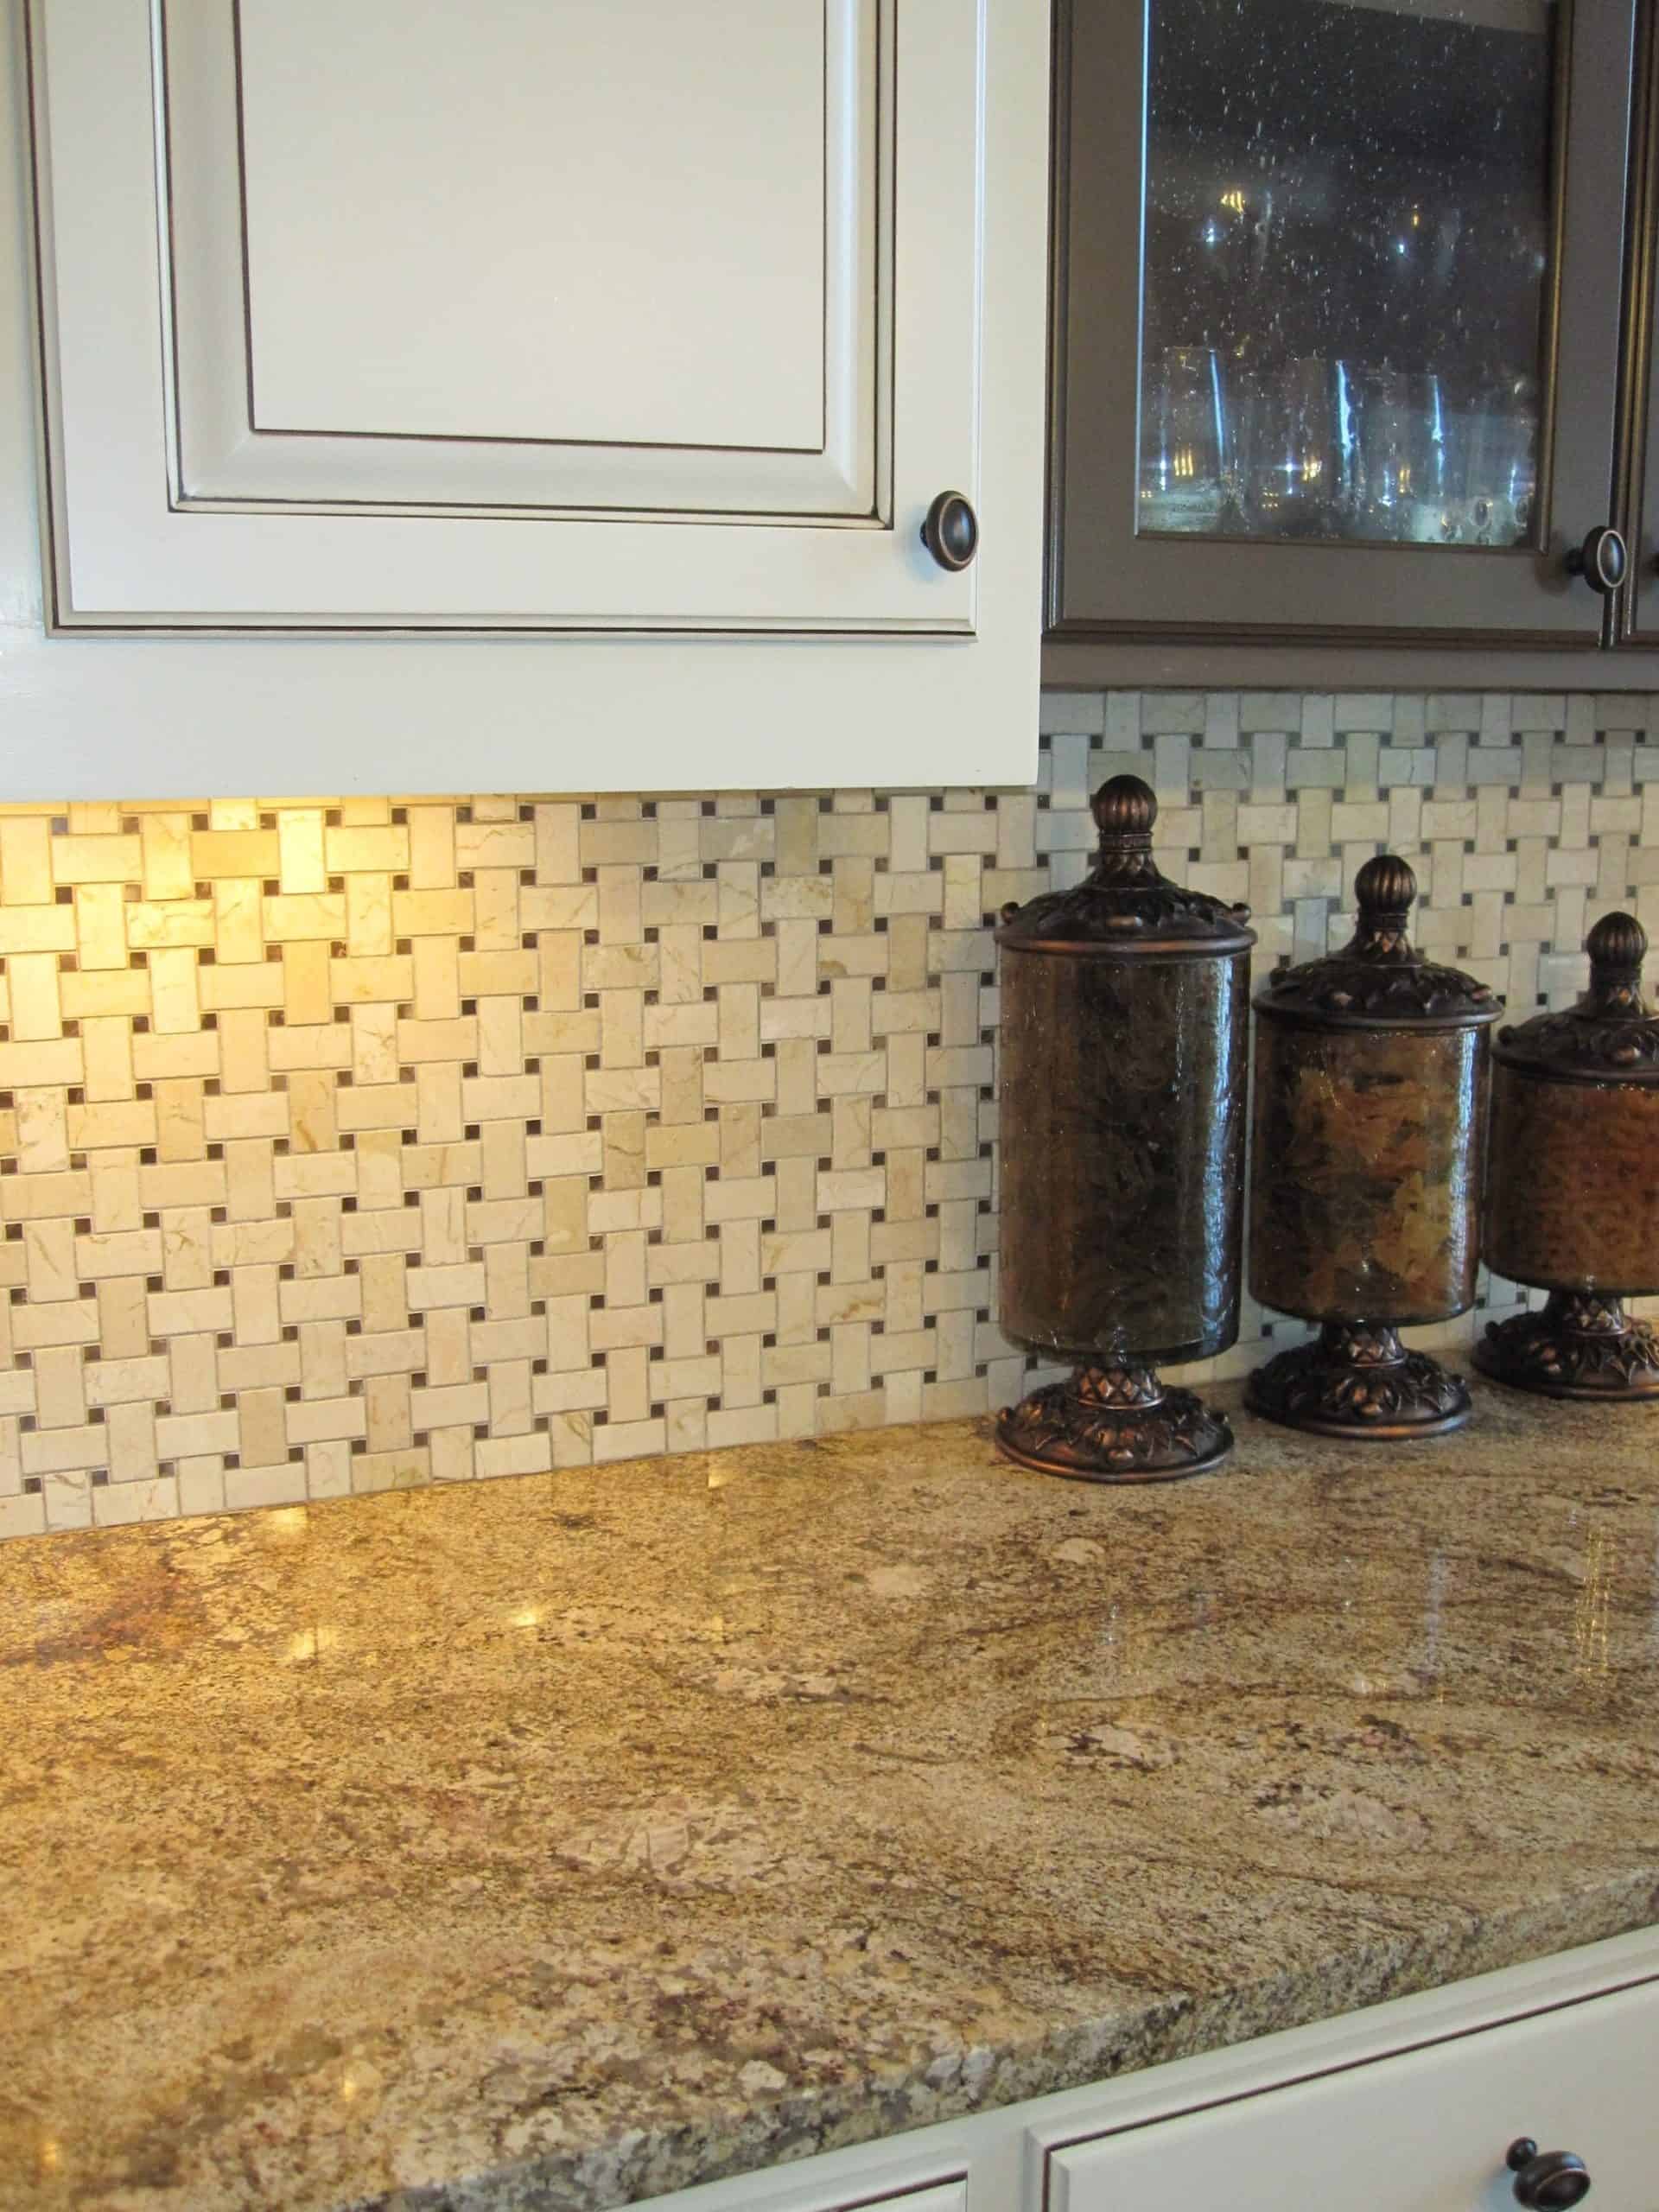
The tile backsplash is a quick and easy way to update your kitchen. It’s also relatively inexpensive, so it’s a great project for those on a budget. You can find tile backsplashes at any home improvement store, and they come in a variety of colors and styles.
To install the tile backsplash, you’ll need a tile cutter, tile adhesive, and grout. First, mark the area where you want to install the tile backsplash. Then, use the tile cutter to cut the tiles to size. Next, apply the tile adhesive to the back of each tile. Be sure to follow the manufacturer’s instructions for the best results. Finally, apply the grout between the tiles and wipe away any excess. Allow the grout to dry according to the manufacturer’s instructions before using your new tile backsplash.
23. Add Wood Trim To The Cabinet Doors
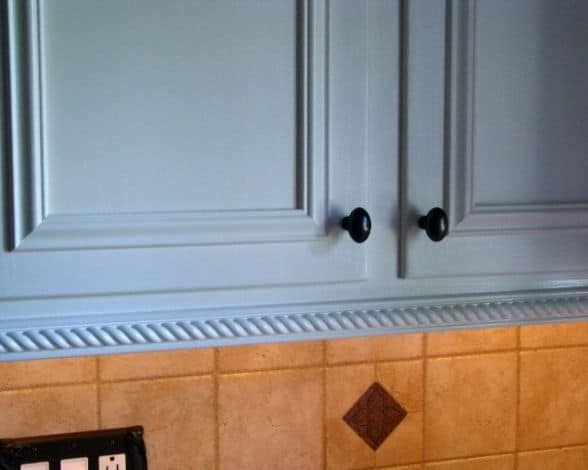
Consider to add new life to tired cabinets is to add trim. Cabinet doors are often plain and flat, but by adding trim, you can give them some extra dimension and personality. Simply measure the width of the door and cut the trim to size. Attach the trim to the door using finish nails and wood glue. Once the trim is in place, sand it down and paint or stain it to match your existing cabinets.
24. Use The Rope As Handles
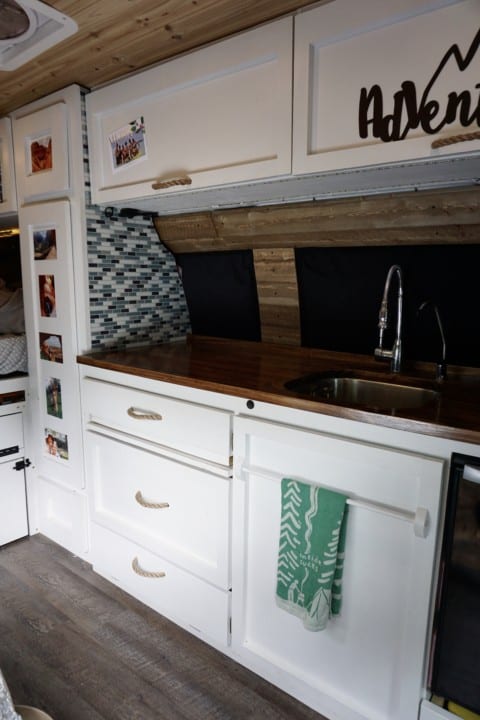
This is a quick and easy DIY project that anyone can do, and it doesn’t require any special skills or tools to add a coastal ambiance to the kitchen. All you need is some rope, a few screws, and a drill. Once you have everything you need, simply screw the rope into the cabinet door using the screws. You can make the handles as long or as short as you like, and you can use any type of rope that you like. Just be sure to use a sturdy rope that won’t break easily.
25. Add A Shelf Above The Kitchen Cabinet
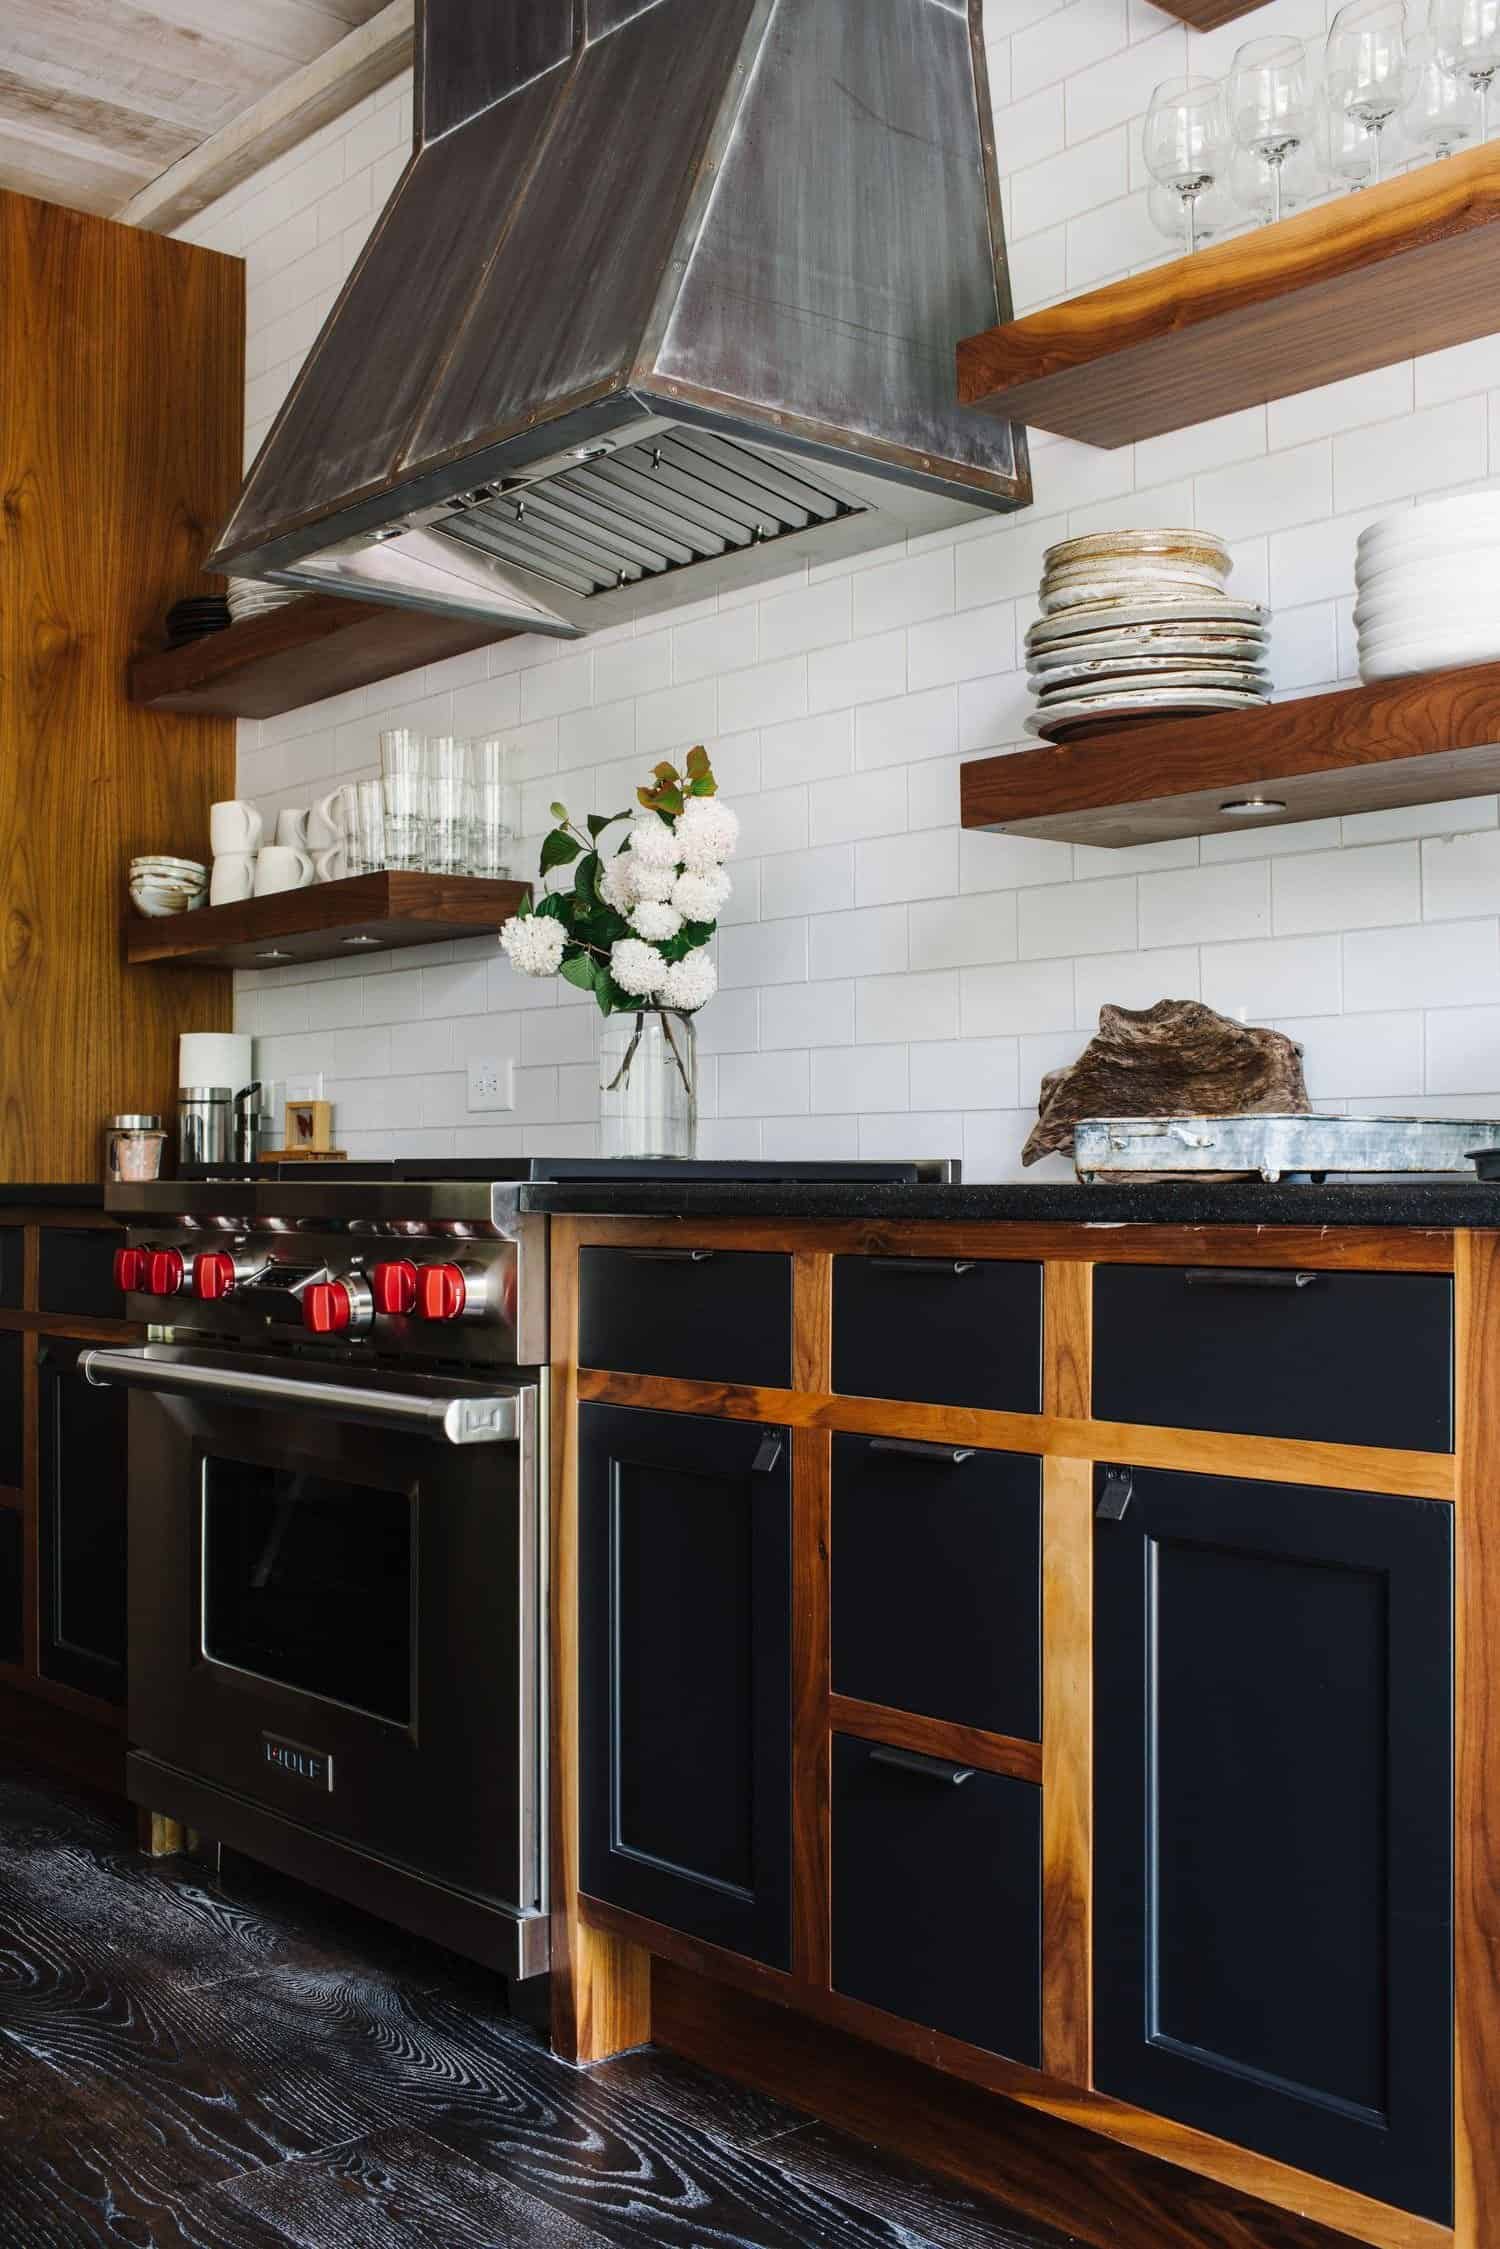
If you have a small kitchen, chances are you don’t have a lot of extra space for storage. But by adding a shelf above your cabinets, you can create some much-needed storage space. Simply measure the width of your cabinets and cut a piece of wood to size. Attach the wood to the wall using screws and brackets, and then add whatever you want to the shelf. You can use it to store cookbooks, spices, or even plants. Just be sure to not overload the shelf, so it doesn’t come crashing down.
Adding a shelf above your kitchen cabinets is a great way to create extra storage space in a small kitchen.
Kitchen cabinets are a major focal point in any kitchen remodel, and can make or break the overall design of the room. These 25 DIY ideas for kitchen cabinets will help you create a beautiful and functional space that is perfect for your home. From open shelving to hidden storage, there’s a solution for every need. So get inspired and start planning your dream kitchen today!
