A cluttered bathroom is not a pretty sight. If your bathroom feels like a storage nightmare, it’s time to act and get organized! One way to do this is to invest in some DIY bathroom cabinet, which will improve your skills and save your money much more.
In this blog post, we will provide you with some DIY bathroom cabinet ideas that will help you create more storage space in your bathroom. These solutions are easy to follow and will help you keep your bathroom clean and tidy! No worries, from the simplest to the complicated one, there will be an easy-to-follow instruction for you.
Let’s figure out the list of the ideas down below:
Table of Contents
1. Choose The Simple Project
This simple project is perfect if you are a beginner. You will only need some basic materials and tools to get started.
Supplies List:
- Drill
- Jigsaw
- MDF board
- Wooden dowels
- Hammer
- Nails
- Paint or varnish (optional)
Instructions:
First, cut the MDF board into the desired shape and size. Then, use the dowels to create holes for the shelves. Next, drill some pilot holes into the MDF board and attach the dowels with nails. Finally, paint or varnish your cabinet.
2. A Budget-Friendly Project
It is a great way to add extra storage to your bathroom without breaking the bank. Plus, it’s a relatively simple project that even beginner DIYers can complete with success. The first step is to measure your space and decide on the size and style of the cabinet you want. Then, head to your local home improvement store or lumberyard to purchase the materials list you’ll need. Once you have everything you need, assembly is a breeze.
3. IKEA Hack Bathroom Cabinet
One of the most popular option to make your bathroom look tidy is the IKEA hack bathroom cabinet. This involves taking an IKEA cabinet and customizing it to fit your needs. You can add additional shelving, doors, or drawers to the cabinet, or you can paint it to match your existing décor. The great thing about this option is that it is relatively inexpensive, and it can be completed on a weekend.
4. Make Use Of The Plywood
This project is easy to customize to fit your space, and it’s a great way to add storage to your bathroom without spending a lot of money. To get started, you’ll need to measure the width of your sink and the height of your bathroom counter. Cut two pieces of plywood to these dimensions, and then cut a third piece that is the same width as the other two but only half as tall. These three pieces will form the main body of your cabinet. Next, cut four smaller pieces of plywood that will be used for the shelves. Attach the shelves to the inside of the cabinet using screws or nails, and then paint or stain your cabinet as desired. Finally, install your cabinet in your bathroom by screwing it into the wall studs.
5. Recycled Pallet Wood Bathroom Cabinet
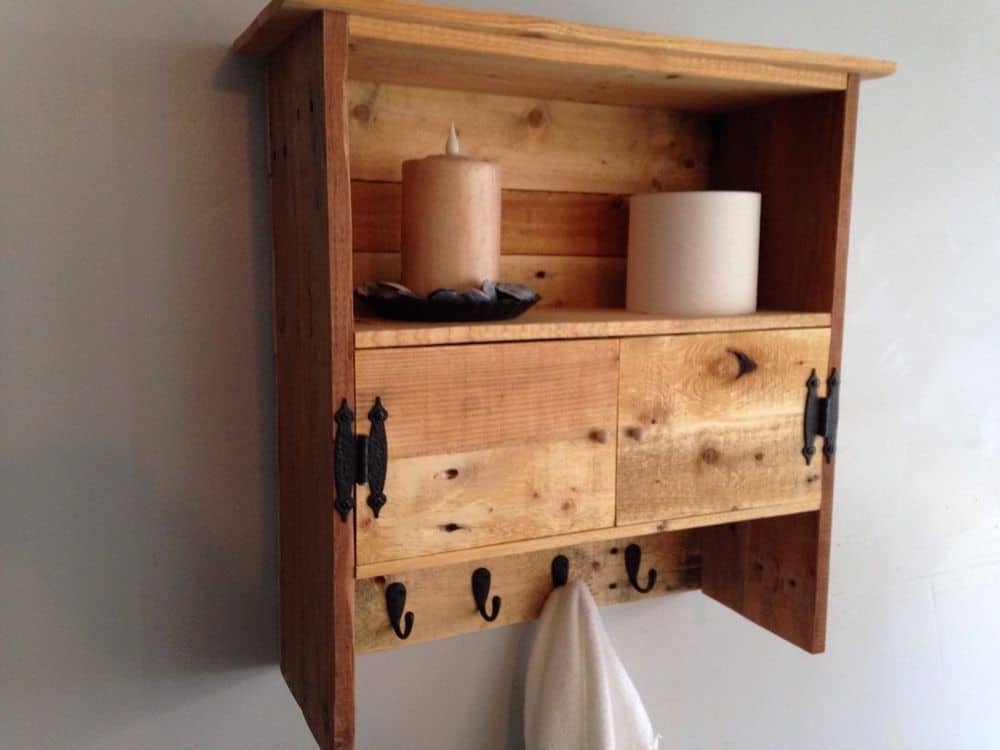
Upcycling is a great way to give new life to old materials. It’s also a great way to save money on your DIY projects. This type of cabinet is relatively easy to make, and it can add a beautiful rustic touch to your bathroom. The most important part of this project is to find recycled pallet wood that is in good condition. Once you have your wood, you’ll need to sand it down and stain or paint it. Then, you can assemble the cabinet using basic woodworking techniques.
6. Go Fancy Effortlessly
With its sleek design coupled with an open-top concept to show off all of the goodies inside, it’s sure to make any room feel more luxurious. Get the following materials before you start making your cabinet:
- Plywood
- High-gloss paint
- Lacquer
- Glass shelves
- Screws
Instructions: After you have all the materials, start by painting the plywood with high-gloss paint. Once it’s dry, apply a layer of lacquer to protect the finish. Next, cut the glass shelves to size and attach them to the inside of the cabinet using screws. Finally, install your cabinet in your bathroom and enjoy your new storage space!
7. Create A Pop Up Color
When choosing a paint color for your bathroom cabinet, consider the colors that are already in your bathroom. You may want to choose a color that compliments these colors, or you may want to choose a contrasting color to make your cabinet the focal point of the room. Once you have decided on a color, apply a primer to the cabinet and then paint it with your chosen color. Let the paint dry completely before adding any hardware or accessories.
After all, you can bring it to your bathroom.
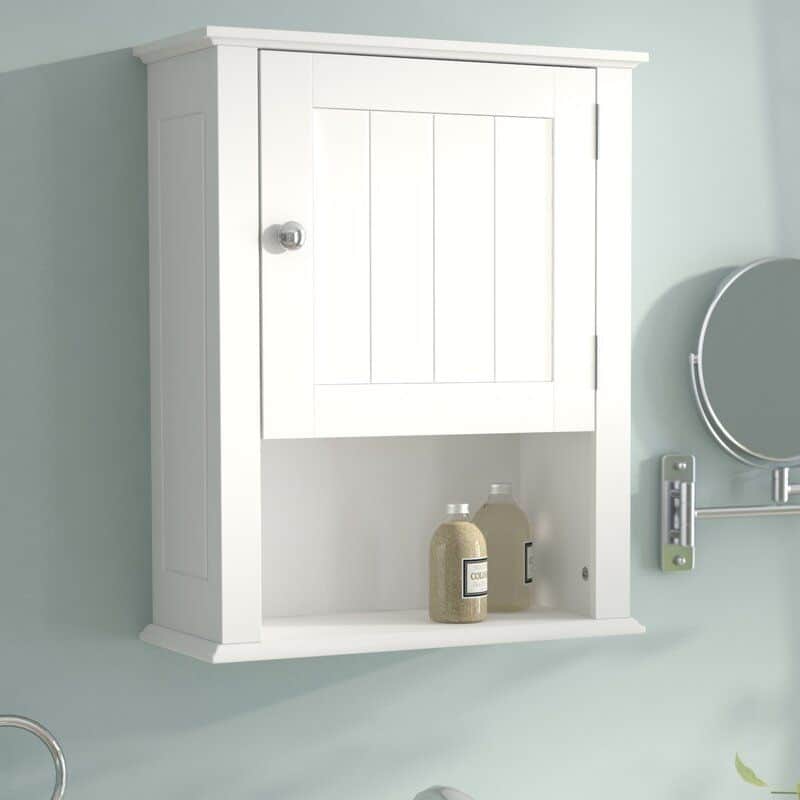
8. Small Cabinet Bathroom
A small cabinet can easily be mounted on the wall and used to store towels, toiletries, and other bathroom essentials. With a little bit of creativity, you can easily transform a small cabinet into a work of art. First, measure the space where you want to put your cabinet. Then, cut out plywood panels to fit that space. Next, attach the panels together with screws or brackets. Once your cabinet frame is complete, add hinged doors for easy access. Finally, finish off your cabinet by painting or staining it to match your bathroom décor.
9. Storage Towel Rack Cabinet
Towels, toiletries, and other necessities can quickly fill up a small bathroom, leaving little room to move around. A DIY bathroom cabinet can help to solve this problem by providing additional storage space without taking up too much room. This cabinet can be used to store towels, toiletries, and other items, freeing up valuable space in the bathroom.
Here’s what you’ll need to get started:
- A drill
- Screws
- A saw (if you’re not using pre-cut lumber)
- Lumber (we recommend using plywood or MDF for this project)
- Cabinet pulls or knobs
- Paint or stain (optional)
Once you have all of your supplies, you’ll want to measure and cut your lumber to size. If you’re using pre-cut lumber, you can skip this step. Once your pieces are cut, drill pilot holes and attach the pieces together using screws. If you’re using MDF, we recommend using glue as well as screws for extra stability. Then, add your cabinet pulls or knobs and paint or stain the cabinet. Let the paint or stain dry completely before adding your towels.
10. Above the Toilet Cabinet
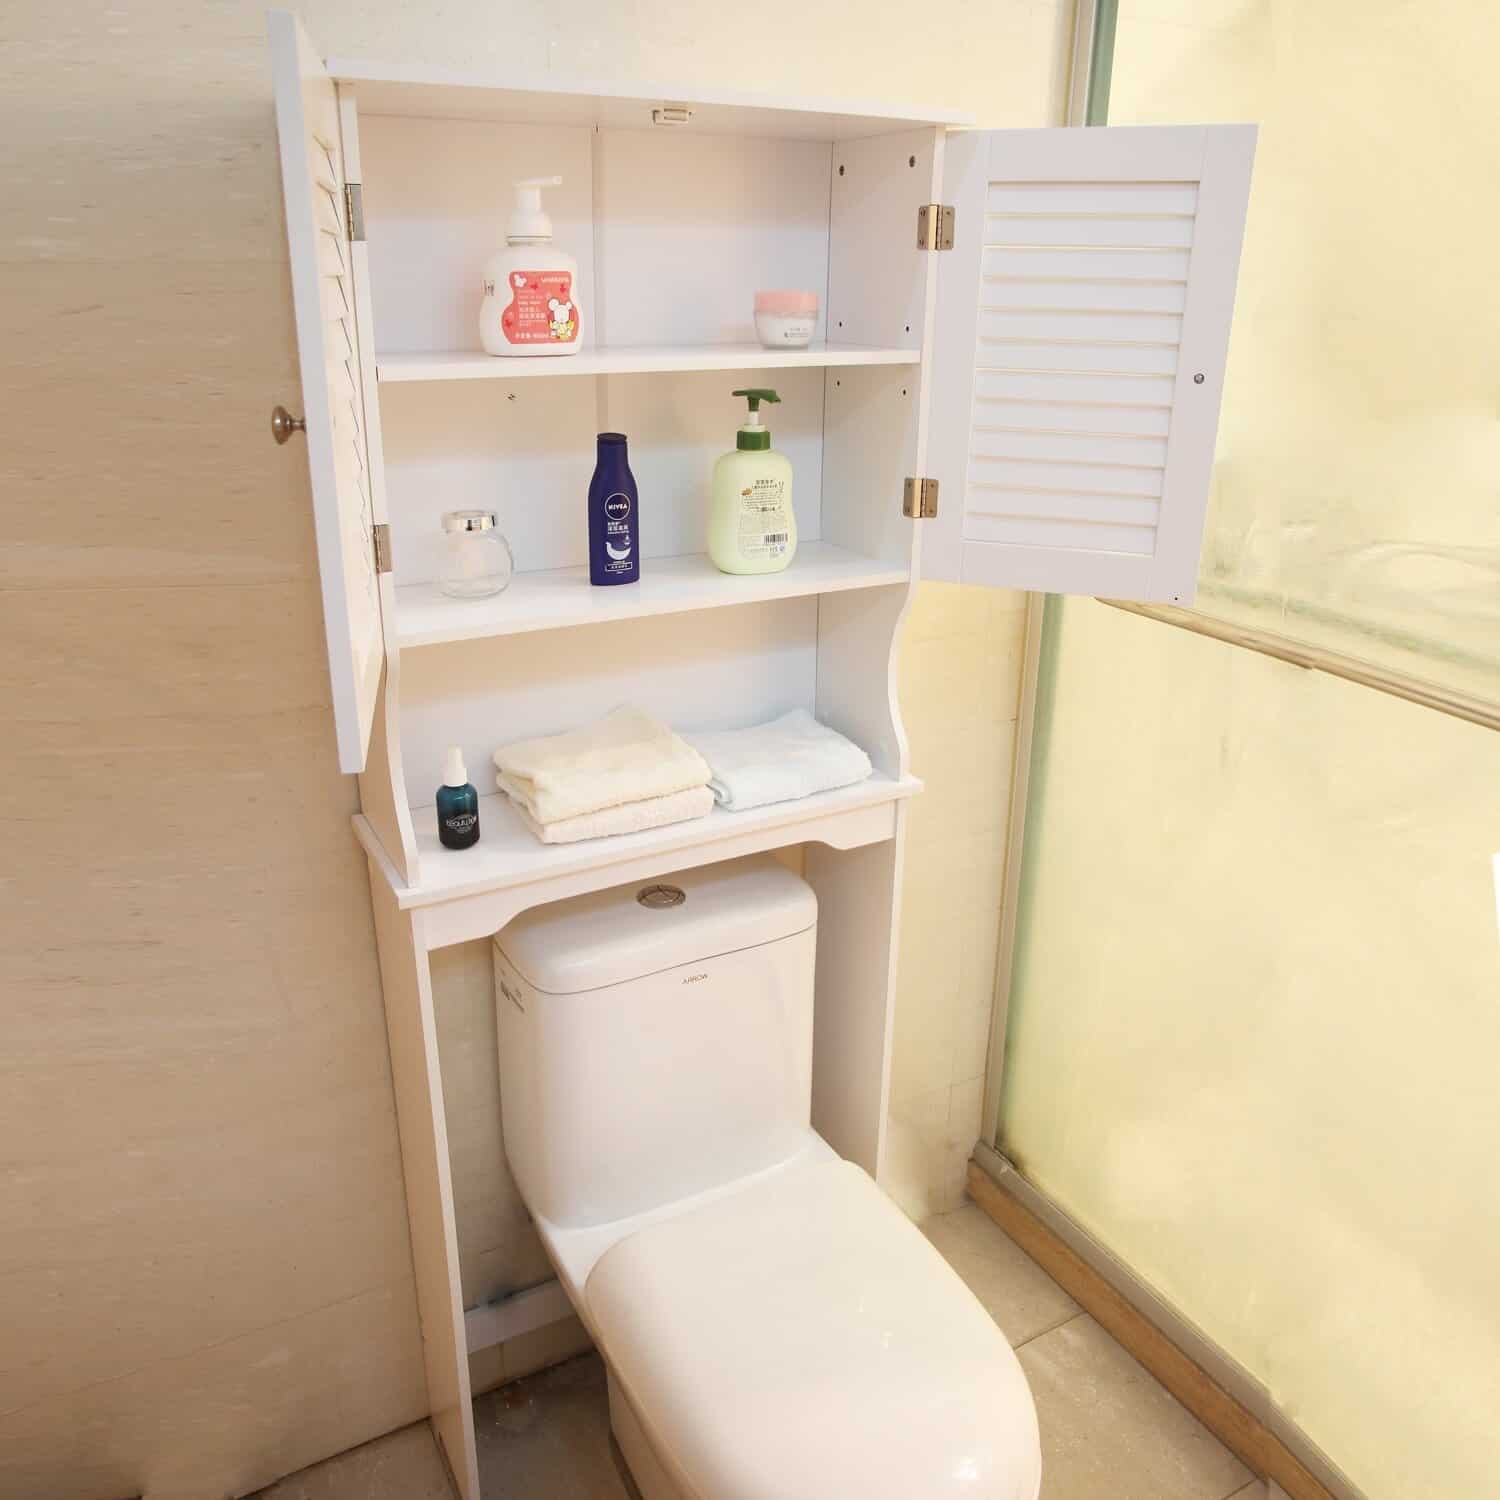
One of the challenges of having a small bathroom is finding enough storage space. This simple project can help you to organize your bathroom and create additional storage without taking up valuable floor space.
You’ll just need some basic materials like plywood, screws, paint, and hinges. Plus, it’s a great way to add your own personal touch to your bathroom décor. Once you have your cabinet built, you can use it to store anything from towels and toiletries to cleaning supplies and extra toilet paper.
11. Under the Sink Storage
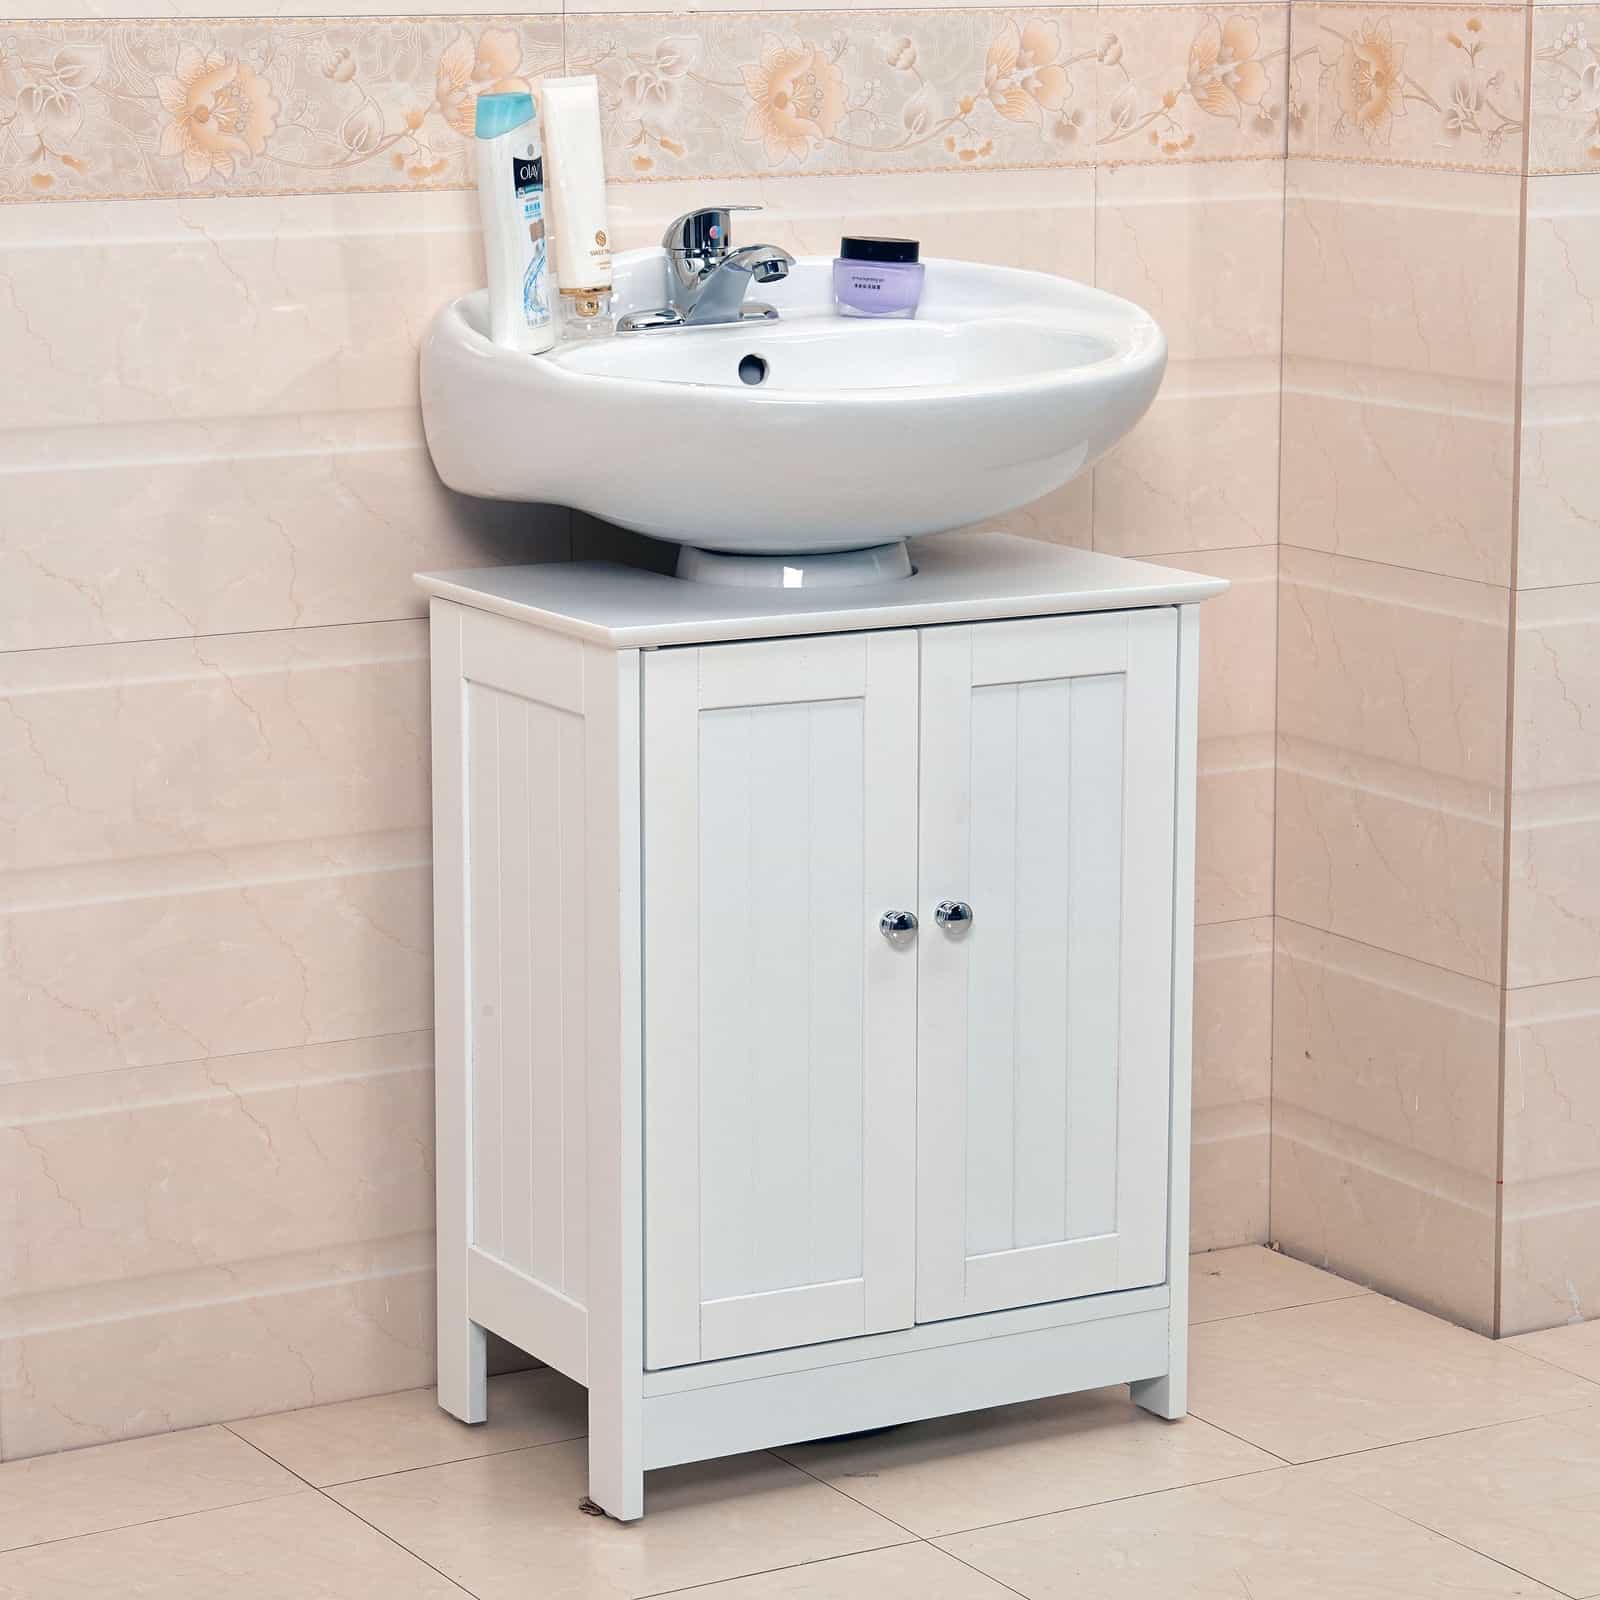
A simple under the sink cabinet can provide much needed storage space and help to keep your bathroom organized. And best of all, it’s a relatively easy project that can be completed in just a few hours.
To get started, you’ll need to measure the space under your sink and then cut boards to fit. You can then assemble the cabinet using screws or nails. If you’d like, you can paint or stain the wood to match your existing bathroom decor. Once the cabinet is assembled, simply attach it to the underside of your sink using screw or nails.
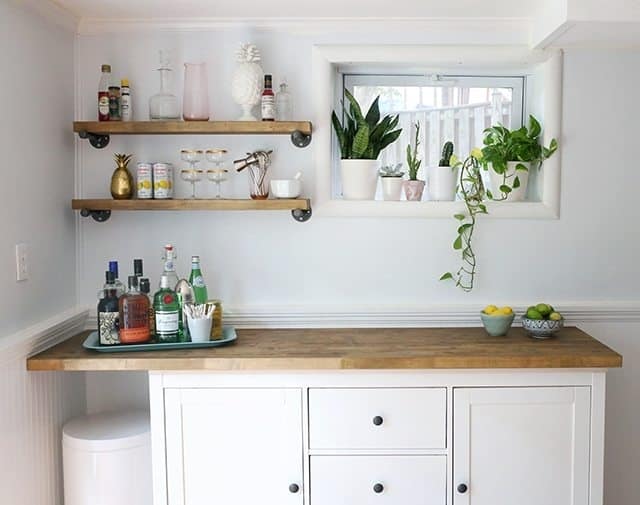
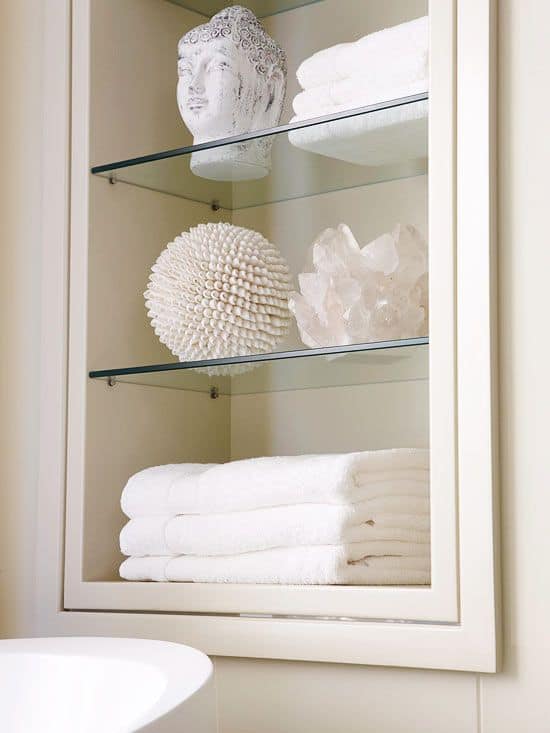
12. Open Shelving Bathroom Cabinet
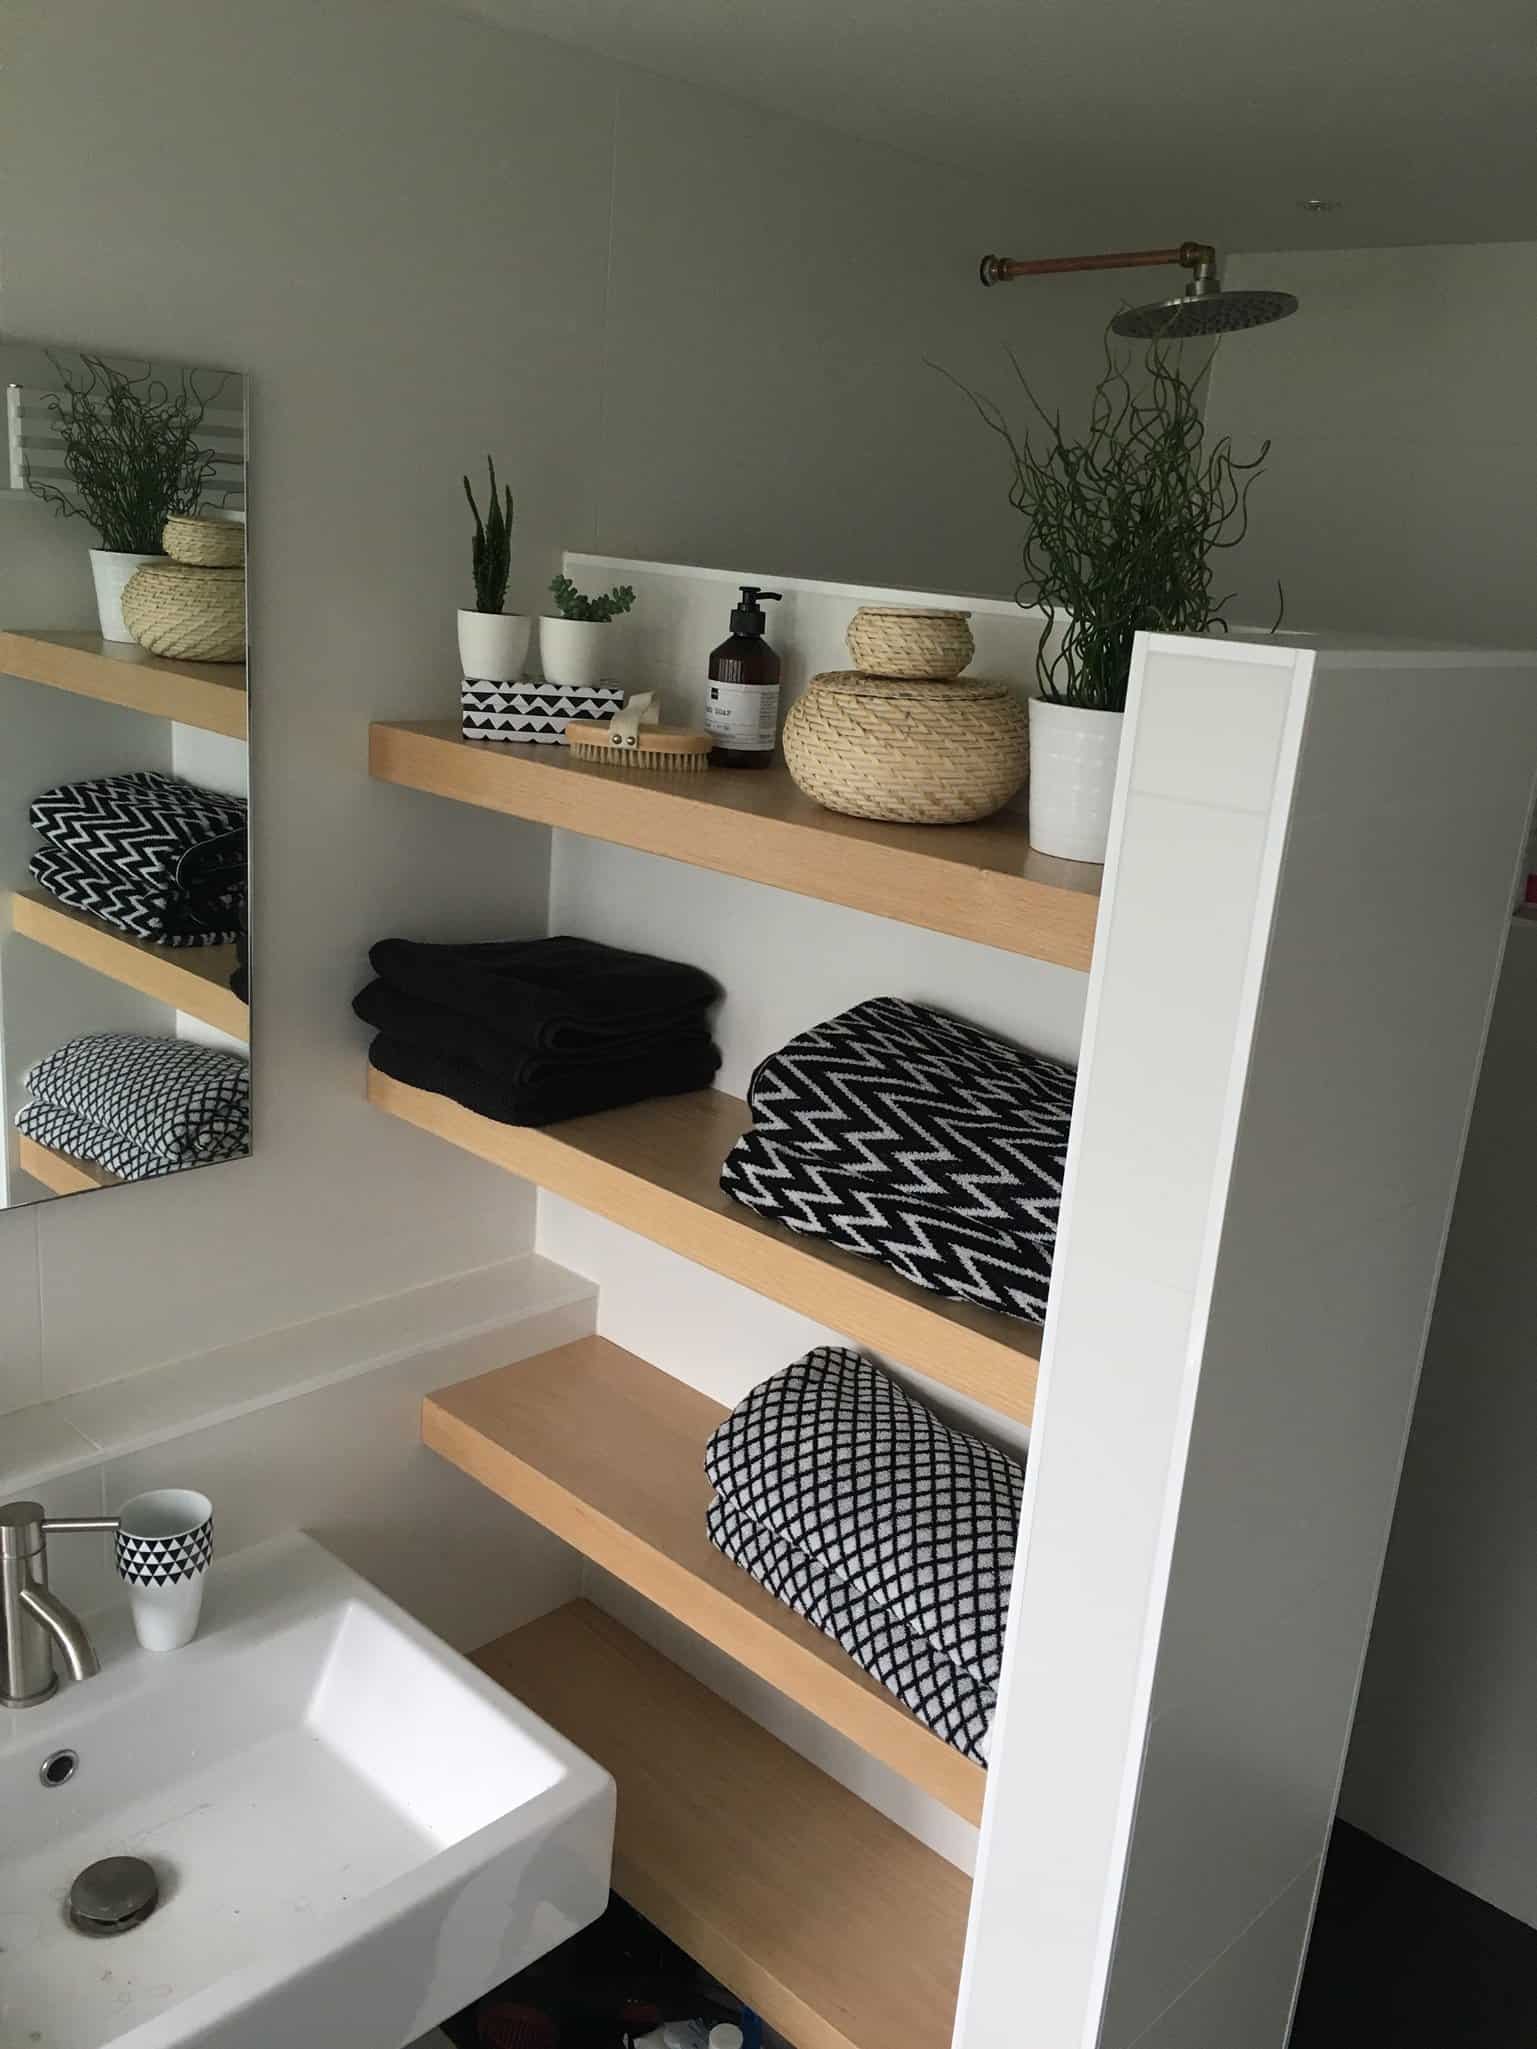
Open shelving is a great way to add extra storage without taking up too much space. You can use shelves to store towels, toiletries, and other bathroom necessities. Plus, open shelving cabinets are easy to build.
You will need:
- Plywood
- Screws
- Hinges (optional)
- Paint or Stain (optional)
First, measure the space where you want to put your cabinet.
Then, cut out plywood panels to fit that space.
Next, attach the panels together with screws or brackets. Once your cabinet frame is complete, add shelves for easy access.
Finally, finish off your cabinet by painting or staining it to match your bathroom decor.
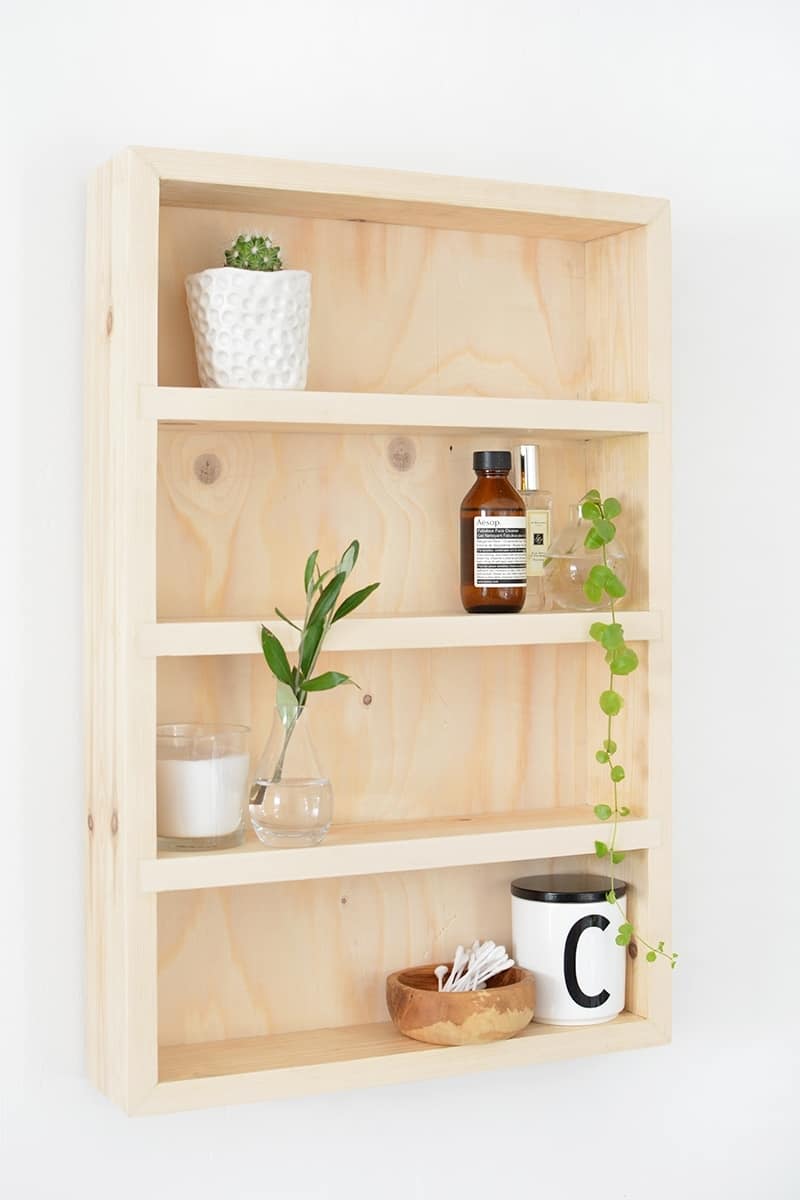
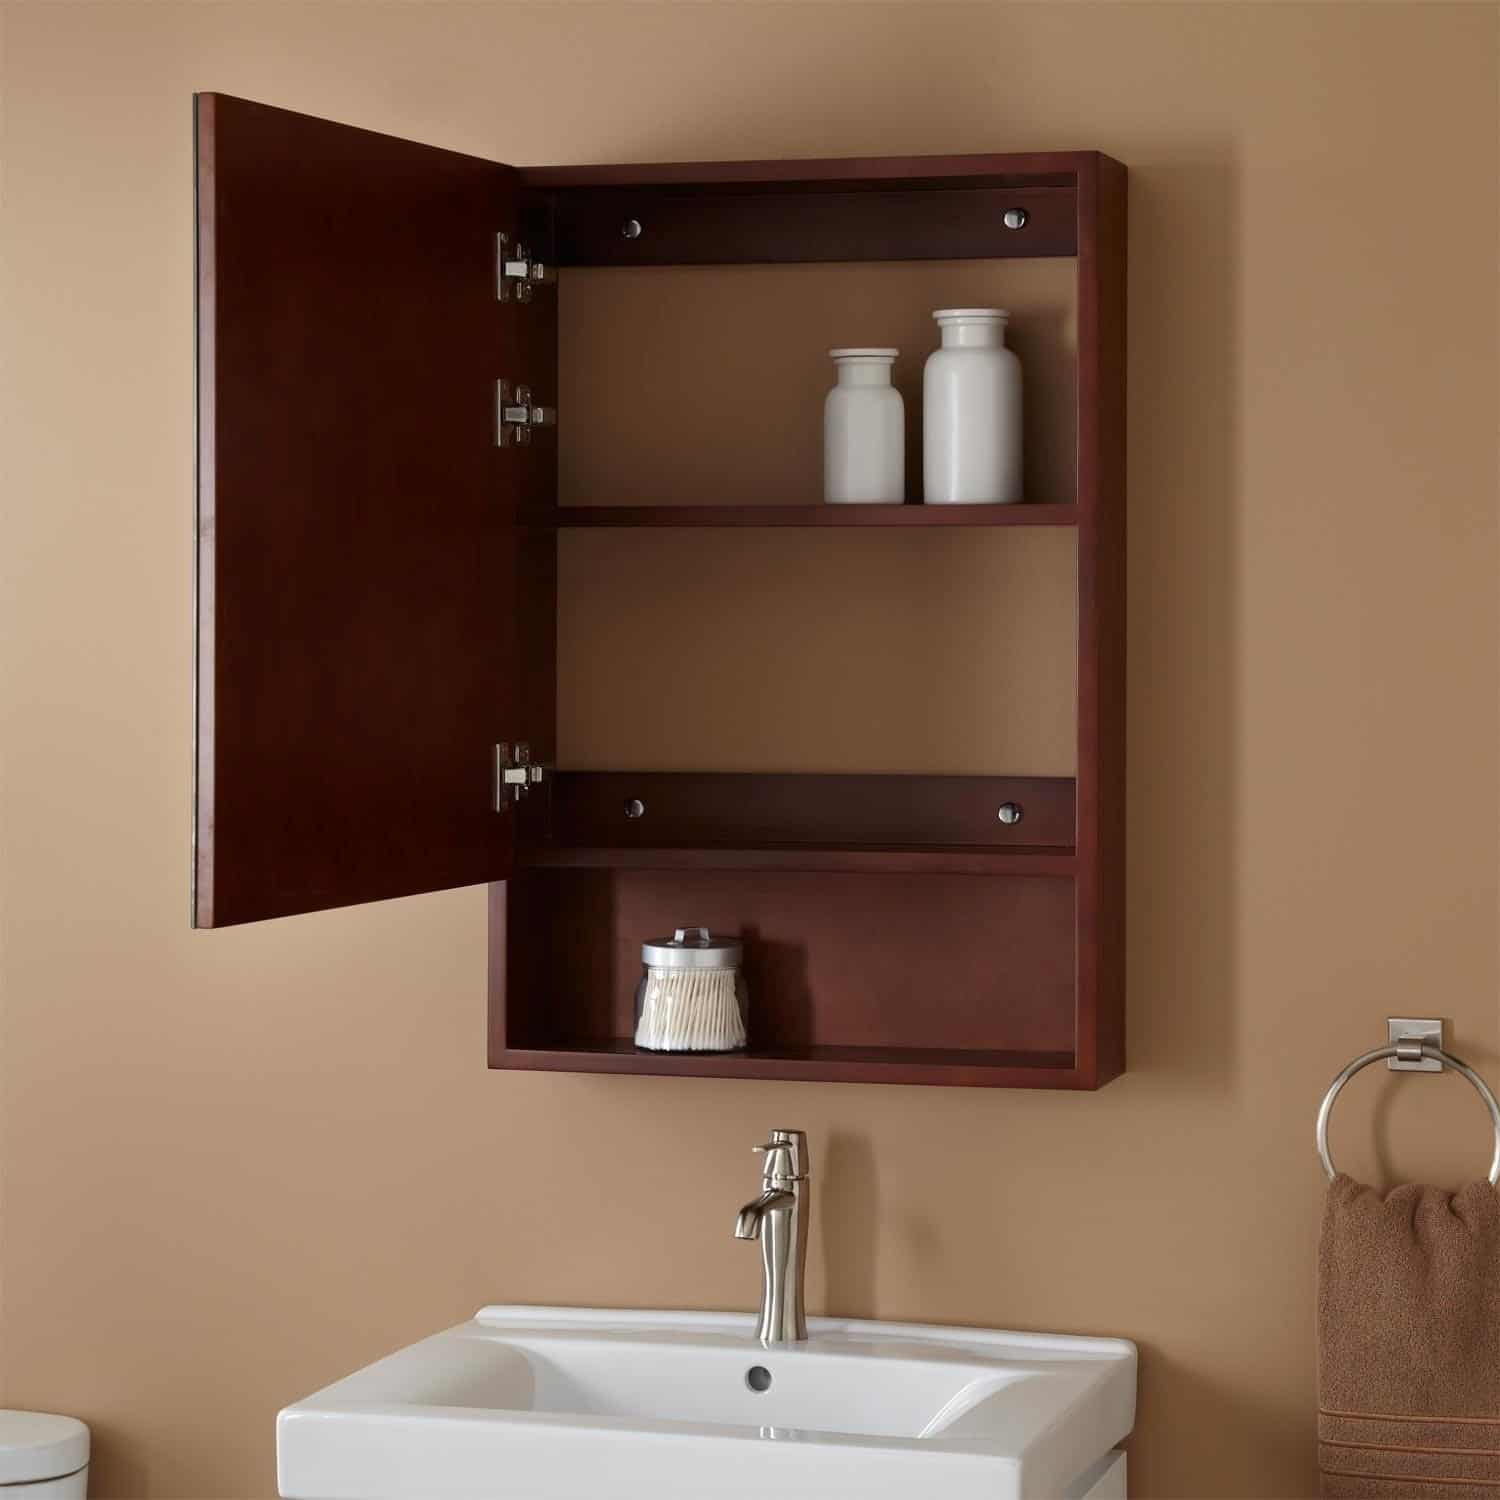
13. Vintage Medicine Cabinet
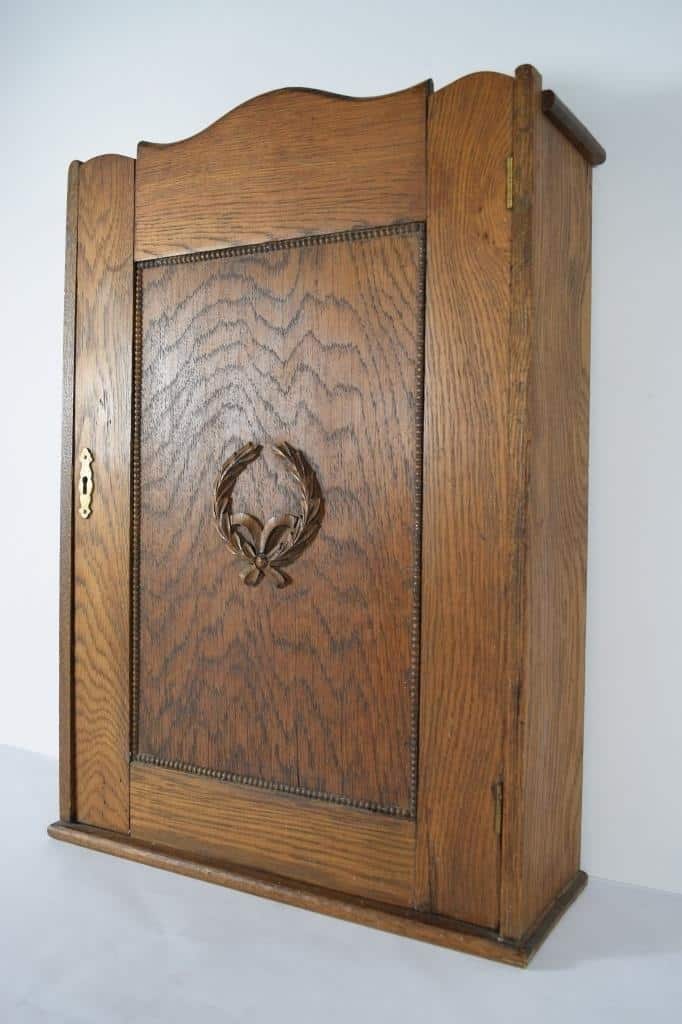
Medicine cabinets are usually made of wood, which gives them a vintage look that can complement any bathroom style. Plus, they typically have shelves inside, which makes them perfect for storing toiletries, towels, and other items.
To turn an old medicine cabinet into a DIY bathroom cabinet, simply remove the door and hinges and sand down the wood.
Then, add some new hardware and paint or stain the cabinet to match your bathroom decor.
14. Rustic Wall Cabinet
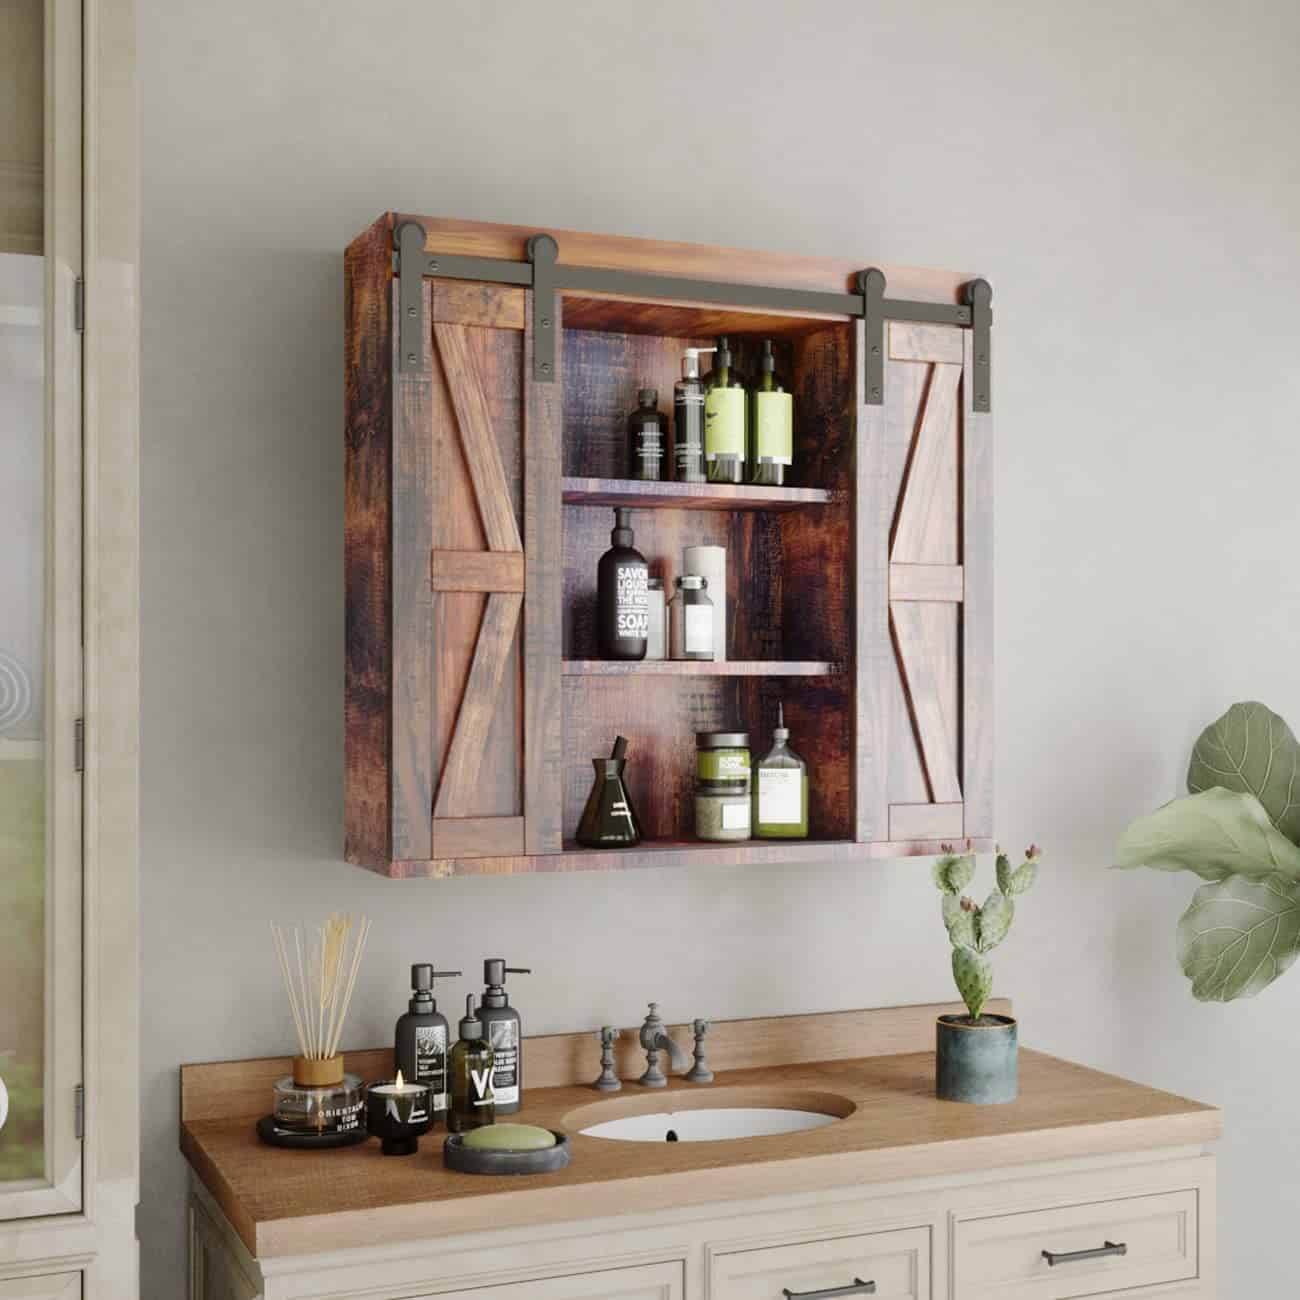
This rustic wall cabinet is the perfect way to keep your bathroom organized, while also adding a touch of country charm. To get started, you will need a piece of wood that is large enough to cut two pieces for the doors. You can use an old piece of barn wood or pallet wood for this project.
Once you have the wood, you will need to cut it to size and then sand it down so that it is smooth. Next, you will have to measure and mark the center of the door so that you can drill a hole for the knob. After the hole is drilled, you can then paint or stain the cabinet as desired. Finally, you can add the knob and hang the cabinet on the wall.
15. Upcycle The Old Dresser
Infuse the countryside atmosphere through the farmhouse style that will elevate the look of your bathroom. With the distressed finishing, the beauty of farmhouse style starts appearing. This is an easy project to do.
You will need:
- An old dresser
- Paint or Stain
- Sandpaper
First, you will need to stand down the dresser and remove any existing paint or stain. Next, you can paint or stain the dresser as desired. Once the paint or stain is dry, you can then add the hardware and hang the cabinet on the wall.
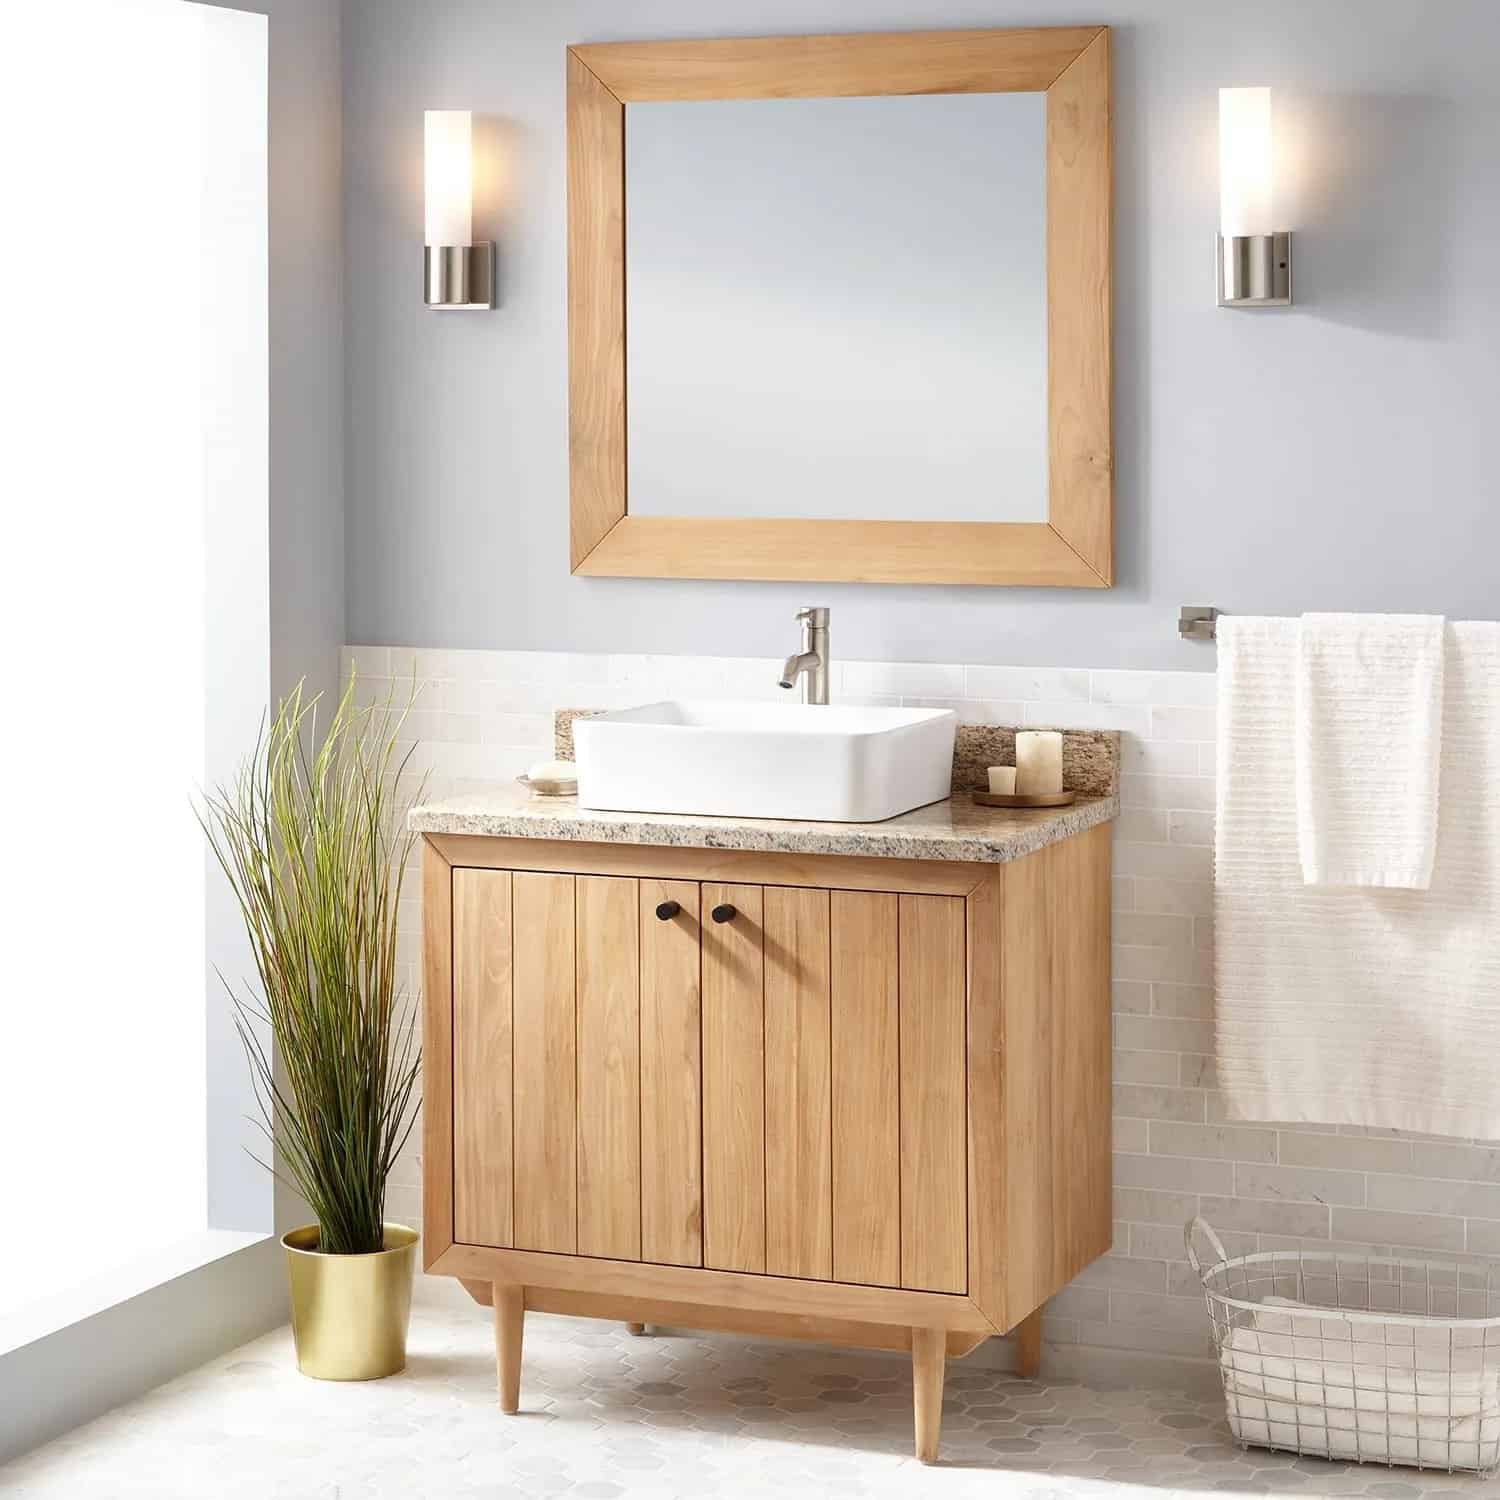
16. DIY Bathroom Cabinet With Mirror
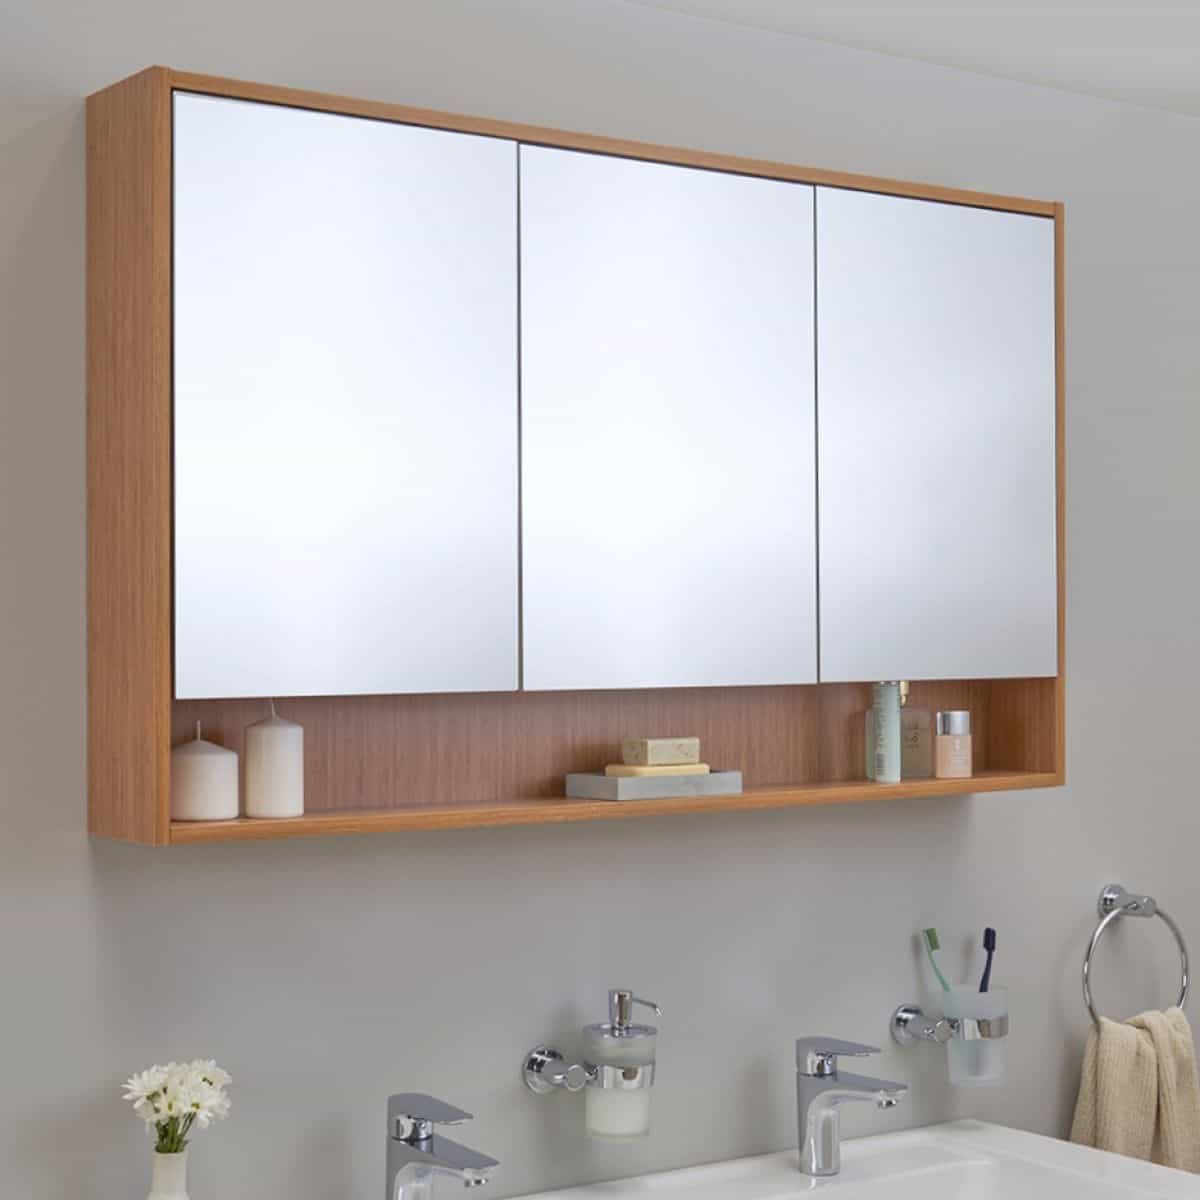
The mirror on the cabinet offers you an illusion that will make the bathroom look bigger. This is an easy project that can be done on a weekend. Paint the cabinet as you wish, which will make it work as a beneficial focal point in the bathroom. Ensure you clean the mirror once you finish taking a shower to keep it clean.
17. Mount It On The Wall
Wall-mounted cabinets are a great option if you are looking to save space, as they can be mounted to the wall and out of the way. You’ll need sturdy wood boards, a drill, screws, hinges, and a mirror. If you’re not convinced how to measure and cut the wood, there are plenty of tutorials online that can help.
Start by attaching the side panels to the backboard with screws. Then, add the shelves (if desired) and attach them to the side panels. Next, add the door panels and attach them to the backboard with hinges. Finally, attach the mirror to the inside of the cabinet door.
18. Store More Stuff
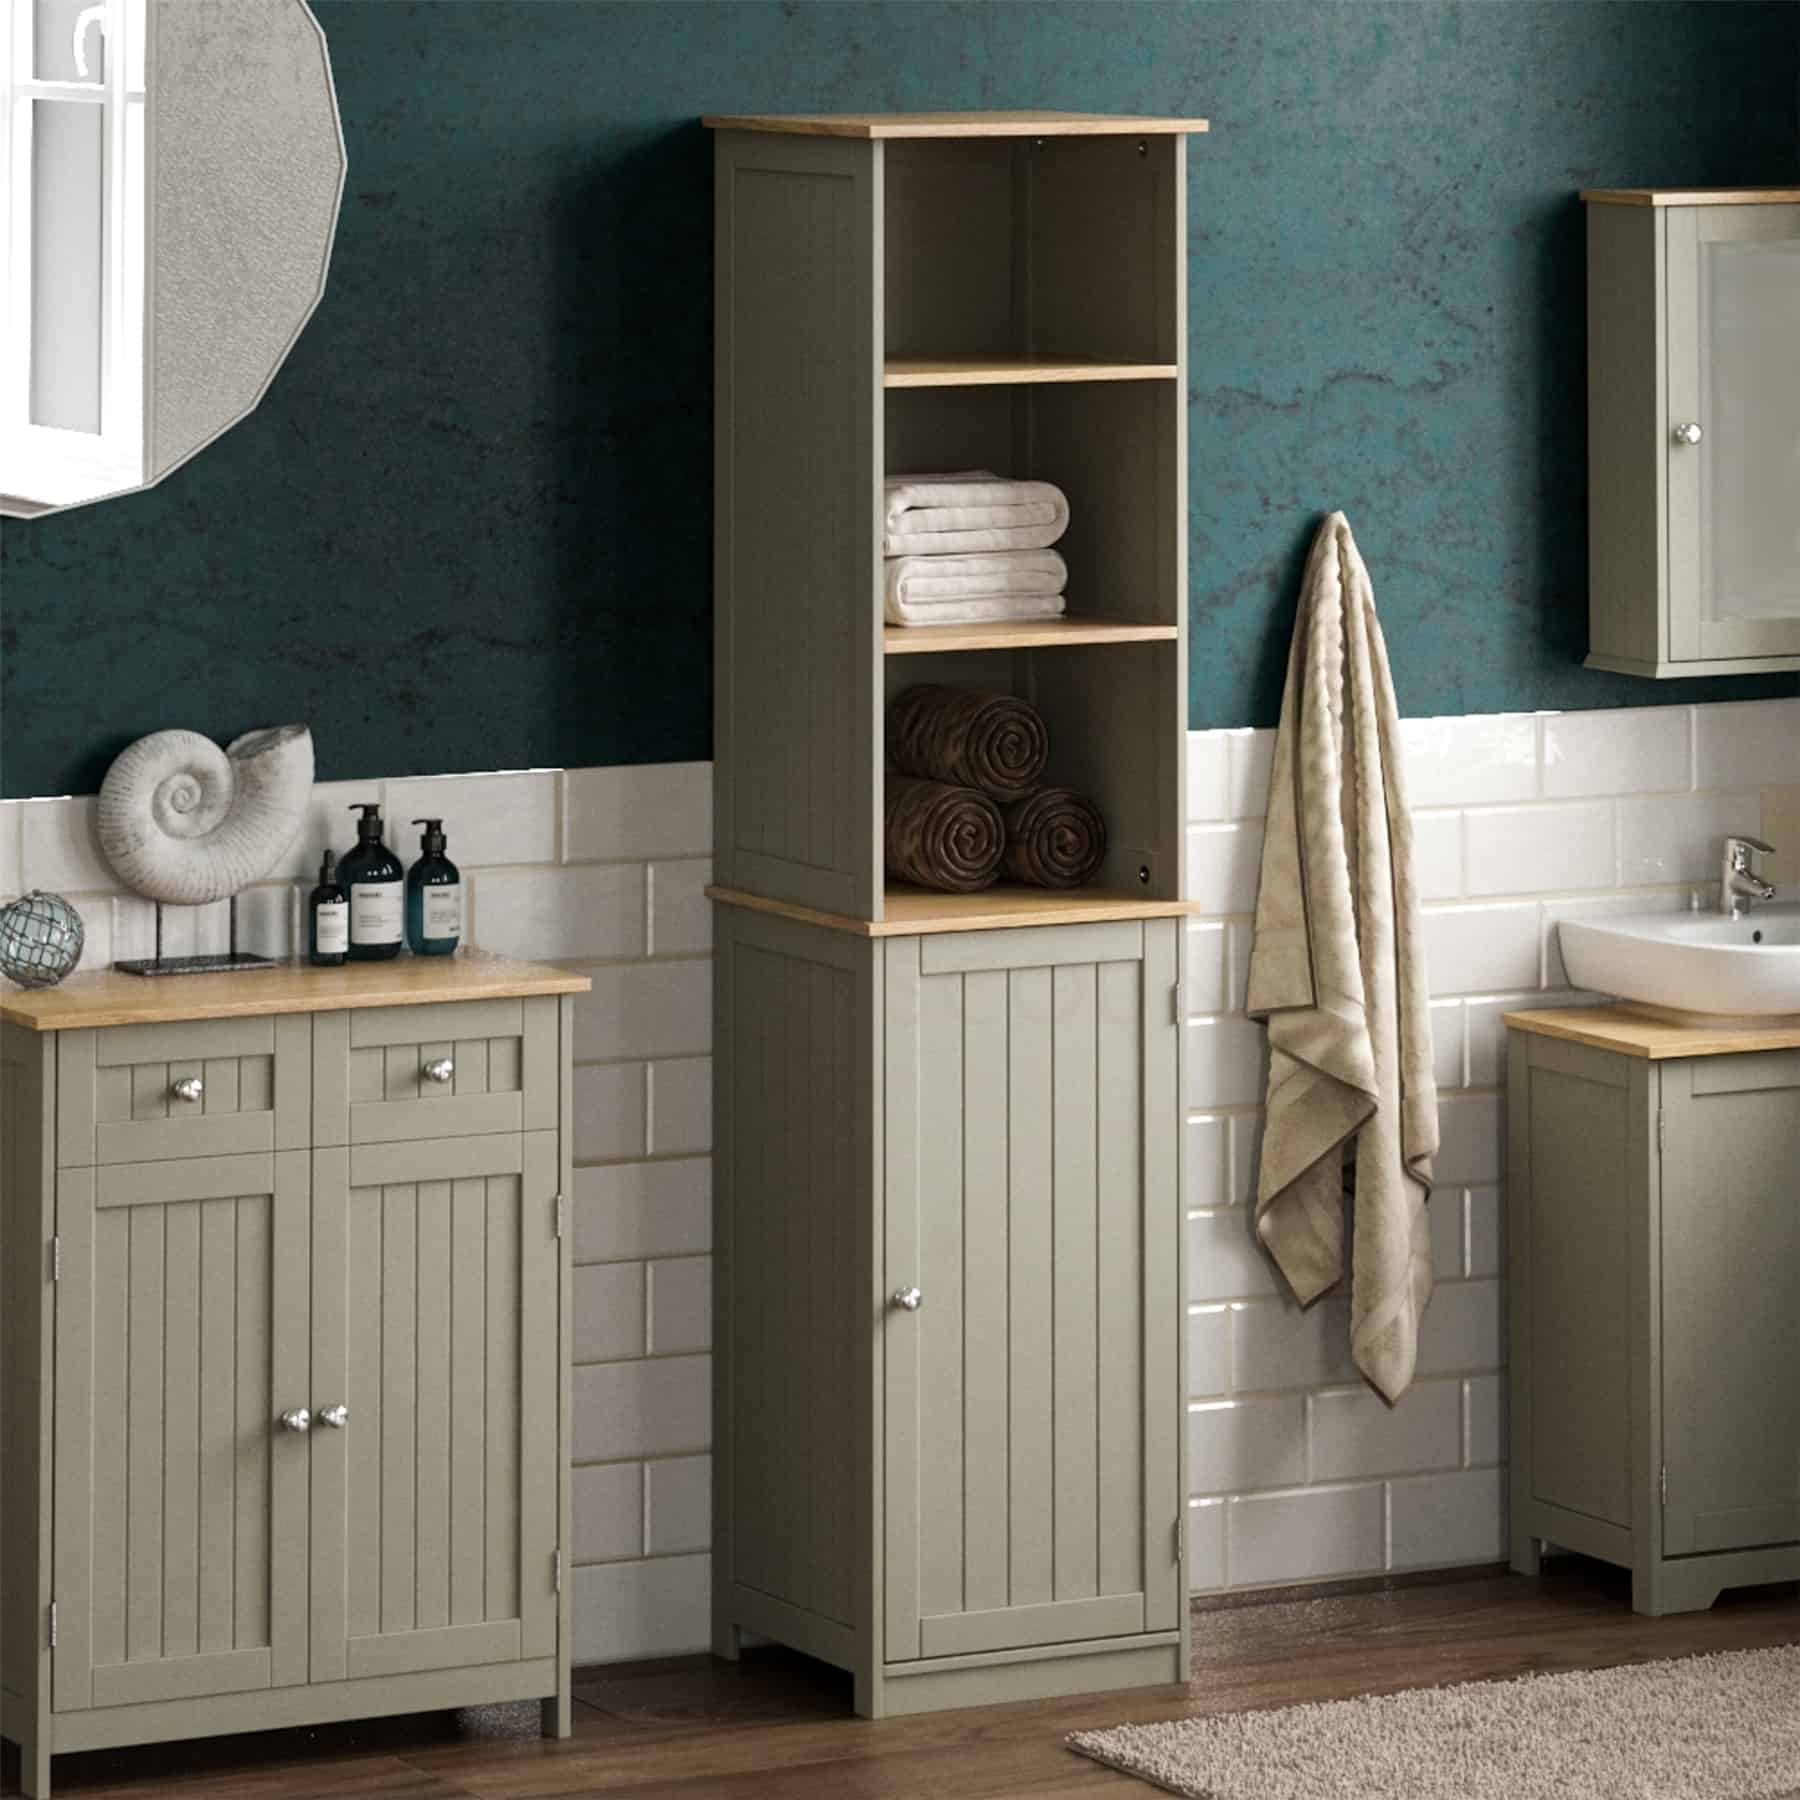
A tall cabinet is perfect for storing towels, toiletries, and other items that won’t take up your space. The good news is that it doesn’t require any certain woodworking skills, which is perfect if you are a beginner.
Start by cutting the wood to size and then attaching the side panels together with screws or brackets. Once the frame is complete, add shelves (if desired) and attach them to the side panels. Finally, finish off your cabinet by painting or staining it as desired.
19. Bathroom Corner Cabinet
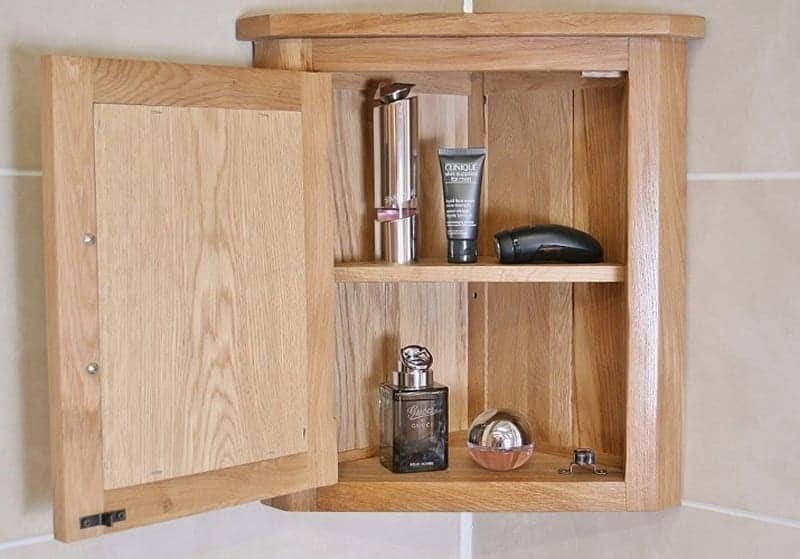
Corner bathroom cabinets are a smart option if you’re short on space, as they fit snugly into the corner of the room. You can also choose from a variety of finishes, such as painted or natural wood. To get started, you will need to cut the wood to size and then attach the side panels together with screws or brackets. Once the frame is complete, add shelves and attach them to the side panels. After all, you can decorate the cabinet as you wish.
20. DIY Bathroom Storage Cabinet
This simple project can be completed in just a few hours, and it’s the perfect spot to store extra toilet paper rolls or candles. This project is relatively simple and can be completed in a weekend. The first step is to measure the space where the cabinet will go and then cut the necessary pieces of wood to size. Next, assemble the frame of the cabinet using screws or nails. Once the frame is complete, add any backing or doors as desired. Finally, finish the cabinet by painting or staining it to match the existing bathroom decor.
21. Bathroom Linen Cabinet
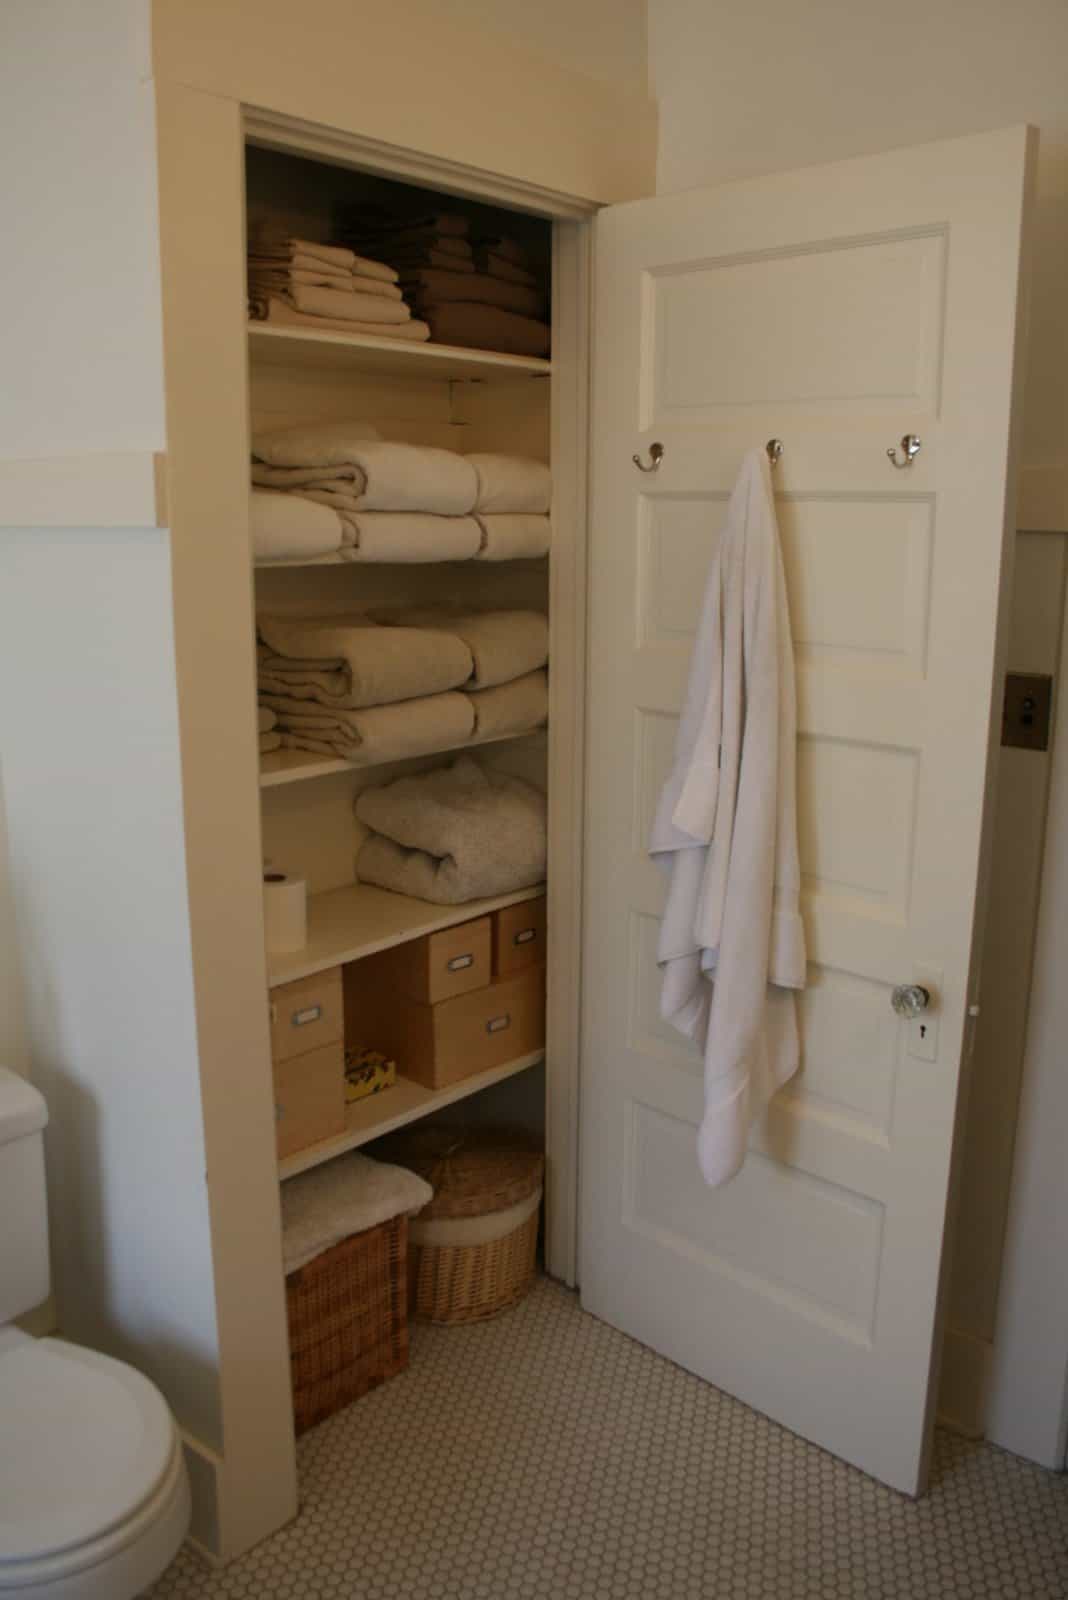
Store the linens on properly on the linen cabinet in the bathroom. It would be great if you made your own linen cabinet where you can custom it as you wish. This project might take some time to complete, but it will be worth it in the end. You can choose any style or design that you want for the cabinet. After you finish making the cabinet, don’t forget to add a few hooks on the door, so you can hang towels.
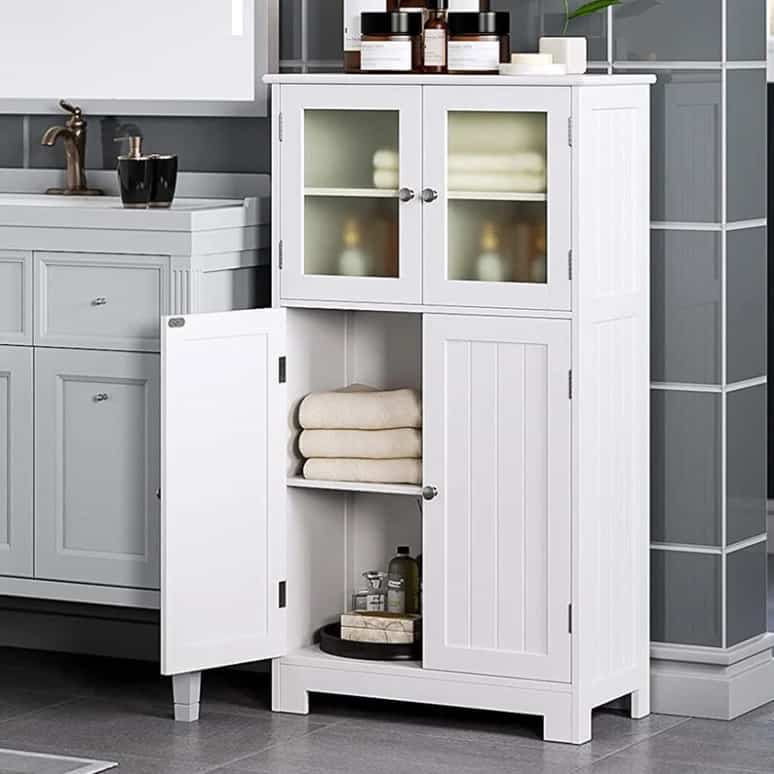
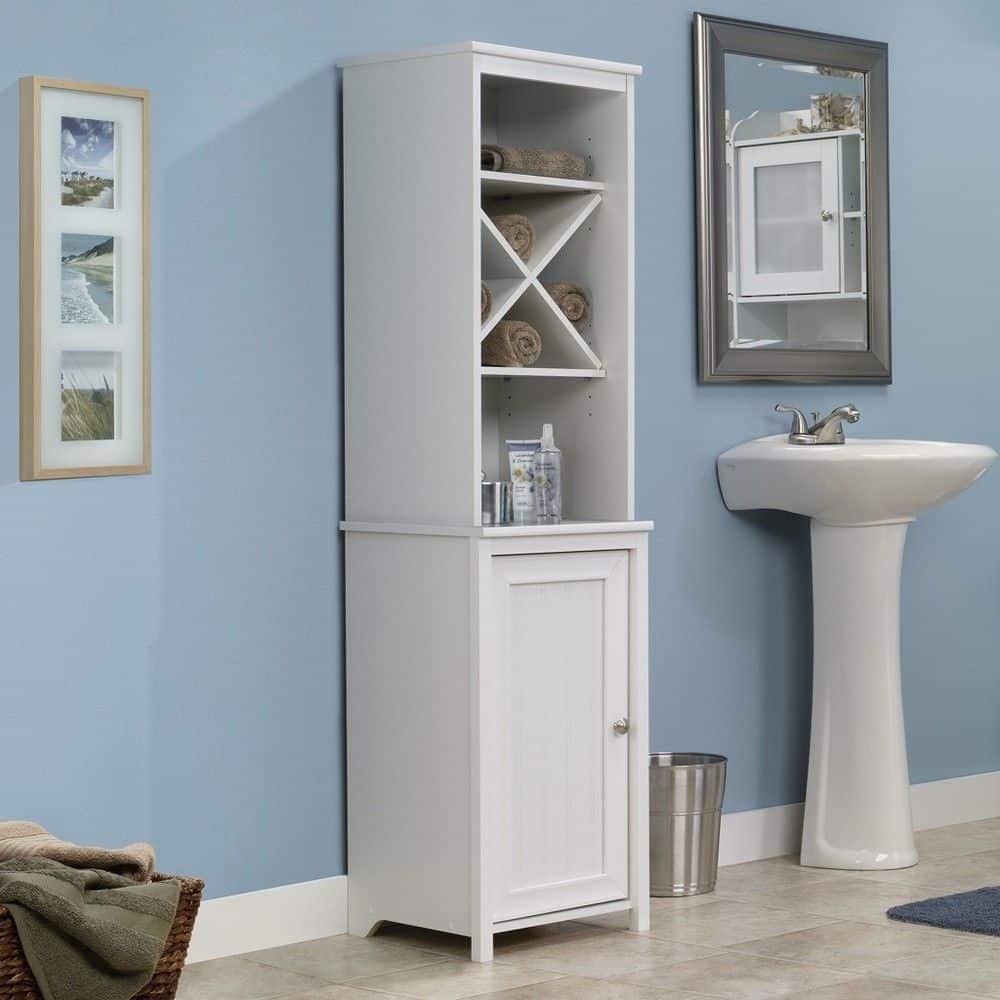
22. Bathroom Floor Cabinet
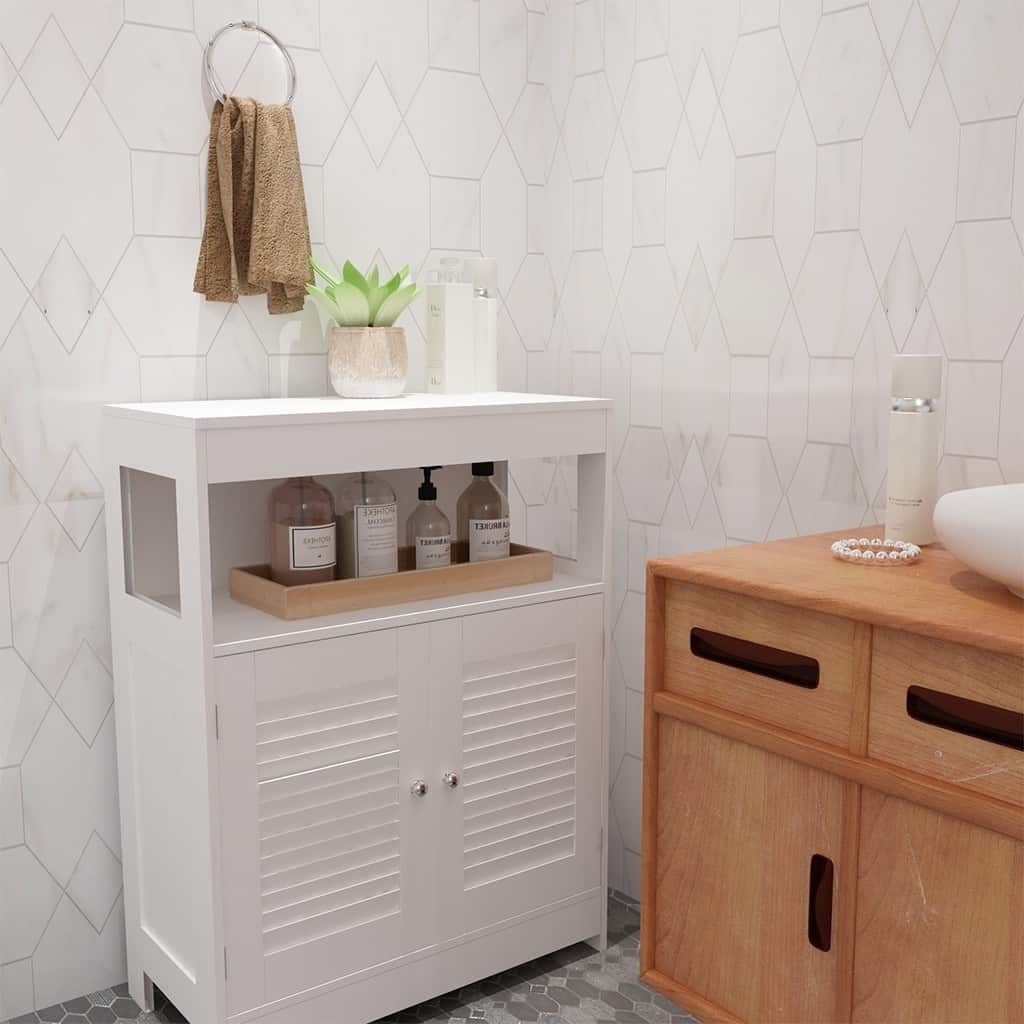
DIY bathroom cabinet can be as simple as a box with shelves or a more complex unit with doors and drawers. If you’re short on space, a floor cabinet is a great option. You can find cabinets that are already assembled or ones that come in a kit and just need to be put together.
For this project, you will need wood boards, screws or nails, hinges, and handles or knobs. Start by measuring the space where the cabinet will go, and then cut the wood to size. If you’re not comfortable cutting the wood yourself, there are plenty of places that will do it for you.
Once the pieces are cut, assemble the frame of the cabinet using screws or nails. If you’re adding doors, attach them to the frame with hinges. Finally, finish off the cabinet by adding handles or knobs and then painting or staining it as desired.
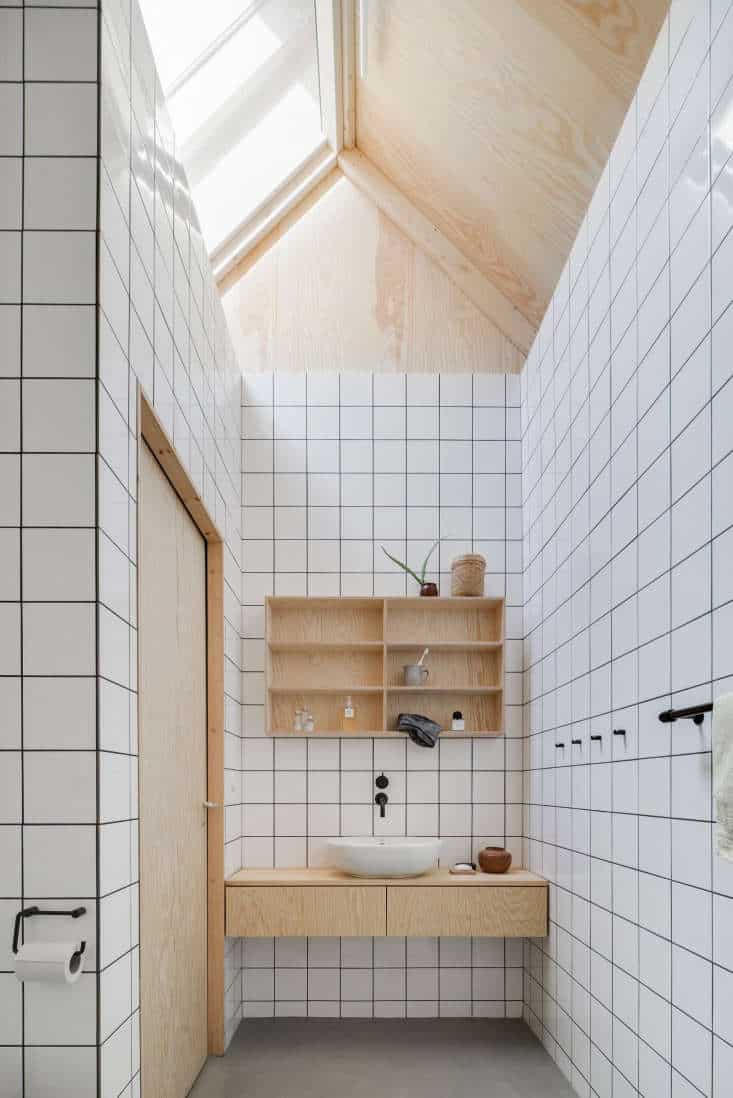
23. Narrow Bathroom Cabinet
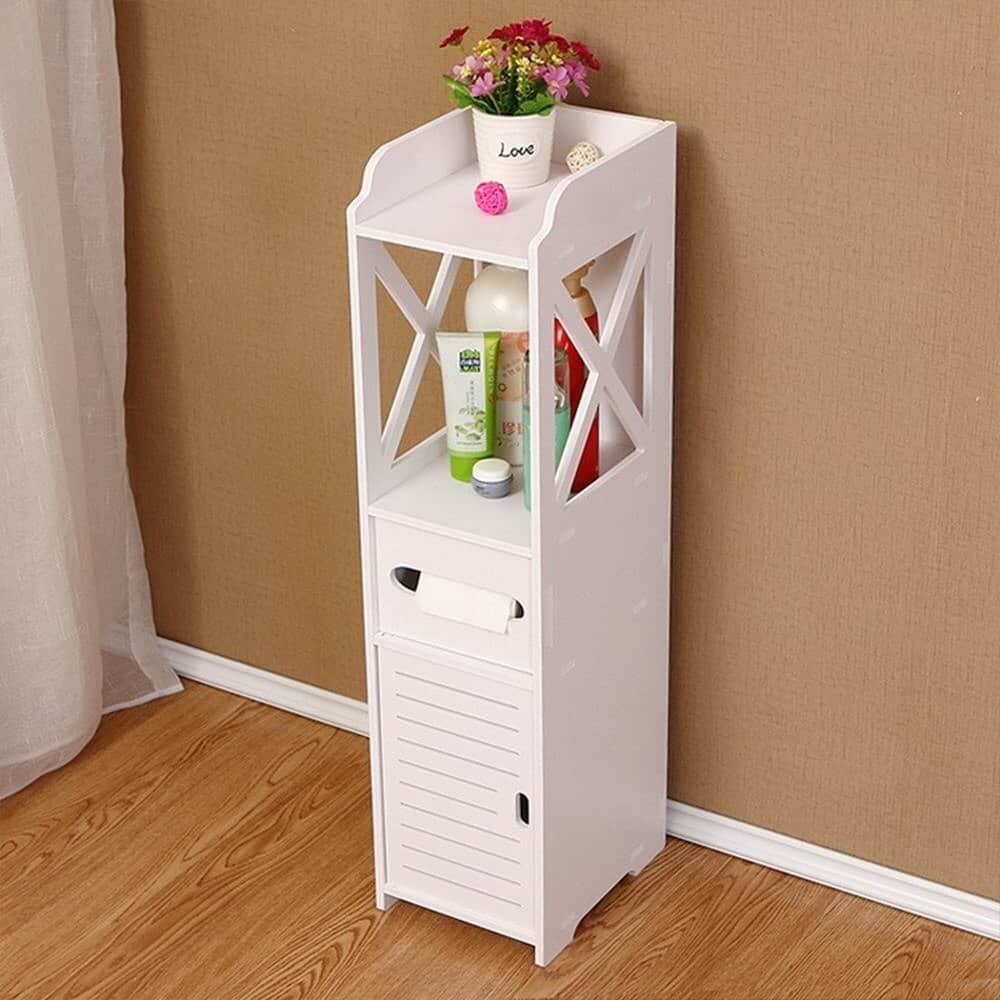
It can be a smart option for a number of reasons. First, it can save you money. DIY bathroom cabinets are typically less expensive than purchasing a pre-made cabinet from a store. Second, it can allow you to customize the cabinet to better suit your needs and taste.
You can choose the style, material, and finish of the cabinet, as well as any other features that you want. Finally, this can provide a challenging and satisfying project for those who enjoy DIY projects.
24. Free Standing Bathroom Cabinet
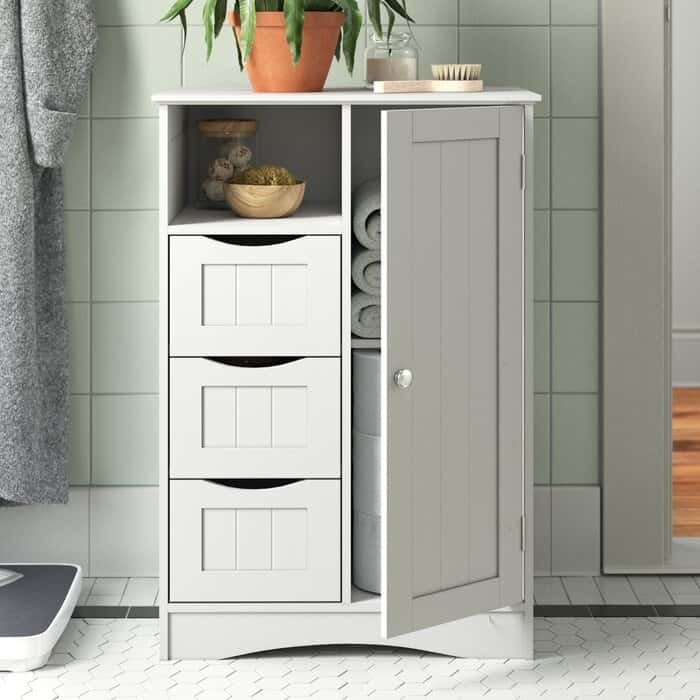
Freestanding bathroom cabinets are a popular choice, as they offer plenty of storage space without taking up too much room. Plus, you can customize them to match the style of your bathroom. You will need wood boards, screws or nails, hinges, and handles or knobs. Start by measuring the space where the cabinet will go, and then cut the wood to size.
Once the pieces are cut, assemble the frame of the cabinet using screws or nails. If you’re adding doors, attach them to the frame with hinges. Finally, finish off the cabinet by adding handles or knobs and then painting or staining it as desired.
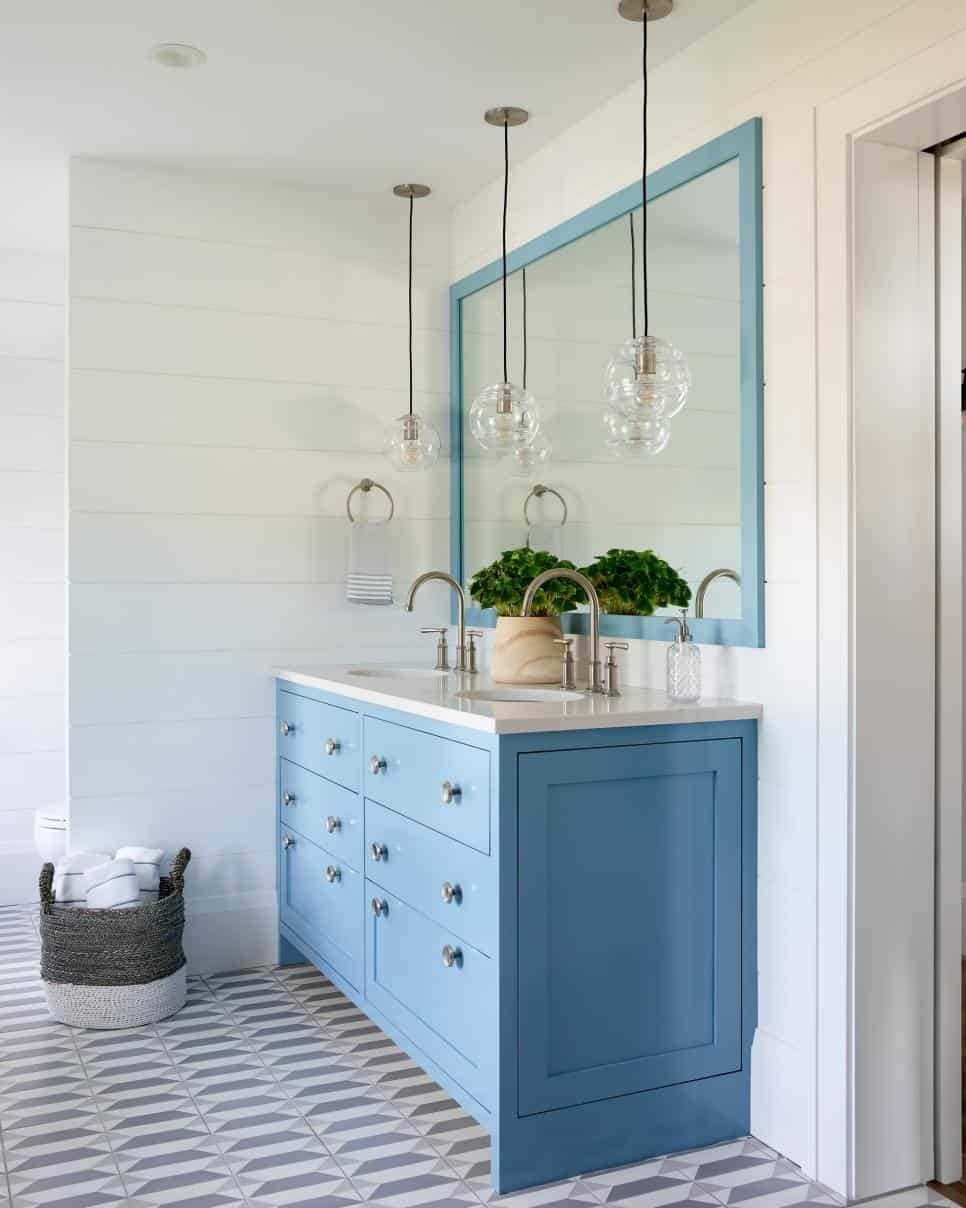
25. Bathroom Vanity Cabinet
DIY bathroom cabinets are a great way to save money on your bathroom renovation. By following a few simple steps, you can easily build your own bathroom vanity cabinet. The first step is to measure the space where you want to install the cabinet. Once you have the measurements, you can start cutting the wood for the frame of the cabinet.
Next, attach the sides and door of the cabinet using screws or nails. If it works for you, you can also add trim around the edges of the door for a finished look. Finally, paint or stain the cabinet as desired and install it in your bathroom.
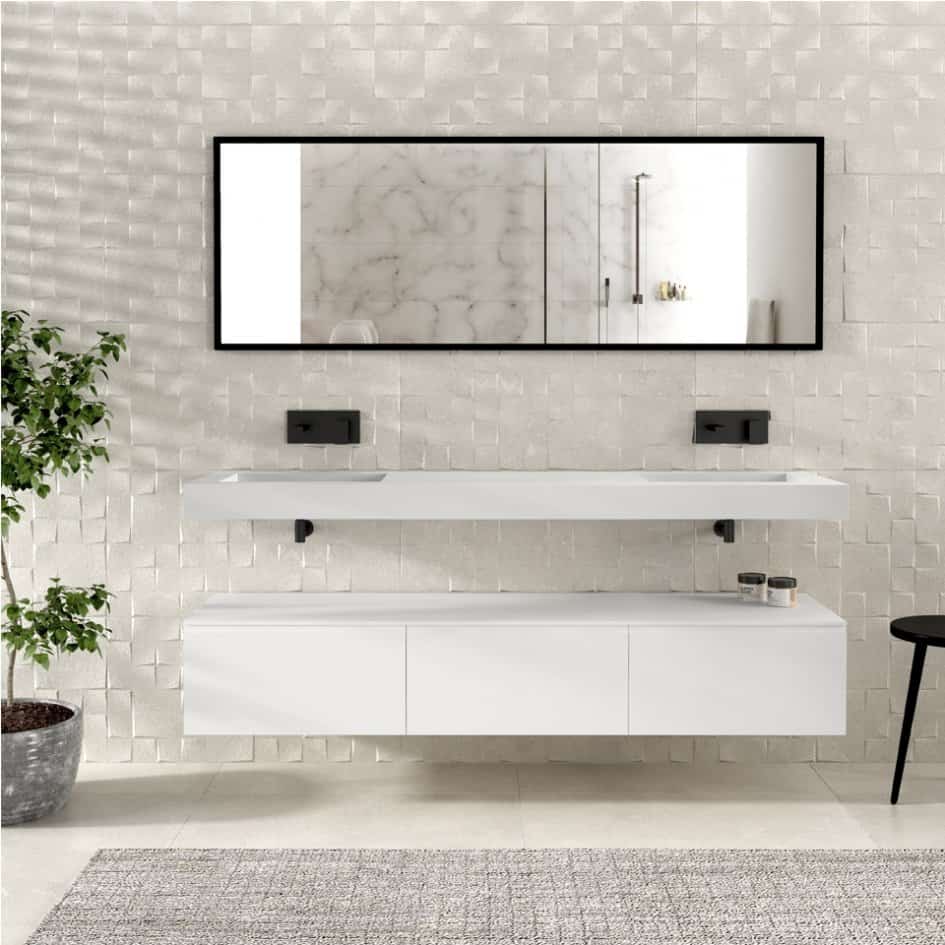
26. Double Vanity Cabinet For Bathroom
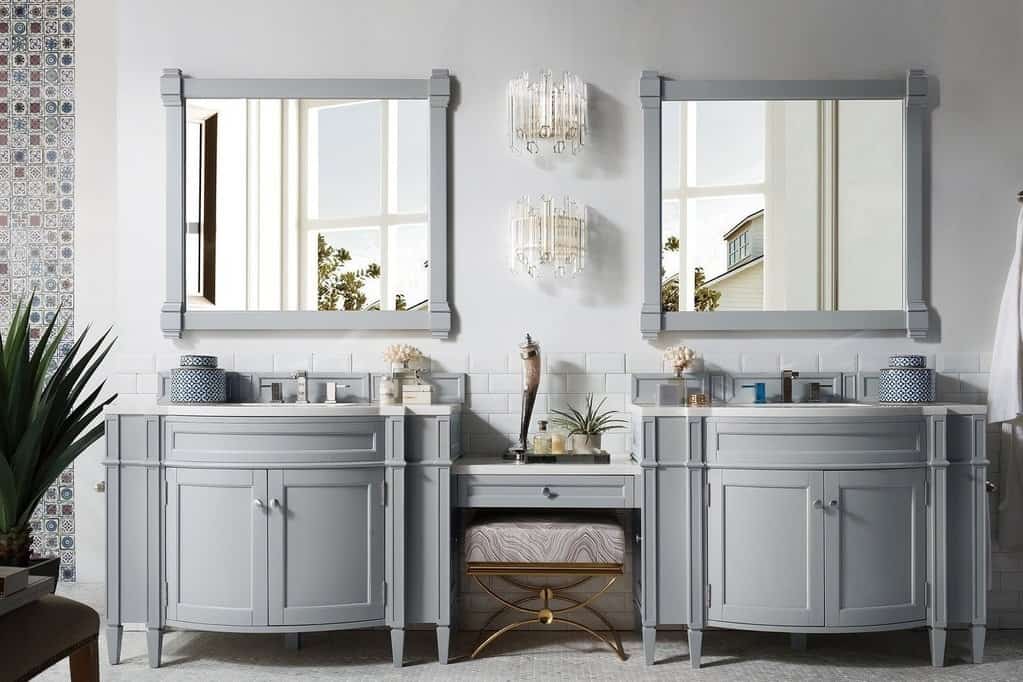
To make this kind of cabinet, you will need wood boards, cabinets, doors, drawer pulls, screws, hinges, and paint or stain. Depending on the size of your cabinet, you may also need a saw and drill.
Now it’s time to put everything together! Begin by assembling the frame of your cabinet using the wood boards and screws. Then, attach the cabinet’s doors and drawer pulls. If desired, add a layer of paint or stain for extra protection and beauty. Finally, install the cabinet in your bathroom.
27. Complement It With Mirror And Light

One of the easiest ways to spruce up a bathroom is to replace the cabinet hardware. This simple change can give a tired piece of furniture a whole new look. For this project, you will need new cabinet hardware, a screwdriver, and screws.
First, remove the old cabinet hardware using a screwdriver. Next, measure the distance between the holes to find new hardware that will fit. Once you have found new hardware that you like, attach it to the cabinet using screws. Finally, stand back and admire your handiwork!
There is a solution for every household’s need when it comes to organizing and storing things. Whether you want an extra storage space in your bathroom or just need more organization around the house, there are many DIY cabinet ideas that will help get the job done! These simple projects can be completed within hours, so don’t wait and start building today.