You must be thrilled and excited to welcome your little bundle of joy into the world. As you prepare for your new arrival, you may find yourself wondering about all the essentials you’ll need to care for your precious newborn. From onesies to diapers, baby gear to nursery decorations, the list can seem never-ending.
A basinet is a great option for newborns. They’re safe and comfortable, and they can be used as both a bed and a changing station. Get the best DIY bassinet plans we’ve compiled, along with a brief details.
It can be a great way to save some money and it can also be a lot of fun. In this blog post, we will show you how to make a DIY basinet that is both cute and comfortable for your little one. This project is easy to do, and can be completed in just a few hours. All you need are some basic supplies and a little bit of creativity.
Let’s get started.
Table of Contents
1. Affordable DIY Bassinet Project
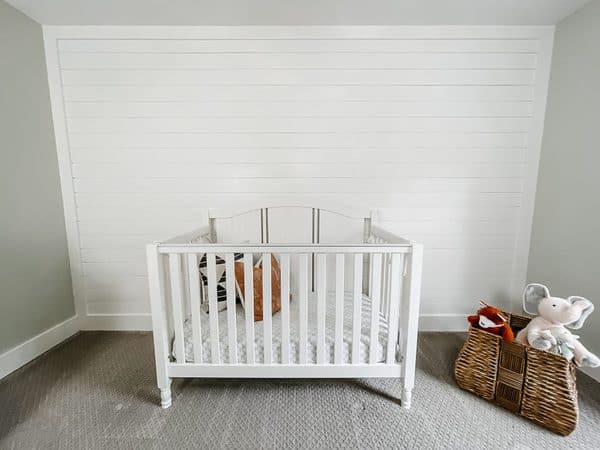
When you are on a budget, consider creating your own bassinet that will improve your woodworking skills and also won’t break your bank.
To get started, you will need some basic materials. A piece of plywood or MDF will serve as the base of the bassinet, and you will need four sturdy legs to support it. You will also need some fabric to cover the base and sides of the bassinet. A simple cotton sheet or quilt will work perfectly.
Let’s see how:
- Cut the plywood or MDF to size using a jigsaw or handsaw. The base should be slightly larger than the mattress you plan to use.
- Attach the legs to the base using screws or nails . Make sure that the legs are evenly spaced and securely attached.
- Wrap the fabric around the base and sides of the bassinet , securing it in place with staples or glue.
- Place the mattress inside the bassinet.
2. Repurposed Wooden Bassinet
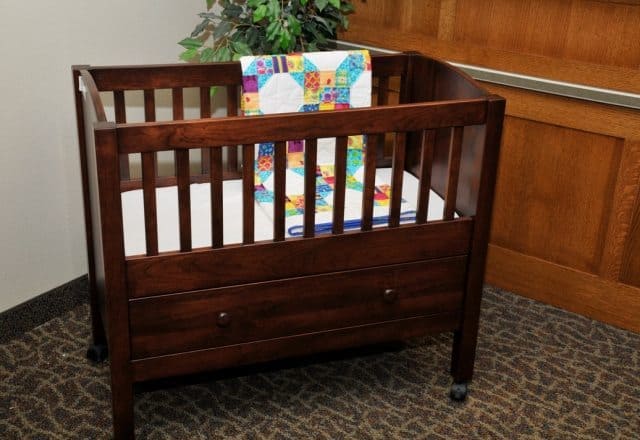
You can upcycle the dresser drawer and transform it into a cozy bassinet for your baby. You can use a drawer or any similar unit for this purpose.
First, sand down the wood and then apply primer to all surfaces. Then, paint the entire piece in your desired color. Once it is dry, attach caster wheels at the bottom so that you can move it around easily. On the other side, it can be a smart solution that can be a portable bassinet where you can bring it everywhere as you wish.
3. DIY Bassinet with Upholstery
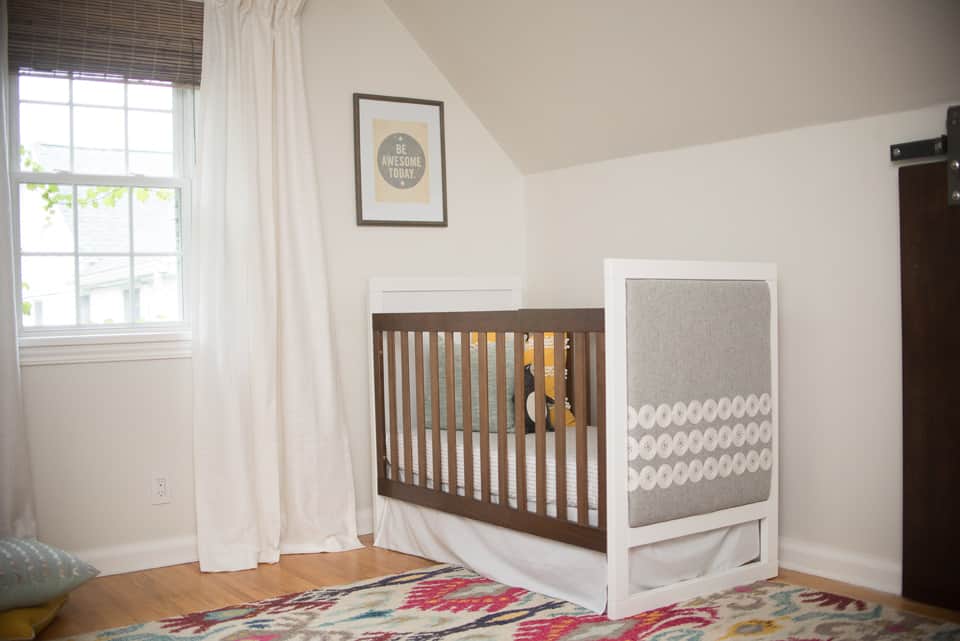
This woodworking project is not very difficult, and it’s a great way to add a personal touch to your nursery. The first thing you need to do is remove the old fabric from the bassinet. You can do this by taking out the staples or by tearing the fabric off. Once the old fabric is removed, you can begin measuring and cutting the new fabric.
Be sure to leave enough fabric to wrap around the sides and bottom of the bassinet. Once you have the new fabric cut, you can begin stapling or gluing it into place. Be sure to smooth out any wrinkles as you go.
4. DIY Sewn Baby Bassinet
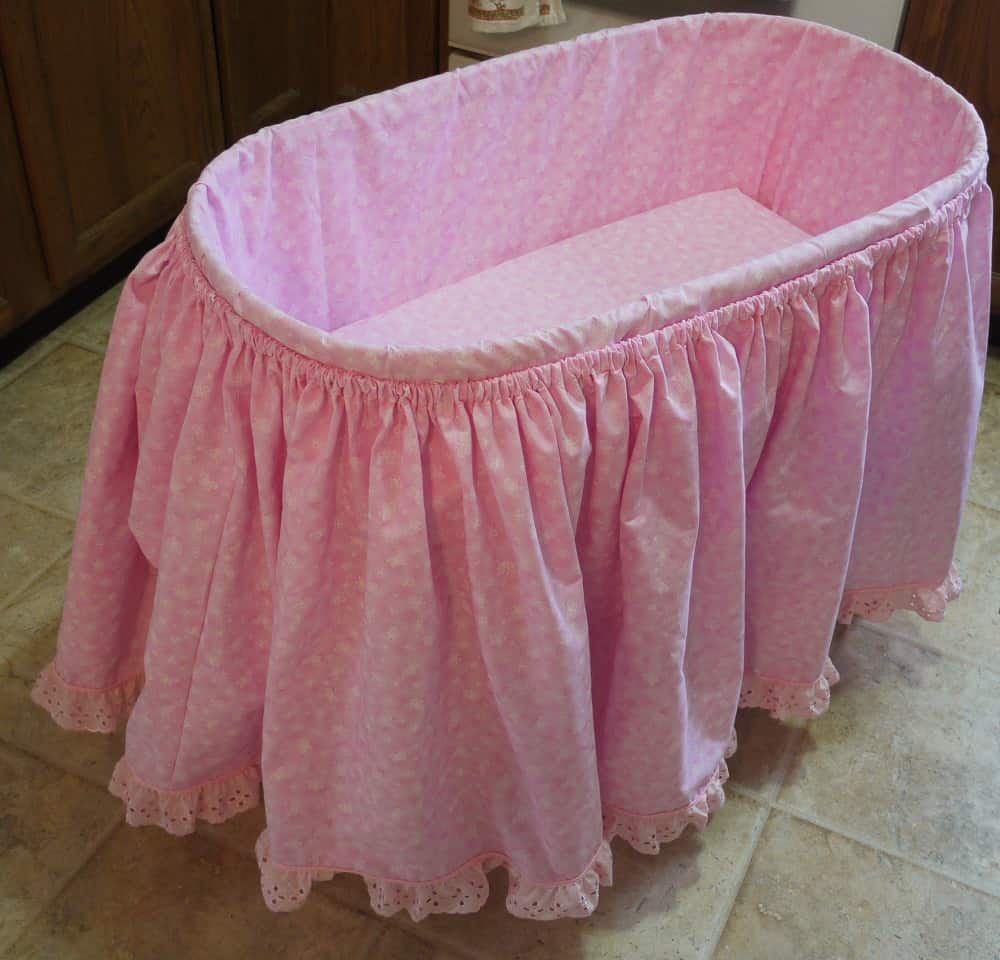
Challenge your sewing skill and make a chic DIY bassinet that can be a safe haven for your little one. This will also be a cute functional focal point in the nursery room.
You will need:
- A sewing machine
- Fabric of your choice
- A foam mattress
- Upholstery foam
- Thread
- Pins & scissors
- Zipper
5. Farmhouse Bassinet
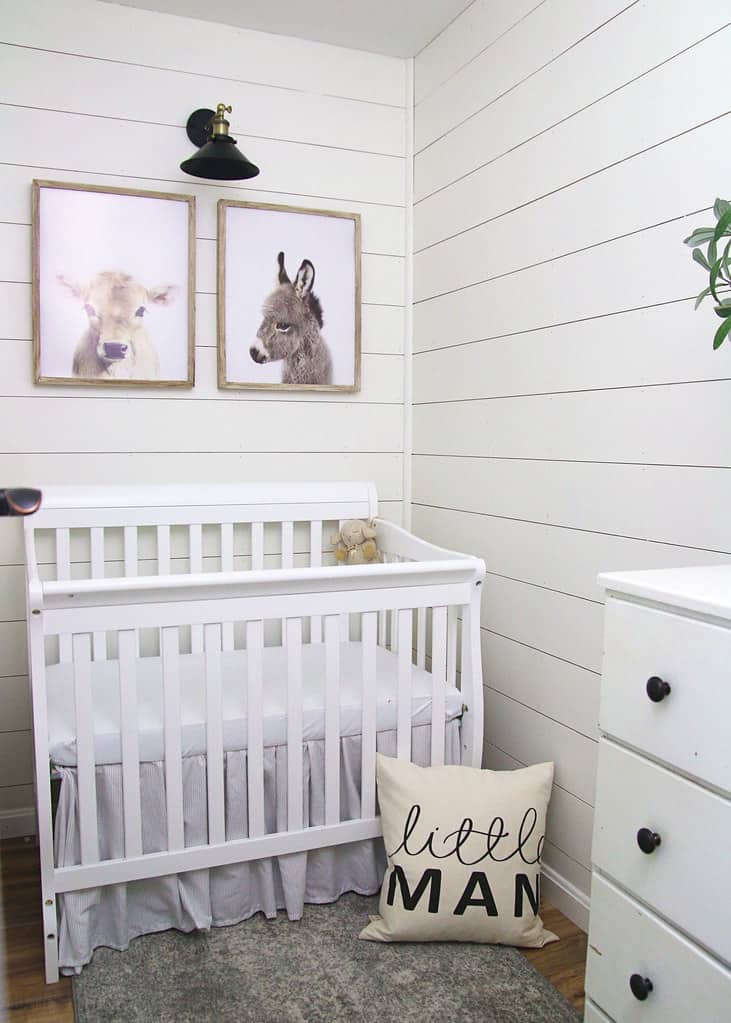
Add a touch of cozy of the farmhouse style to the nursery room with this DIY Farmhouse Bassinet. This bassinet is easy to make and can be customized according to your preference.
On the other side, this bassinet requires a bit of DIY skills and a few power tools.
Materials:
- Wood boards
- Miter saw
- Sander
- Nails or screws
- Drill
- Paint or stain
Bassinet tutorial:
- Measure and cut the wood boards to required size using the miter saw.
- Smooth the boards using the sander to ensure a smooth surface for the bassinet.
- Attach all the boards together with nails or screws, use a drill to make sure they are properly attached.
- Paint or stain the boards to your preferred color and let it dry for some time before you use it.
6. Upcycled Baby Crib into Bassinet
With a little creativity, you can transform an old baby crib into a stylish and functional bassinet.
Upcycled bassinets are not only budget-friendly, but they also have a uniquely personal touch. Plus, when your child outgrows the bassinet, you can easily upcycle it into something else, like a toy box or plant stand. And wheels installation will help you to move the bassinet wherever you desire.
7. Industrial Bassinet

To get started, you’ll need some industrial pipes and fittings, along with a sheet of plywood. You can usually find everything you need at your local hardware store. Once you have all your materials, simply follow the step by step below to put your bassinet together.
Instruction:
- Assemble the frame of your bassinet using the industrial pipes and fittings. Be sure to use pipe clamps to secure all the connections.
- Attach the plywood sides to the frame using screws or bolts.
- Add any finishing touches you like, such as paint or fabric lining.
8. Mediterranean Bassinet
You can easily make your own Mediterranean-style bassinet for a fraction of the cost. All you need is a simple frame, some sturdy fabric, and a few pillows.
To start, assemble the frame of the bassinet. Then, drape the fabric over the frame and secure it in place with tape or pins. Next, add the pillows to create a comfortable sleeping surface for your baby. Finally, add any decorative details you desire, such as ribbons or lace.
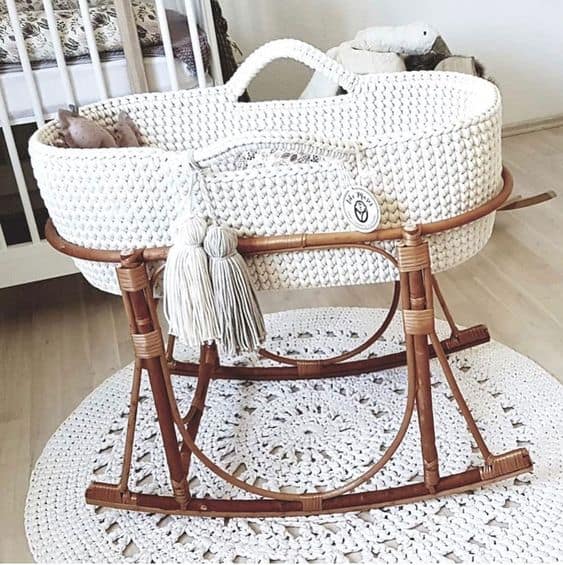
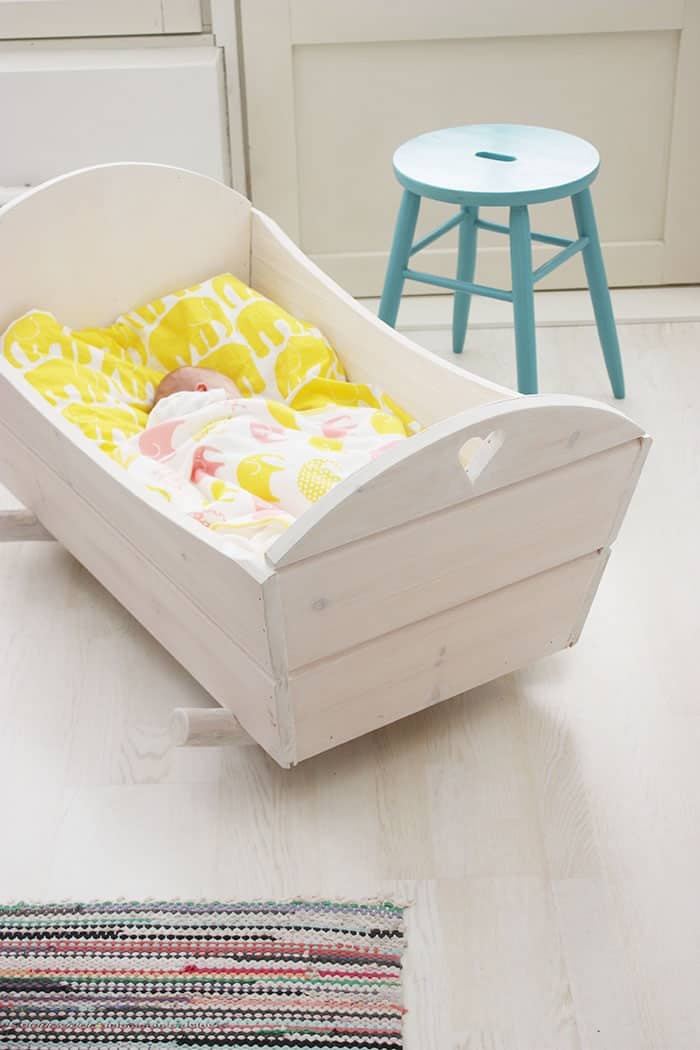
9. DIY Rocking Bassinet
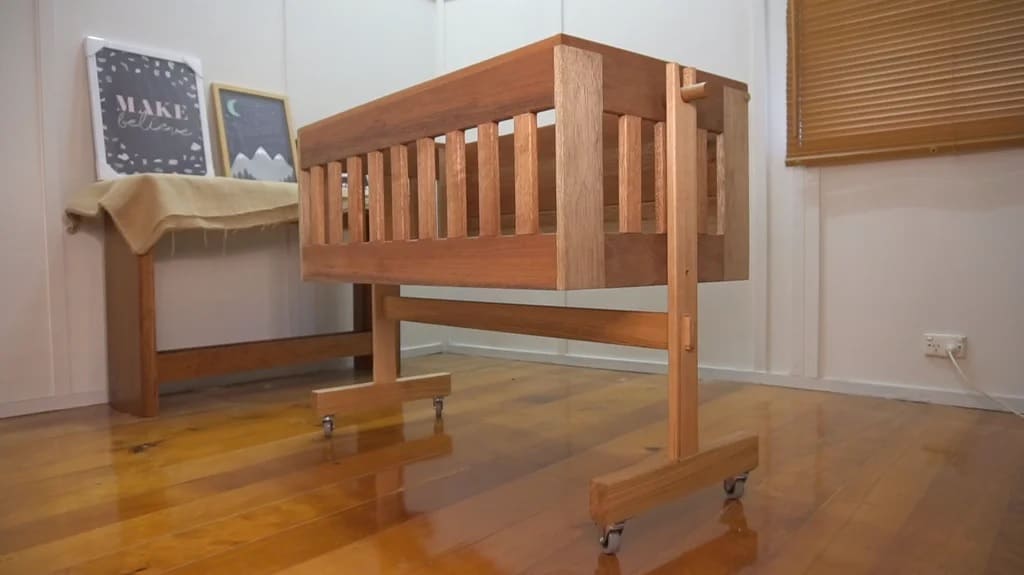
A bassinet is an affordable option, and making your own DIY bassinet can add extra comfort for both you and your baby. A rocking bassinet is especially calming, and can help your little one drift off to sleep.
You can make your own rocking bassinet with just a few simple materials. First, you’ll need a sturdy basket or bassinet. Next, attach two caster wheels to the bottom of the basket. Then, create a simple rocking mechanism by attaching a piece of dowel or wood to the center of the basket. Finally, add a soft mattress or cushion to the bottom of the basket for extra comfort.
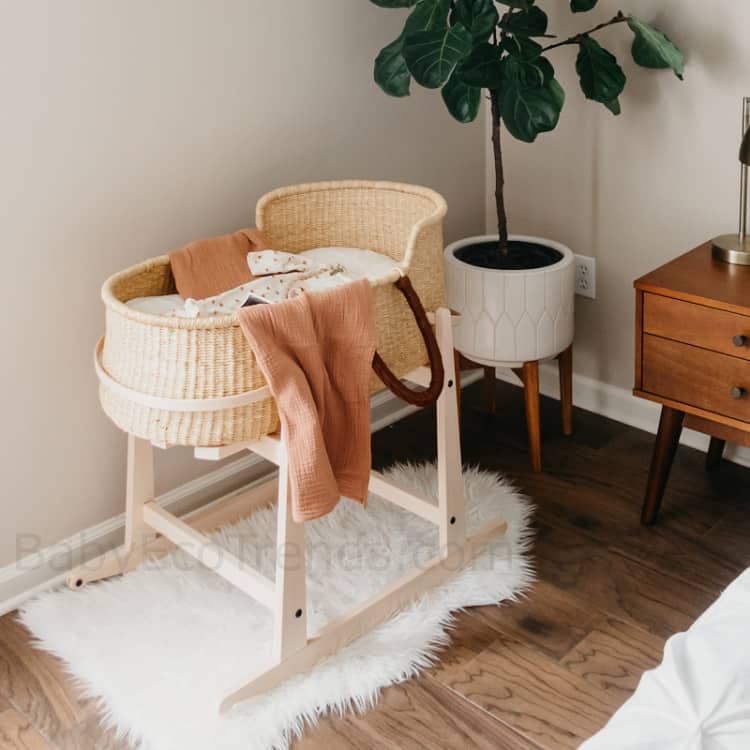
10. Moses Basket Bassinet
If you are interested in making your own Moses basket bassinet, there are a few things you will need. First, you will need a basket or bassinet that is large enough to comfortably fit your baby.
You will also need a soft mattress or blanket to line the bottom of the basket. Finally, you will need two pillows to prop up the sides of the basket. Once you have gathered all of your materials, simply line the bottom of the basket with the mattress or blanket and then place the pillows on either side.
11. A Bassinet for Twins
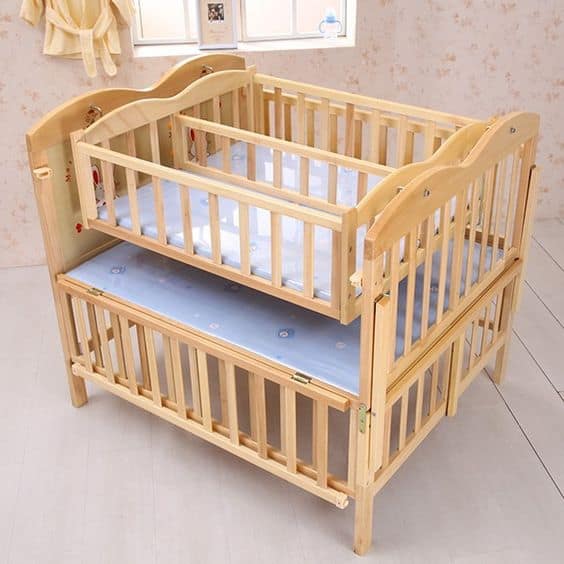
It’s actually not that difficult, and you can tailor it to fit your own style. Plus, it will be extra special because you made it yourself. To get started, you’ll need some basic supplies. For the frame, you can use PVC pipe or wood boards.
You’ll also need fabric for the sides and bottom, plus batting for padding. Once you have all your materials, cut the frame pieces to size and assemble them using screws or glue. Then stretch the fabric over the frame and staple or glue it in place. Finally, add the batting to the bottom of the bassinet for cushioning.
12. Eco-Friendly Bassinet
You can easily make your own eco-friendly bassinet with just a few simple materials. All you need is some sturdy cardboard, a sharp knife, and some clear packing tape. First, cut four pieces of cardboard into roughly rectangles.
These will form the sides of your bassinet. Next, use the packing tape to secure the rectangles together, forming a box. Make sure that the corners are well-sealed so that your baby doesn’t roll out. Finally, line the inside of the box with a soft blanket or towel.
13. DIY Bassinet with a Stand
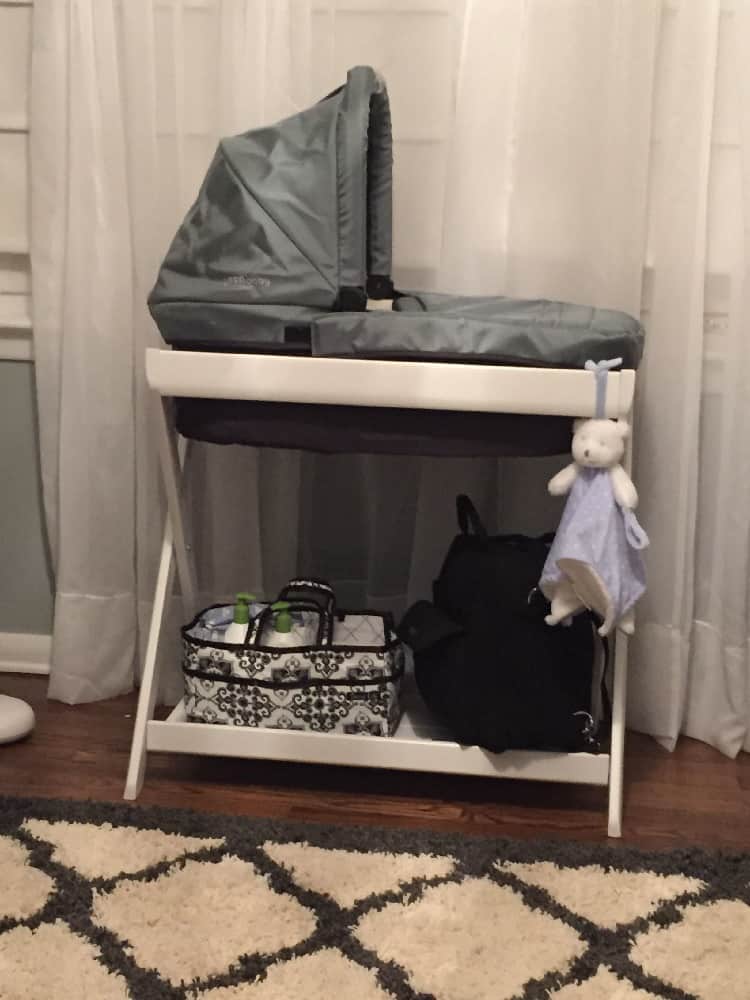
A bassinet with a stand is even better, because it keeps the bassinet elevated and makes it easier to move around the house. Building a DIY Bassinet with a Stand is a relatively simple project that anyone with basic woodworking experience can complete.
The most important part is to make sure that the Bassinet is sturdy and well-built. Once you have the basic frame assembled, you can add any features or embellishments that you like. For example, you could add storage baskets underneath the Bassinet for diapers and other supplies, or you could add a canopy to create a more private sleeping space for your baby.
14. DIY Canopy Bassinet

This elegant bassinet features a classic canopy design, with beautiful netting that will keep your little one safe and snug. The best part about this project is that it can be easily completed in a weekend, and you can customize the fabric to match your nursery decor.
What you will need:
- Fabric of your choice
- A few yards of batting
- Sewing machine
- Thread
- Scissors
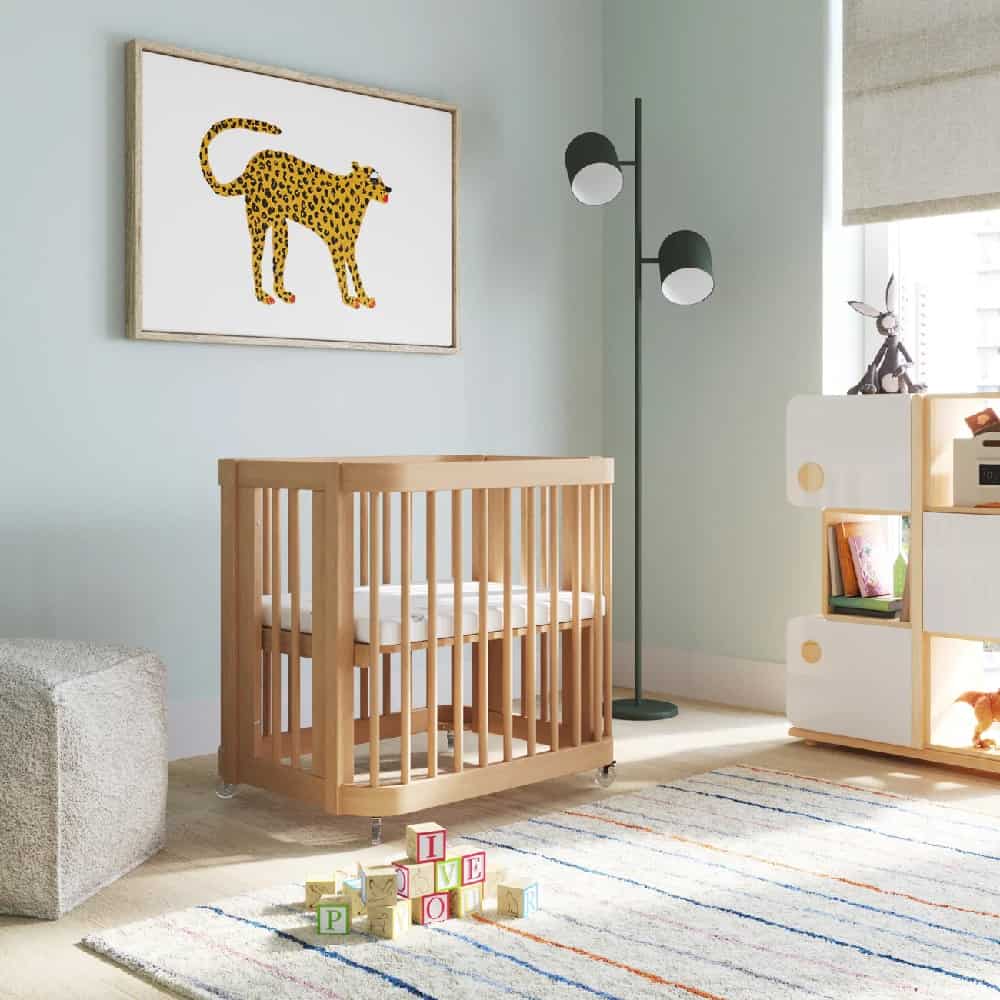
15. Make it Bigger
With the bigger bassinet, you can make a comfy bed for your baby and can be used when they are growing up too.
The materials required are listed below:
- Wooden Dowels
- Plywood
- Fabric
- Batting
- Foam
- Glue gun with glue sticks
- Saw
- Screwdriver
- Screws
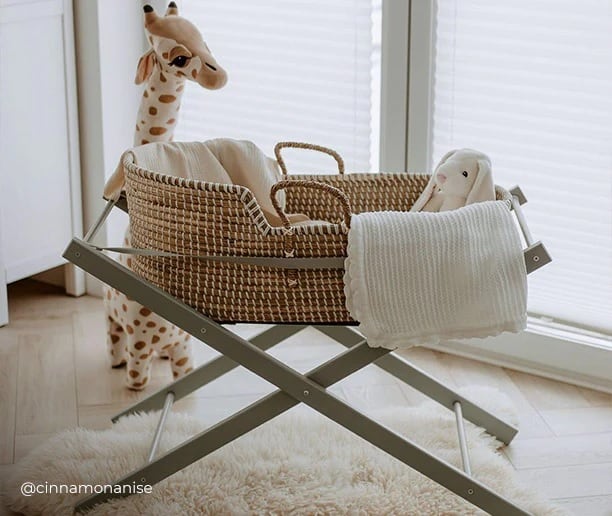
16. Portable Space-Saving Bassinet
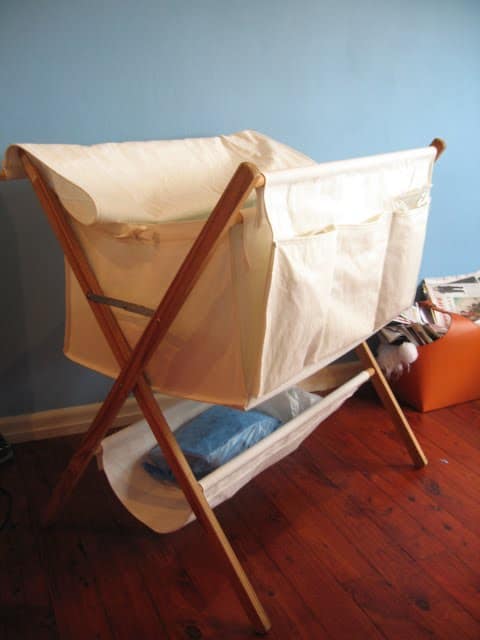
For new parents, a foldable bassinet is an essential piece of gear. Not only does it provide a safe and comfortable place for baby to sleep, but it’s also easy to transport from room to room or even from house to car. The best part about a foldable bassinet is that it can be stored away when not in use, freeing up valuable space in your home.
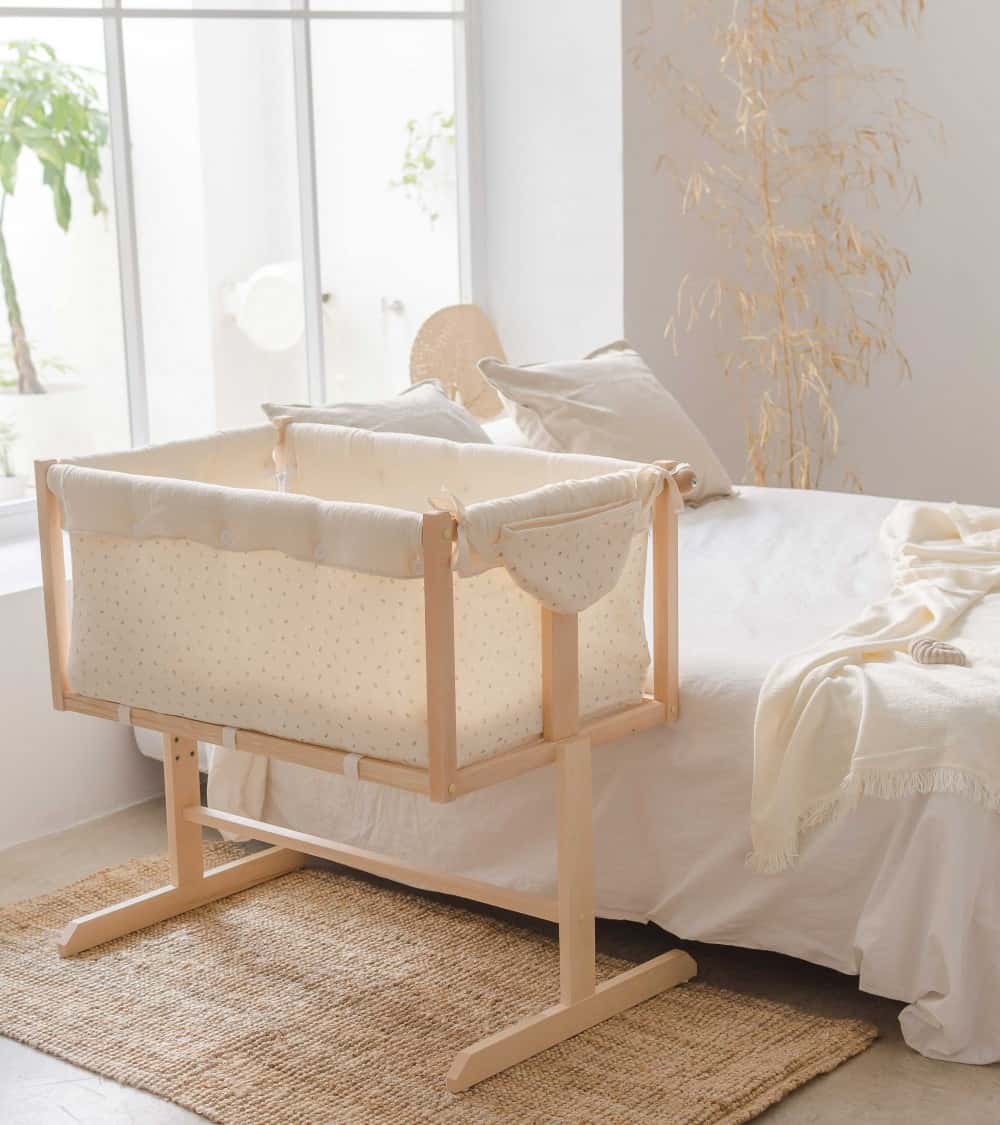
17. Organic Fiber Bassinet
For parents who want the very best for their newborn, a bassinet made with organic materials is a great choice. Not only are organic fibers non-toxic and gentle on delicate skin, but they also provide a safe and comfortable environment for babies to sleep in.
One downside of organic bassinets is that they can be more expensive than traditional models. The bassinet also comes with a waterproof liner, making it perfect for use both indoors and outdoors. Best of all, the entire bassinet can be easily disassembled and recycled when your child outgrows it.
18. DIY Painted Bassinet
This painted bassinet is not only easy to make, but it’s also super stylish. You’ll need a plain white bassinet to start, and then you can add any bright colors you like. Just use regular paint to achieve the look you want. This is a great way to add a splash of color to your nursery, and it’s also a great way to save money since you won’t have to buy a new bassinet.
19. Luxury Bassinet
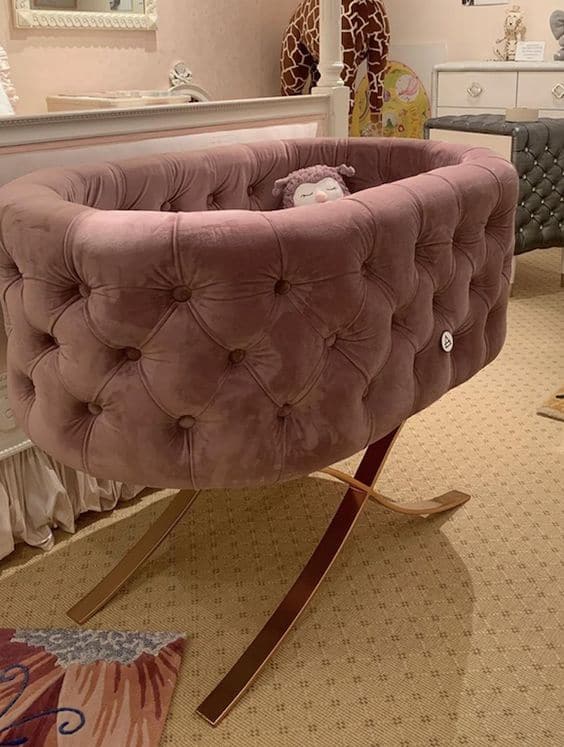
If you’re looking for a luxurious bassinet that will make your baby feel like royalty, look no further than the DIY velvet bassinet. This gorgeous bassinet is upholstered in luxurious velvet and features a stylish copper frame.
Your baby will love the plush velvet fabric, and you’ll love the sophisticated look of this bassinet. Plus, the velvet fabric is easy to clean and maintain, so you can keep your bassinet looking like new for years to come.
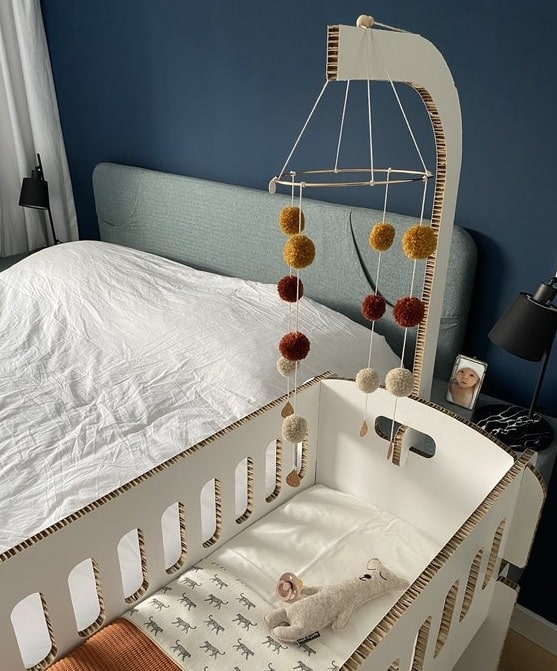
20. DIY Convertible Bassinet
A convertible bassinet is a multifunctional baby bed that can be used as both a bassinet and a playard. It provides a safe, comfortable place for your baby to sleep or play, and it can be easily converted into a playard when your child outgrows the bassinet.
A convertible bassinet can be made by repurposing an old crib or playpen. Simply remove one of the panels from the crib or playpen and attach it to the side of the bassinet using L-brackets.
21. Rustic Barn Door Bassinet

Made from a repurposed barn door, it’s both stylish and unique. Plus, it’s much easier to make than you might think. Simply start by removing the hardware from the door. Then, cut two pieces of plywood to fit the door’s opening. Next, attach the plywood to the door using screws and washers. Once that’s done, add some batting and fabric to the inside of the bassinet.
Finally, screw in some casters so you can easily move it around your home.
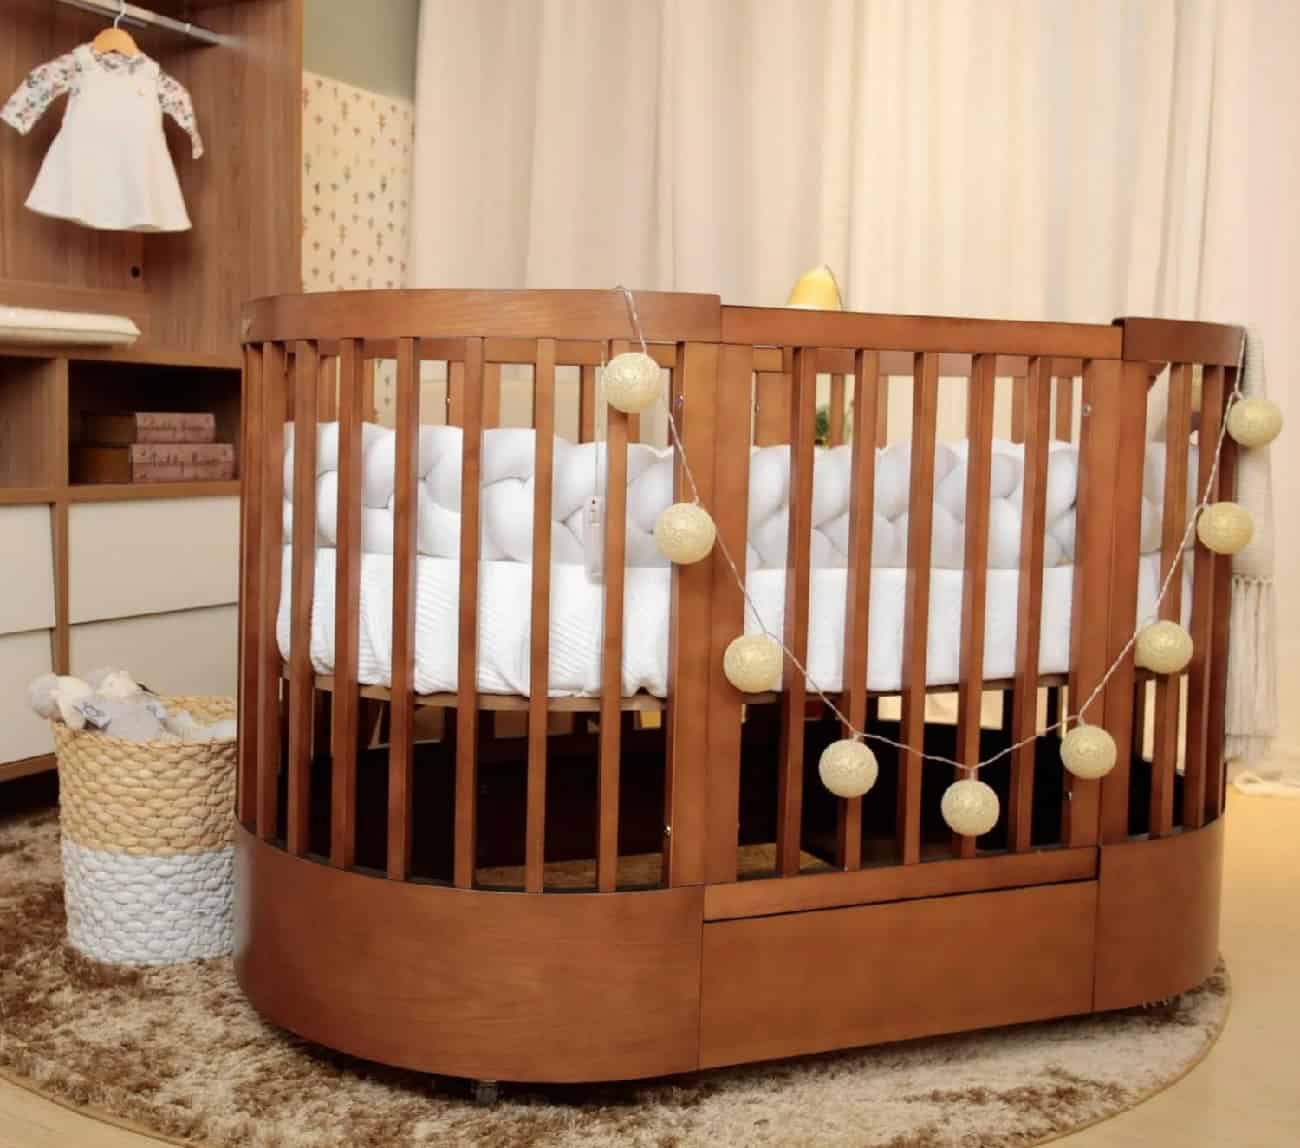
22. Elegant Wood Bassinet
It’s easy to stain and assemble, and it looks great in any nursery. Plus, it’s much more affordable than purchasing a bassinet from a store. All you need to build this bassinet are some basic woodworking skills and supplies.
Material lists:
- Wood
- Stain or paint
- Clamps
- Saw
- Sandpaper
23. Moon-Shaped Bassinet
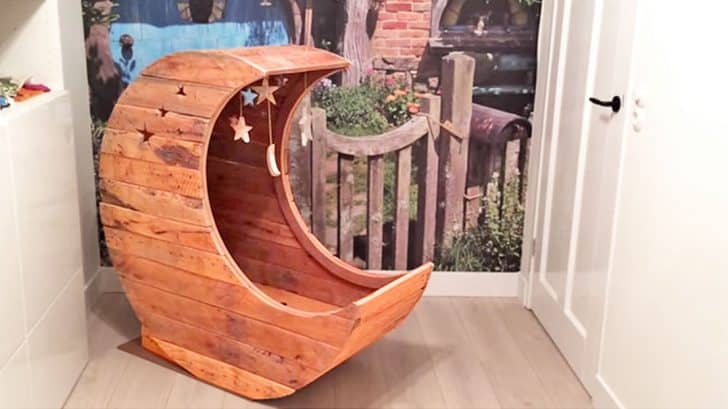
Add this unique bassinet to your nursery and make a statement. This moon-shaped bassinet will provide a cozy spot for your little one to sleep every night. With just some wood, batting, fabric and basic tools you can create this adorable piece of furniture for your baby.
What you will need:
- Wood
- Batting
- Fabric
- Polyester fiberfill
- Sewing machine and thread
- Hot glue gun and glue sticks
- Screws and drill
24. Sturdy Pallet Wood Bassinet
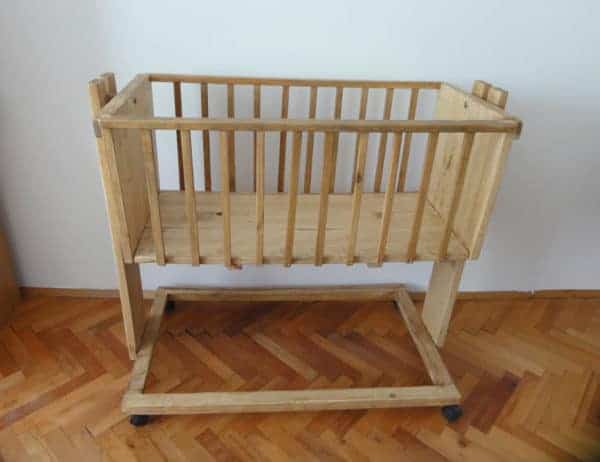
To turn the pallet into a bassinet, start by sanding down any rough edges. Then, add some padding to the bottom of the pallet for comfort. You can use a mattress pad or some old blankets.
Make sure to secure the padding in place so it doesn’t shift around. Next, add bedding and any other features you want, such as a mosquito netting. Finally, place the bassinet in your baby’s room and enjoy.
Making a basinet is a fun way to prepare for your baby’s homecoming and save money. You can make one yourself with these easy-to-follow instructions and materials list. Be sure to measure twice and cut once for best results. With a little bit of time and effort, you’ll have a beautiful, homemade basinet that will serve as a comfortable bed for your little one.