Step into the realm of creativity and bring a touch of artistic wonder to your living space with our comprehensive guide to DIY wood wall art ideas.
From captivating world map designs to rustic reclaimed wood paintings, we’ve curated an array of 48 engaging projects that will transform your walls into breathtaking focal points. Whether you’re a seasoned DIY enthusiast or a beginner eager to explore your creative side, this guide is packed with easy-to-follow steps, inspiring ideas, and a touch of storytelling magic.
Get ready to embark on a journey of self-expression, as we dive into the world of plywood silhouettes, string art masterpieces, framed fabric wonders, and so much more.
Table of Contents
1. Plywood Silhouette
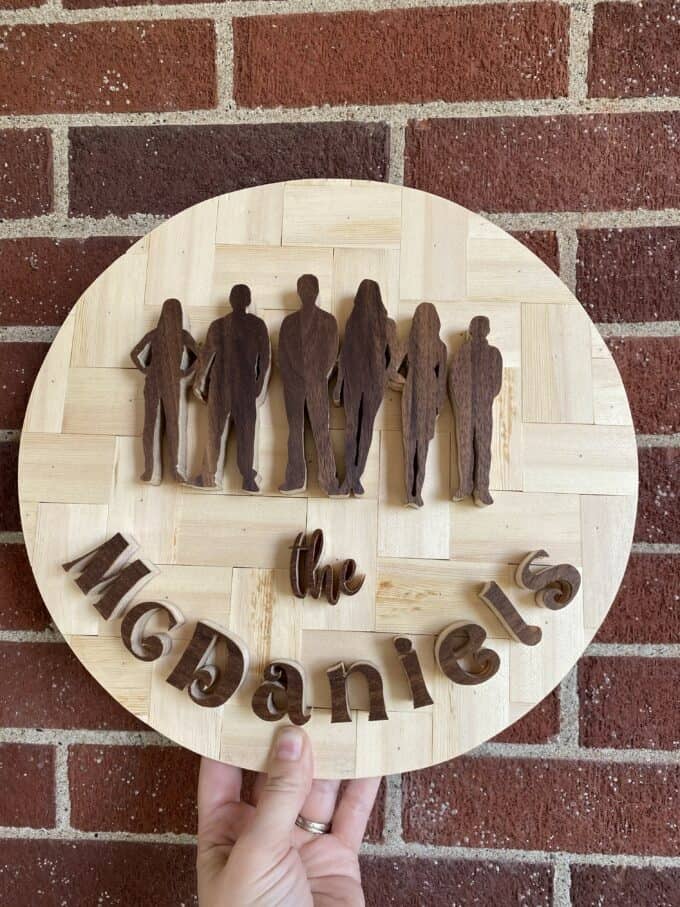
Create a stunning wall art piece by cutting out the silhouette of a world map from a sheet of plywood. Sand the edges to smoothen them out and paint the silhouette in your desired color.
Hang it on the wall using adhesive hooks or screws, and watch as your room transforms into a global paradise.
2. String Art
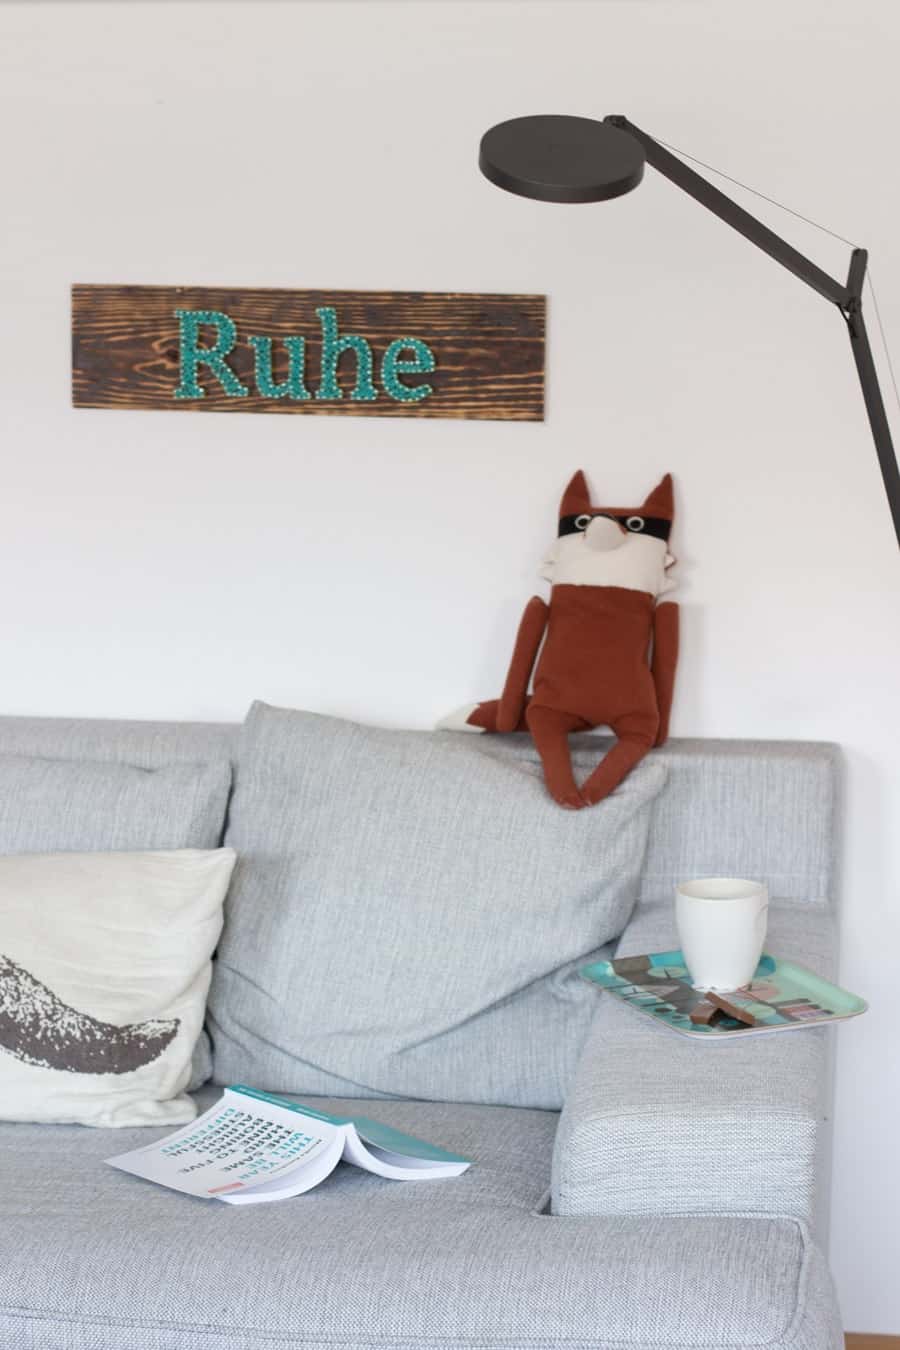
For a vibrant and textured wall art piece, try string art. Start by printing out a world map template and attaching it to a wooden board.
Hammer nails along the outline of the continents, leaving a small gap between them. Then, wrap colorful strings around the nails, creating patterns and filling in the continents.
Once complete, remove the template and enjoy your string art masterpiece.
3. Framed Fabric or Wallpaper Samples
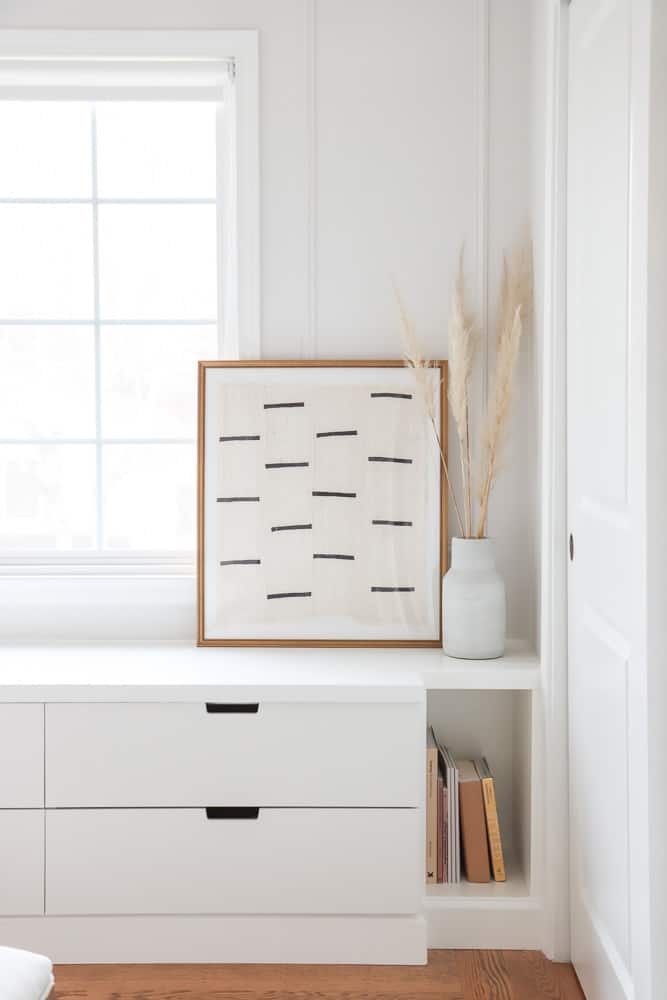
If you have leftover fabric or wallpaper samples lying around, don’t let them go to waste! Cut them into smaller pieces and frame them using wooden frames.
This simple and budget-friendly project adds a touch of color and texture to any room.
4. Window Picture Frame
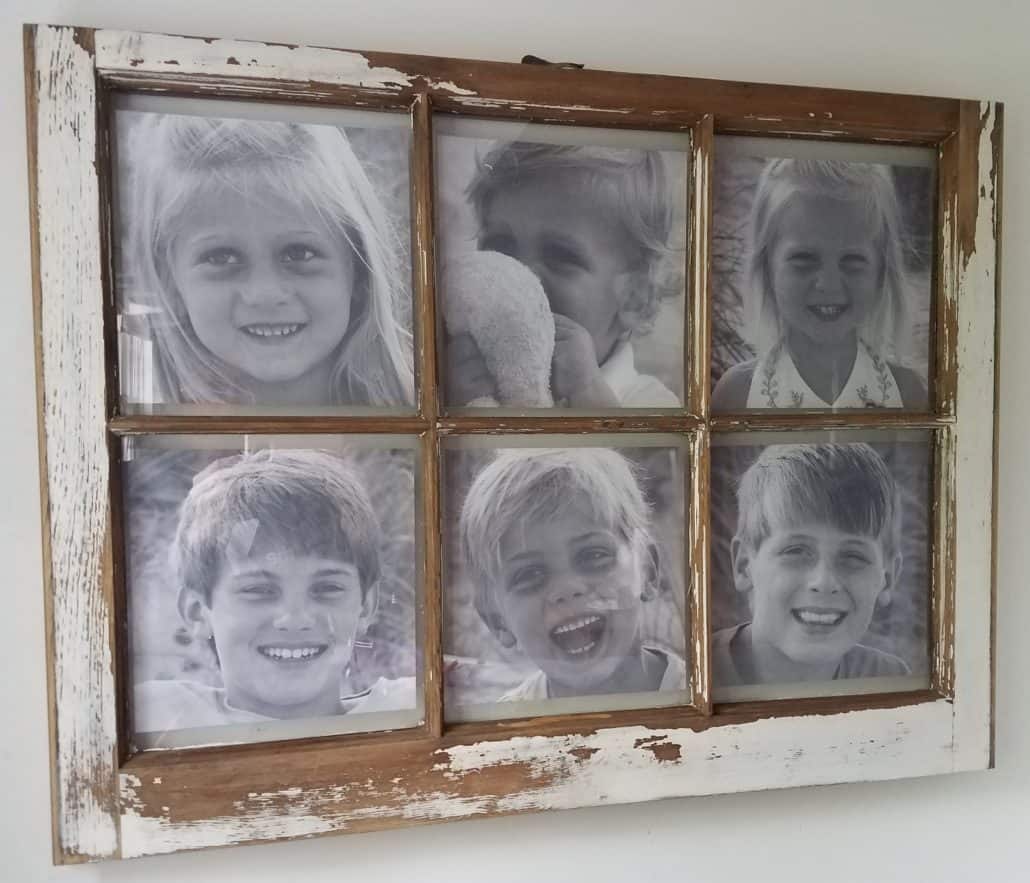
Repurpose an old window frame by turning it into a unique picture frame. Remove the glass panes and replace them with your favorite travel photos or map prints.
You can attach the pictures using small clips or adhesive tape. Hang the window frame on your wall, and it will instantly become a conversation starter.
5. No Sew Quote Banner
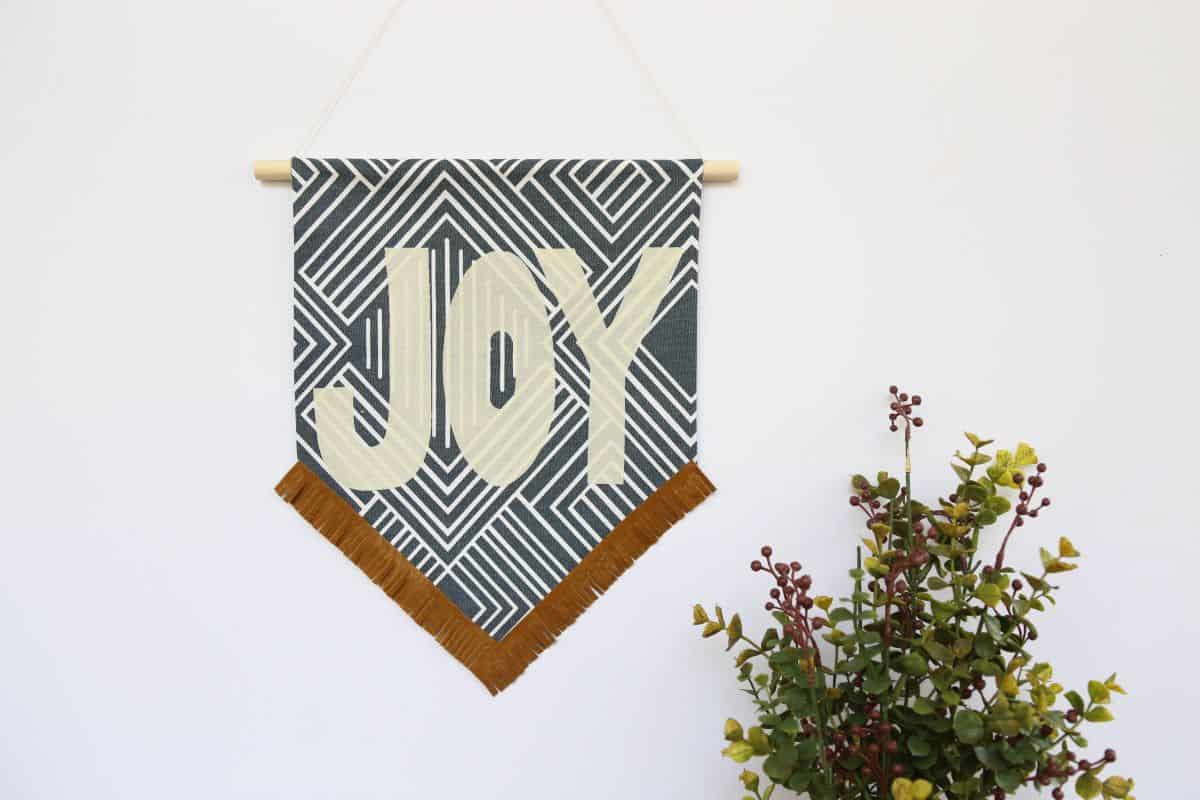
Express your favorite travel quotes with a no-sew quote banner. Cut out rectangular pieces of fabric or burlap, and paint or stencil your chosen quotes onto them.
Attach the fabric pieces to a wooden dowel using hot glue or string,add fringe, and hang the banner on your wall. This project allows you to personalize your space with inspiring words.
6. DIY Mid Century Wood Wall Art
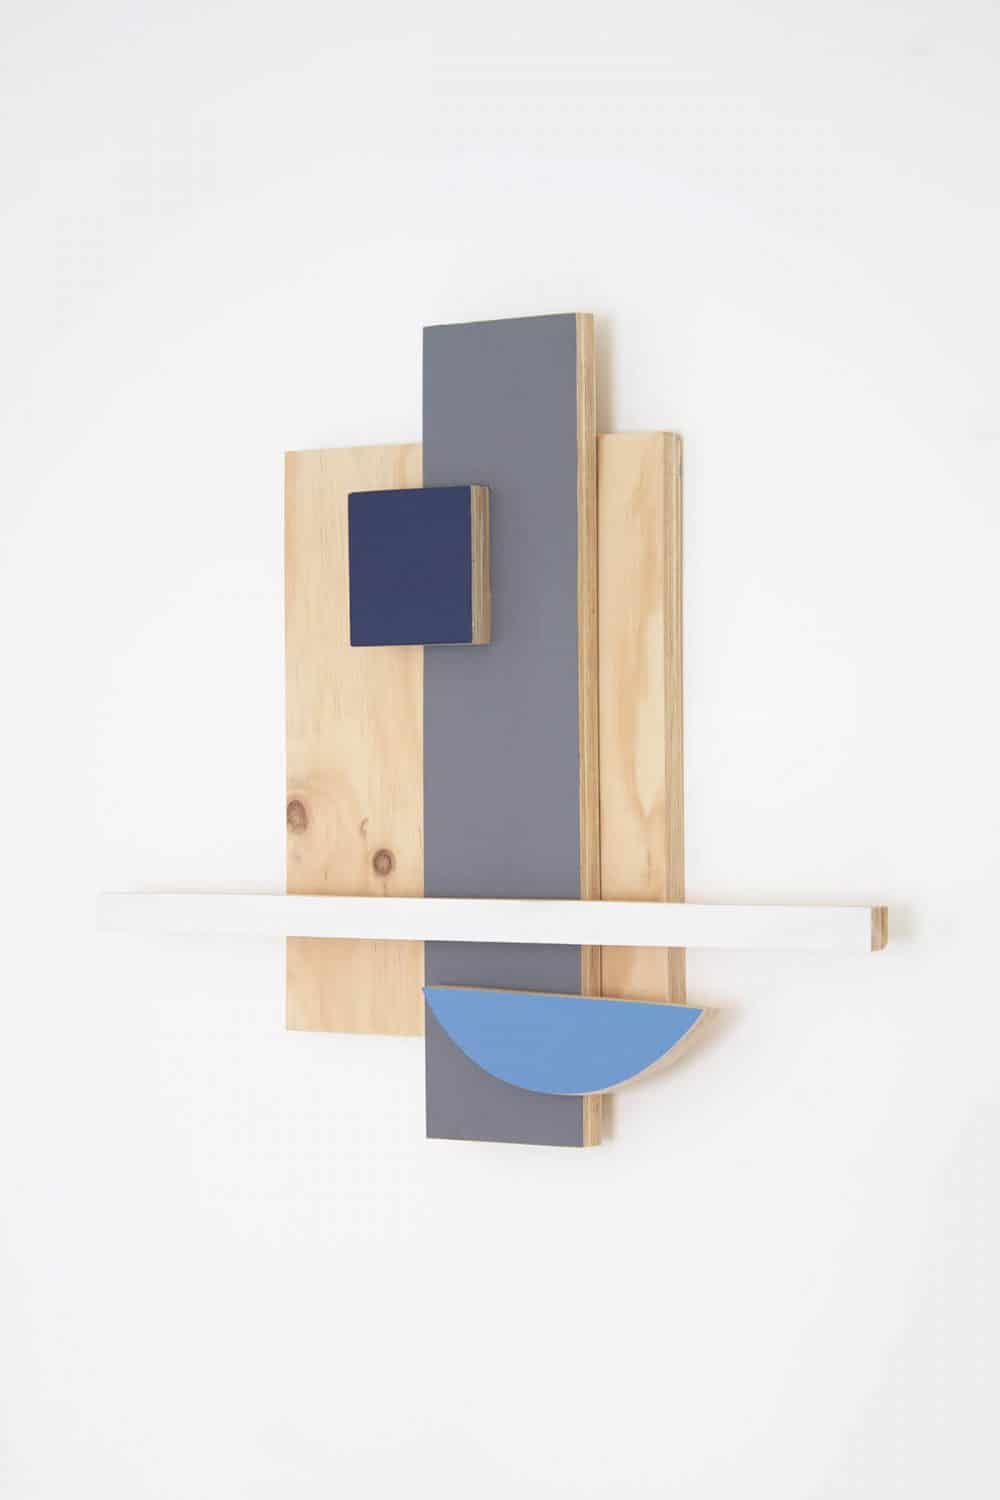
Create a personalized and meaningful wood wall art sign. Start by cutting a wooden board into your desired shape and size. Sand the edges and paint or stain the wood in a base color. Then, arrange the wooden pieces as you desire.
Attach hanging hardware to the back of the sign and hang it on your wall.
7. Wood Arrow Wall Art
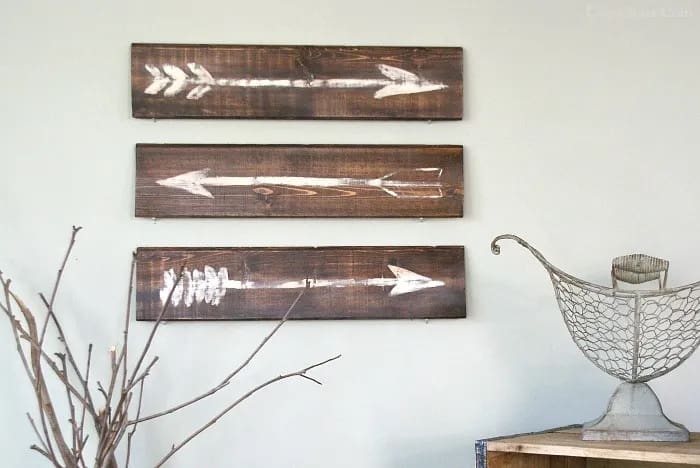
Create a rustic and charming wood arrow wall art piece. Cut out arrow shapes from wooden boards or pallets and sand them to remove any rough edges. Paint the arrows in white or leave them natural for a distressed look.
8. Put Your Favorite Quote on Canvas
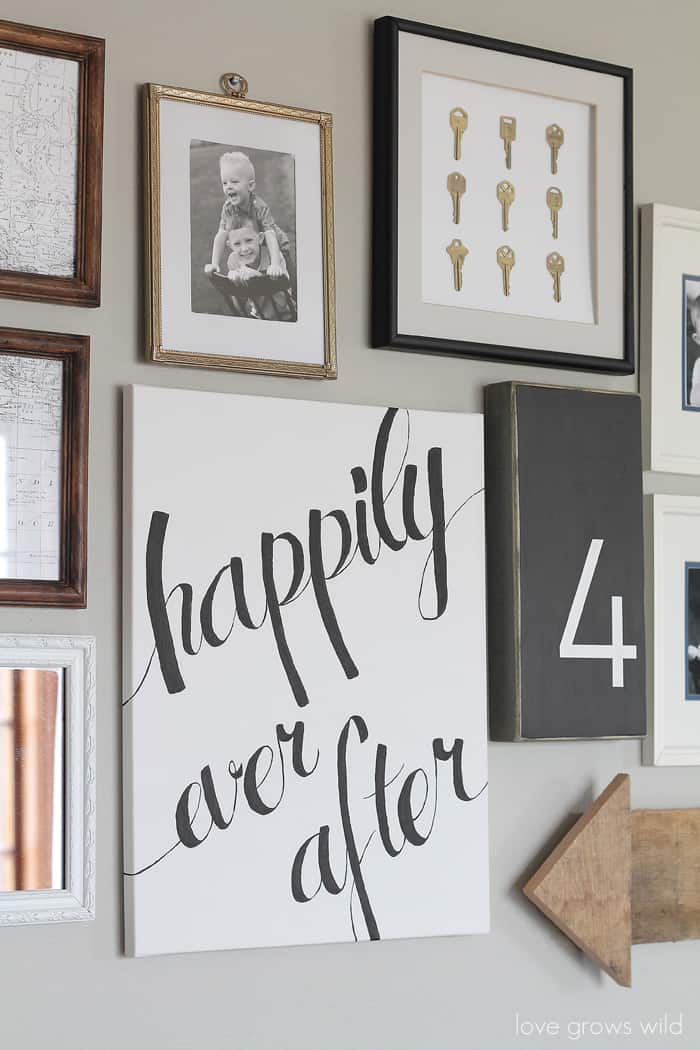
Combine the elegance of canvas art with meaningful quotes by painting a world map on a canvas and adding your favorite travel quote using stencils or freehand lettering.
Use acrylic paint in colors that complement your room’s palette. Hang the canvas on your wall, and you’ll have a personalized piece of art that resonates with your wanderlust.
9. Rustic Wall Art
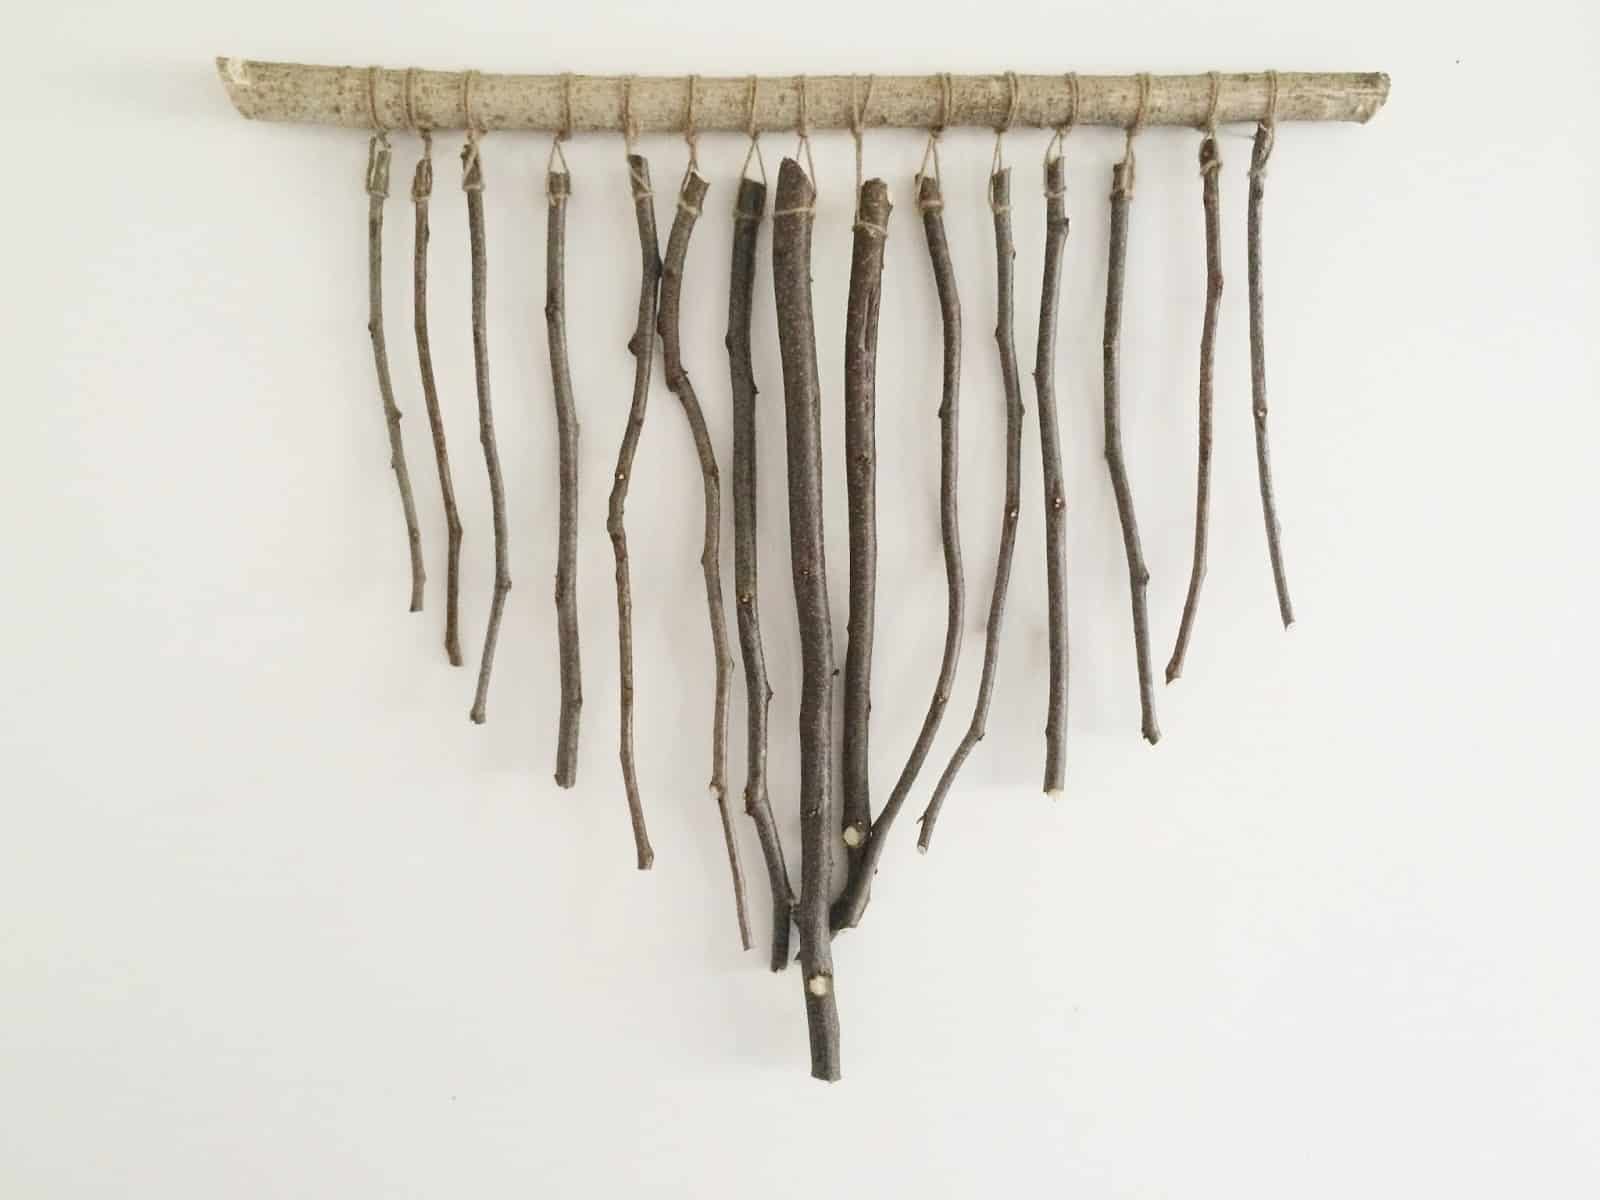
For a rustic and earthy vibe, create wall art using tree branches. Drill a hole through the top of each stick, then thread a piece of twine through the hole in each branch.
Hang the branches on the large branch, cut the branches into “v” pattern at the ends, you can use blue tape as a guide. Now you can hang it wherever you desire.
10. Abstract Wood Slices
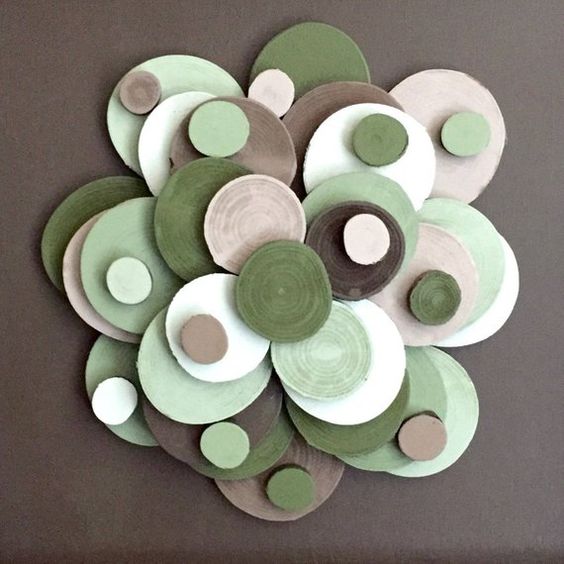
Add a contemporary touch to your walls with abstract wood slice art. Cut tree branches into thin slices of various thicknesses.
Paint each slice in different colors or shades and arrange them randomly on a wooden board. Once you’re satisfied with the composition, glue the slices onto the board and hang it on your wall.
11. Reclaimed Wood – Tree Painting
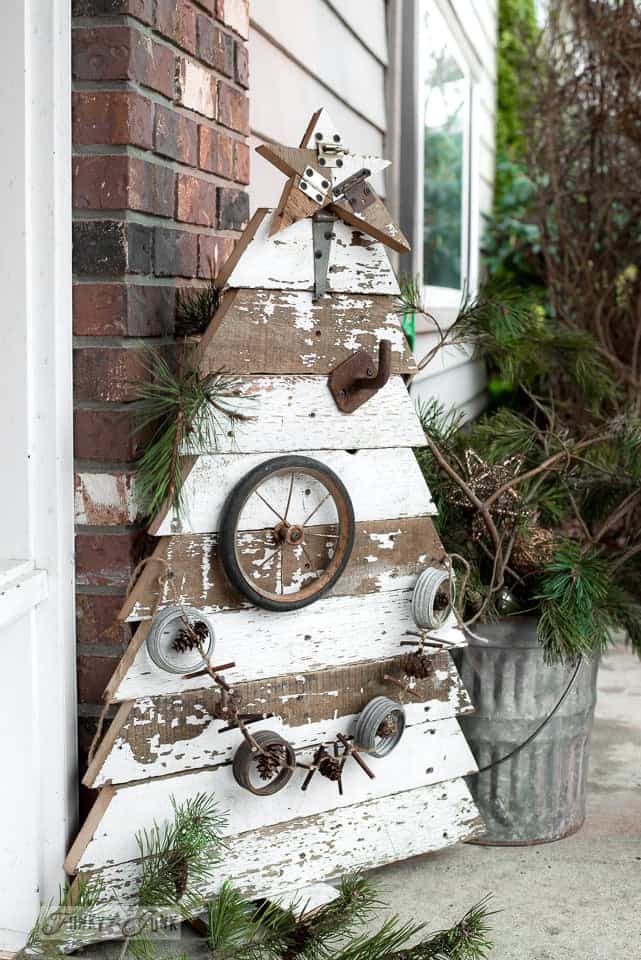
If you have access to reclaimed wood, create a stunning tree painting. Cut the wood into different lengths and arrange them vertically on a wooden board to resemble the Christmas tree.
Paint the wood in shades of white with a touch of distressed finishing. You can also add some decorative pieces to beautify the wood art, making it looks like a Christmas tree.
12. Cottage Chic Set of Beach Wall Art
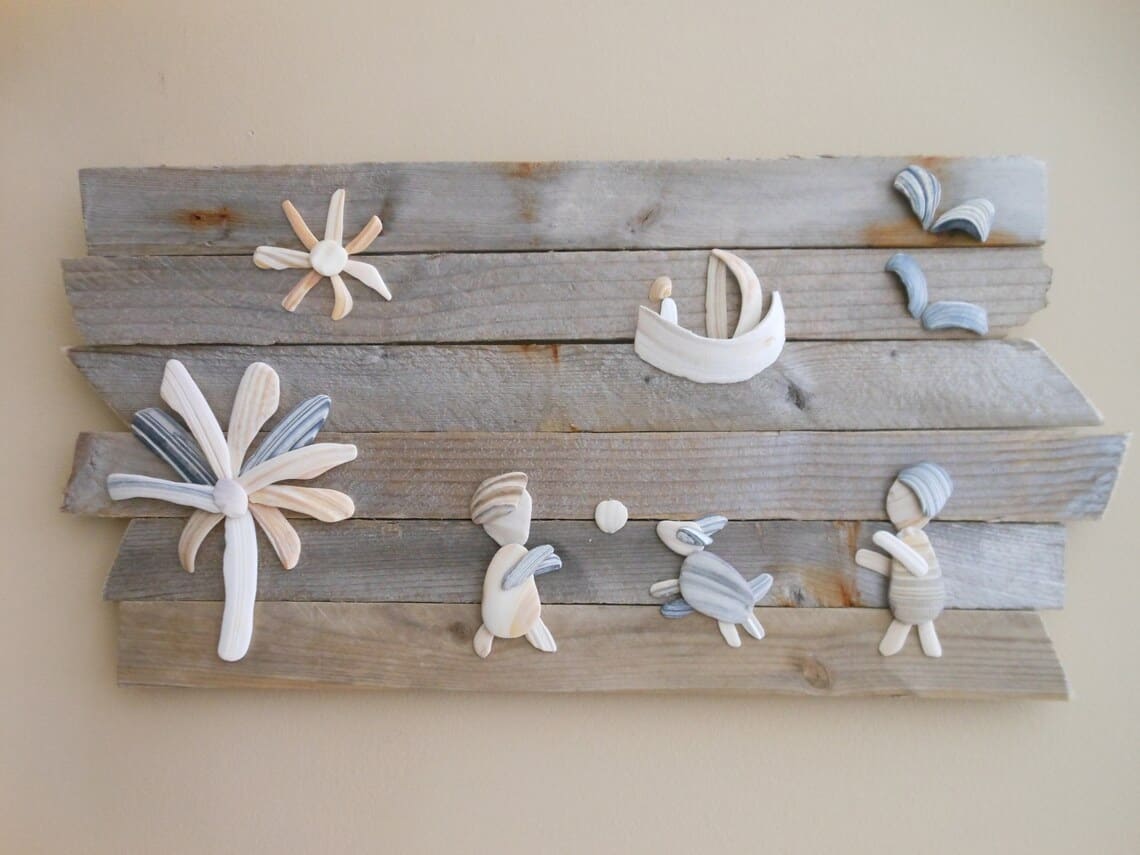
Bring the serene vibe of the beach into your home with a cottage chic set of beach wall art. Collect seashells, driftwood, and beach-inspired trinkets.
Attach them to wooden boards or canvas using glue or nails, arranging them in the shape as you desire or simply in a scattered arrangement. Hang these pieces together to create a coastal oasis on your wall.
13. Tree with Initials – DIY Wood Wall Art Ideas
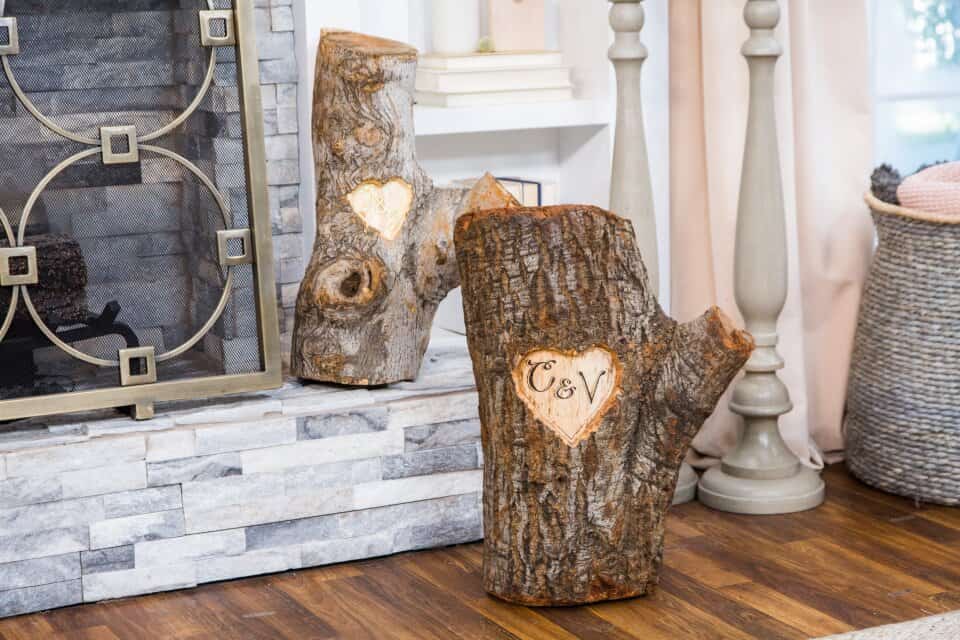
Create a romantic and personalized wood wall art piece by carving a tree trunk with your initials and those of your loved one. Start with a wooden board and draw the outline of a tree trunk.
Carve your initials and a heart shape into the trunk using a woodburning tool or a sharp knife. Paint or stain the wood for added visual appeal, and display this sentimental piece in your home.
14. How to Make Wood Wall Art
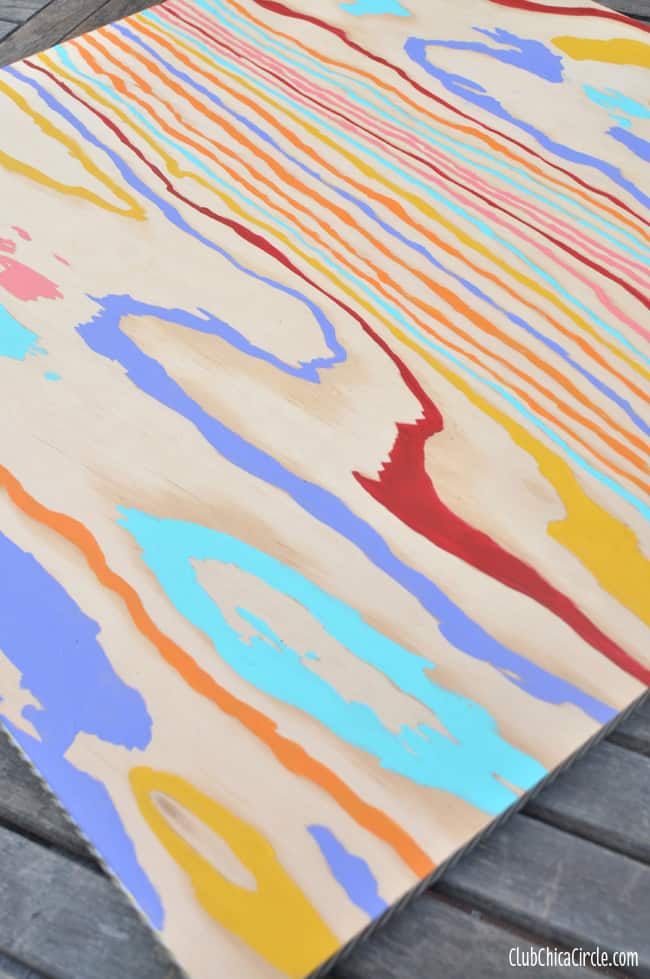
Making your own wood wall art is easier than you might think. Start by selecting a wooden board or canvas as your base. Decide on the design you want to create, whether it’s a world map, an abstract pattern, or a simple quote.
Sketch the design lightly on the wood to use as a guide. Then, use acrylic paint, wood stains, or markers to fill in the design. Let it dry completely before hanging it on your wall.
15. DIY Burned Wood Wall Art
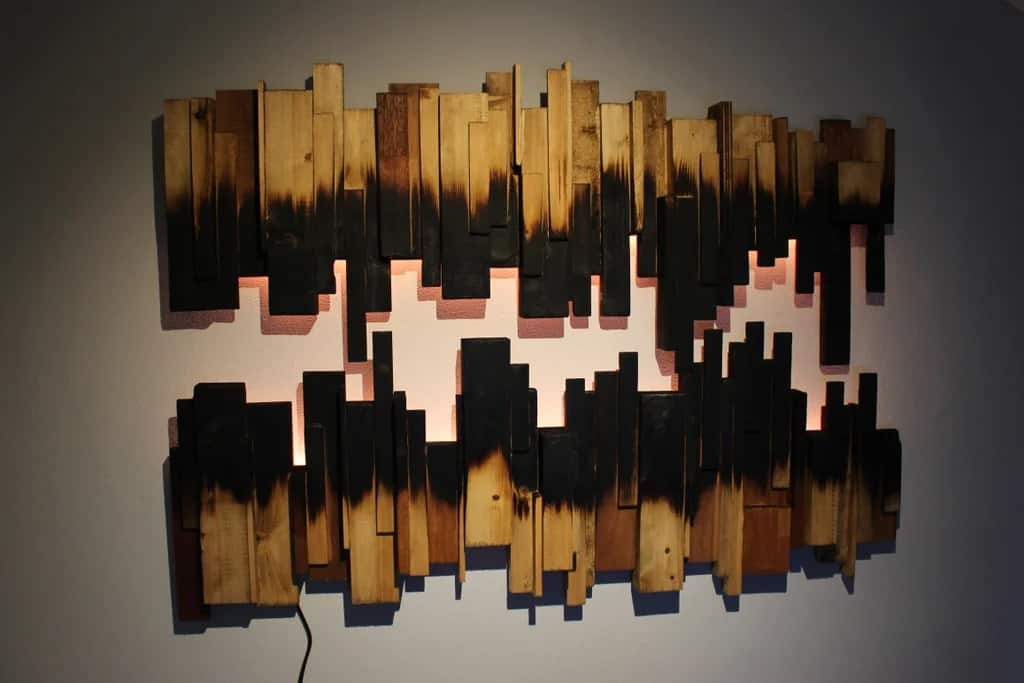
Achieve a rustic and antique look with burned wood wall art. Start by sketching collecting the following materials.
Material list:
- Scrap Wood
- Wooden Panel x2
- Nails
- Screws
- Keyhole Bracket
- Solder
- Wood Oil
- Wood Glue
16. DIY Wood and Resin Wall Art
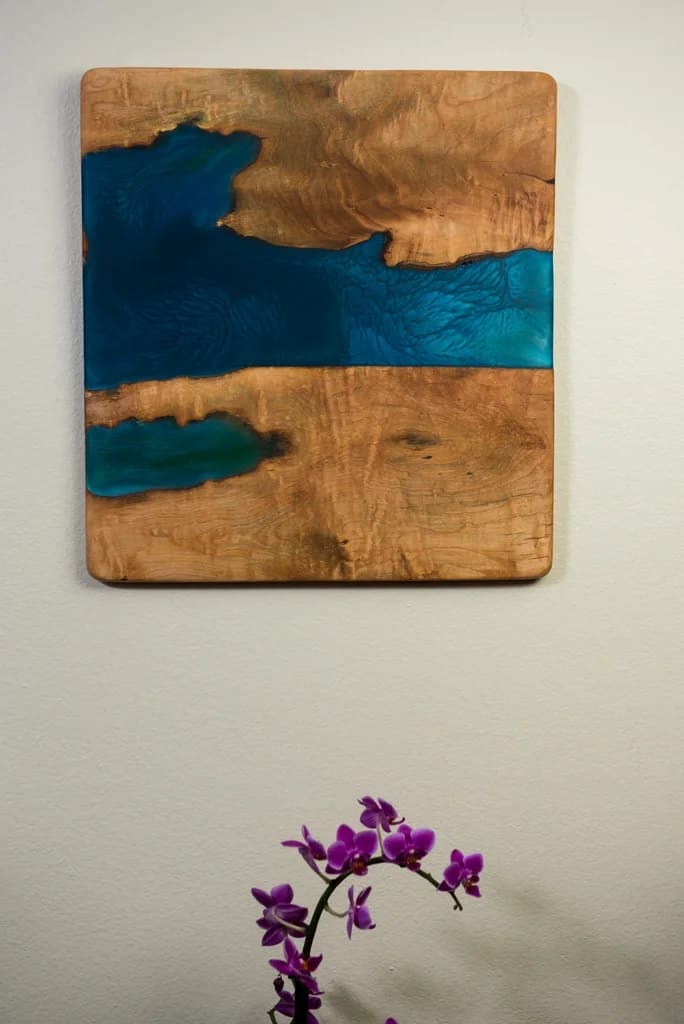
Combine the natural beauty of wood with the glossy finish of resin in this stunning DIY project.
Start by arranging wood slices or pieces on a wooden board to create your desired design. Mix epoxy resin according to the manufacturer’s instructions and pour it over the wood, ensuring even coverage.
Let it cure according to the resin’s curing time, and you’ll have a unique and glossy wood wall art piece.
17. DIY Easy Wood Wall Art
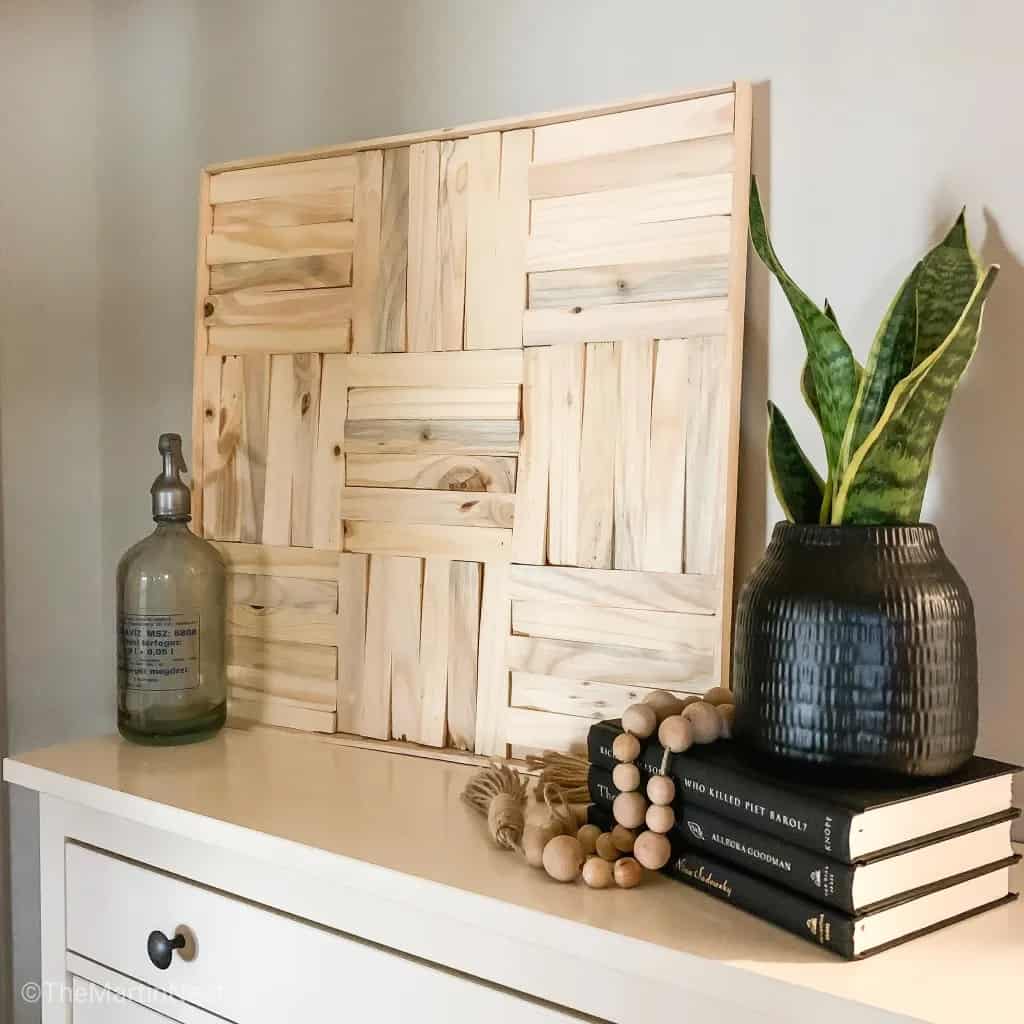
If you’re looking for a quick and easy wood wall art project, try this simple idea. Cut wooden boards into equal-sized rectangles or squares. Paint each piece in a different color or stain them for a natural look.
Arrange the wooden pieces on your wall in the shape of a world map or any other design you like. Use adhesive hooks or nails to secure them in place. This project adds a pop of color and texture to your space.
18. DIY Wood Wall Art with No Tools
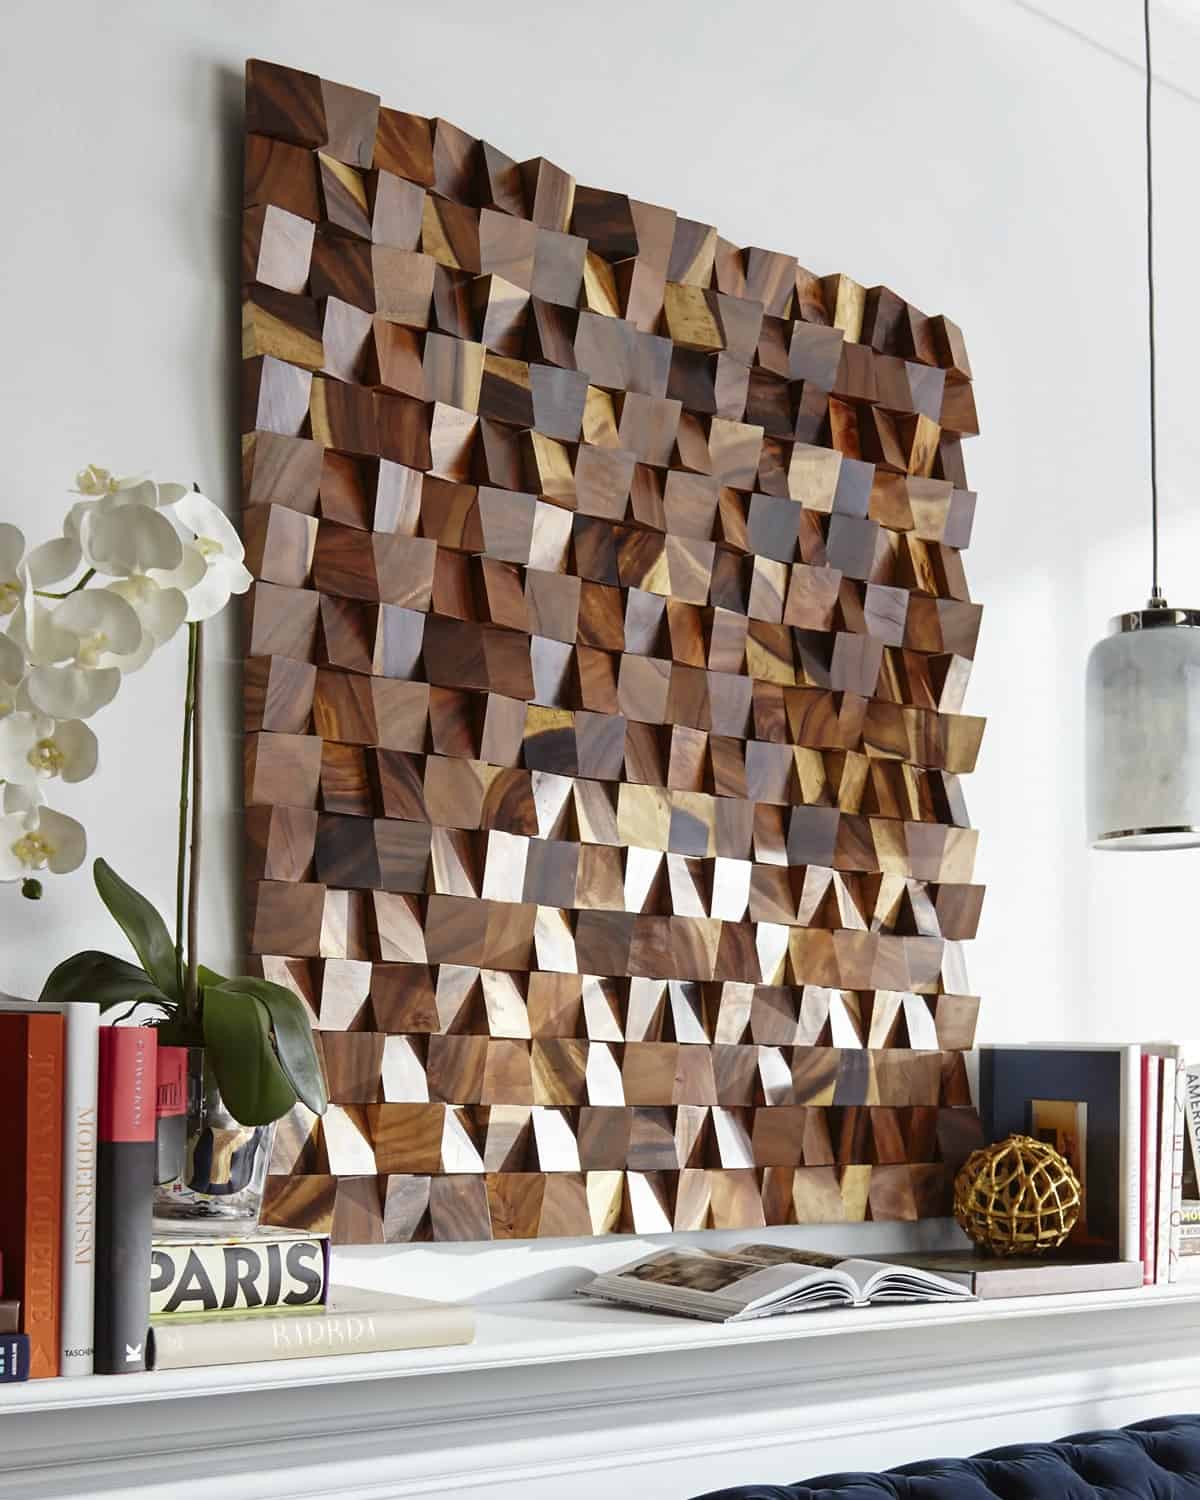
No tools? No problem!
Create a no-tool wood wall art piece using wood adhesive or strong double-sided tape. Start by selecting different-sized wooden blocks. Arrange them on your wall in a desired pattern, such as an abstract design. Apply wood adhesive or tape to the back of each piece and press them firmly onto the wall.
This project is perfect for renters or those who prefer a temporary wall decor solution.
19. DIY Wood Wall Art
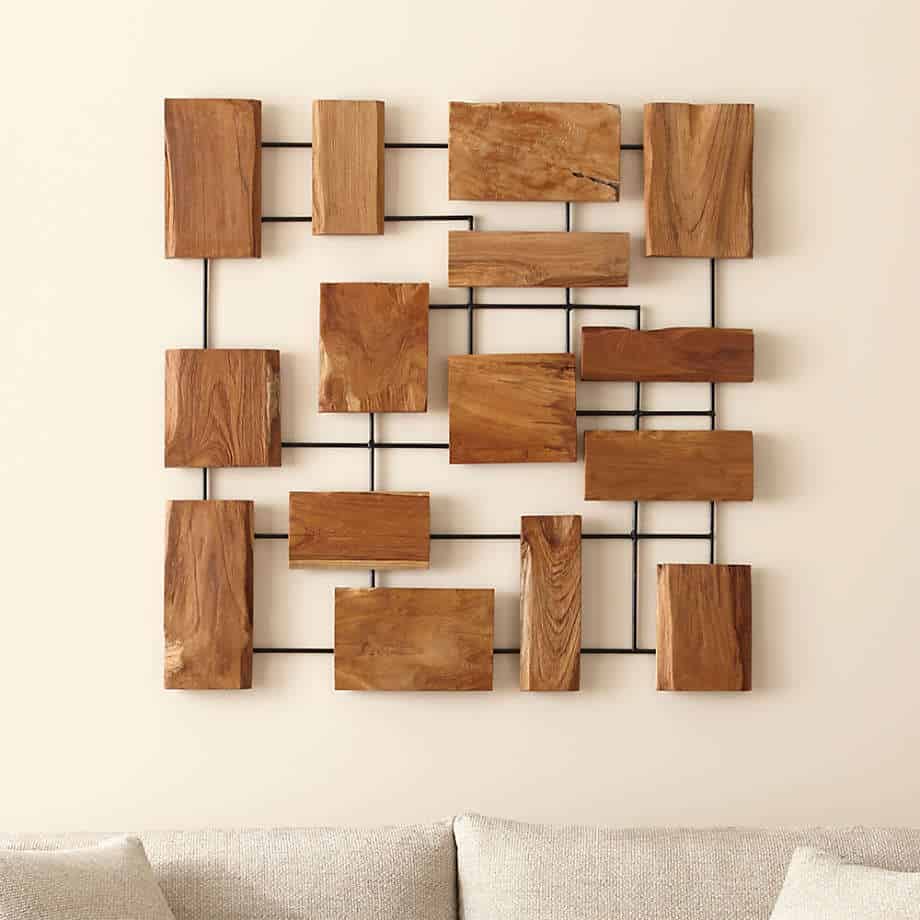
Unleash your creativity with a DIY wood wall art project. The combination of the wood and the metal infuse the modern look, making your house look more modern and also stylish at the same time.
20. DIY Wood Wall Art for Beginners
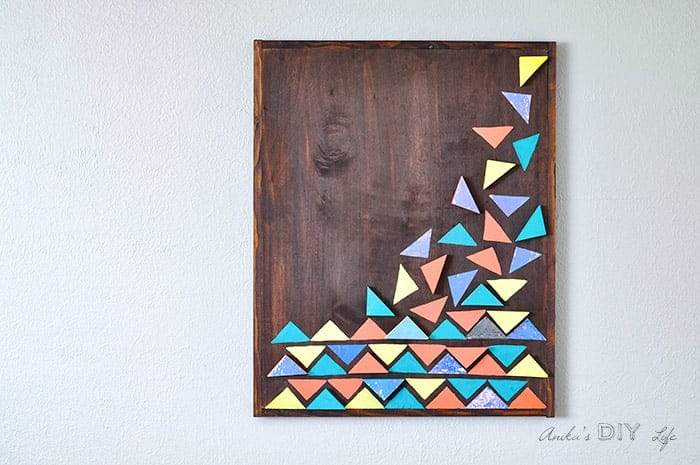
If you’re new to DIY projects, start with a simple wood wall art idea. Purchase pre-cut wooden shapes or stencils from a craft store. Paint them in your chosen colors and arrange them on a wooden board or canvas.
You can create a world map, geometric patterns, or even abstract designs. This beginner-friendly project allows you to practice your painting skills while creating a beautiful wall art piece.
21. DIY Wooden Wall Art
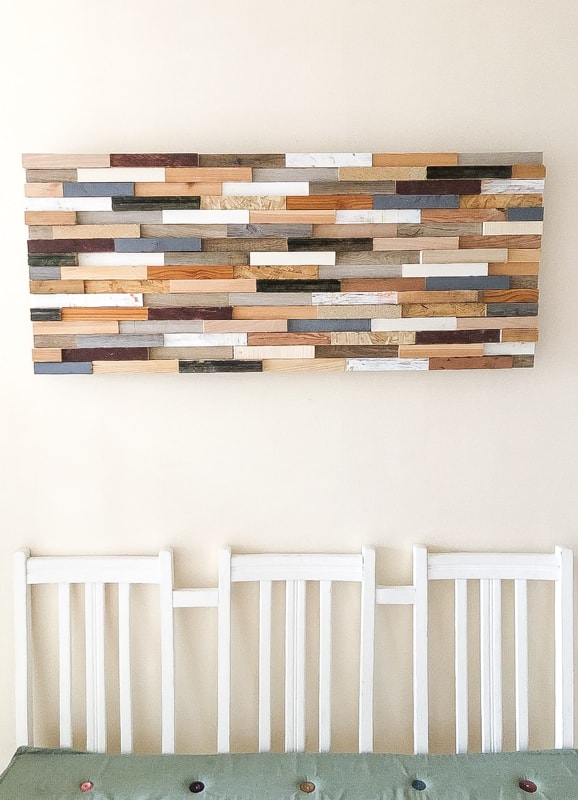
Explore the natural beauty of wood with a DIY wooden wall art project. Start by selecting different types of wood with varying grains, colors, and textures. Cut them into equal-sized rectangles or squares and arrange them on a wooden board.
Use wood glue to secure them in place. Once dry, sand the surface lightly and apply a clear coat of varnish to enhance the wood’s natural features.
22. DIY Geometric Wood Wall Art
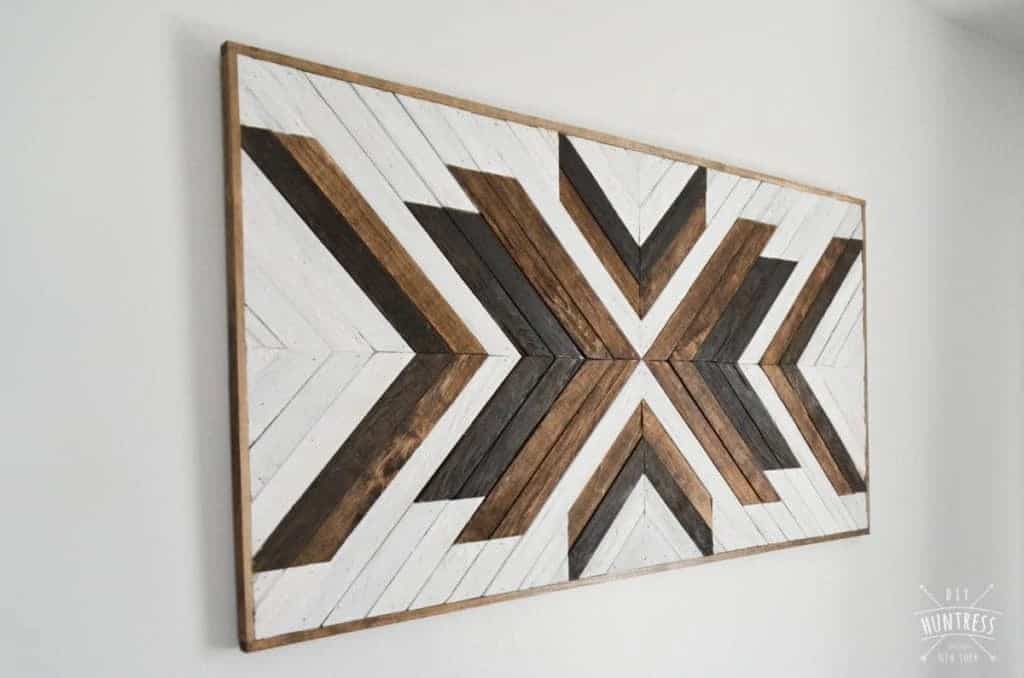
Add a modern and geometric touch to your walls with a DIY geometric wood wall art project. Cut wooden boards into various shapes such as triangles, hexagons, or squares. Paint each piece in different colors or leave them natural for a minimalist look.
Arrange the pieces on your wall in a desired pattern, overlapping them or leaving gaps between them. Use adhesive hooks or nails to mount them securely. This project allows you to customize your wall decor with geometric precision.
23. DIY Framed Wood Wall Art
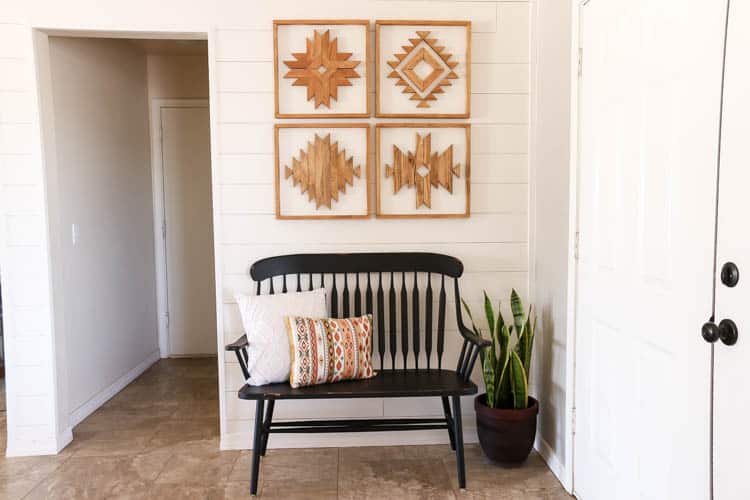
Frame your wood wall art for a polished and refined look. Start by creating your wood design, consider the geometric shapes. Mount the wood piece onto a slightly larger wooden board or canvas.
Attach wooden frame pieces around the edges using wood glue or nails. You can stain or paint the frames to match the overall aesthetic. Hang the framed wood wall art on your wall, and it will instantly elevate your decor.
24. DIY Natural Wooden Wall Art
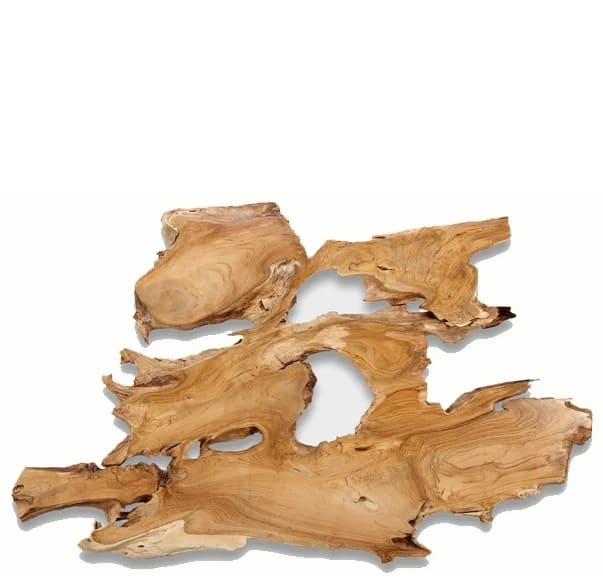
Let your artistic side shine with a DIY wooden wall art project. It is a simple sliced wood with its natural shape. You can also accentuate the grain and the color of the wood by staining it.
25. How to Make Wooden Wall Art
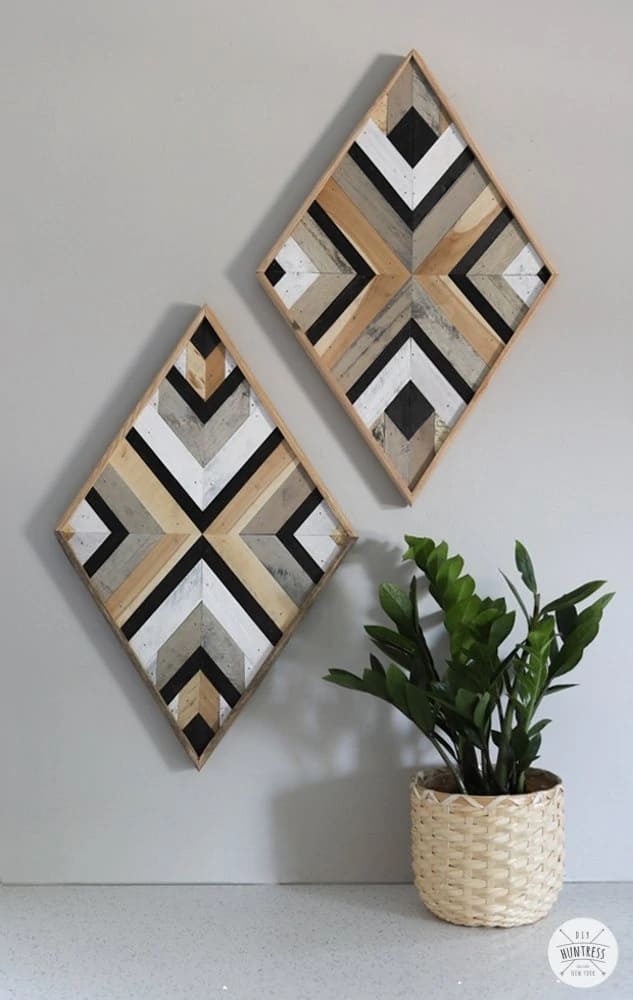
Creating wooden wall art is a rewarding process that allows you to express your creativity. Begin by choosing a wooden board or canvas as your base. Plan your design by sketching it lightly on the wood. Then, use wood carving tools, a woodburning tool, or paint to bring your design to life.
Add details, shading, and colors to enhance the visual impact. Once finished, apply a clear coat of varnish or sealant to protect the wood. Hang your wooden wall art with pride.
26. DIY Wall Art from Scrap Wood
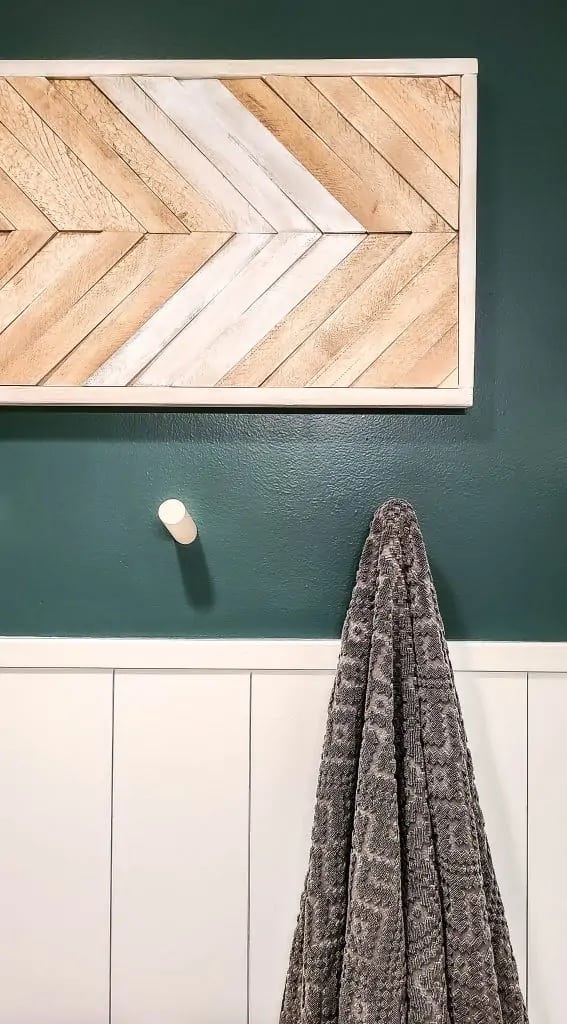
Turn scrap wood into a work of art with this DIY project. Gather different-sized pieces of scrap wood and sand them to remove any rough edges.
Arrange the wood pieces on a wooden board or canvas, creating a mosaic-like pattern or a specific design. You can leave the wood pieces natural or paint them for added flair. This project showcases the beauty of repurposed materials while adding character to your walls.
27. DIY Wood Slat Wall Art
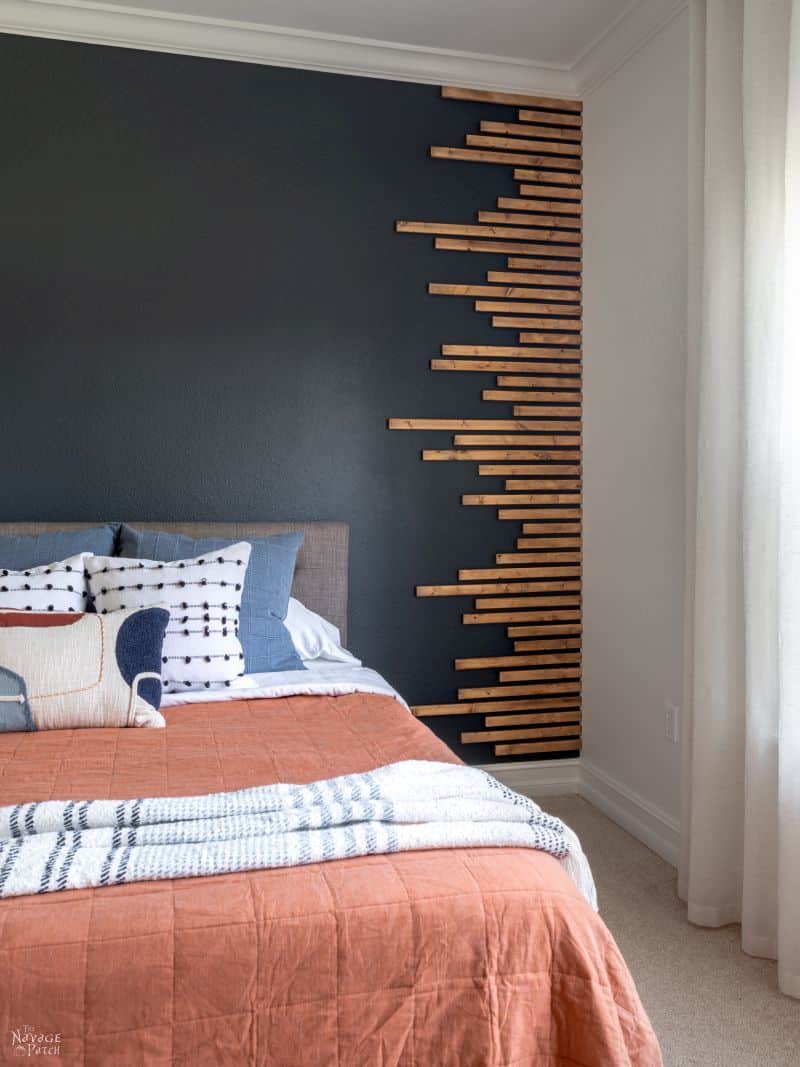
Create a stylish and contemporary wood slat wall art piece using thin wooden slats. Cut the slats to equal lengths and arrange them horizontally on a wooden board. Leave small gaps between the slats for visual interest.
Paint the slats in a cohesive color scheme or stain them for a natural look. Hang the wood slat art on your wall, and it will make a modern statement in any room.
28. Easy DIY Mountain Wood Wall Art
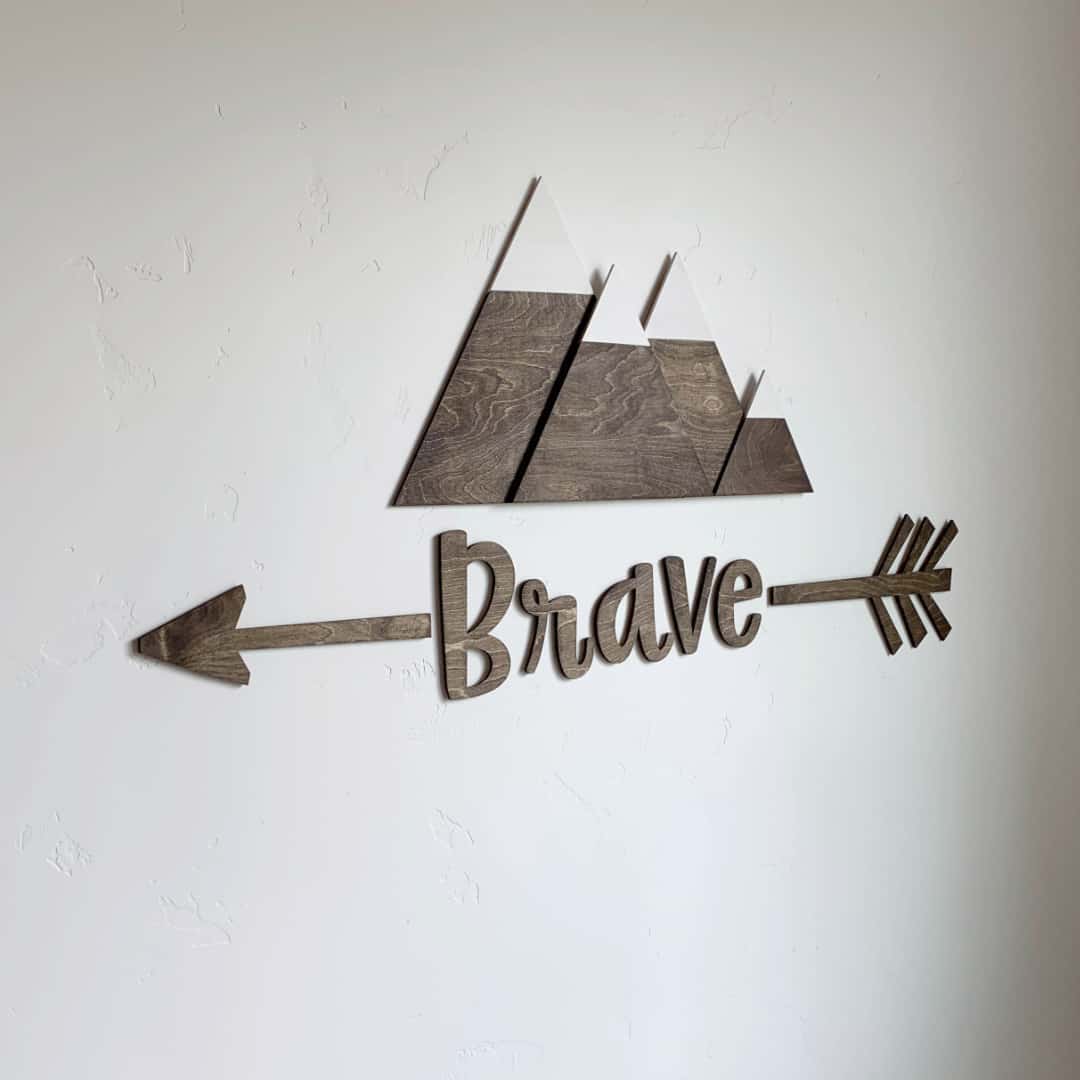
If you love nature and mountain landscapes, this easy DIY project is perfect for you. Start by cutting wooden boards into triangular shapes to represent mountains. Paint each triangle in shades of blue, gray, or green to mimic the colors of mountains.
Arrange the triangles on a wooden board, overlapping them and creating depth. This project allows you to bring the beauty of the mountains indoors.
29. How to Create Wood Dowel Wall Art
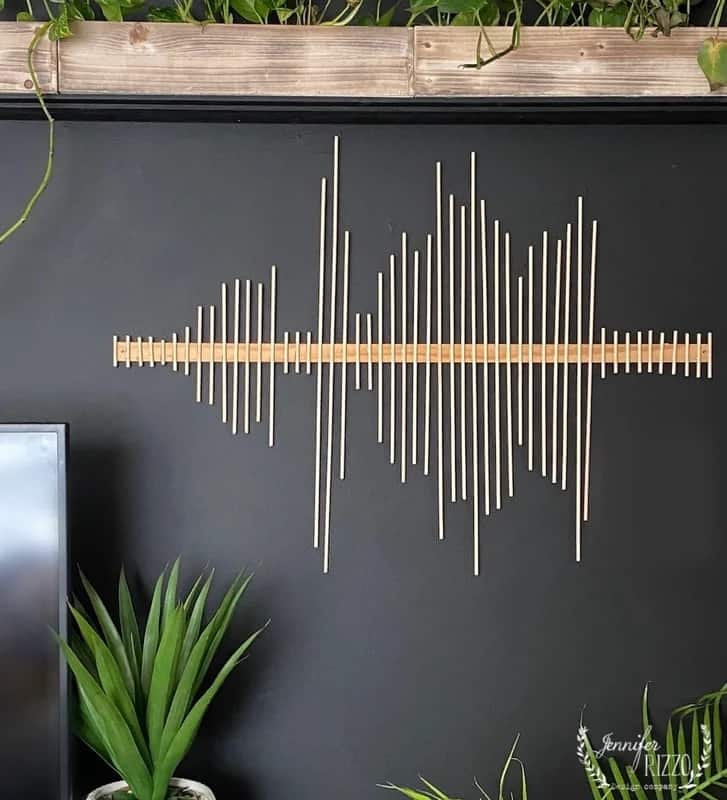
Create a unique and three-dimensional wood dowel wall art piece. Start by selecting different-sized wooden dowels. Cut them into equal lengths or varying sizes. Paint each dowel in your desired color or leave them natural.
Arrange the dowels on a wooden board or canvas, attaching them using wood glue or a strong adhesive. Play with the angles and spacing to create an eye-catching design. Once dry, hang your wood dowel art on the wall, and it will add texture and dimension to your space. This soundwave will defines that you are a music lovers.
30. DIY Wood Wall Decor
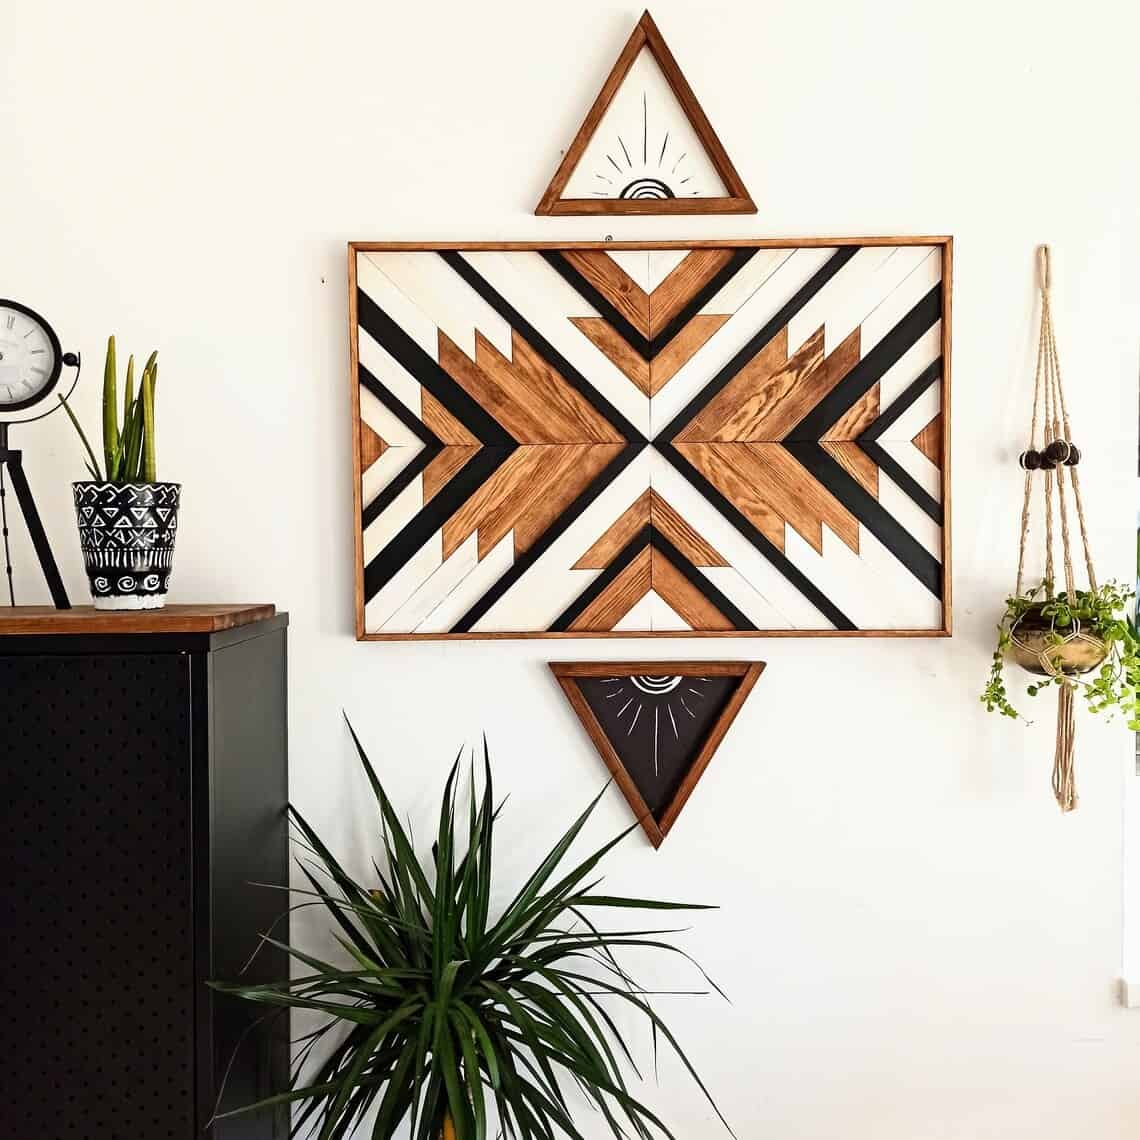
Embellish your walls with DIY wood wall decor. Cut out different shapes from wooden boards, such as geometric.
Paint or stain the wood pieces in colors that complement your room’s decor. Arrange them on a wooden board or canvas, creating a visually appealing composition.
31. DIY Abstract Wood Wall Art
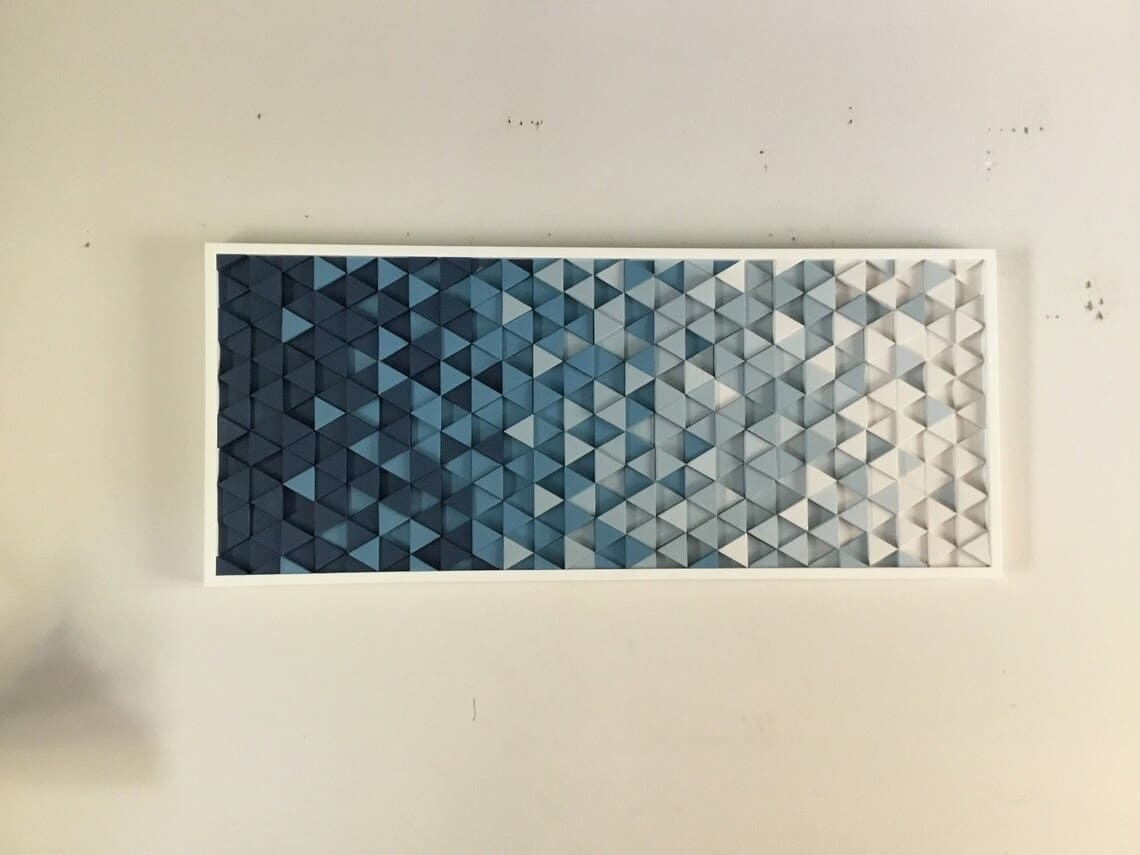
Get creative with an abstract wood wall art project. Cut wooden boards into triangle shapes or organic forms. Paint each piece in bold and vibrant colors or use soothing hues for a calming effect.
Arrange the wooden pieces on a wooden board or canvas, overlapping them or leaving gaps between them. Secure them in place using wood glue or adhesive. This project is all about embracing spontaneity and expressing your artistic freedom.
32. DIY Wood Antler Mount
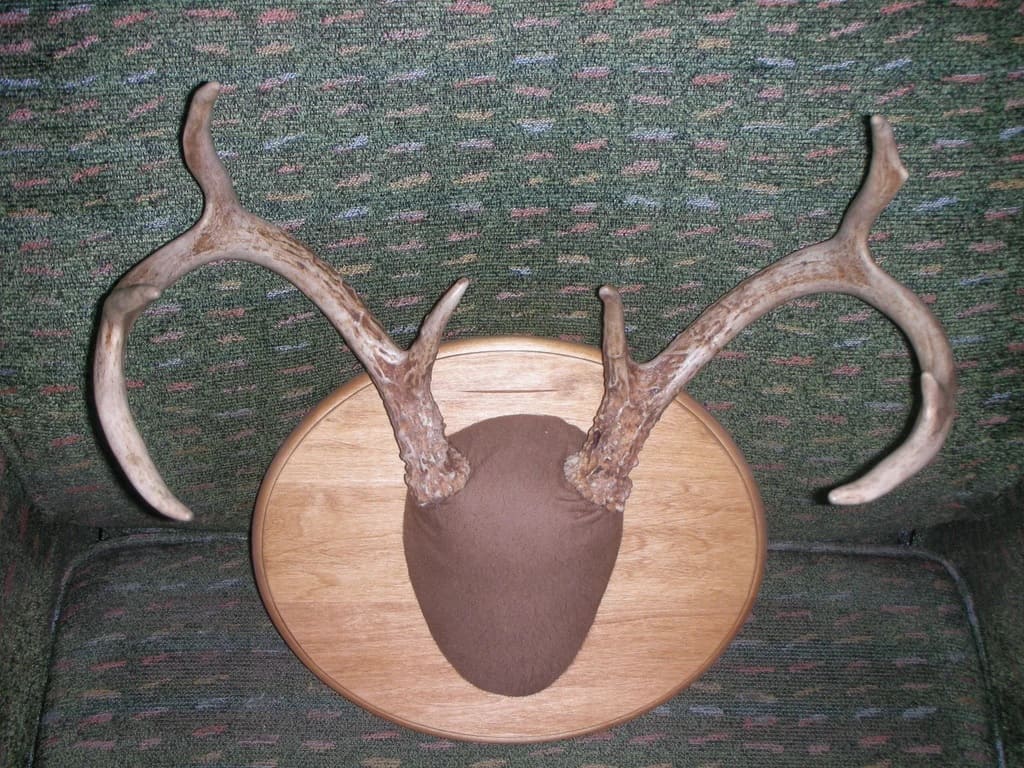
Capture the rustic charm of antlers with a DIY wood antler mount. Start by cutting out antler shapes from plywood or wooden boards. Sand the edges to smoothen them. Paint or stain the antlers in colors that match your decor.
Attach the antlers to a wooden board or plaque using wood glue or nails. Hang this unique wall art piece in your living room or study for a touch of wilderness-inspired style.
33. Silhouette Wood Wall Art
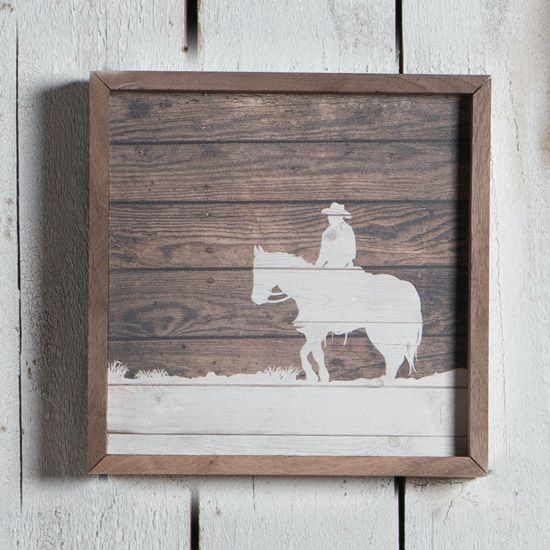
Create a silhouette wood wall art piece by cutting out cowboy stands out against a natural wood background. Paint the board in your desired color and attach it to the wall.
The natural color of the wood look contrast beautifully with the white silhouette. It perfects to add a touch of artistic look in your living space.
34. String Wood Wall Art
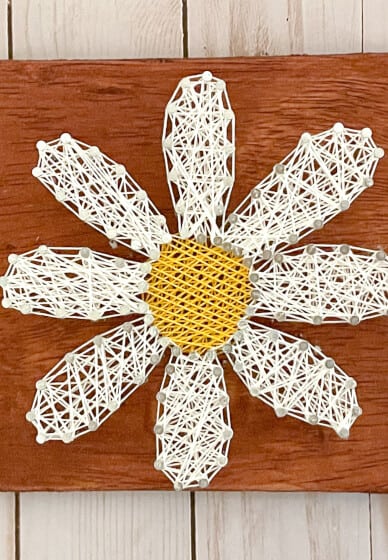
Combine the warmth of wood with the texture of string in this captivating string wood wall art project. Start by cutting out a world map silhouette from a wooden board or plywood.
Paint the board in your chosen color and let it dry. Then, hammer small nails along the outline of the continents, leaving a small gap between them. Tie strings to the nails, crisscrossing them and filling in the continents. Experiment with different string colors and patterns to create a visually stunning and tactile wall art piece.
35. Calligraphy Wood Wall Art
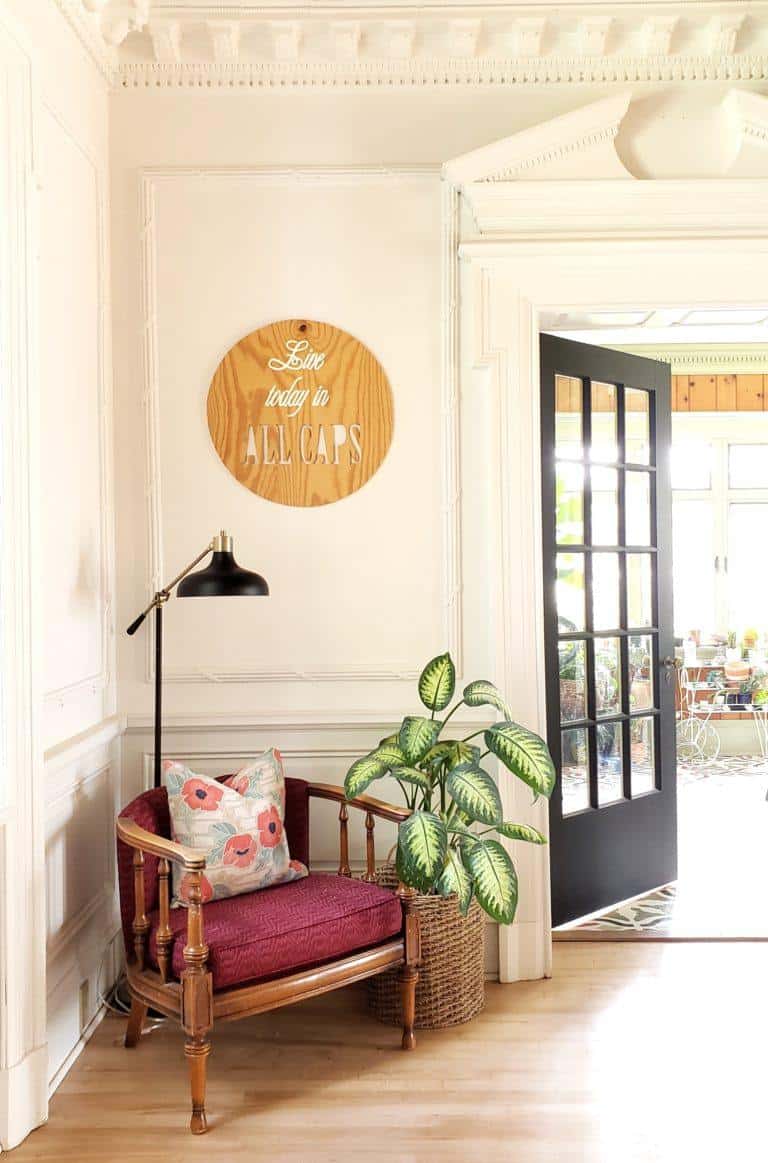
Embrace the beauty of calligraphy with a calligraphy wood wall art project. Start by cutting out a wooden board or using a wooden plaque as your base. Paint the board in a neutral color or leave it natural.
Use calligraphy markers or paint pens to write your favorite travel quotes, meaningful words, or names on the wood. Experiment with different calligraphy styles and designs to create an elegant and personalized wall art piece.
36. White-Washed Wood Wall Art
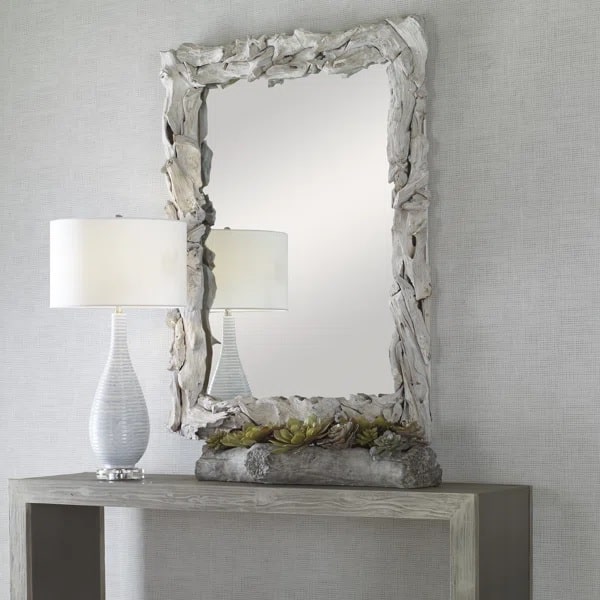
Achieve a rustic and weathered look with white-washed wood wall art. Start by selecting driftwood. Apply a coat of white paint diluted with water to create a translucent effect.
Use a brush or cloth to apply the paint, and wipe off the excess to reveal the wood grain. Let it dry, and distress the surface lightly with sandpaper for an aged appearance.
37. Home State Wood Wall Art
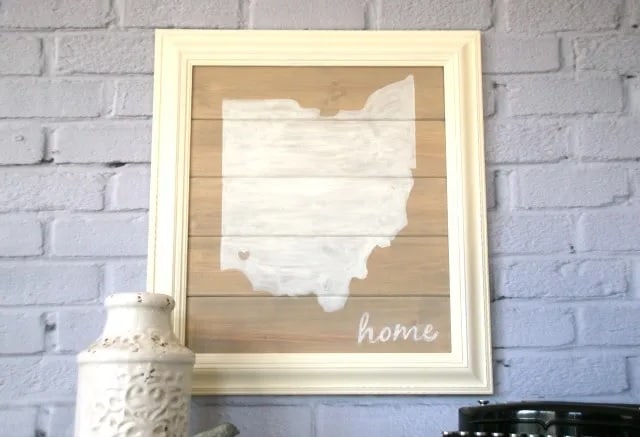
Show your state pride with a home state wood wall art piece. Start by cutting out the shape of your home state from a wooden board or plywood. Paint the board in your preferred color or leave it natural. Attach the state silhouette to the board using wood glue or nails.
You can further personalize the piece by adding a heart or star to mark your hometown or capital city. Hang this meaningful wall art in your living room or entryway.
38. DIY Paint-by-Number
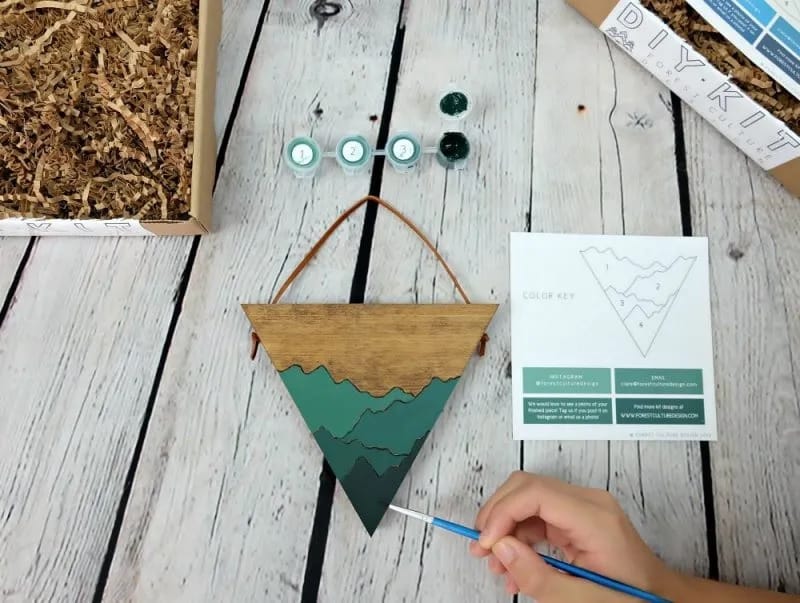
Relive your childhood and create a paint-by-number wood wall art piece. Start by dividing a wooden board or canvas into sections and number each section. Print or draw a mountain or any other design you like.
Assign different paint colors to each section and number them accordingly. Use acrylic paint to fill in the sections, following the numbers. This project combines creativity and nostalgia to create a unique and nostalgic wall art piece.
39. Wood Window Wall Art
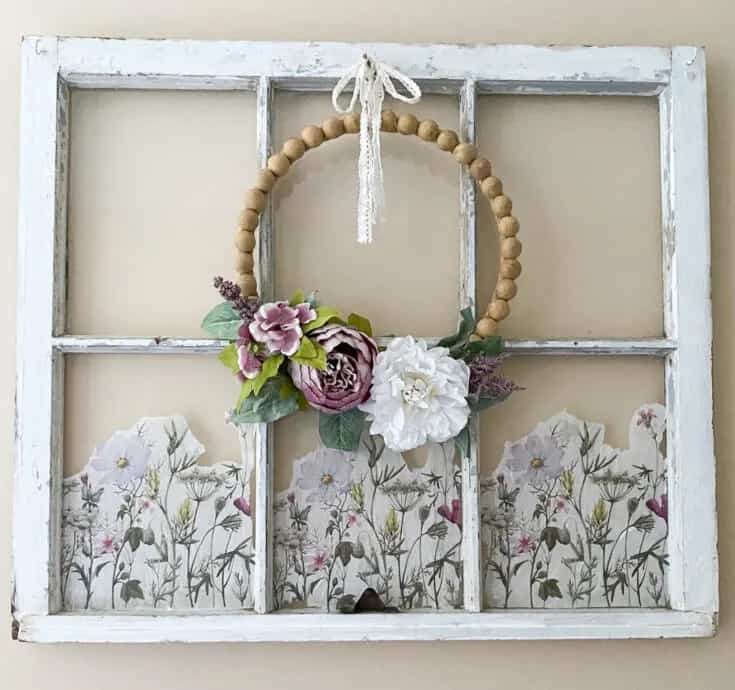
Repurpose an old window frame into a charming wood window wall art piece. Remove the glass panes and sand the frame to smoothen it. Paint or stain the frame in colors that suit your decor. Glue and place the decoupage paper on top of the clear coat on the glass. Complement the look with the wreath.
Hang the window frame on your wall, and it will add vintage-inspired elegance to your space.
40. Wood Shadow Box Wall Art
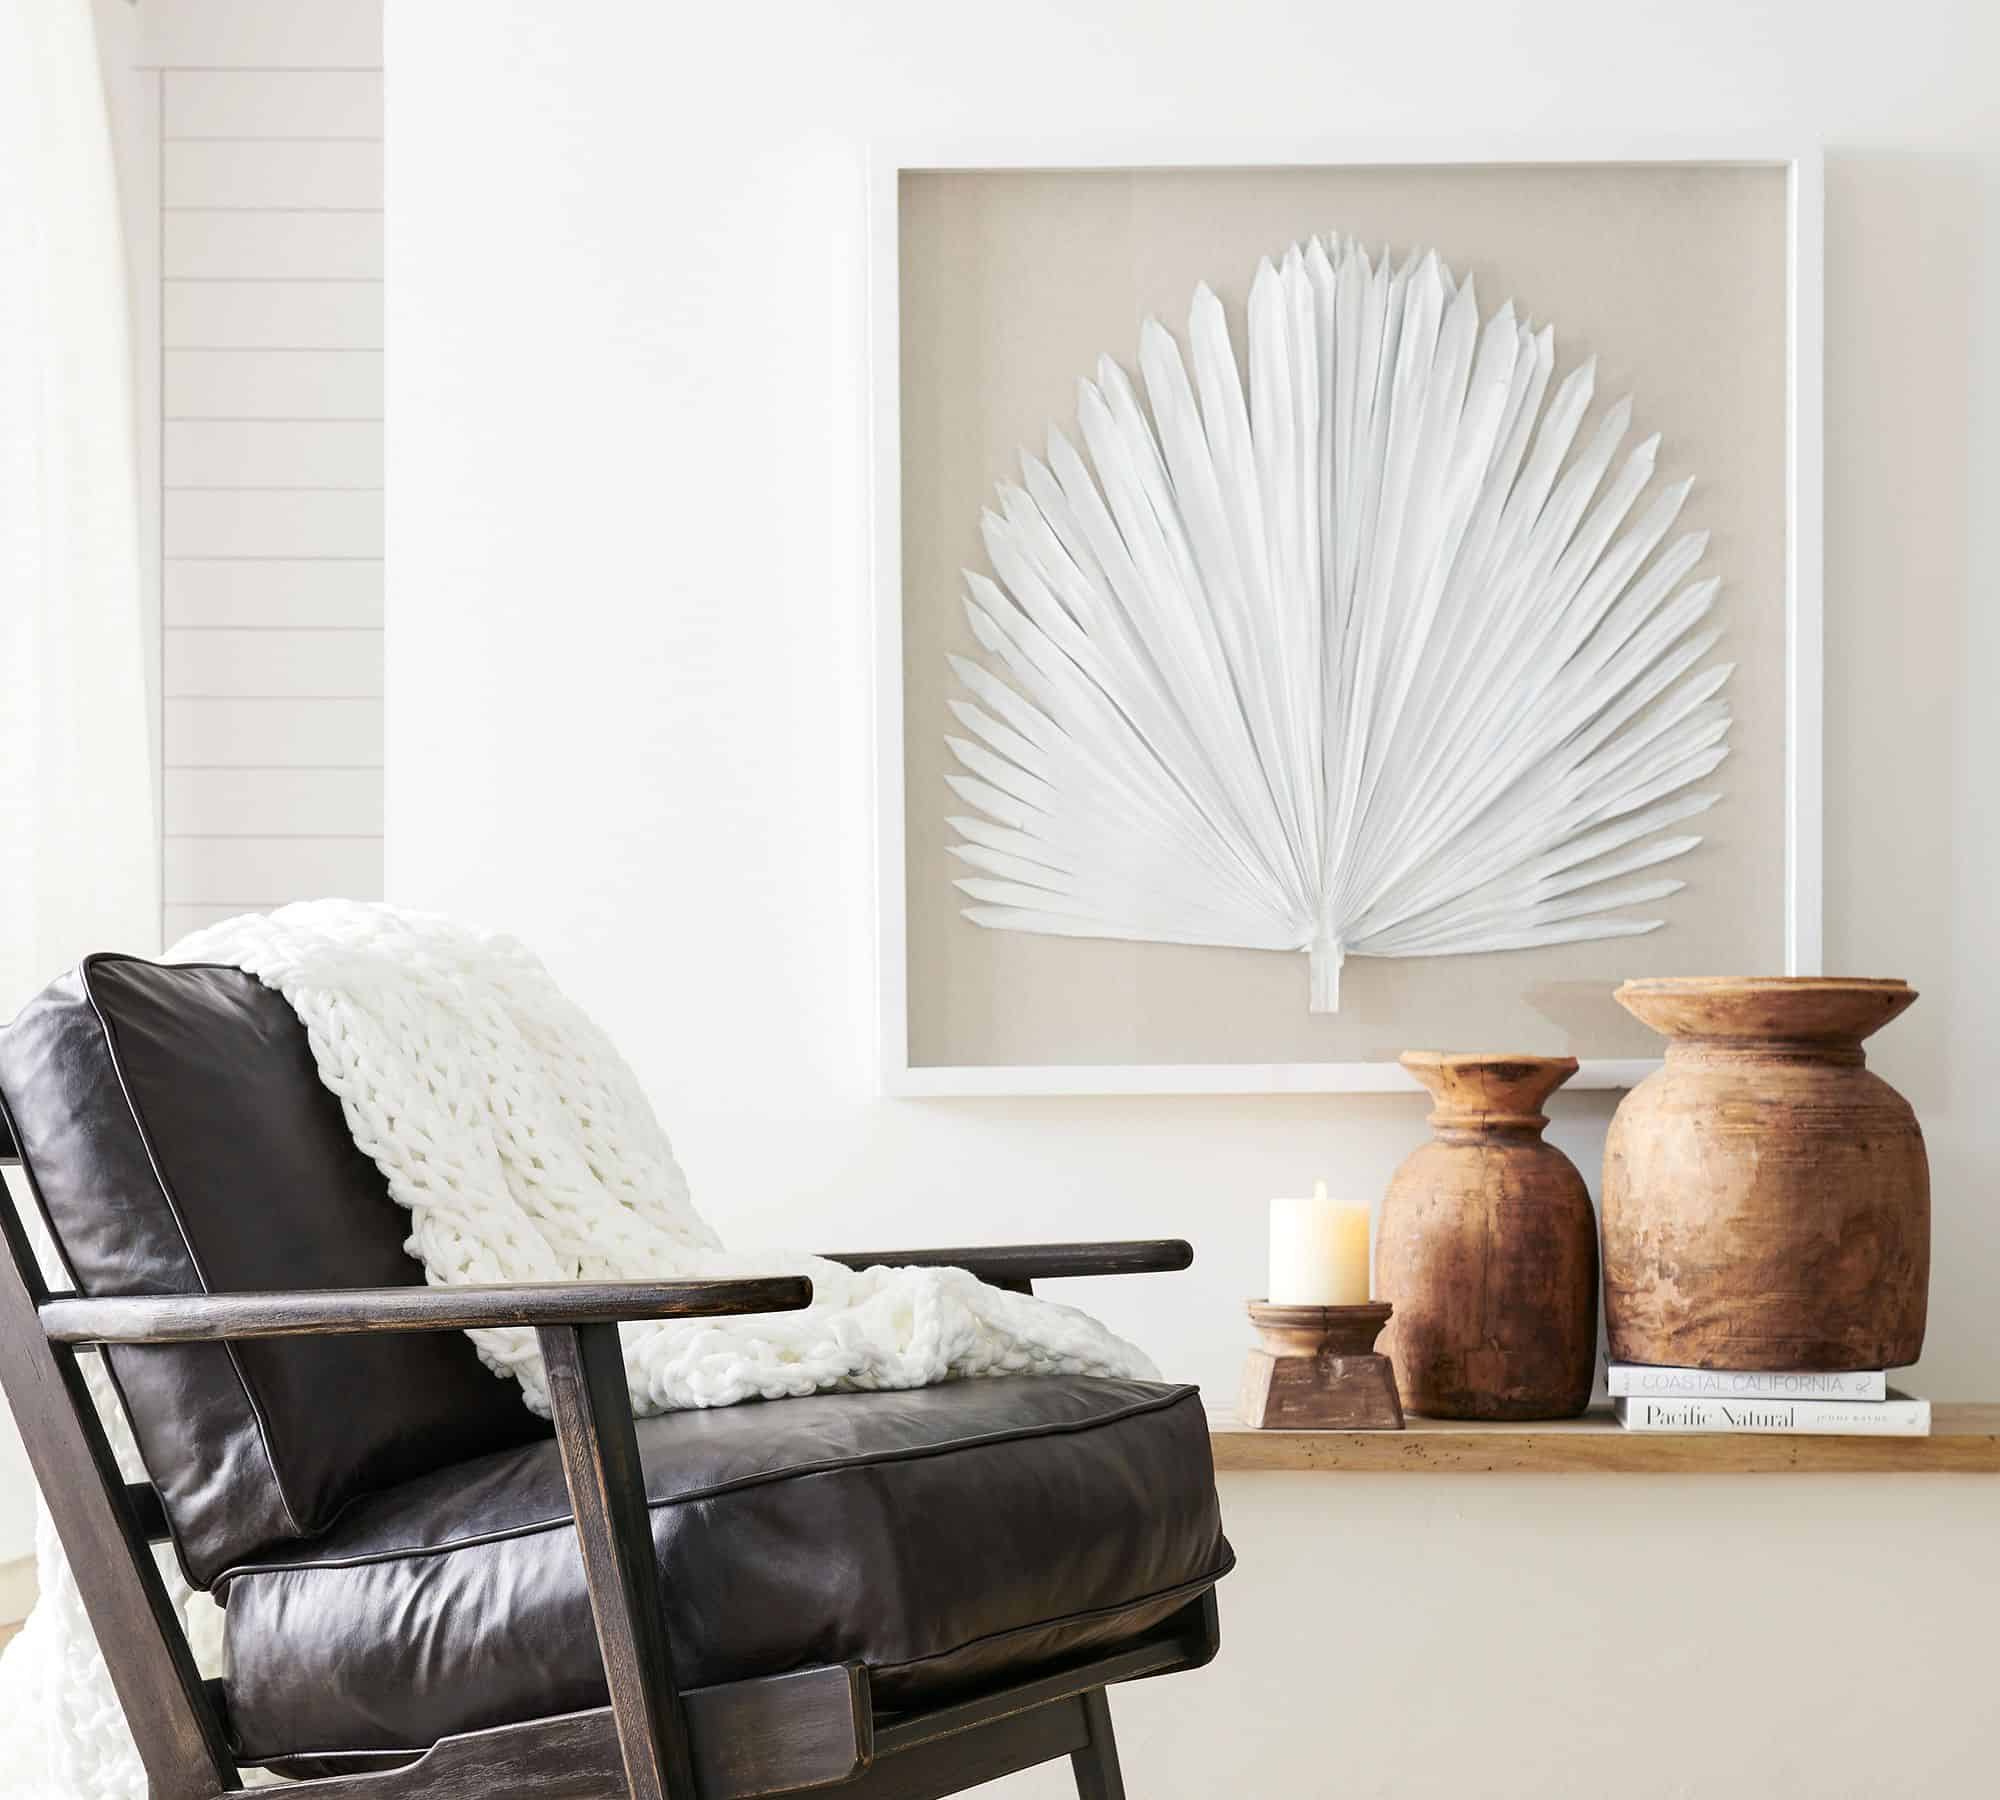
Create depth and dimension with a wood shadow box wall art project.
Start by constructing a wooden frame with a back panel and a front panel with cut-out shapes. Arrange wooden objects, dried leaves, or found items within the shadow box.
41. Wood Picture Frame
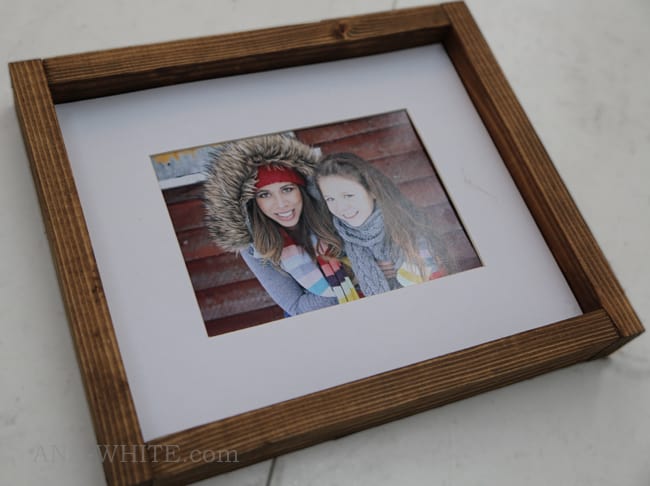
Create a personalized wood picture frame to showcase your favorite photographs or artwork. Cut wooden boards into four equal-sized pieces and join them at the corners using wood glue or nails.
Sand the edges for a smooth finish. Paint or stain the frame in your desired color and let it dry. Insert your chosen picture or artwork and hang the frame on your wall.
This project adds a touch of warmth and nostalgia to your decor.
42. Mosaic Wood Wall Art
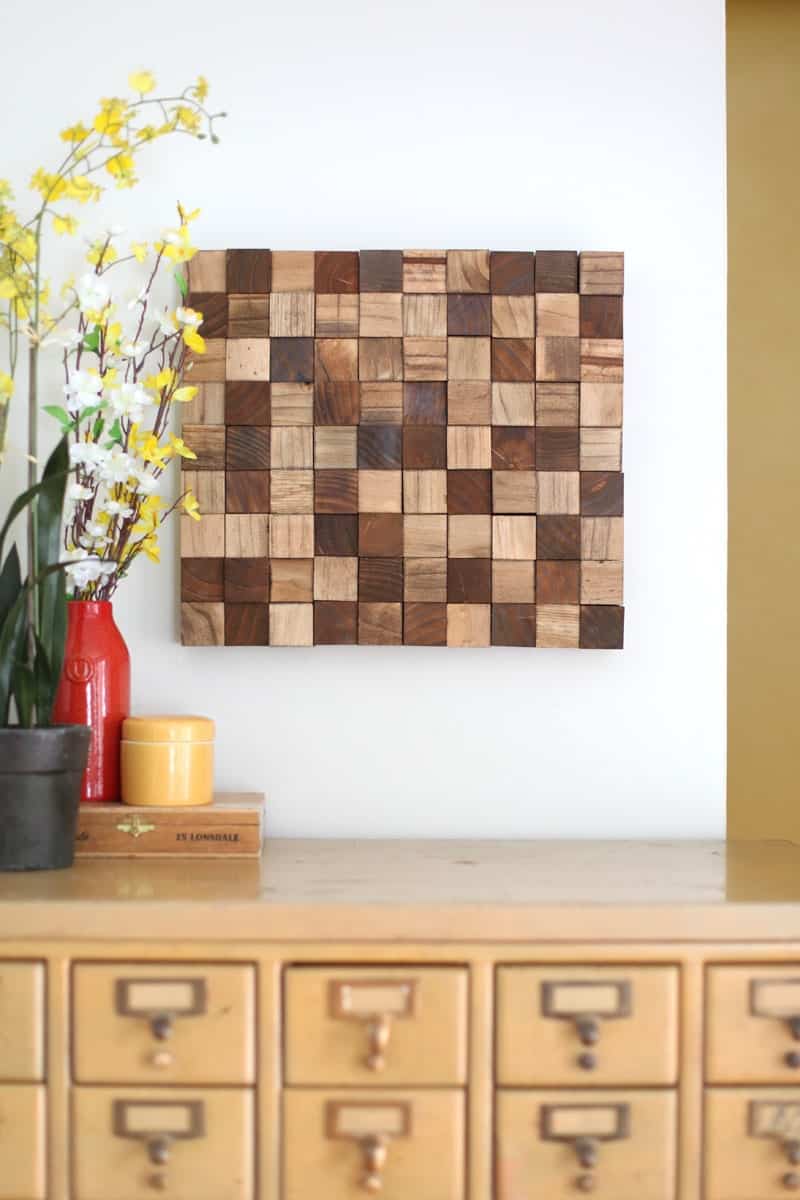
Embrace the beauty of mosaic art with a wood mosaic wall art project. Cut wooden boards into small, irregular shapes.
Paint or stain each piece in various colors or leave them natural for a rustic look. Arrange the wooden pieces on a wooden board or canvas, creating a mosaic pattern or design.
43. Log Wood Wall Art
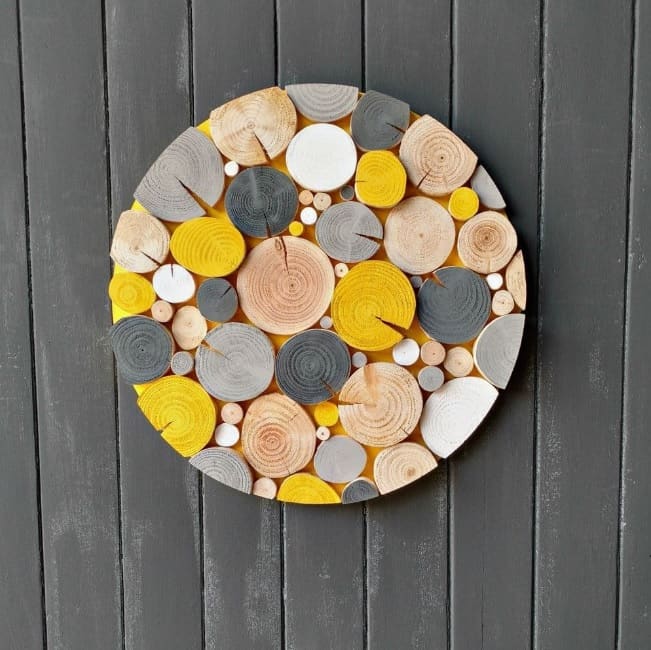
Bring the charm of log cabins into your home with log wood wall art. Collect small logs or log slices and sand them to remove any rough edges. Arrange the logs on a wooden board or canvas, creating a pattern or a specific design. Attach them using wood glue or nails.
You can leave the logs natural or paint them for a more colorful look. Hang this rustic and nature-inspired artwork in your living room or cabin.
44. Wooden Alphabet Pieces
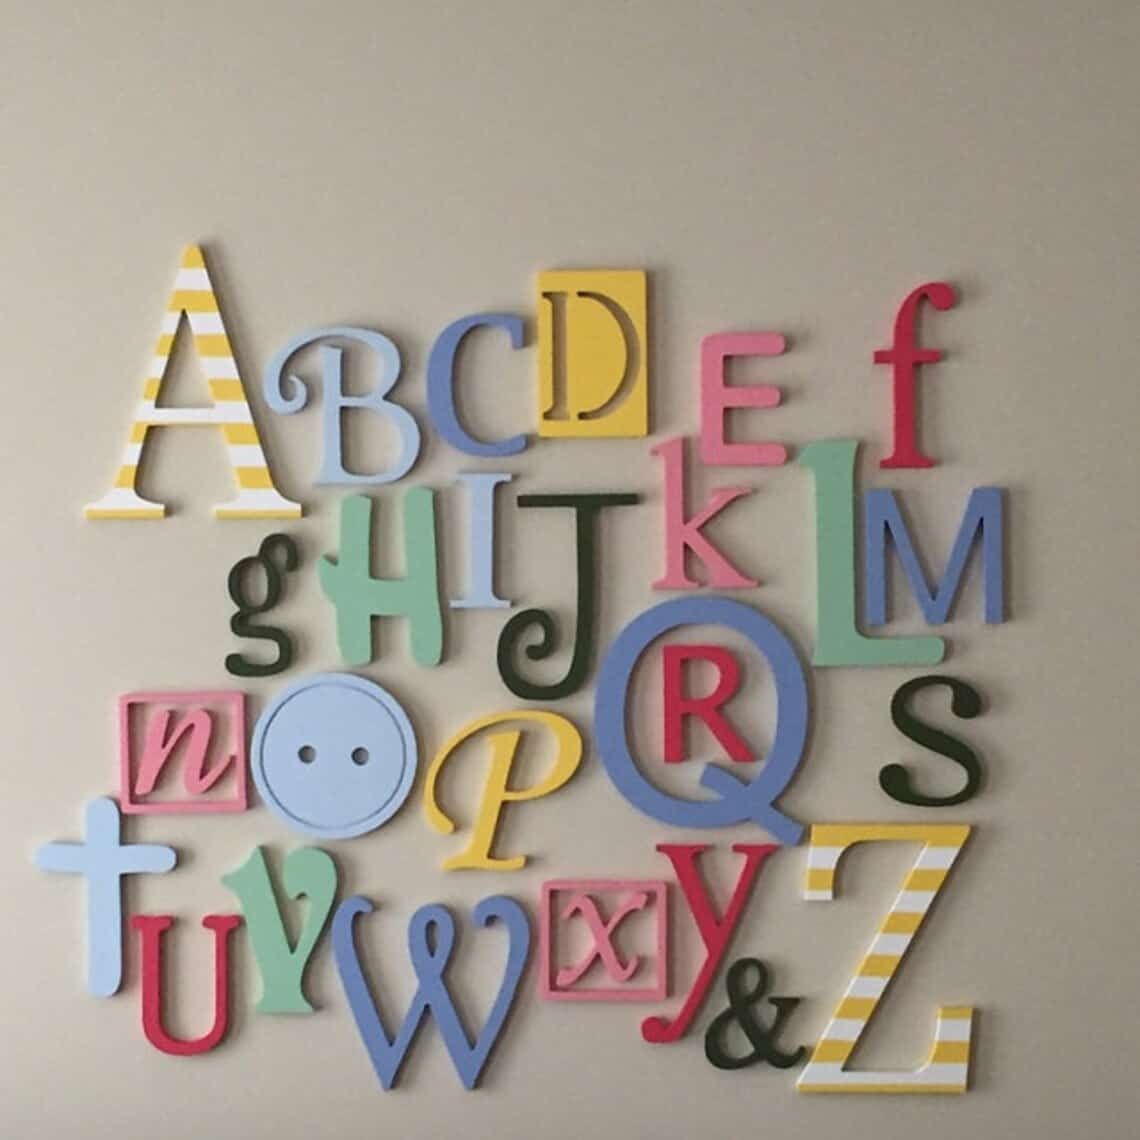
Create a personalized and educational wood wall art piece using wooden alphabet pieces. Purchase or cut out wooden letters in different sizes and fonts. Paint or stain each letter in your chosen colors.
Arrange the letters on a wooden board or canvas, spelling out a meaningful word, phrase, or even your name. Secure the letters in place using wood glue or adhesive. This project adds a playful and educational element to your walls.
45. DIY Wood Wall Clock
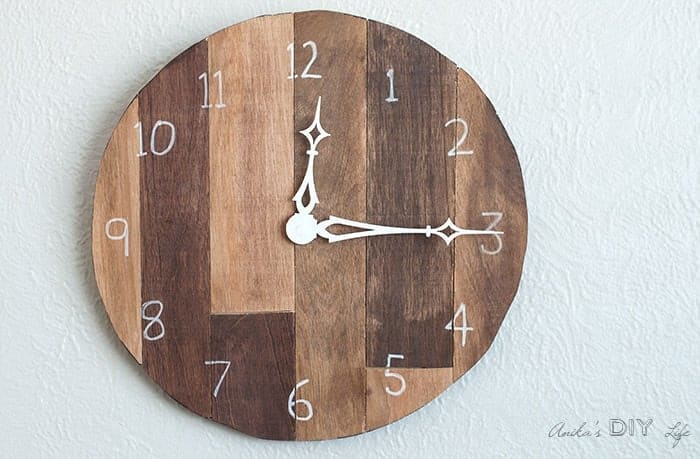
Combine functionality with aesthetics by creating a DIY wood wall clock.
Start by cutting a wooden board or plywood into a circular shape. Sand the edges and paint or stain the wood in your preferred color. Attach clock hands and a clock mechanism to the center of the board, following the manufacturer’s instructions. Add numbers or other decorative elements to the face of the clock if desired.
46. DIY Wood Shelves
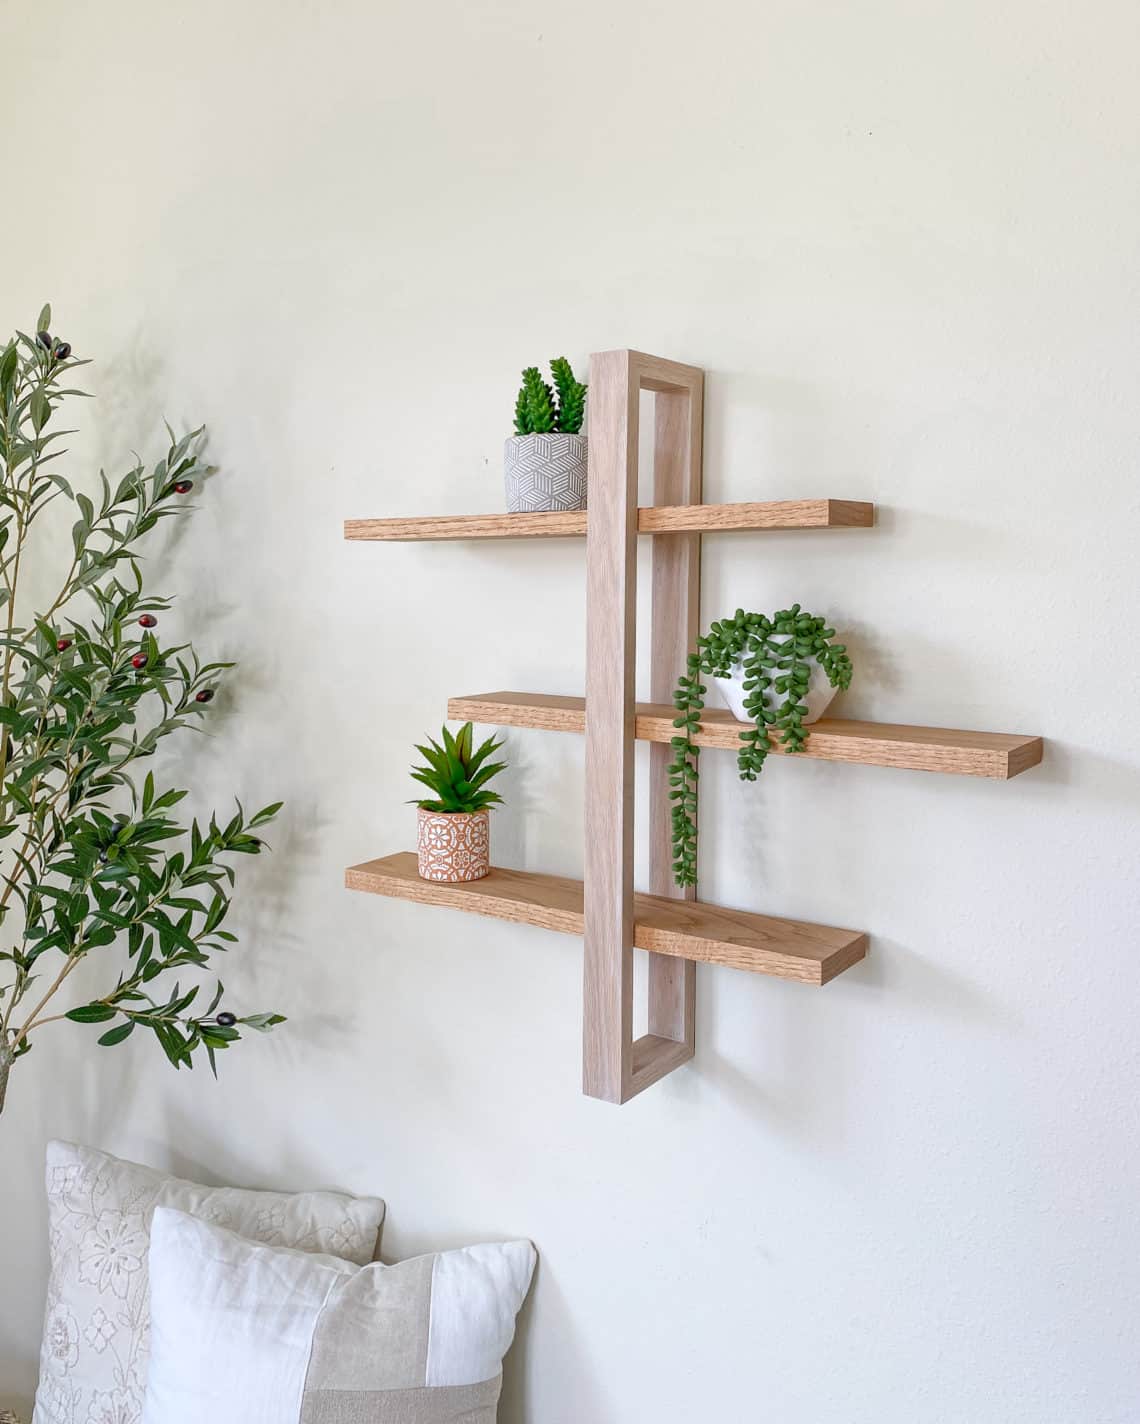
Create functional and decorative storage with DIY wood shelves. Cut wooden boards into equal-sized pieces for the shelf boards and longer pieces for the brackets.
Sand the edges and paint or stain the wood in colors that match your decor. Attach the brackets to the wall using screws or wall anchors, and then secure the shelf boards on top. Arrange the shelves in a desired configuration, whether in a straight line or staggered arrangement.
Get ready to embark on a creative journey that will transform your walls into captivating works of art! From the simplicity of plywood silhouettes to the intricate beauty of string art and framed fabric samples, there’s a DIY wood wall art project for every style and skill level.
Embrace the warmth and natural beauty of wood as you unleash your imagination and bring your walls to life with a world map masterpiece, an abstract wood mosaic, or a personalized quote sign.
Happy Crafting
