When your dog has to wear a cone, it can be a frustrating experience for both of you. Since your dog isn’t allowed to scratch or lick their injury, they need a cone to prevent them from doing so during the recovery process.
But with these DIY dog cone projects, you can help make the experience a bit more comfortable for your pup!
We’ve collected some of the best DIY cones out there, so your dog will be safe and comfy while they are healing time. From fabric cones to ones made from PVC pipe, we have something for everyone.
Table of Contents
1. Make A Soft Cone Out Of An Old T-shirt
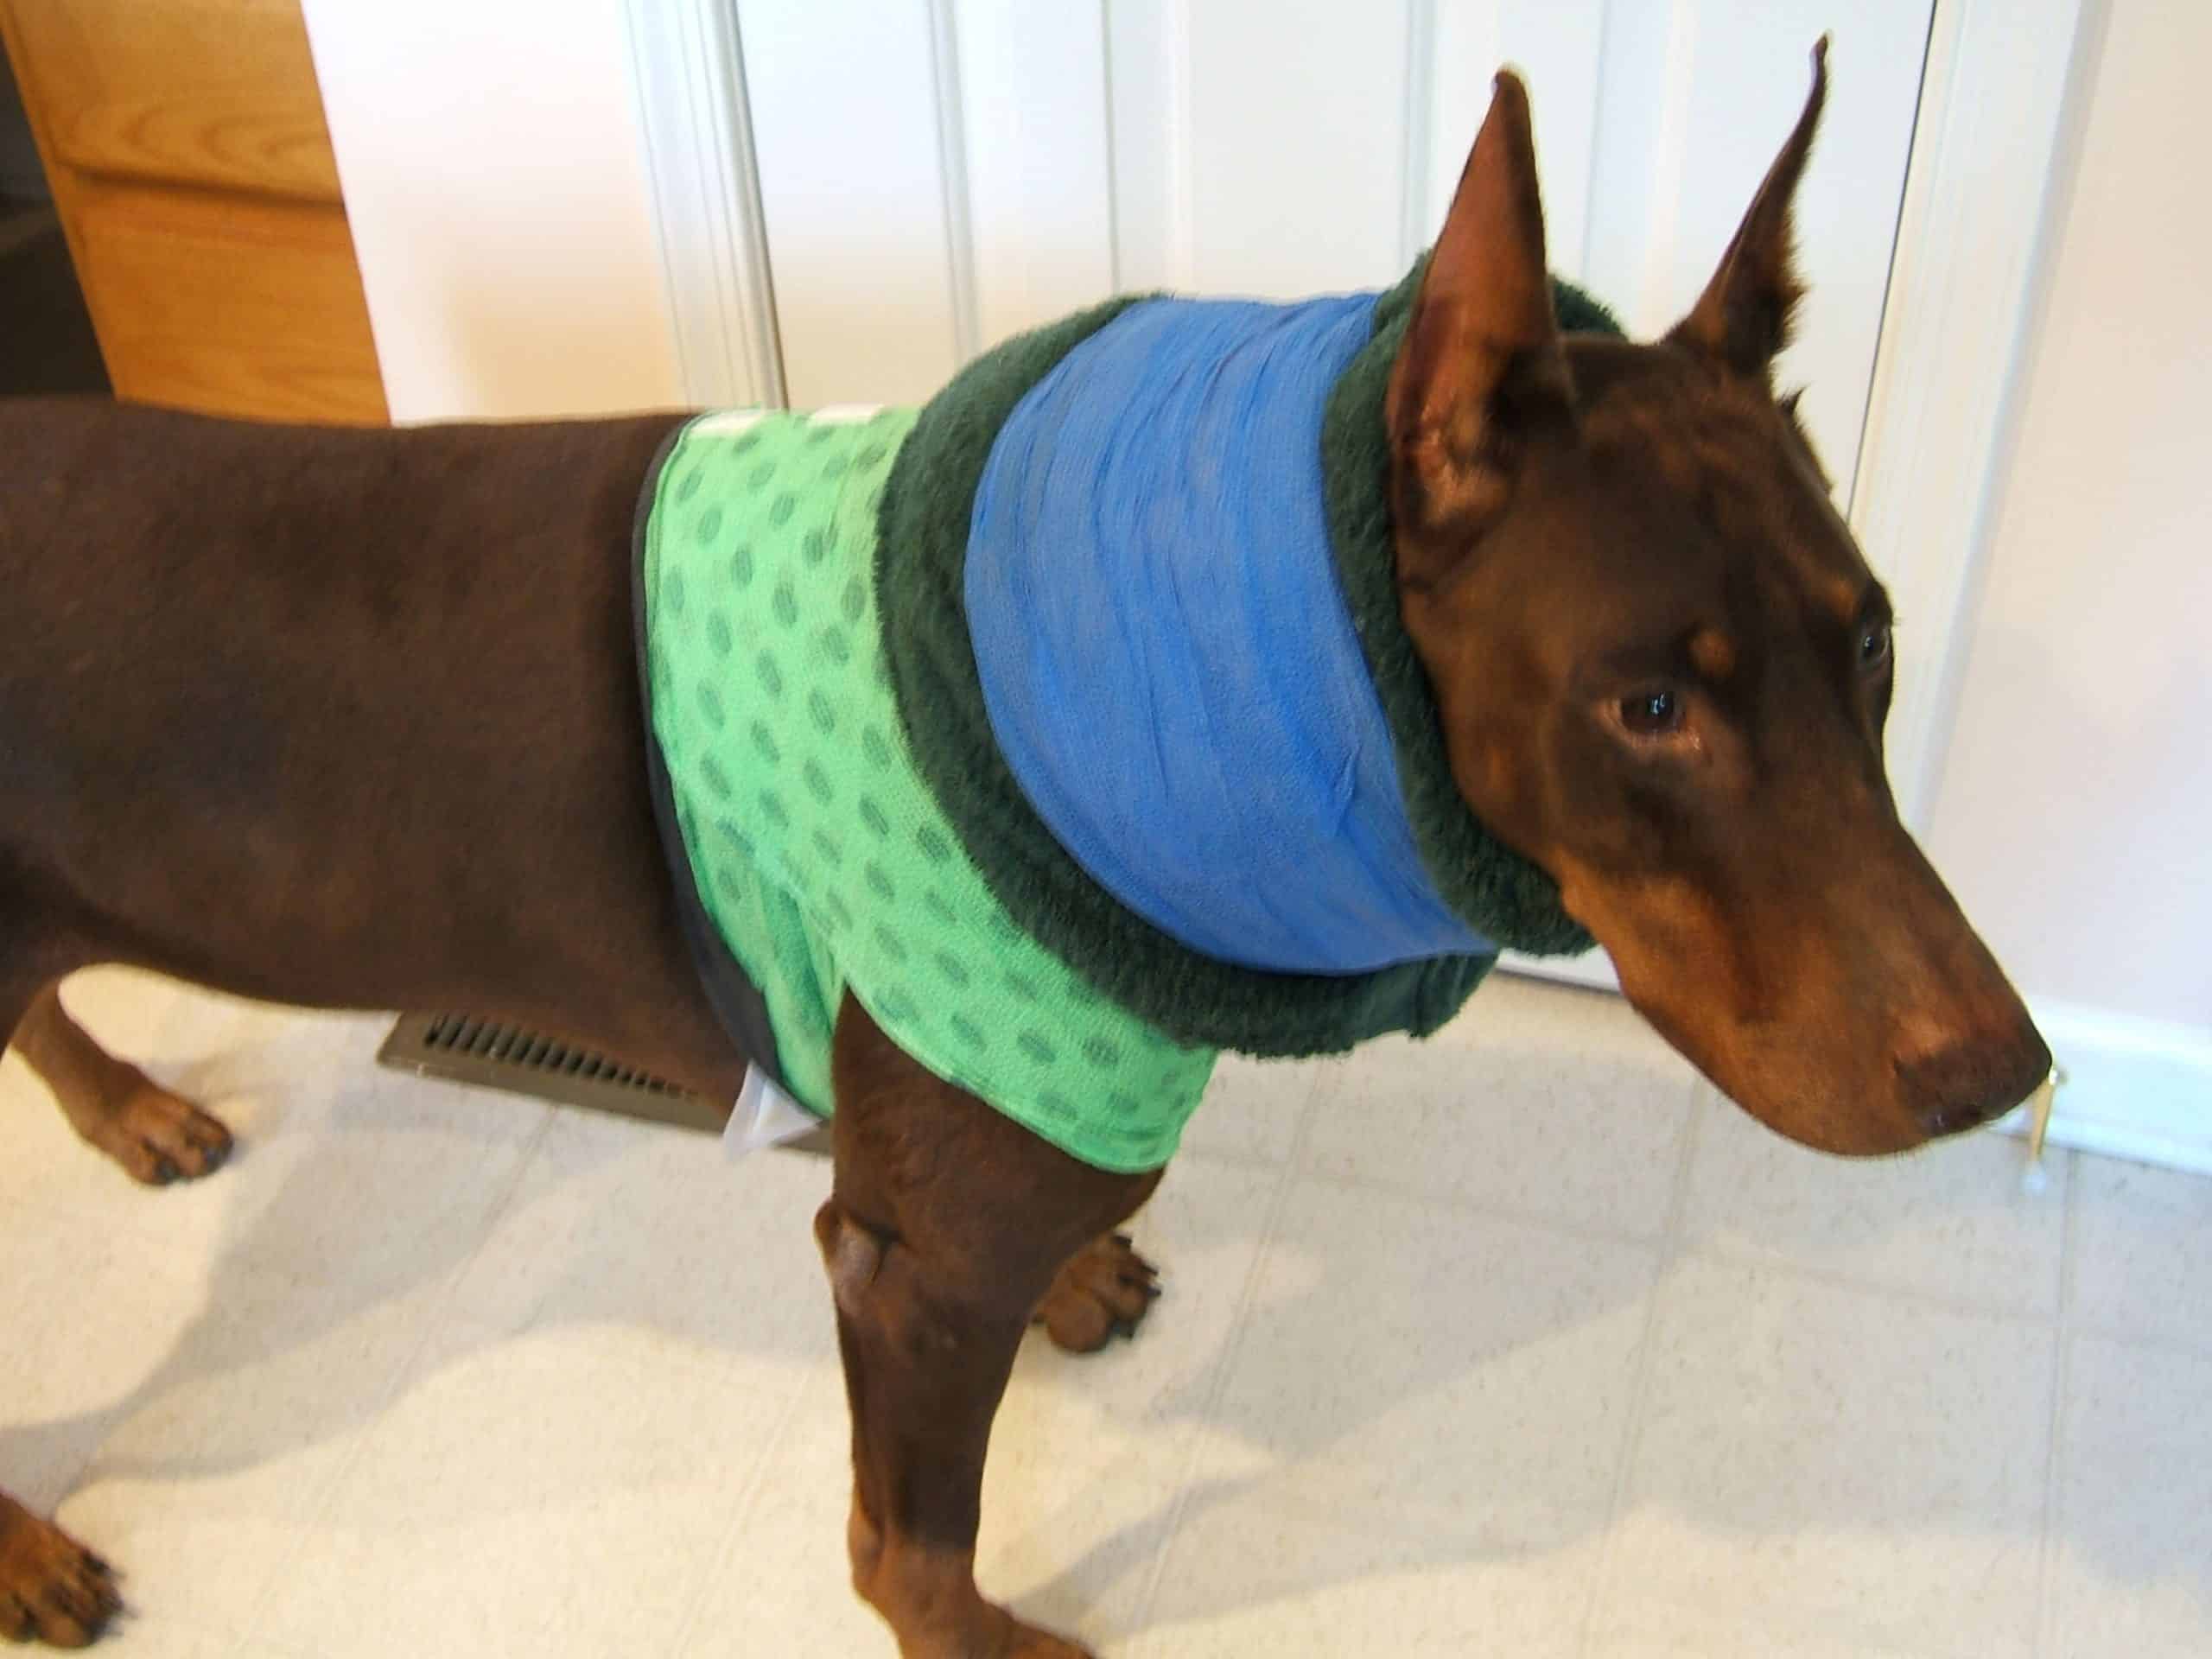
To do this, simply cut a large circle out of the fabric, then cut a smaller circle out of the center. Sew the two circles together, leaving a small opening. Turn the cone right-side out, then slip it over your dog’s head.
If necessary, adjust the perfect size of the opening so that it fits snugly but isn’t too tight. Now all you need to do is decorate the cone to match your dog’s personality.
You could try painting it with paw prints or using fabric markers to add some fun designs. Or, for a really unique look, try attaching some pom-poms or other embellishments around the edge.
More healthy project: DIY Dog Ramps
2. Sew A Snug Cone Out Of Fleece Or Other Soft Fabric
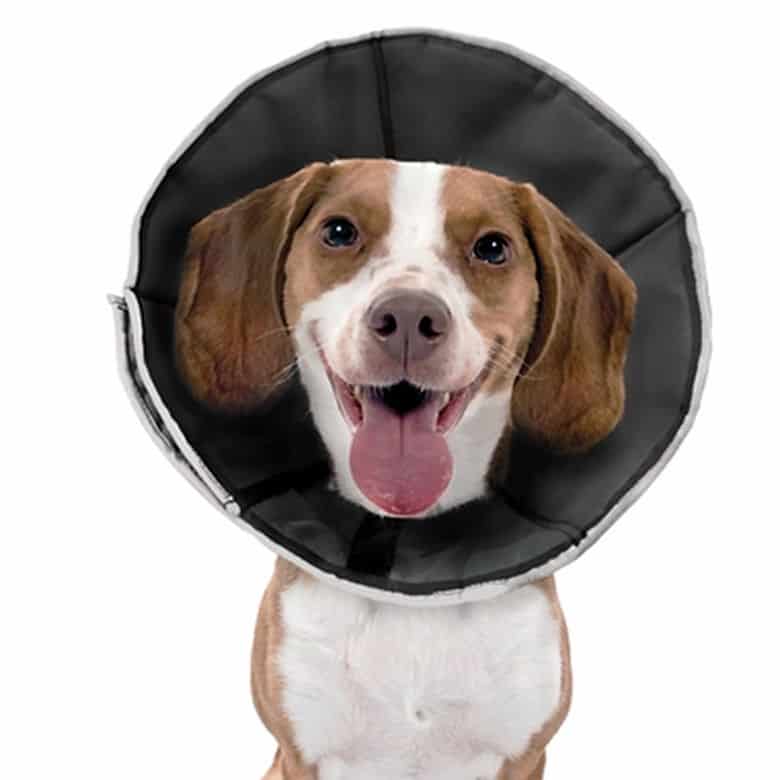
Sewing a snug cone out of fleece or other soft material can be a great affordable solution to protect your dog’s wounds while keeping them comfortable and happy.
Plus, there are plenty of DIY dog cone projects out there that can give you the perfect design and fit for your pooch’s unique needs
3. Create A Cone Out Of Cardboard And Duct Tape
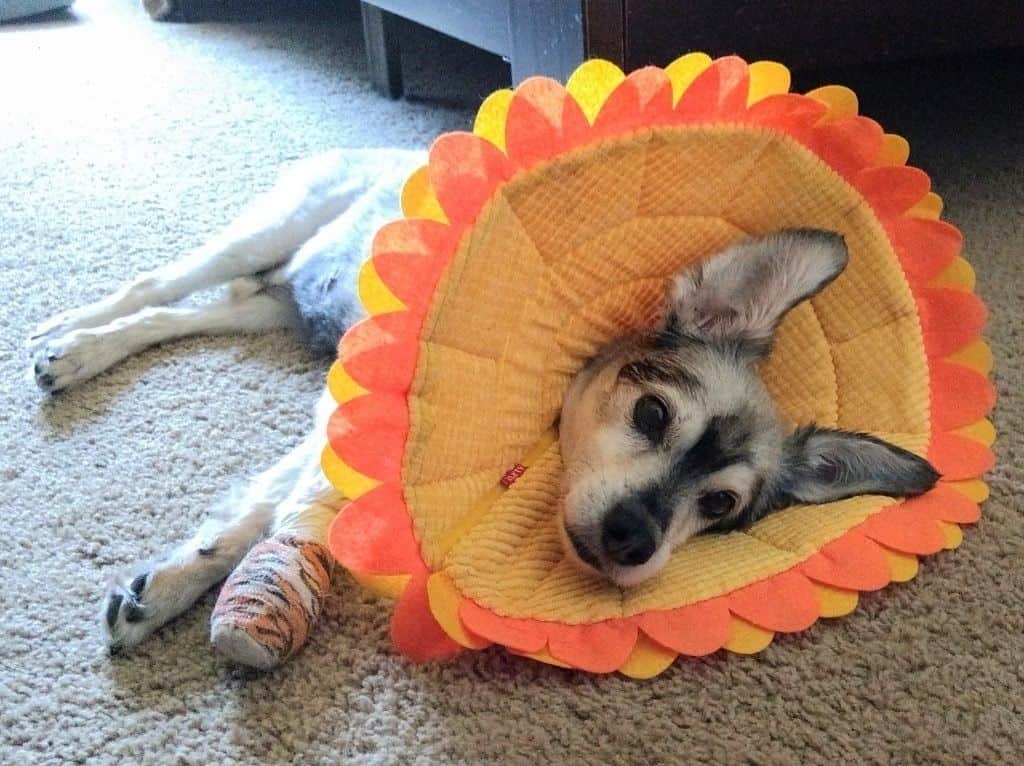
Consider creating a cone out of cardboard and duct tape. This will allow your dog to still be able to move around freely and won’t be as constricting as a plastic cone.
You can also add some padding to the inside of the cone to make it more comfortable for your dog. Another option is to create a “cone of shame” cover out of fabric. This will help to make the cone more visually appealing and will also provide an extra layer of padding.
4. Transform An Old Baby Blanket Into A Cozy Cone For Your Pup
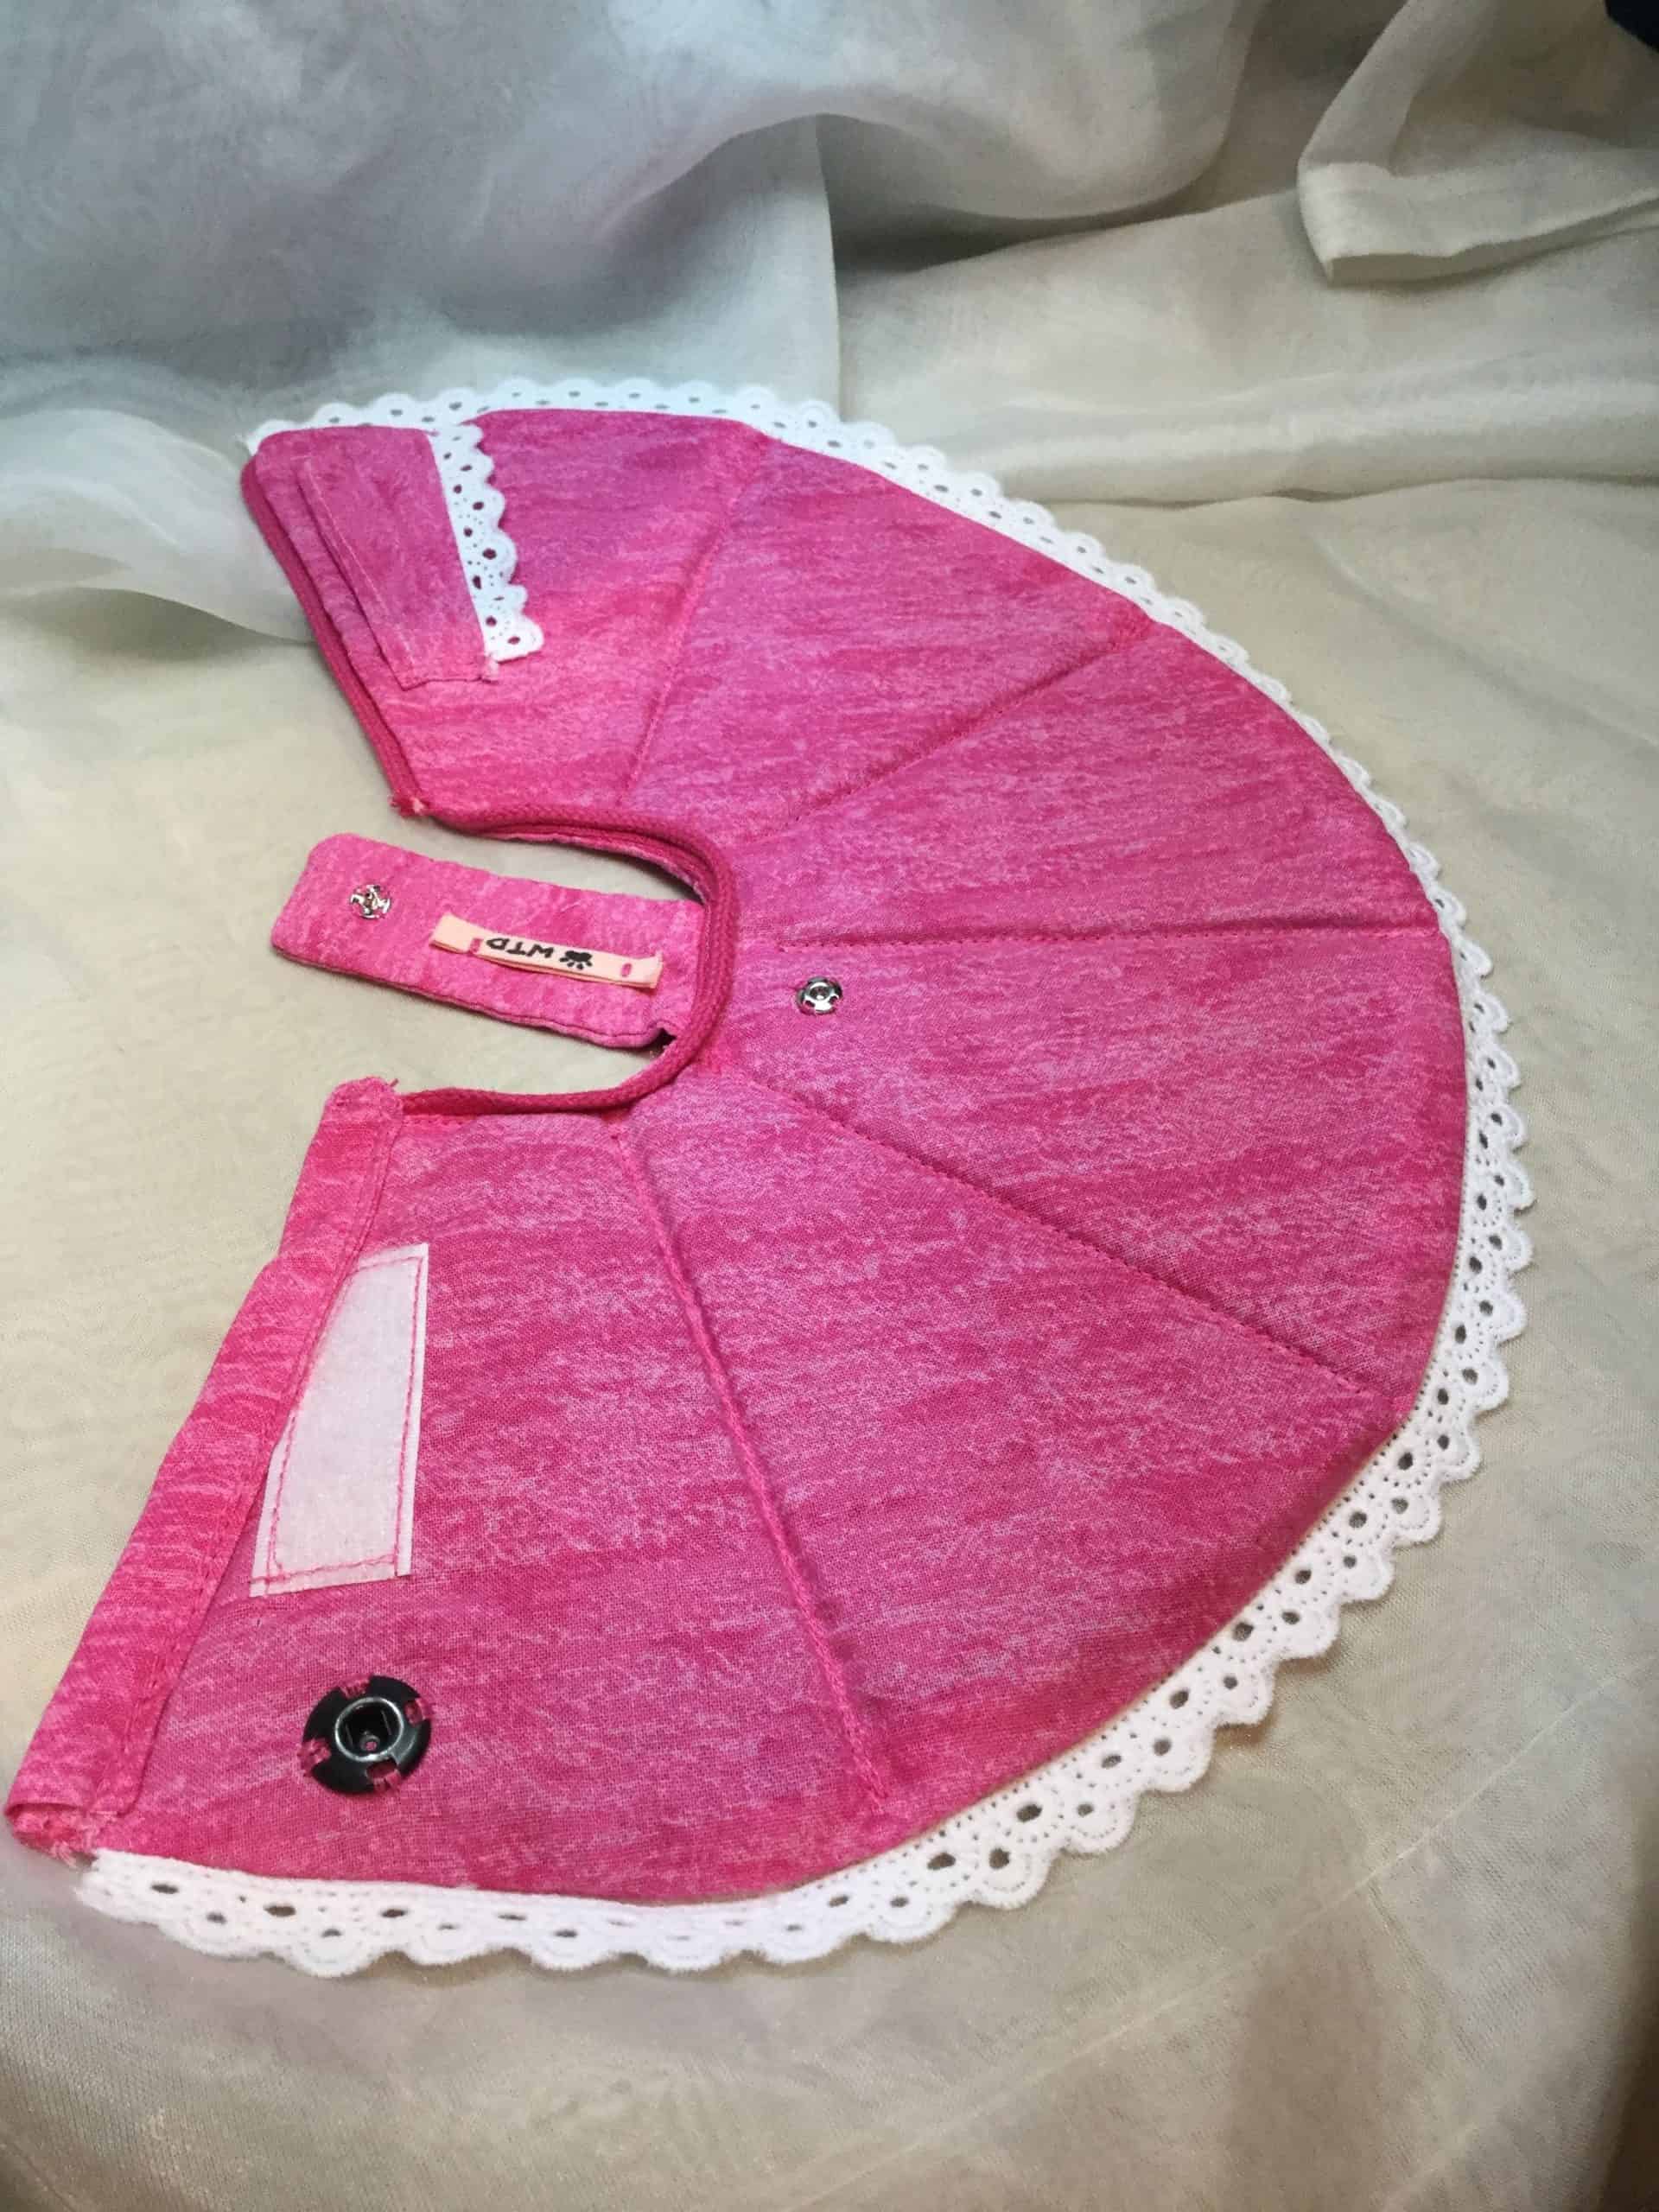
A DIY dog cone is a great idea to provide your pet with the protection they need without breaking the bank. And with a little creativity, you can even make the cone part of your dog’s outfit.
Try making an old baby blanket can easily be transformed into a cozy cone. Simply cut a hole for your pet’s head and sew the blanket around the edge. Your dog will stay warm and comfortable while still being protected from harm.
5. Use A Pool Noodle Comfy Dog Cone
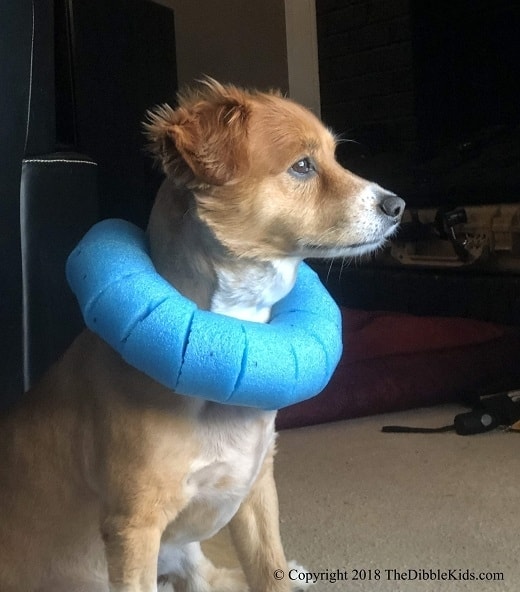
Transforming a pool can be a great option to make a comfortable dog cone. It’s a lot easier than you might think, and your dog will be much happier. To start, you’ll need:
- Pool noodle
- A Serrated knife or a pair of scissors
- Dog collar, rope, string or thick twine
- Tape measure
Measure your pup’s neck circumference. Then, cut the pool noodle into pieces using a serrated knife or scissors.
Once you have the twine and the pool noodle pieces, all that’s left is to loop the pieces through the collar or twine. Add all the pieces until you end up with a collar that looks like a beaded necklace. Finally, put it on the dog.
6. Repurpose Old Sweaters Into A Warm And Snuggly Cone For Your Dog
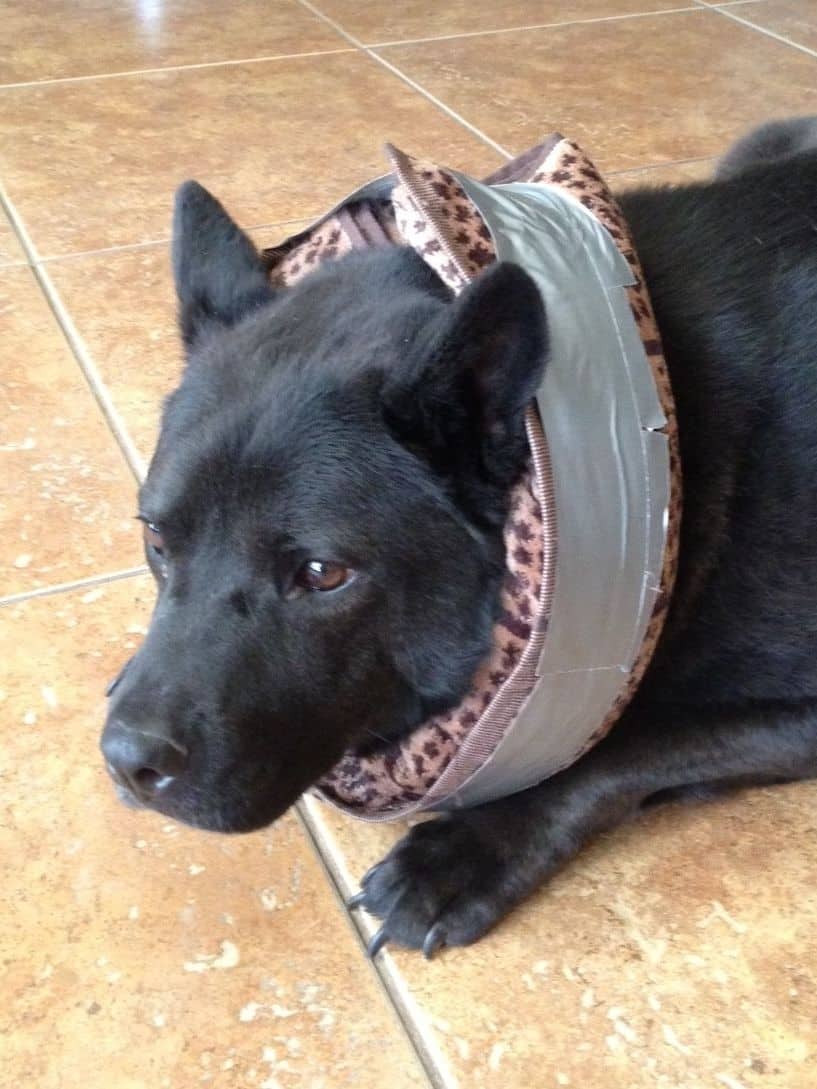
To make a warm and snuggly cone for your dog, simply repurpose old sweaters. Cut off the sleeves and neckline, and then use the remaining fabric to create a cone shape.
Be sure to leave enough room for your dog’s head to fit through comfortably. Then, just add a few stitches to secure the fabric in place and Voila! You’ve got a warm and snuggly cone that will help your furry friend feel better in no time.
7. Make A No-Sew Dog Cone Out Of An Old T-shirt
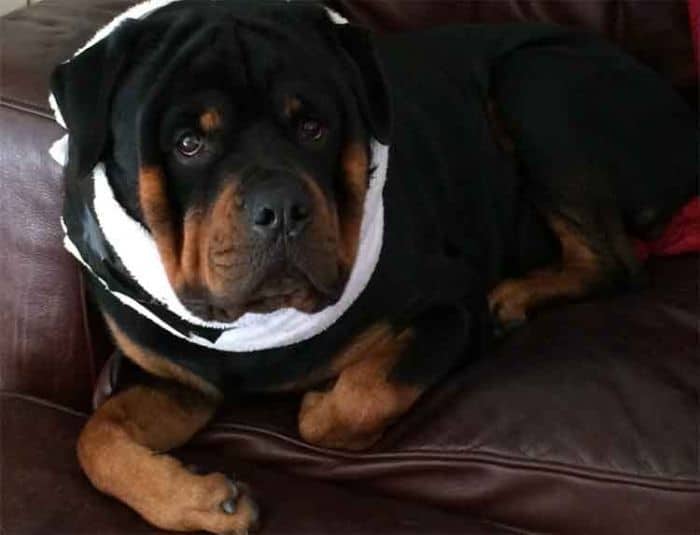
An old t-shirt can be turned into a no-sew dog cone in just minutes.
First, cut off one sleeve of the shirt using the sharp knife and then cut a hole in the center of the remaining fabric.
Next, put the fabric over your dog’s head and tie the sleeve around your dog’s neck to secure the cone in place.
Not only is this project quick and easy, but it’s also much less expensive than buying a cone from a pet store. Plus, your dog is likely to find it much more comfortable than a traditional cone.
8. Create A Stylish Dog Cone Out Of Patterned Fabric
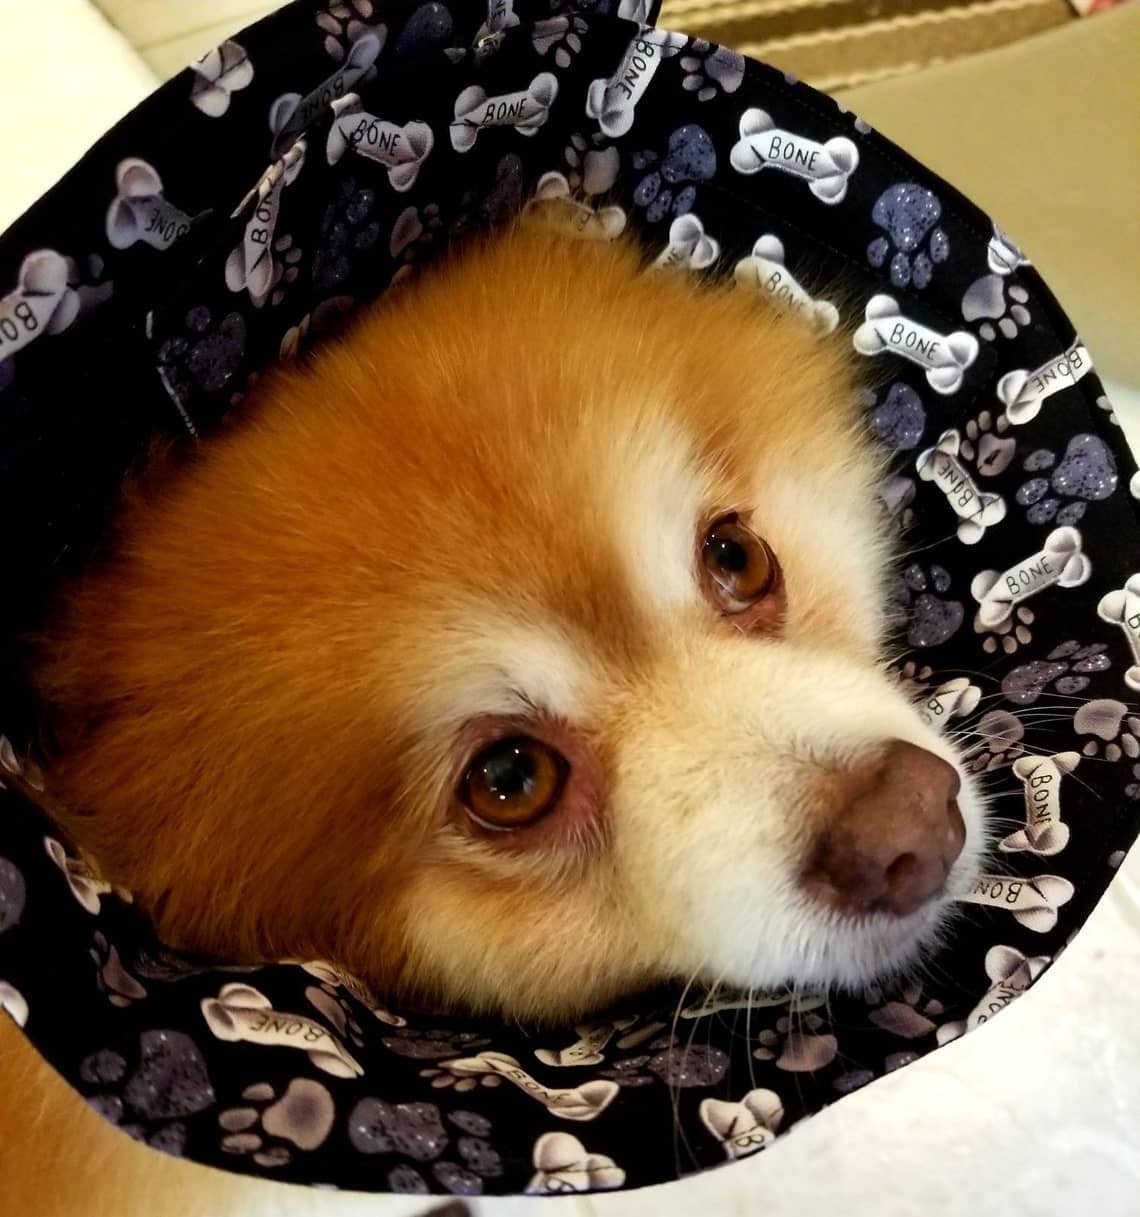
To start this project, you’ll need to choose a fabric that’s durable enough to stand up to wear and tear. Cotton or linen works well, but you can also use quilting cotton or wool felt.
Cut the fabric into a cone shape that’s large enough to fit over your dog’s head.
Next, use a hot glue gun to attach velcro strips around the top and bottom of the cone.
This will allow you to adjust the size as needed and make sure the cone stays securely in place.
Finally, decorate the cone however you like. If you’re using quilting cotton, you can add embroidery details or appliques.
Or, for a more subtle look, simply choose a fabric with an eye-catching print or pattern.
9. Upcycle An Old Pillowcase Into A Dog Cone

One easy and quick solution to create a functional and comfortable dog cone is by upcycling an old pillowcase into a makeshift cone. This saves you from having to purchase one from the store, and also lets you customize your dog’s cone according to its unique needs. Plus, because pillowcases are so soft and flexible, it is much more comfortable for your pup than an ordinary plastic or cardboard version.
Simply cut a hole in the center of the pillowcase large enough for your dog’s head to fit through, and then tie the ends together. The fabric will prevent your dog from being able to reach their stitches, and they’ll be much more comfortable than if they were wearing a plastic cone.
10. Make A Simple And Sturdy Dog Cone Out Of Cardboard
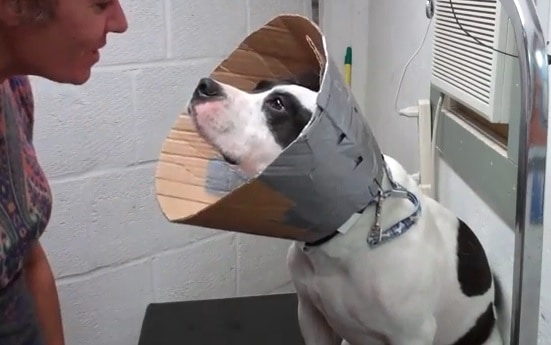
This project is quick and easy, and all you need is some sturdy cardboard box, some tape or glue, and perhaps a few additional materials like Velcro or elastic straps. Simply build the basic shape of the cone according to your dog’s size, securing each piece with tape or glue.
For added stability, you may want to line the inside of the cone with more piece of cardboard before adding your finishing touches. Once completed, this DIY dog cone will provide all of the protection that your dog needs while also being lightweight and flexible enough to be comfortable for even long periods of wear.
11. Cool Bucket Collar Homemade Dog Cone
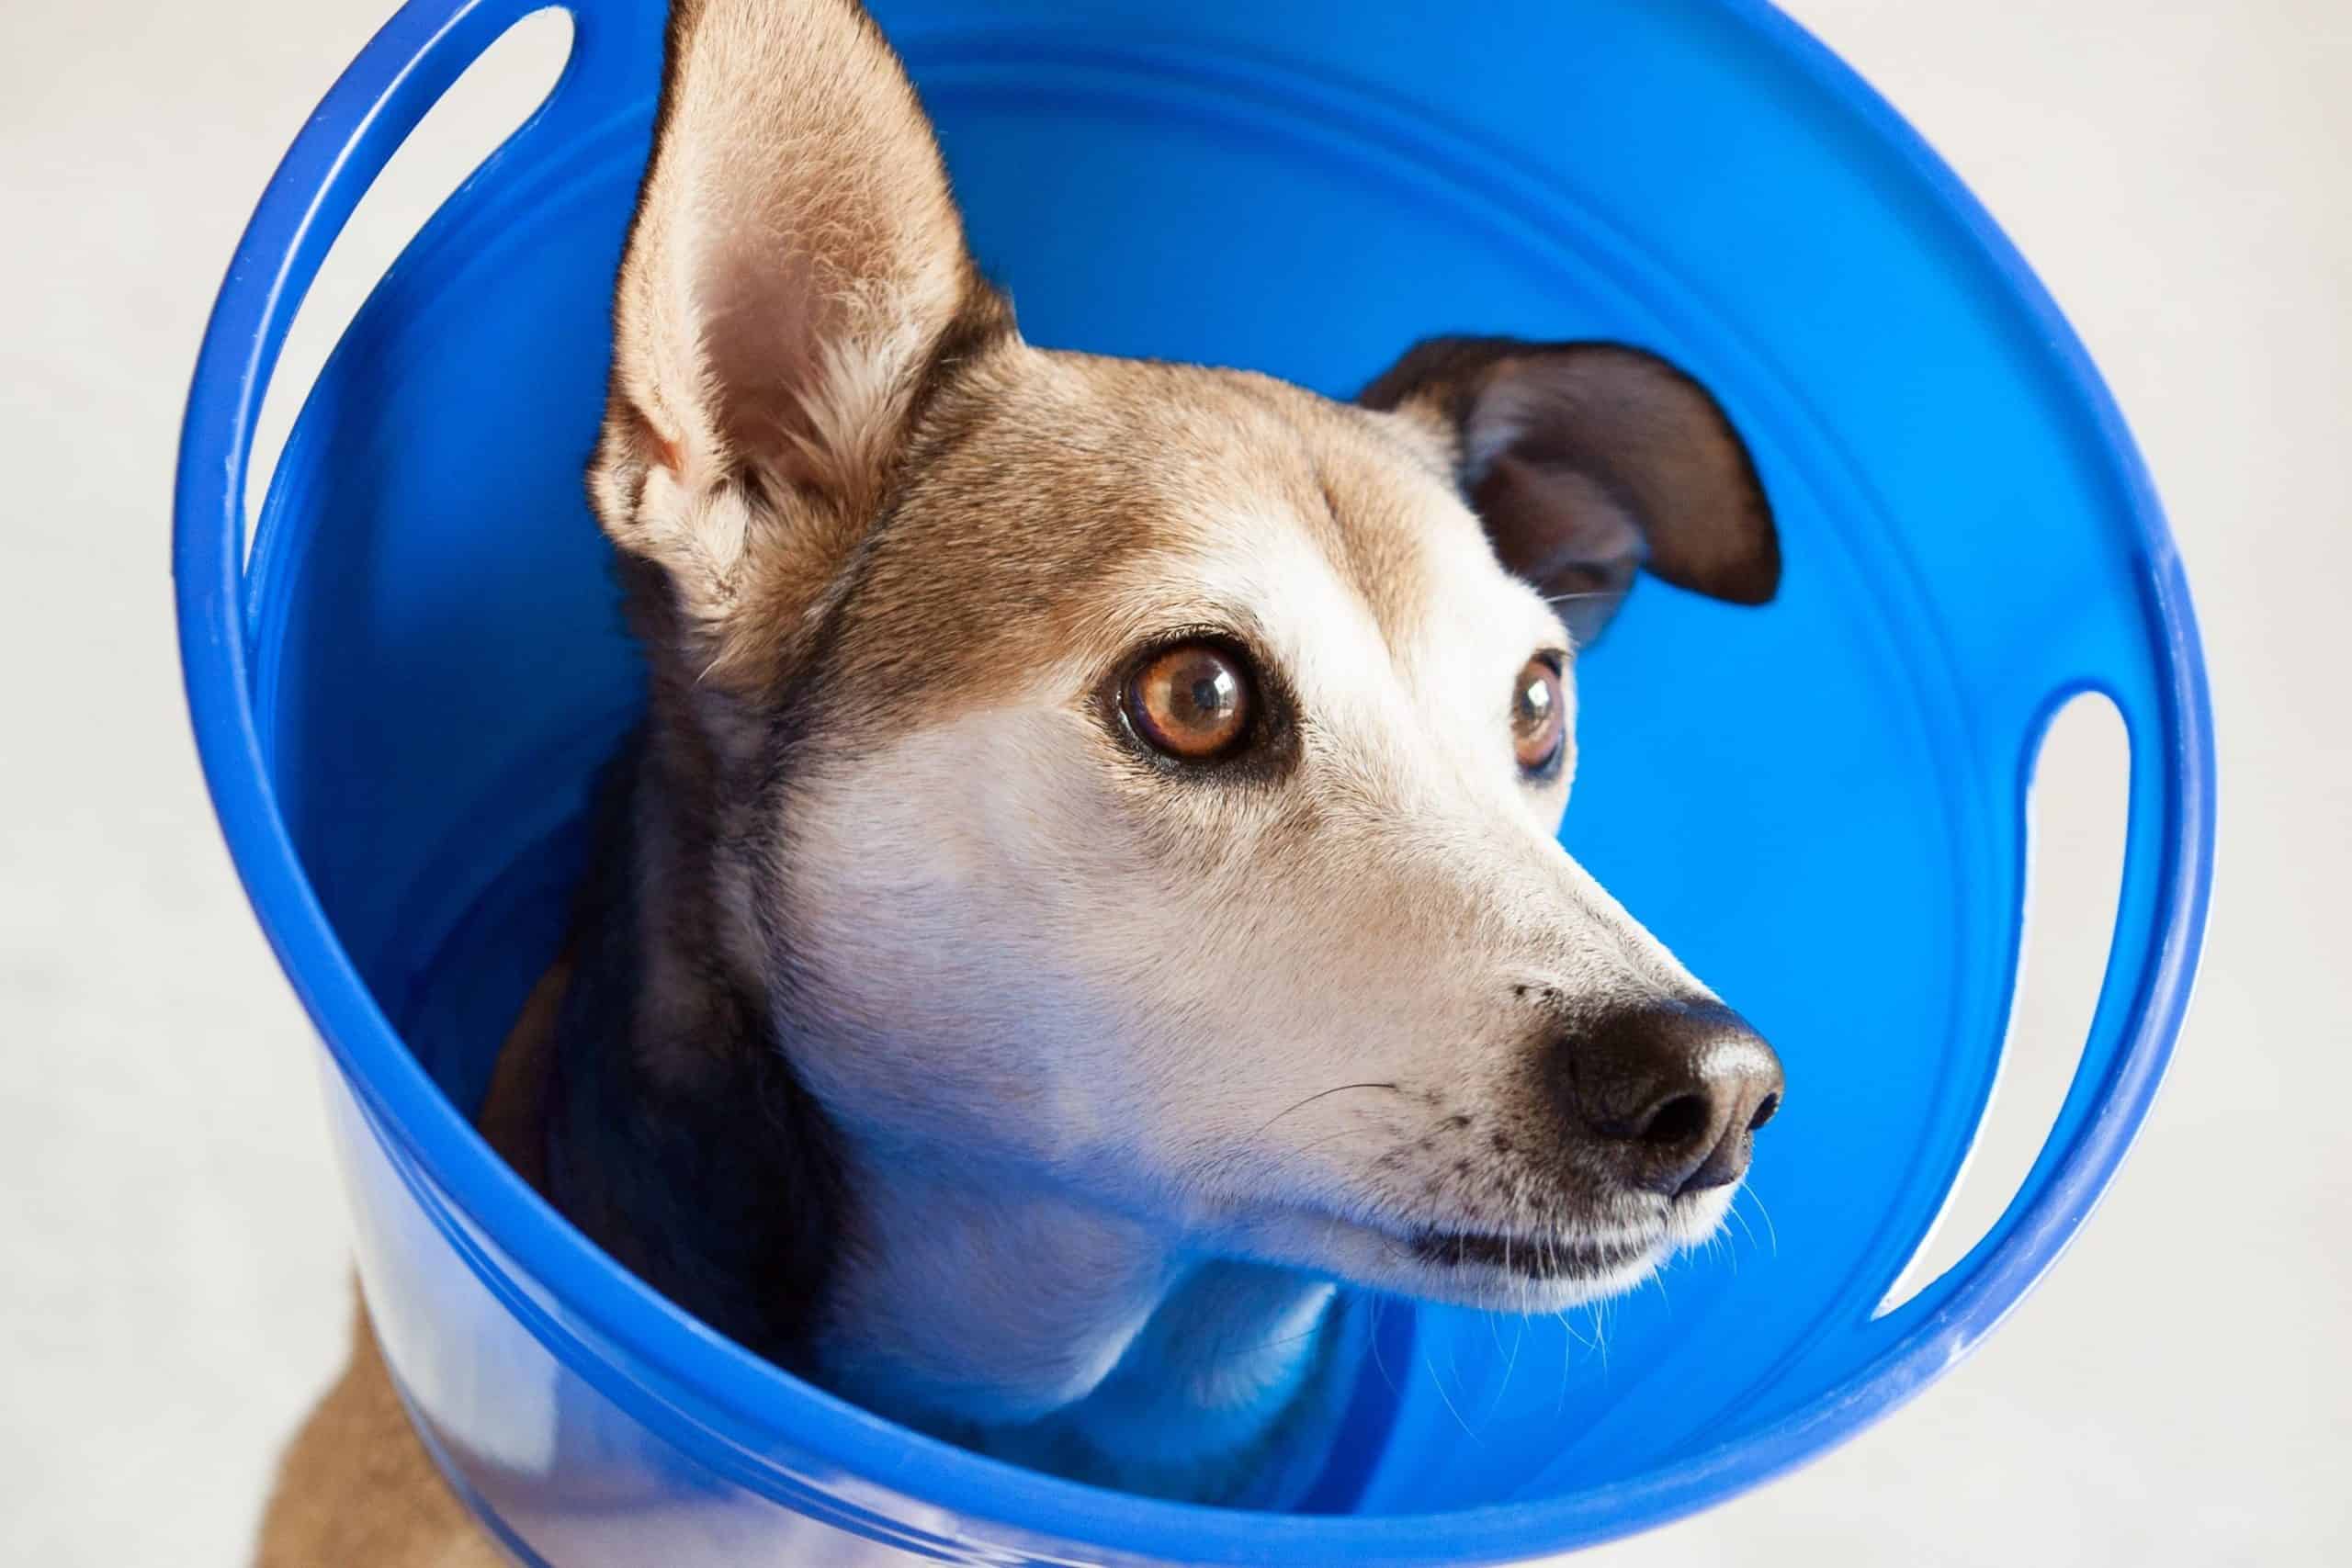
This project is designed to turn a standard plastic bucket into a comfortable dog cone that your pet can wear with ease. The first step is to cut two holes in the bottom of the bucket, just big enough for your dog’s head and neck to fit through.
Next, you’ll need to cut four equal-sized strips of fabric. These will be used to create straps that will hold the bucket in place on your dog’s head. Once the straps are in place, you can decorate the bucket however you like! This is a clever solution to personalize your dog’s cone and make it more comfortable for them to wear.
12. Styrofoam Collar Dog Cone Idea
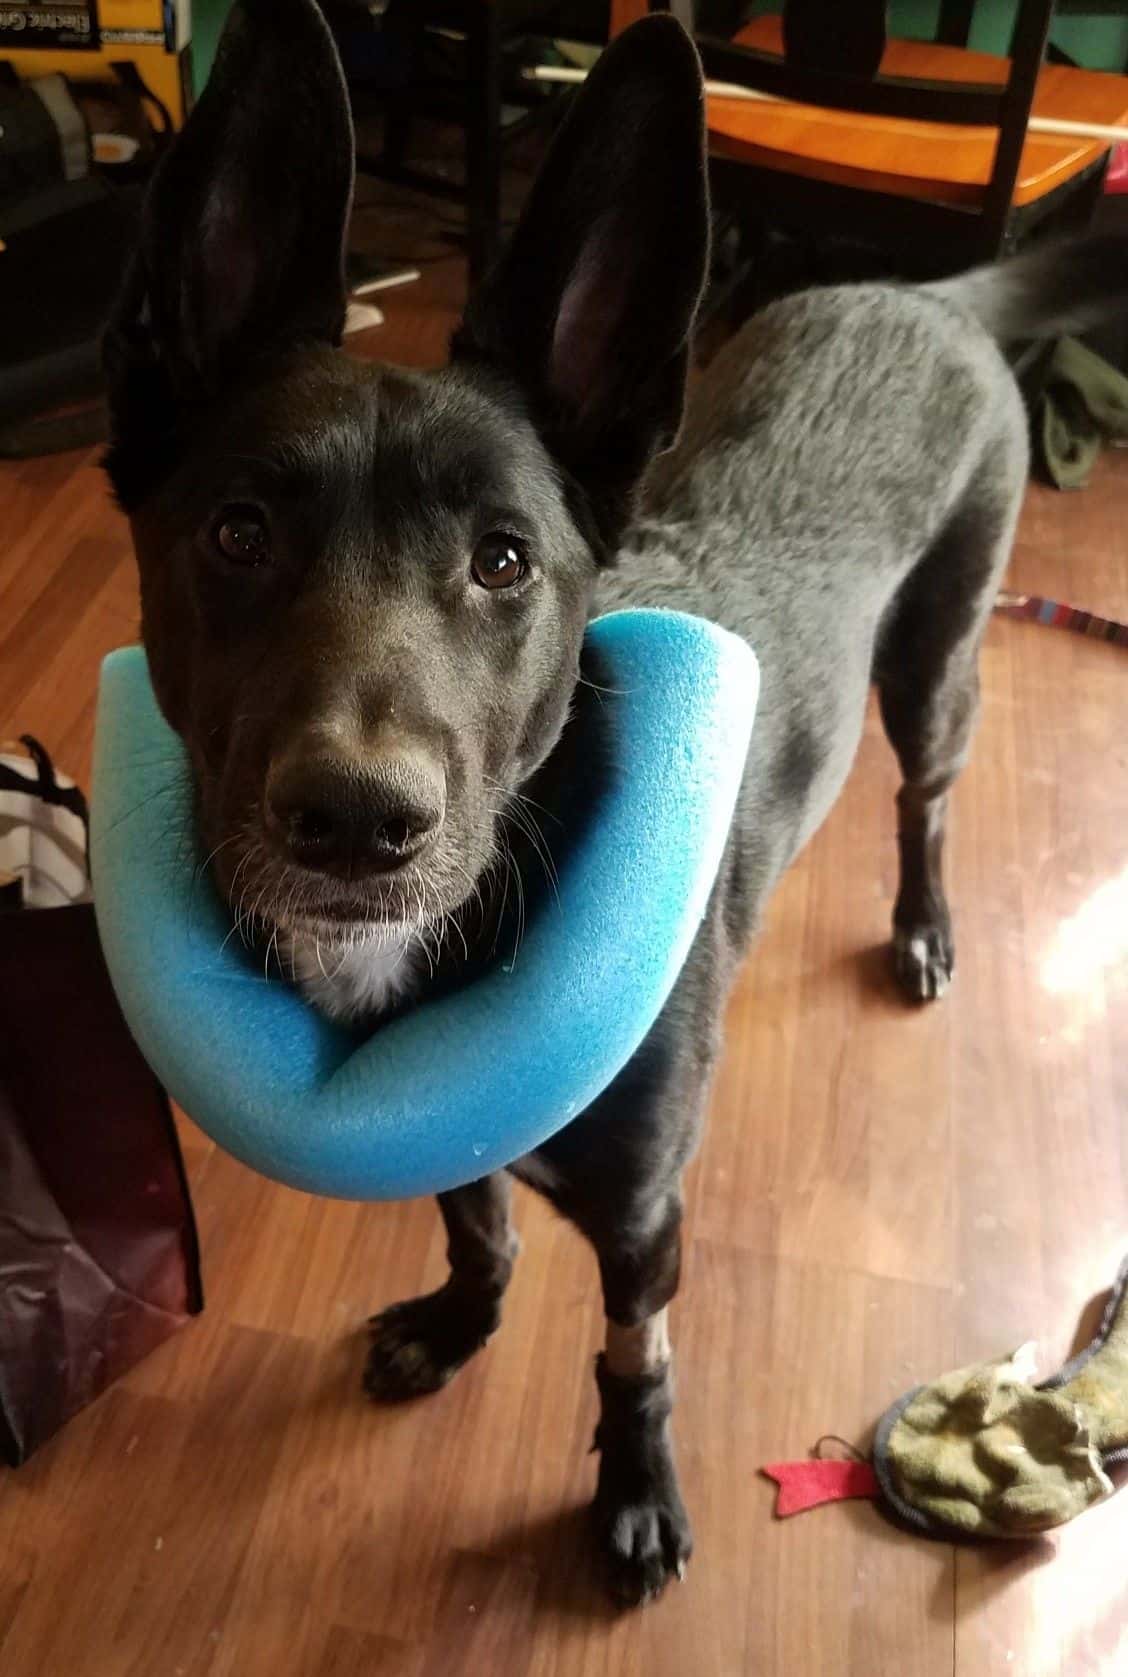
To make this project, you’ll need some basic supplies like a styrofoam collar, some fabric, stuffing, tape measure and hot glue. Start by cutting the Styrofoam collar into two pieces, then hot glue them together to form a cylinder. Ensure it gets proper measurements to make it fits perfectly.
Then, wrap the fabric around the collar, securing it with hot glue. Next, stuff the inside of the cylinder with stuffing until it is firm. Finally, hot glue at the end of the fabric closed. Your dog cone is now ready to be worn in style!
13. Egg Crate E-Collar
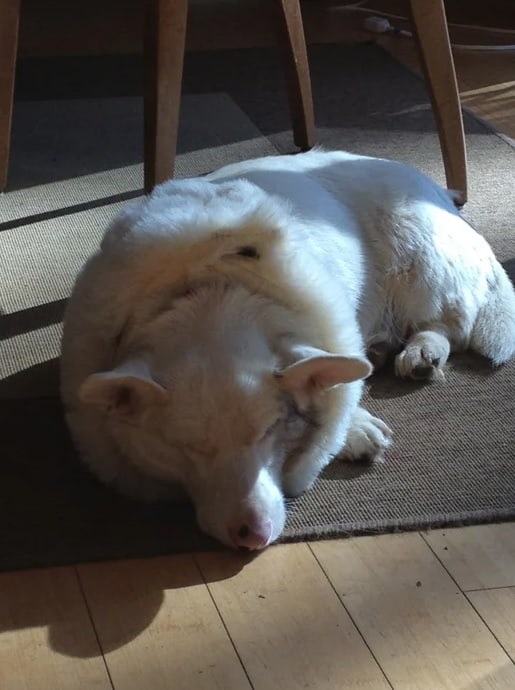
A less expensive and more comfortable alternative is to make your own DIY dog cone out of soft foam egg crate. This material is soft and lightweight, making it more comfortable for your dog to wear.
In addition, egg crate foam is easy to cut and shape, so you can easily custom-fit the cone to your dog’s neck. Simply cut a hole in the center of the foam for your dog’s head, and then use Velcro strips to secure the cone in place. This DIY project will help keep your furry friend comfortable while they heal. On the other side, it is such an easy project, which will elevate your skill level as well.
